1970 RAH Deluxe
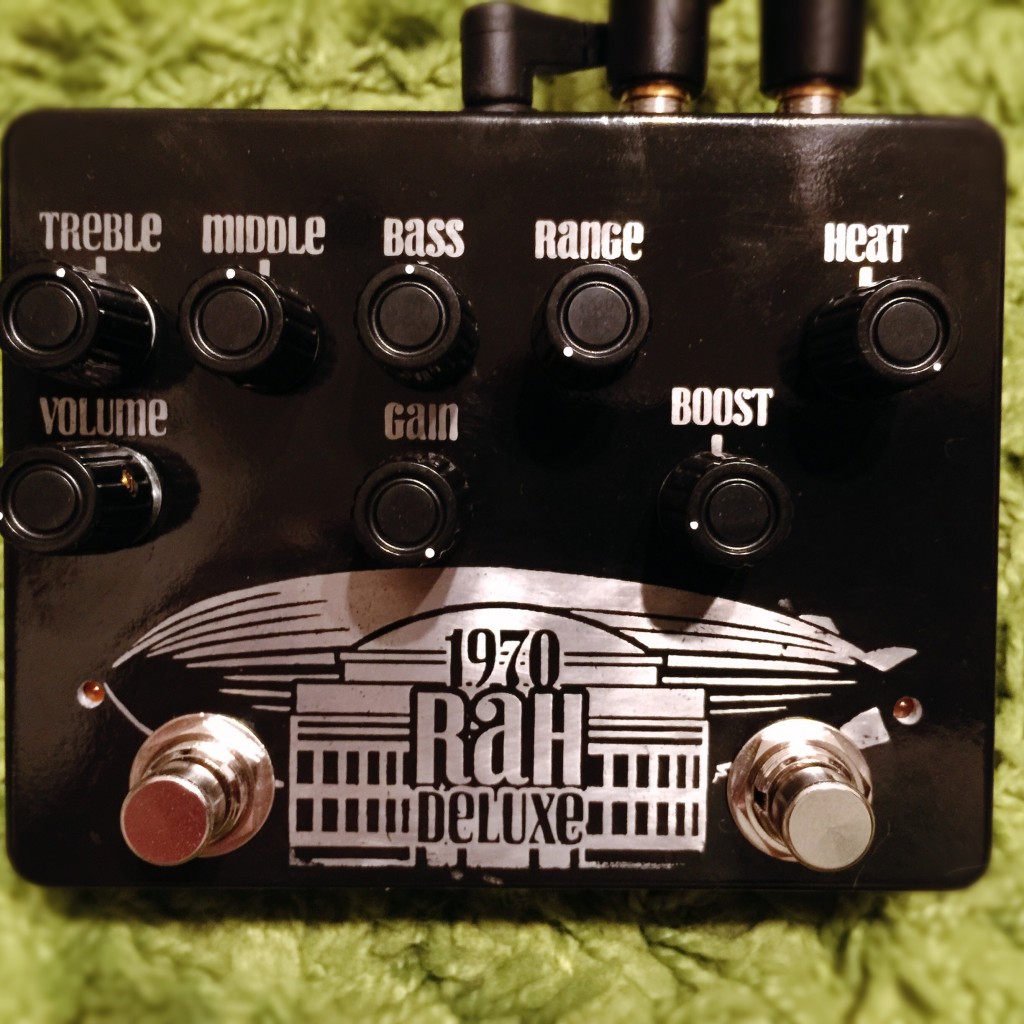
Tonight I finished up a build that has been been floating around on my bench for months. I had a RAH clone I built last year. I really loved the 3 band EQ and it has a very natural sounding tube breakup sound. I really just wanted a little more umph for it, something to make it breakup more and become more of a medium gain OD. I built a Rullywow Serpent Boost (Naga Viper work alike) to get a nice dirty boost before the RAH and the RAH Deluxe was born. This thing really came alive with the boot in front of it.
I did a reverse etch of some artwork I mashed together of the Zeppelin and the Royal Albert Hall.
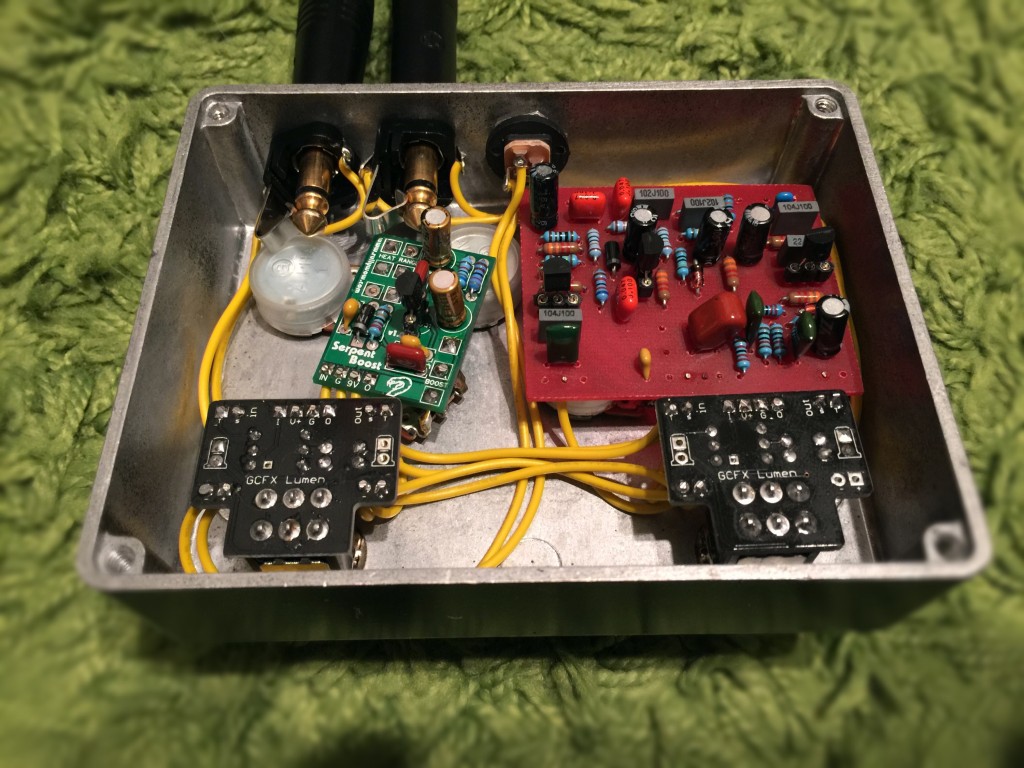
Gut shot: Not so clean but I had to do some ninja work to get the top mounted jacks in there. Works for me.
GCFX Lunen order is here
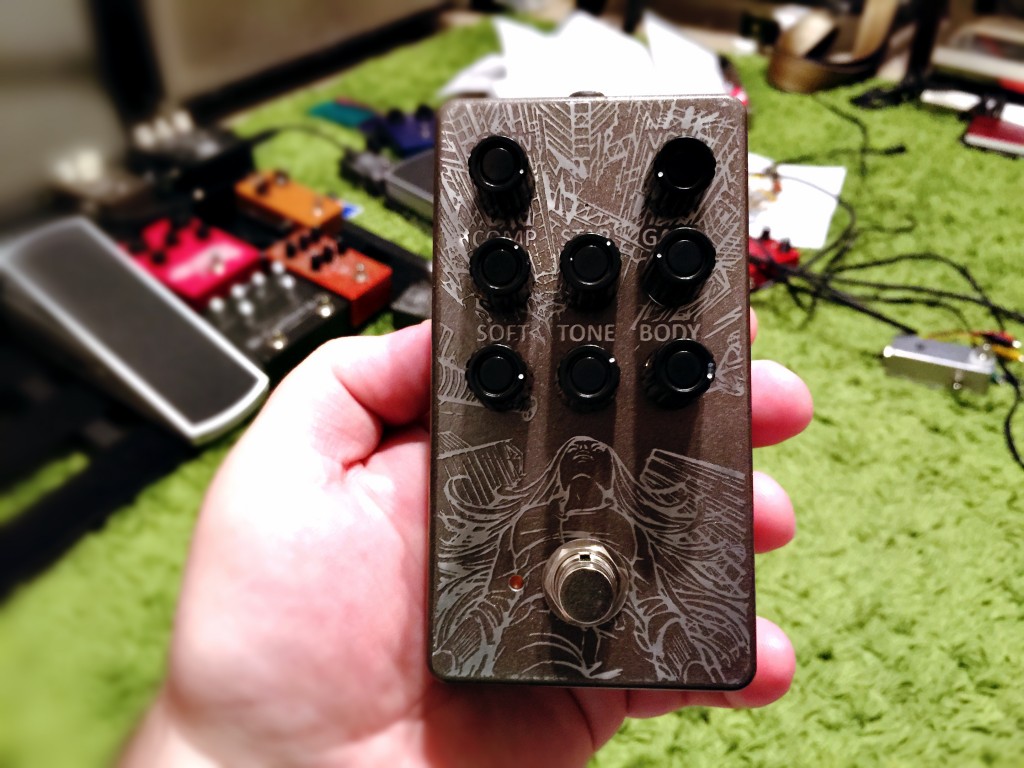
8 knob madness
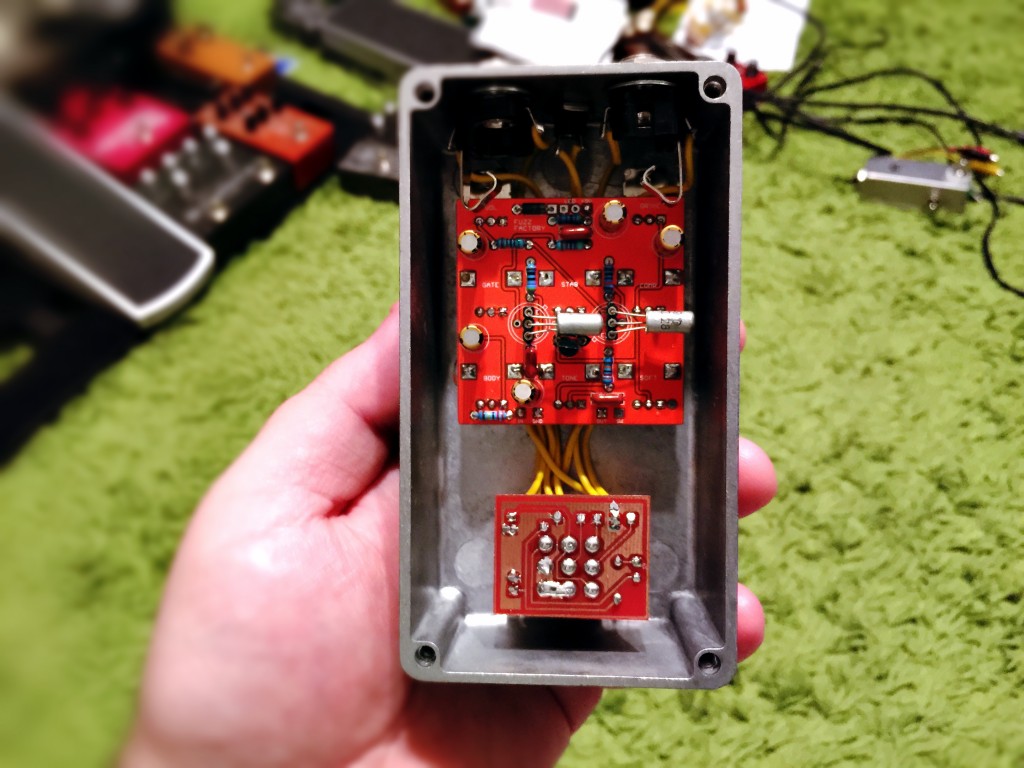
This is a Aion Flare which is a modded Fuzz Factory. This pedal is one of the most loved/hated fuzz pedals from great smooth sounding fuzz to very velcro/gated sounding fuzz to straight up broken/non-working fuzz. I don’t know why I even bothered to label the knobs since they really don’t matter a whole lot. Its more of a “tweak and play” kind of fuzz. I usually find settings I like while knob twiddling and then take a picture with my phone to remind me of the settings.
I used a couple AC 128 transistors in this build but I am still swapping around until I find the best ones.
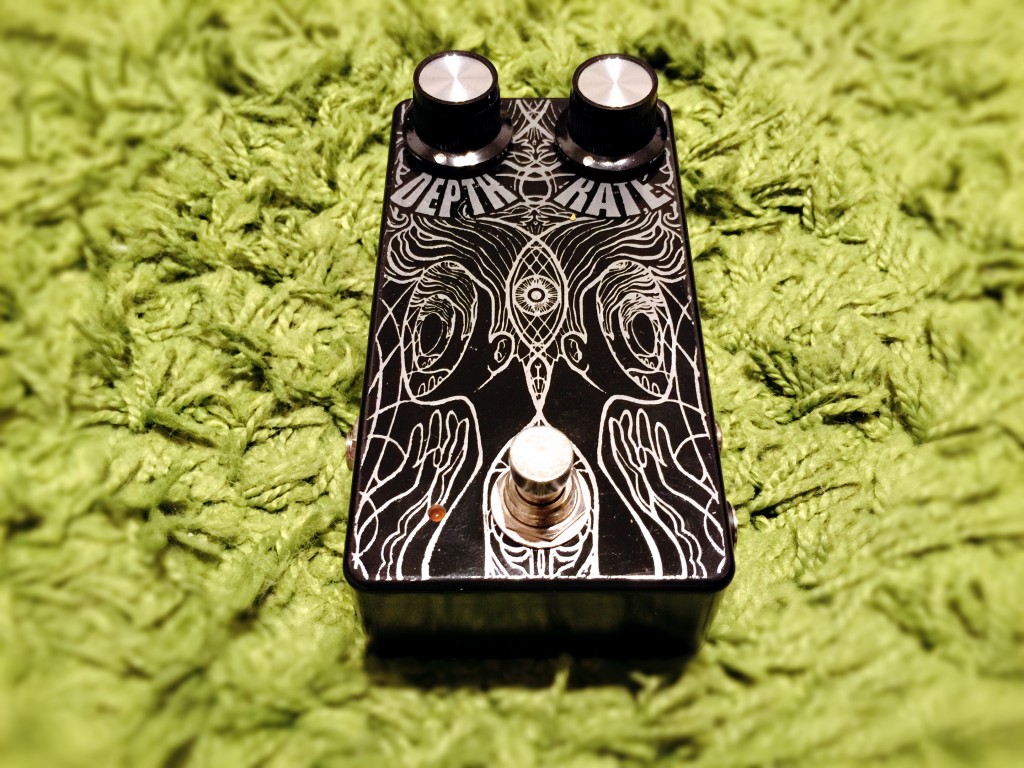
I did a reverse etch, which is hard to capture on camera but I think it turned out great.
 If you want to pick up one of these PCBs head over to Aion Electronics.
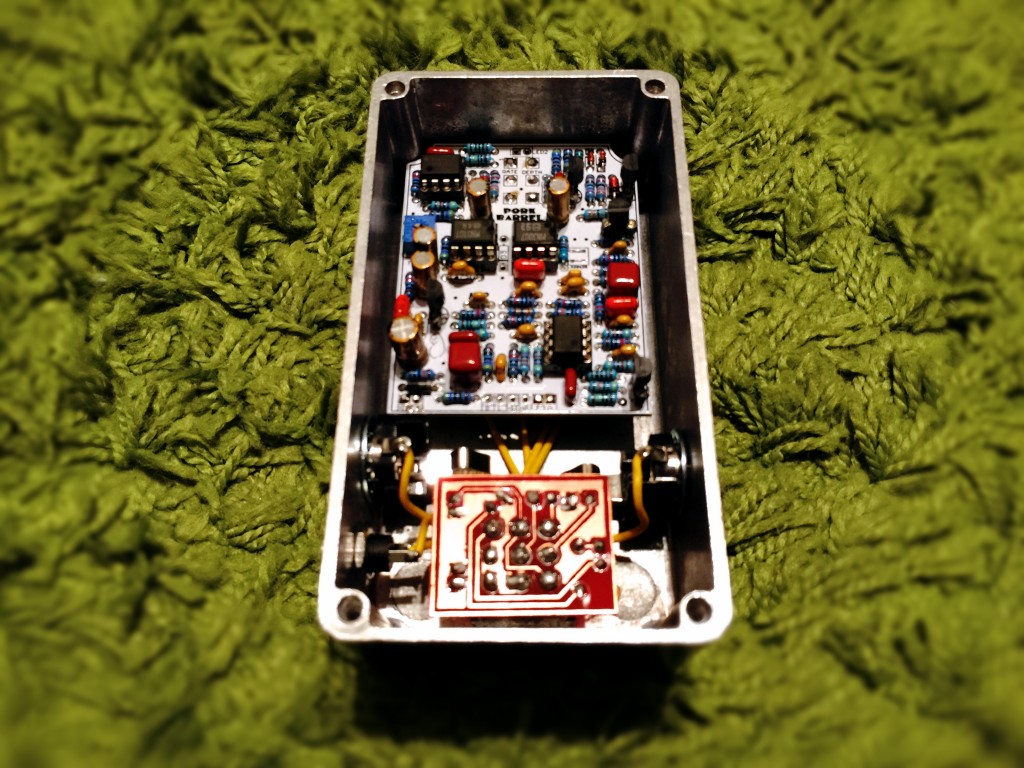
Madbean Pork Barrel
Just finished up a awesome Boss CE-2 work-a-like from Brian over at Madbean Pedals. This is a very lush sounding chorus pedal. I decided to go with the MN3007 BBD and it sounds great.
I did a reverse etch with some artwork I found I Google Images and edited it a bit to fit the pedal.
If you want to pick up one of these PCBs head over to Madbean Pedals.
FInally got my own table saw
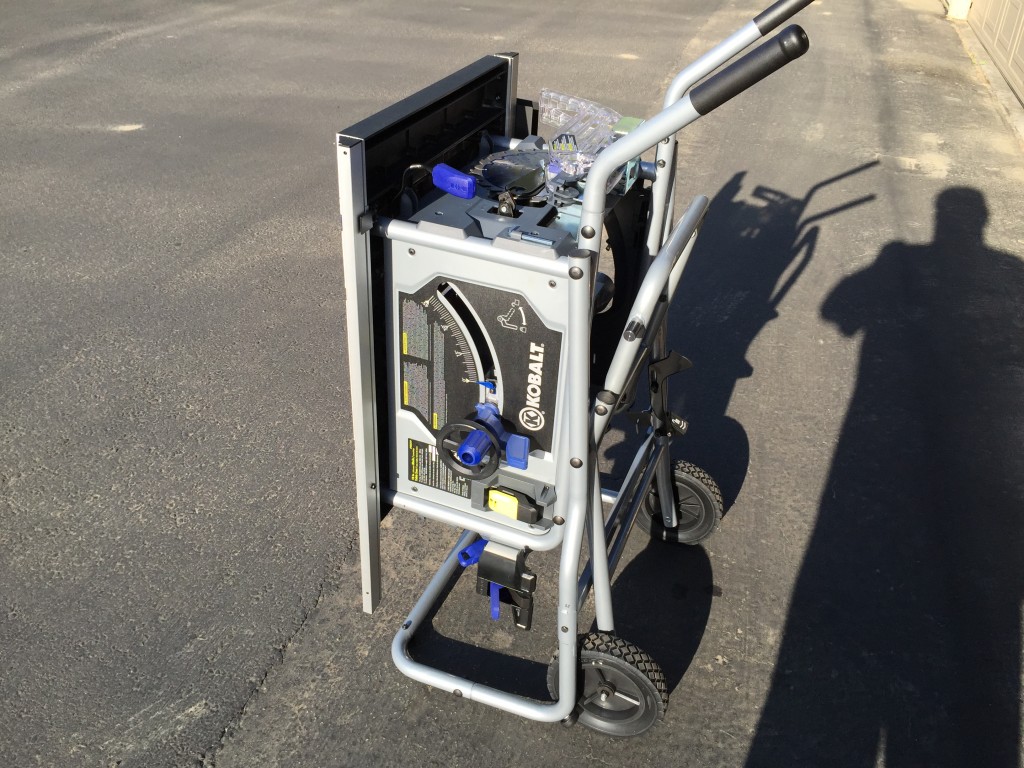
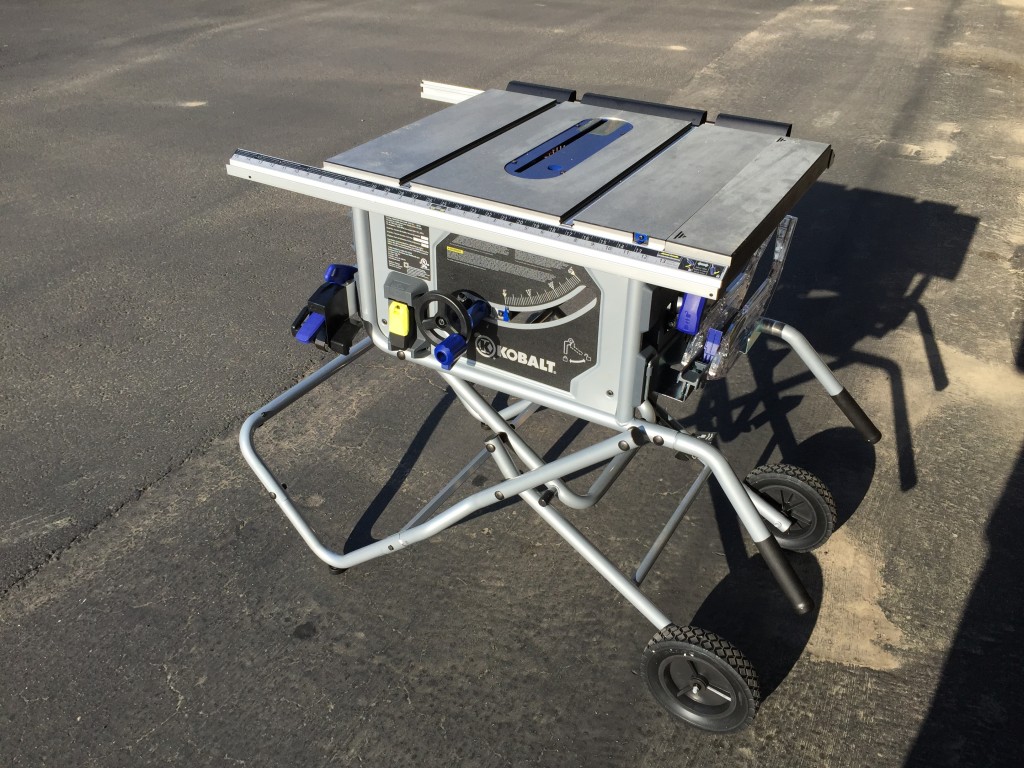
I had a small benchtop one I was using from a friend but he needed it back for a project. I finally decided it was time to add one to my shop. The main goal is to make amp cabinets and work on some wood ends for a few of my synths and enclosures. There is also a “honey do” list my wife has made for me. I searched for a few days to figure out what one I wanted. I did the obvious price, quality & features comparisons. Not only did I read customer reviews but I also looked for thoughts/reviews in woodworking forums.
I ended up going with the Kobalt KT1015 from Lowes. The price was good (There was a 50$ off anything over $250 coupon online) and there was some great video reviews on YouTube about this model. It has some faults but the portability and ease of setup outweighs them. Got the giant box home and with some help from my brother-in-law and 2 beers later we had it put together.
First thing I did was got a decent blade for it. I got a Diablo 60 tooth blade (D1060X) for a really smooth cut. I started to get a sled jig going so I can limit any tear out on the plywood.
Let the projects begin.
Cutting CEM (Composite epoxy material)
I have been sitting on a bunch of 4″x6″ CEM (Composite epoxy material) that I got from a copper clad vendor online. I thought it would be cool to use for prototypes since the board is kind of ugly looking. When I first got it I found that the thickness was giving me some issues with cutting it like I do with my copper clad laminate. I tried with my chop paper cutter and it almost broke it. I also tried a jig saw and the blade would gum up and start melting the board. The Dremel took forever to cut it and it would also gum up the blades. I was about to give up when I ran across some plastic cutting blades for my scroll saw. I used Ryobi skip tooth 18.5 TPI blades and it cuts it like butter. I am excited that I can start using this clad for future projects.
Just thought I would share my trials & errors.
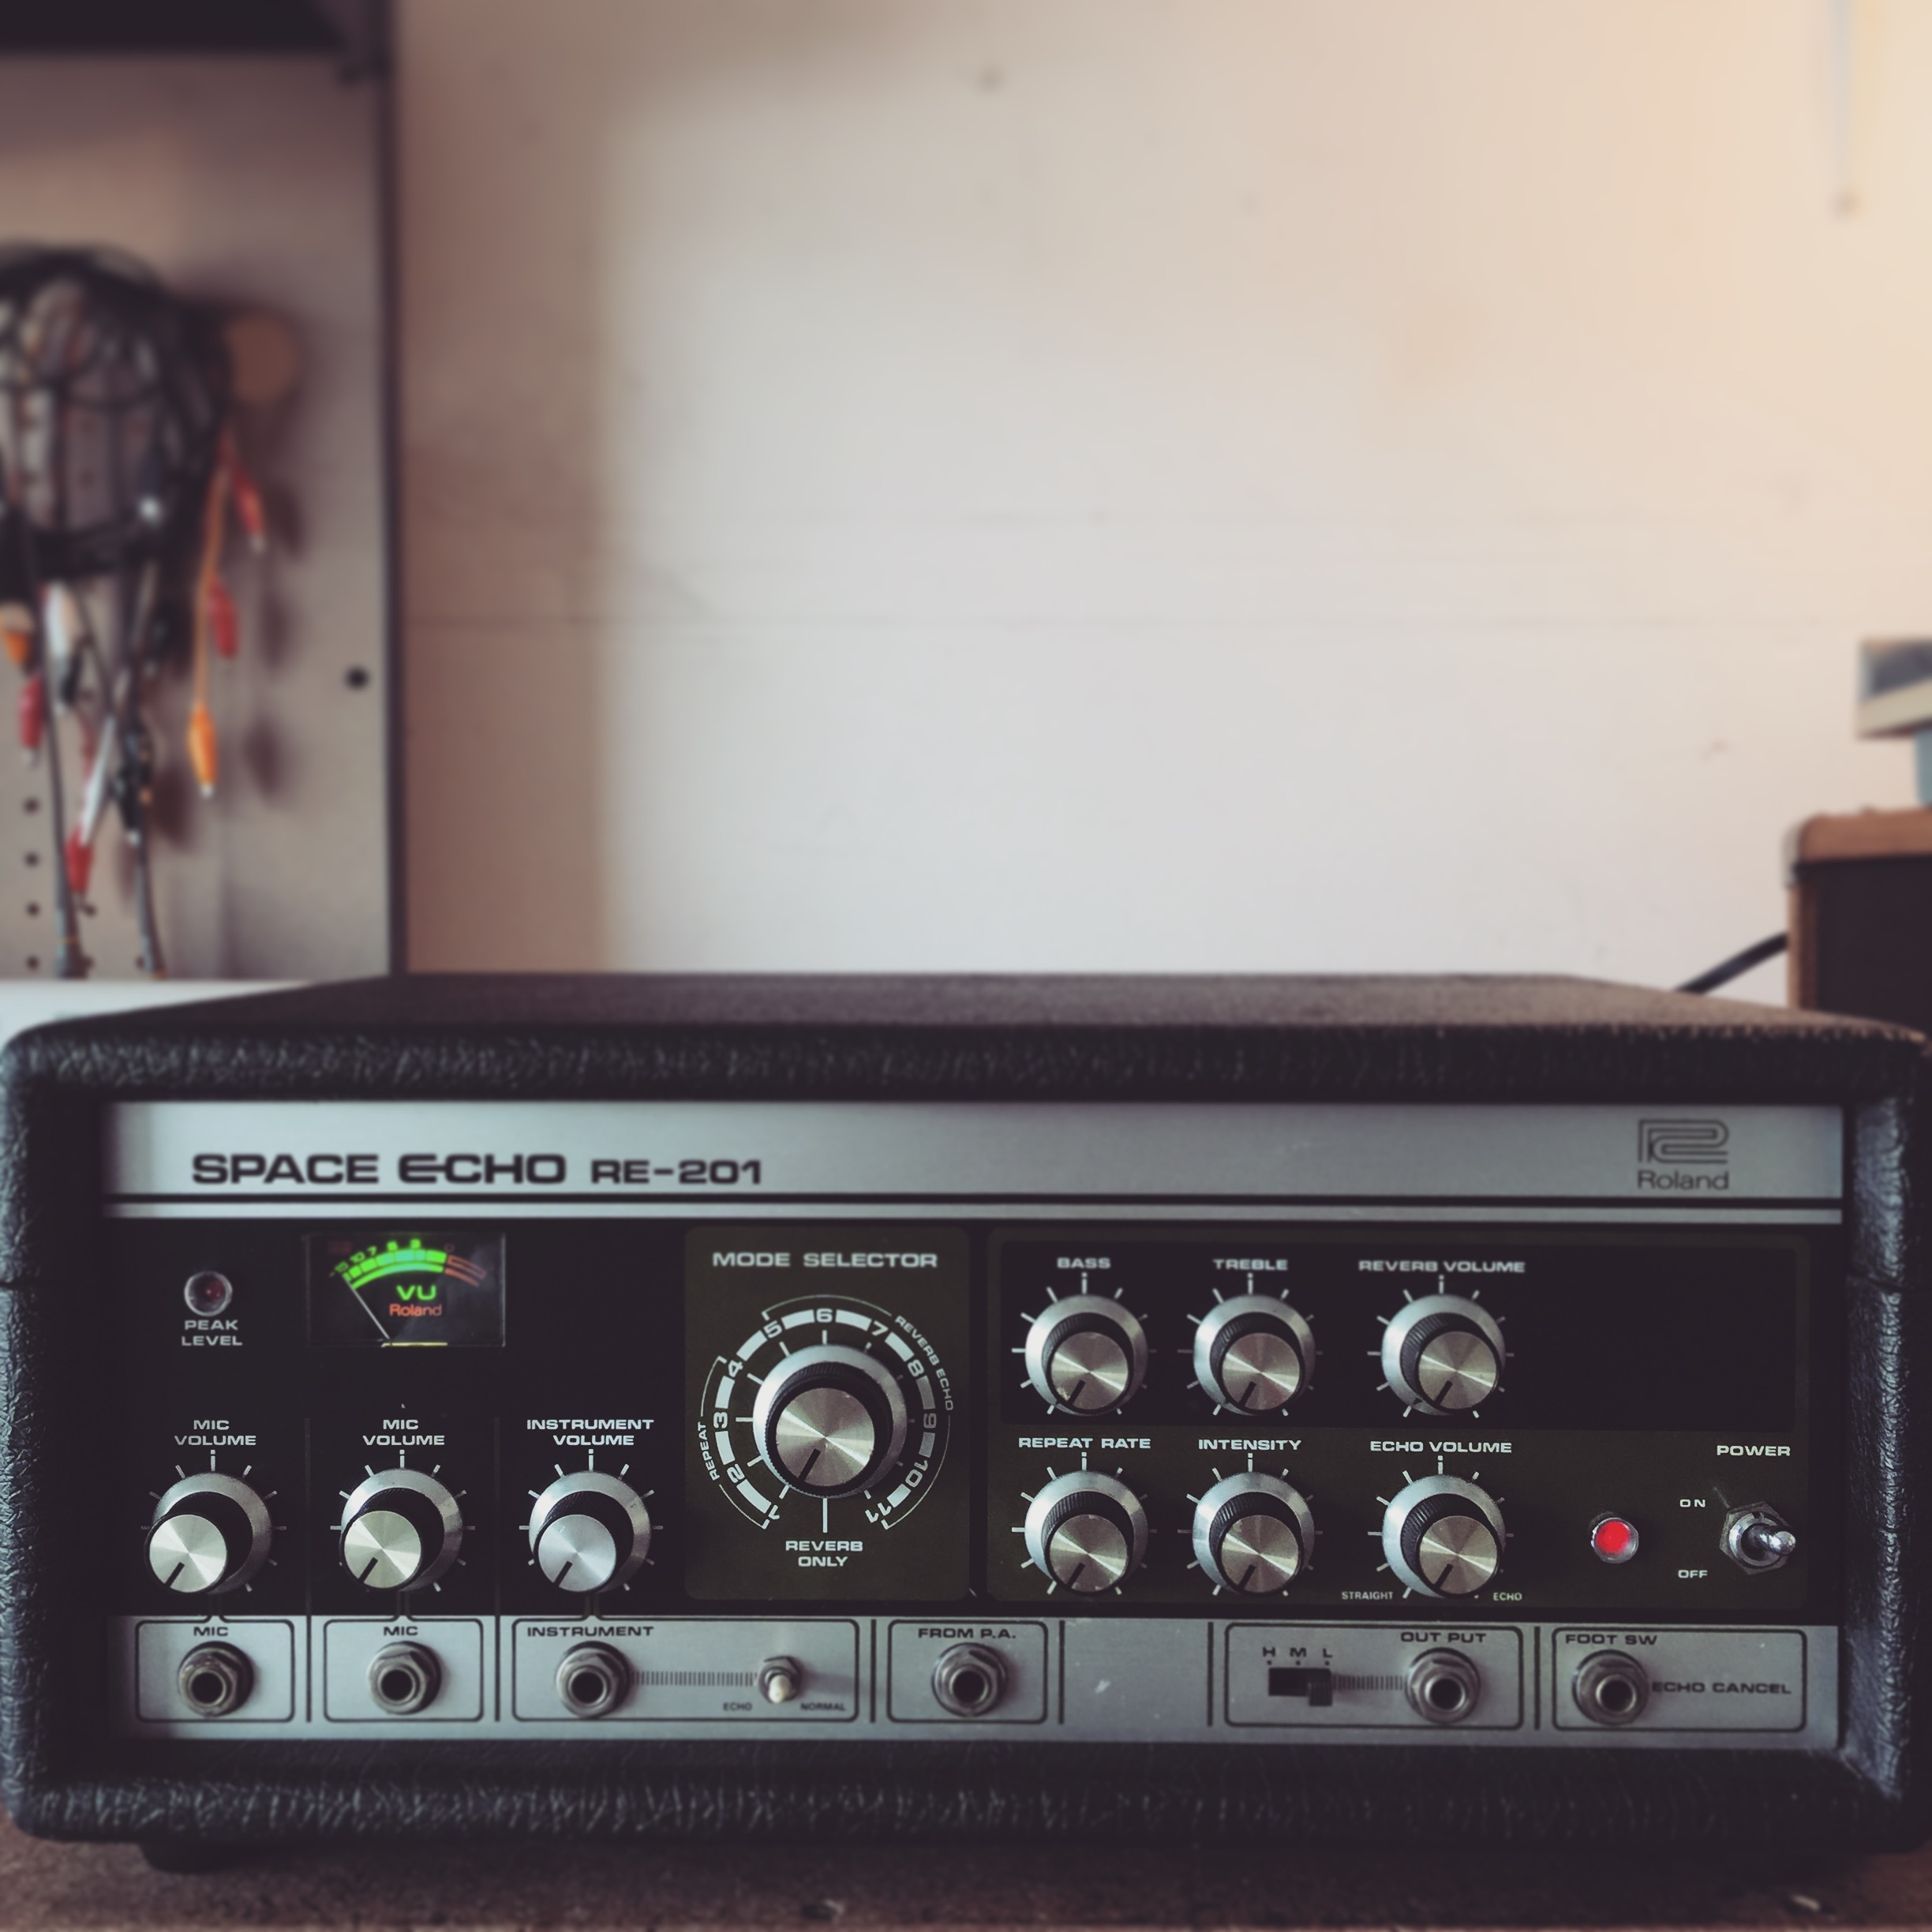
Roland Space Echo Service
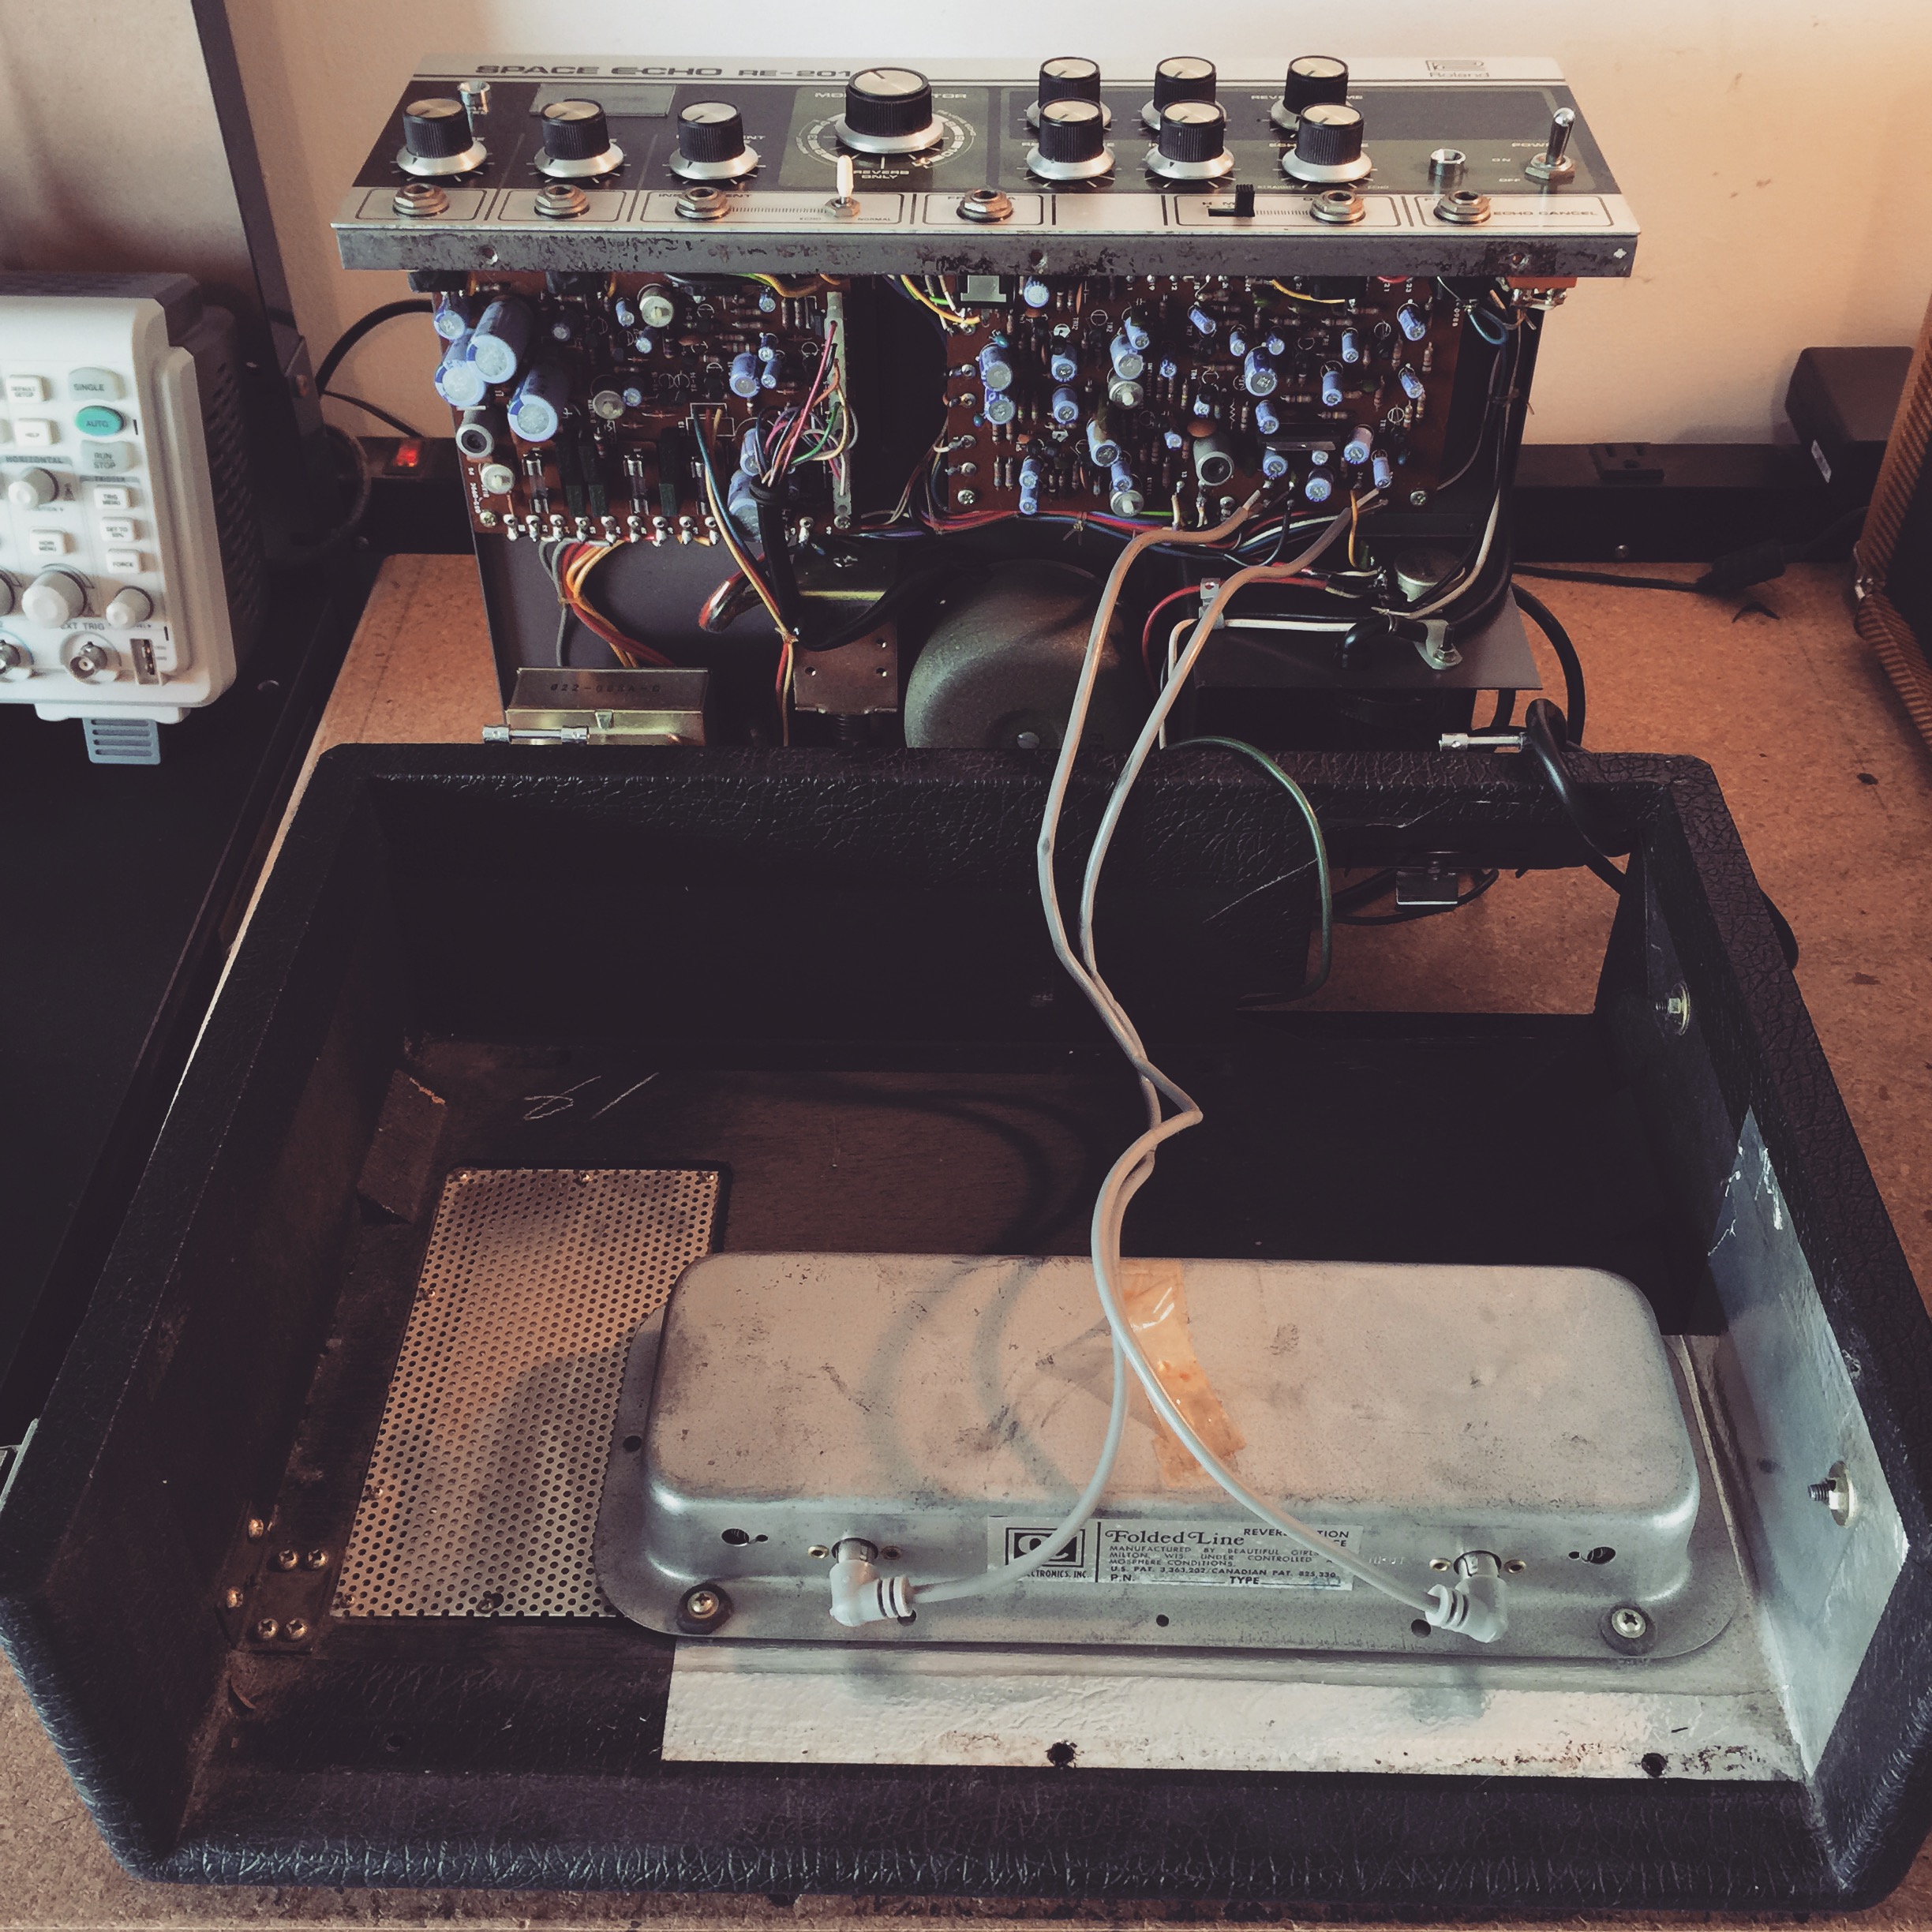
I spent some time this weekend doing a service check on my much loved Roland RE-201. Here are some of the things I did to it during the process.
- Removed any dirt/dust from inside: I used a small shop vacuum to remove dust from inside the enclosure. It was actually very clean inside.
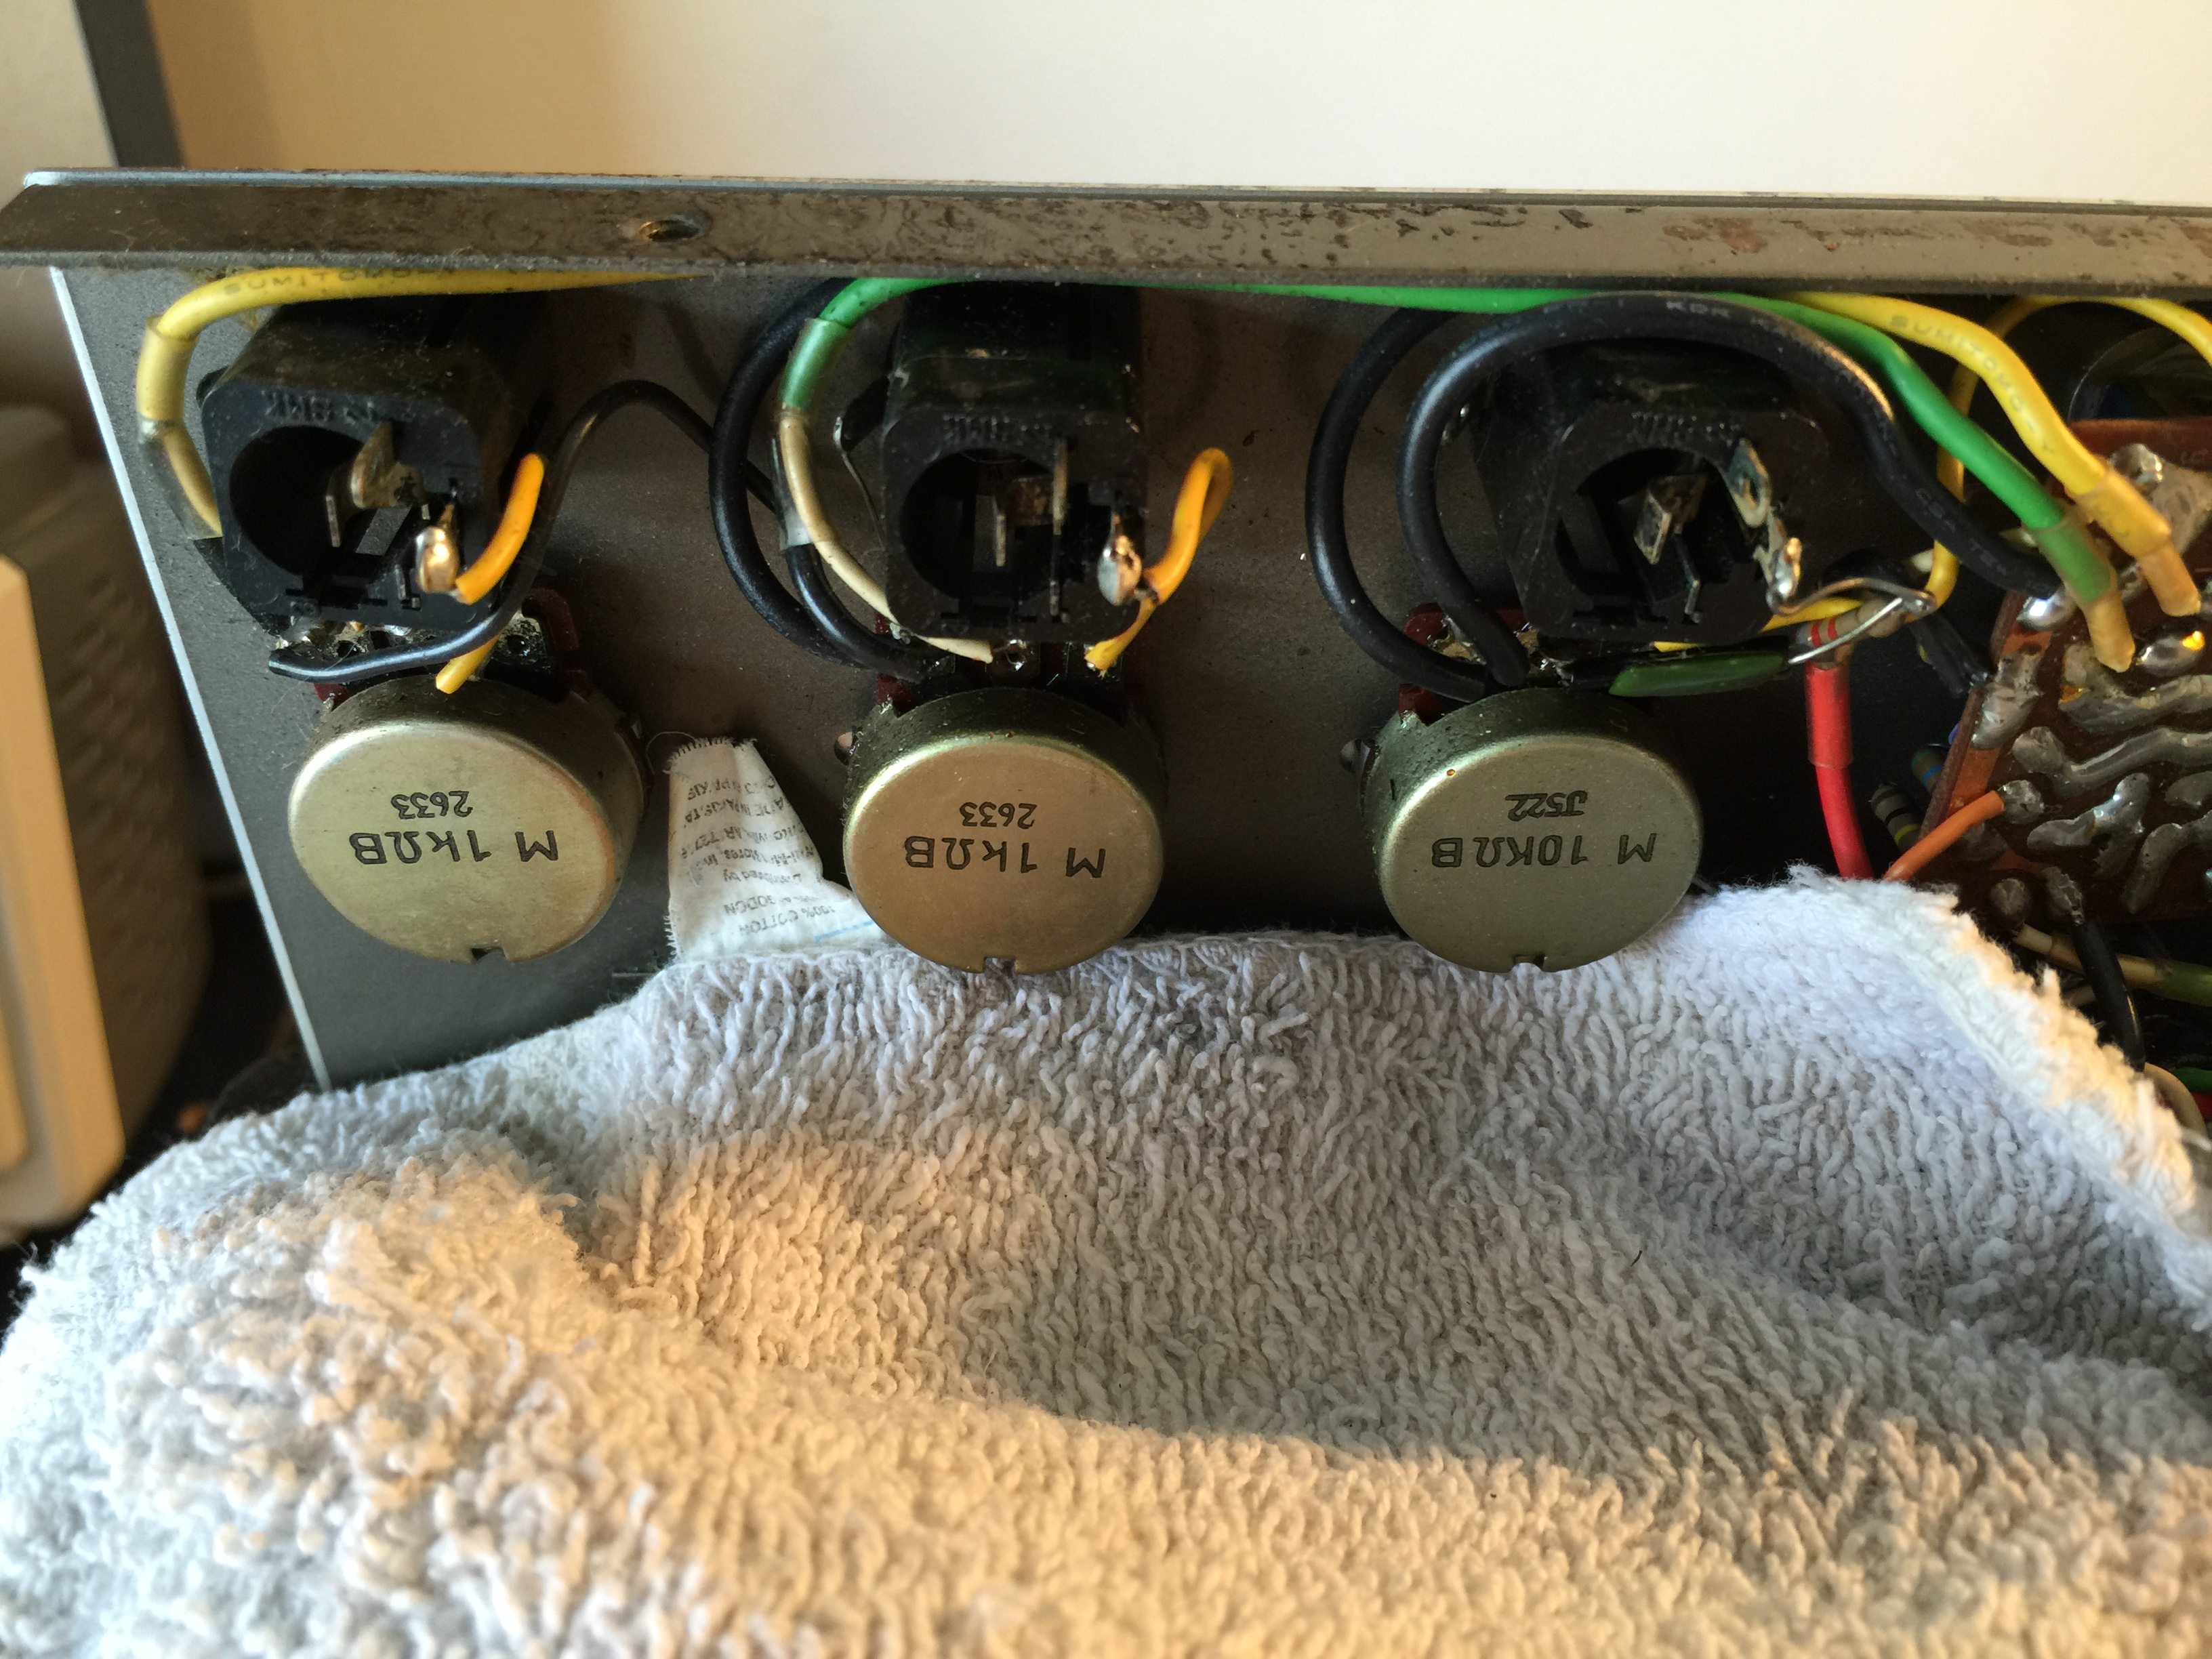
- Cleaned all pots, switches and jacks: I used DetoxIT Fader F5 for all the pots and switches and used some 1000 grit sand paper on all the jack contacts.
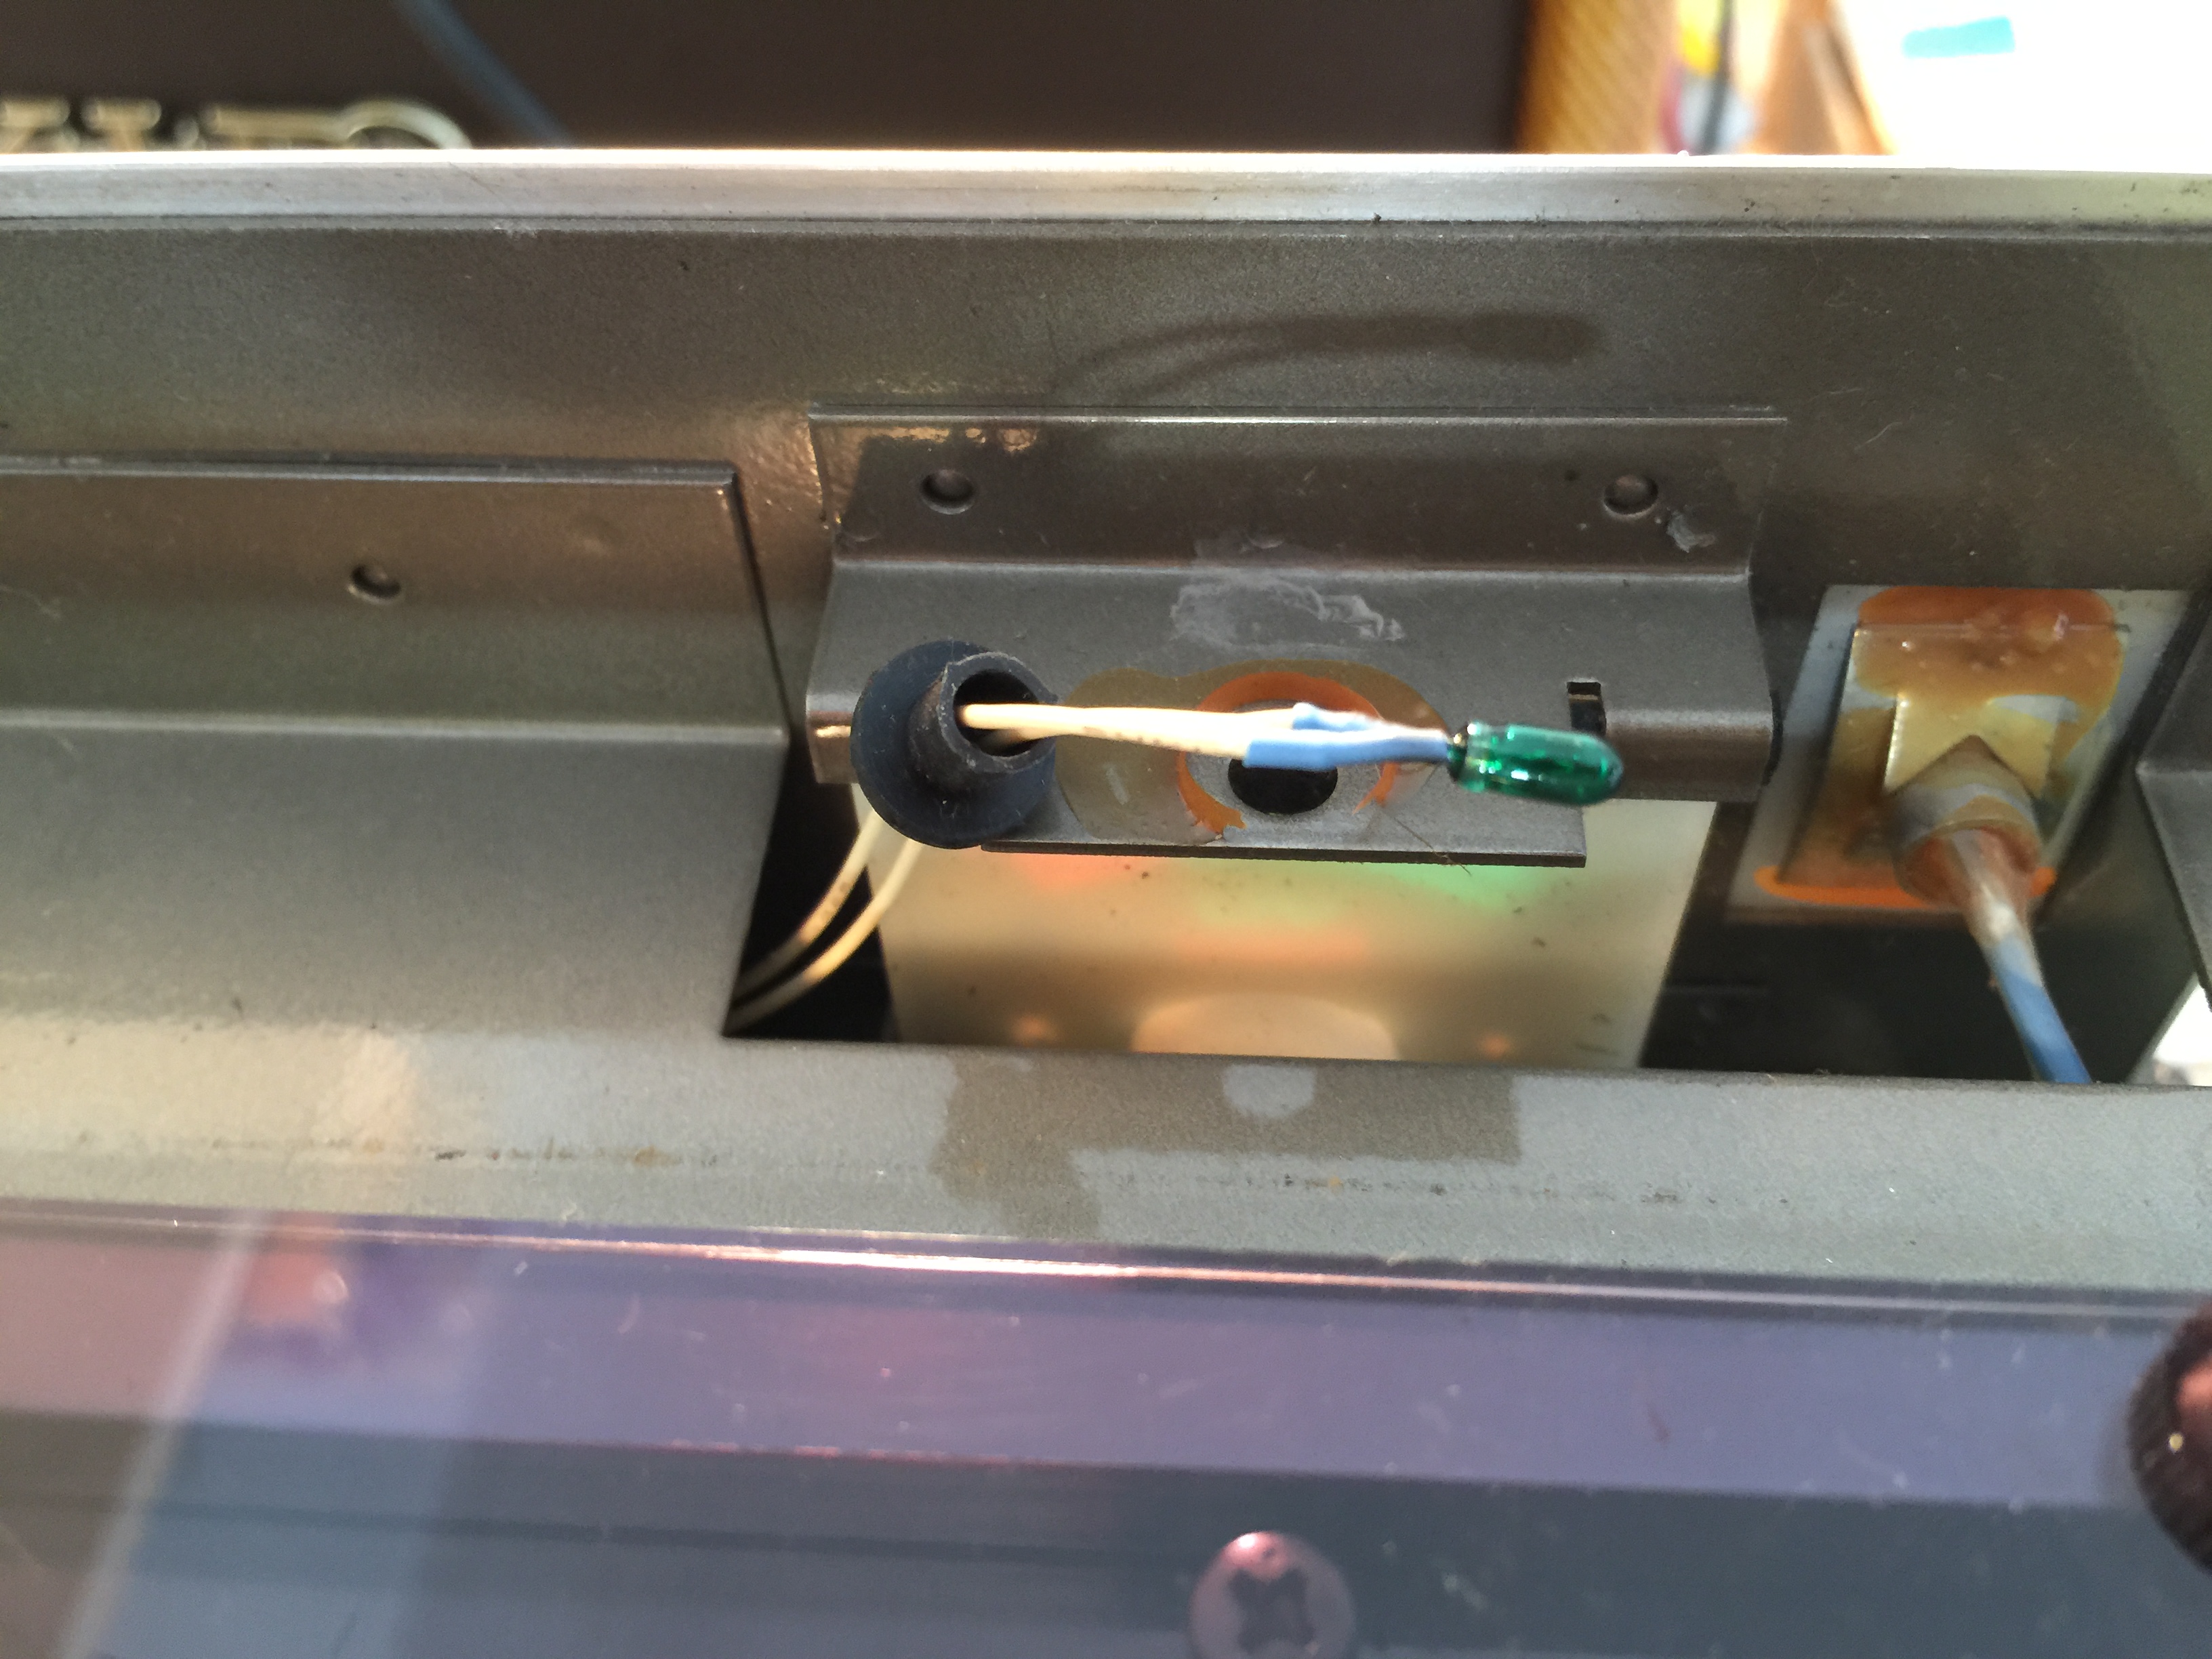
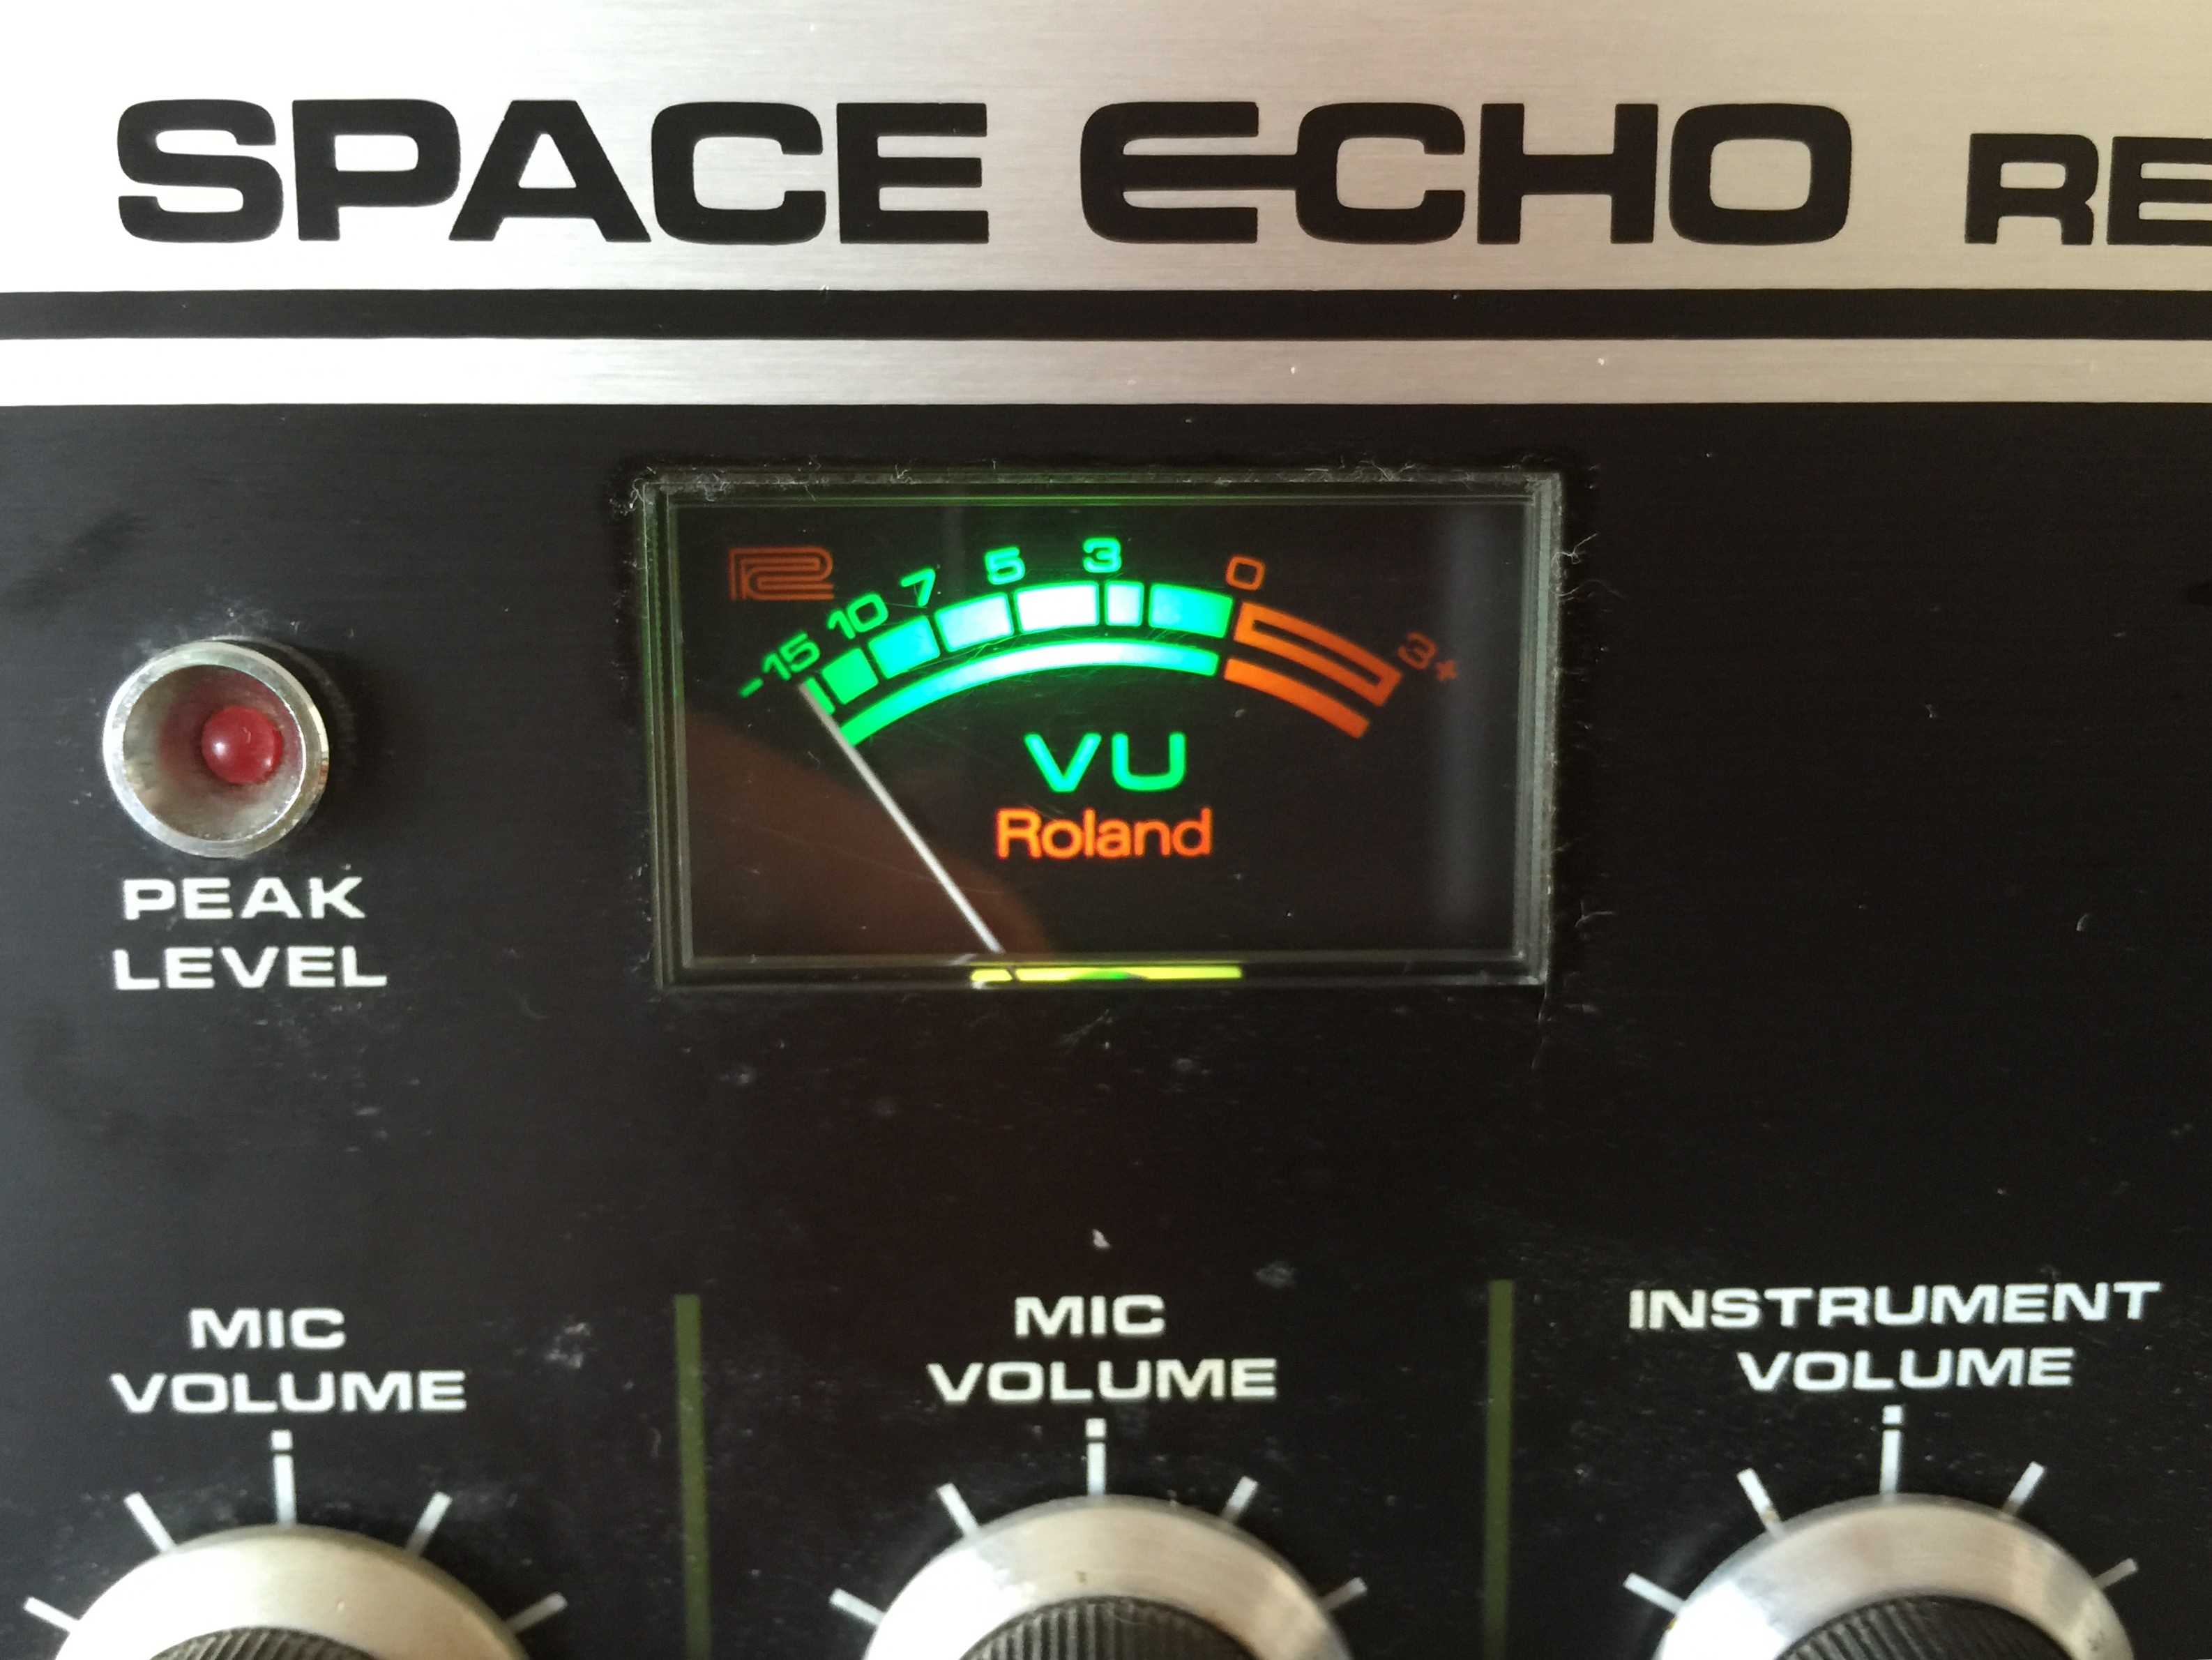
- Replace burned out VU lamp: This is pretty common over the years and is really easy to do. I had a green lamp that I soldered in and its good as new.
- Restore/Clean rubber roller: I used CaiKleen RBR Liquid to clean and restore the rubber pinch roller. Mine seems to be in good shape. No need to replace it at this point.
- Reverb tank: I cleaned and tested the RCA jacks on the reverb tank to make sure they had good continuity and were grounded properly.
- Demagnetized heads: I got to use my trusty Nakamichi DM-10 tape head demagnetizer. Always fun to use such an outdated piece of technology in this day and age.
- New tape: Topped off the servicing with a brand new 1/4″ tape loop I got from Analogman a few years back.
Whats left to do?
I would love to replace all the felt on the tape guides. I will order the felt and work on that in a few weeks.
Pictures:
FV-1 Dev Board
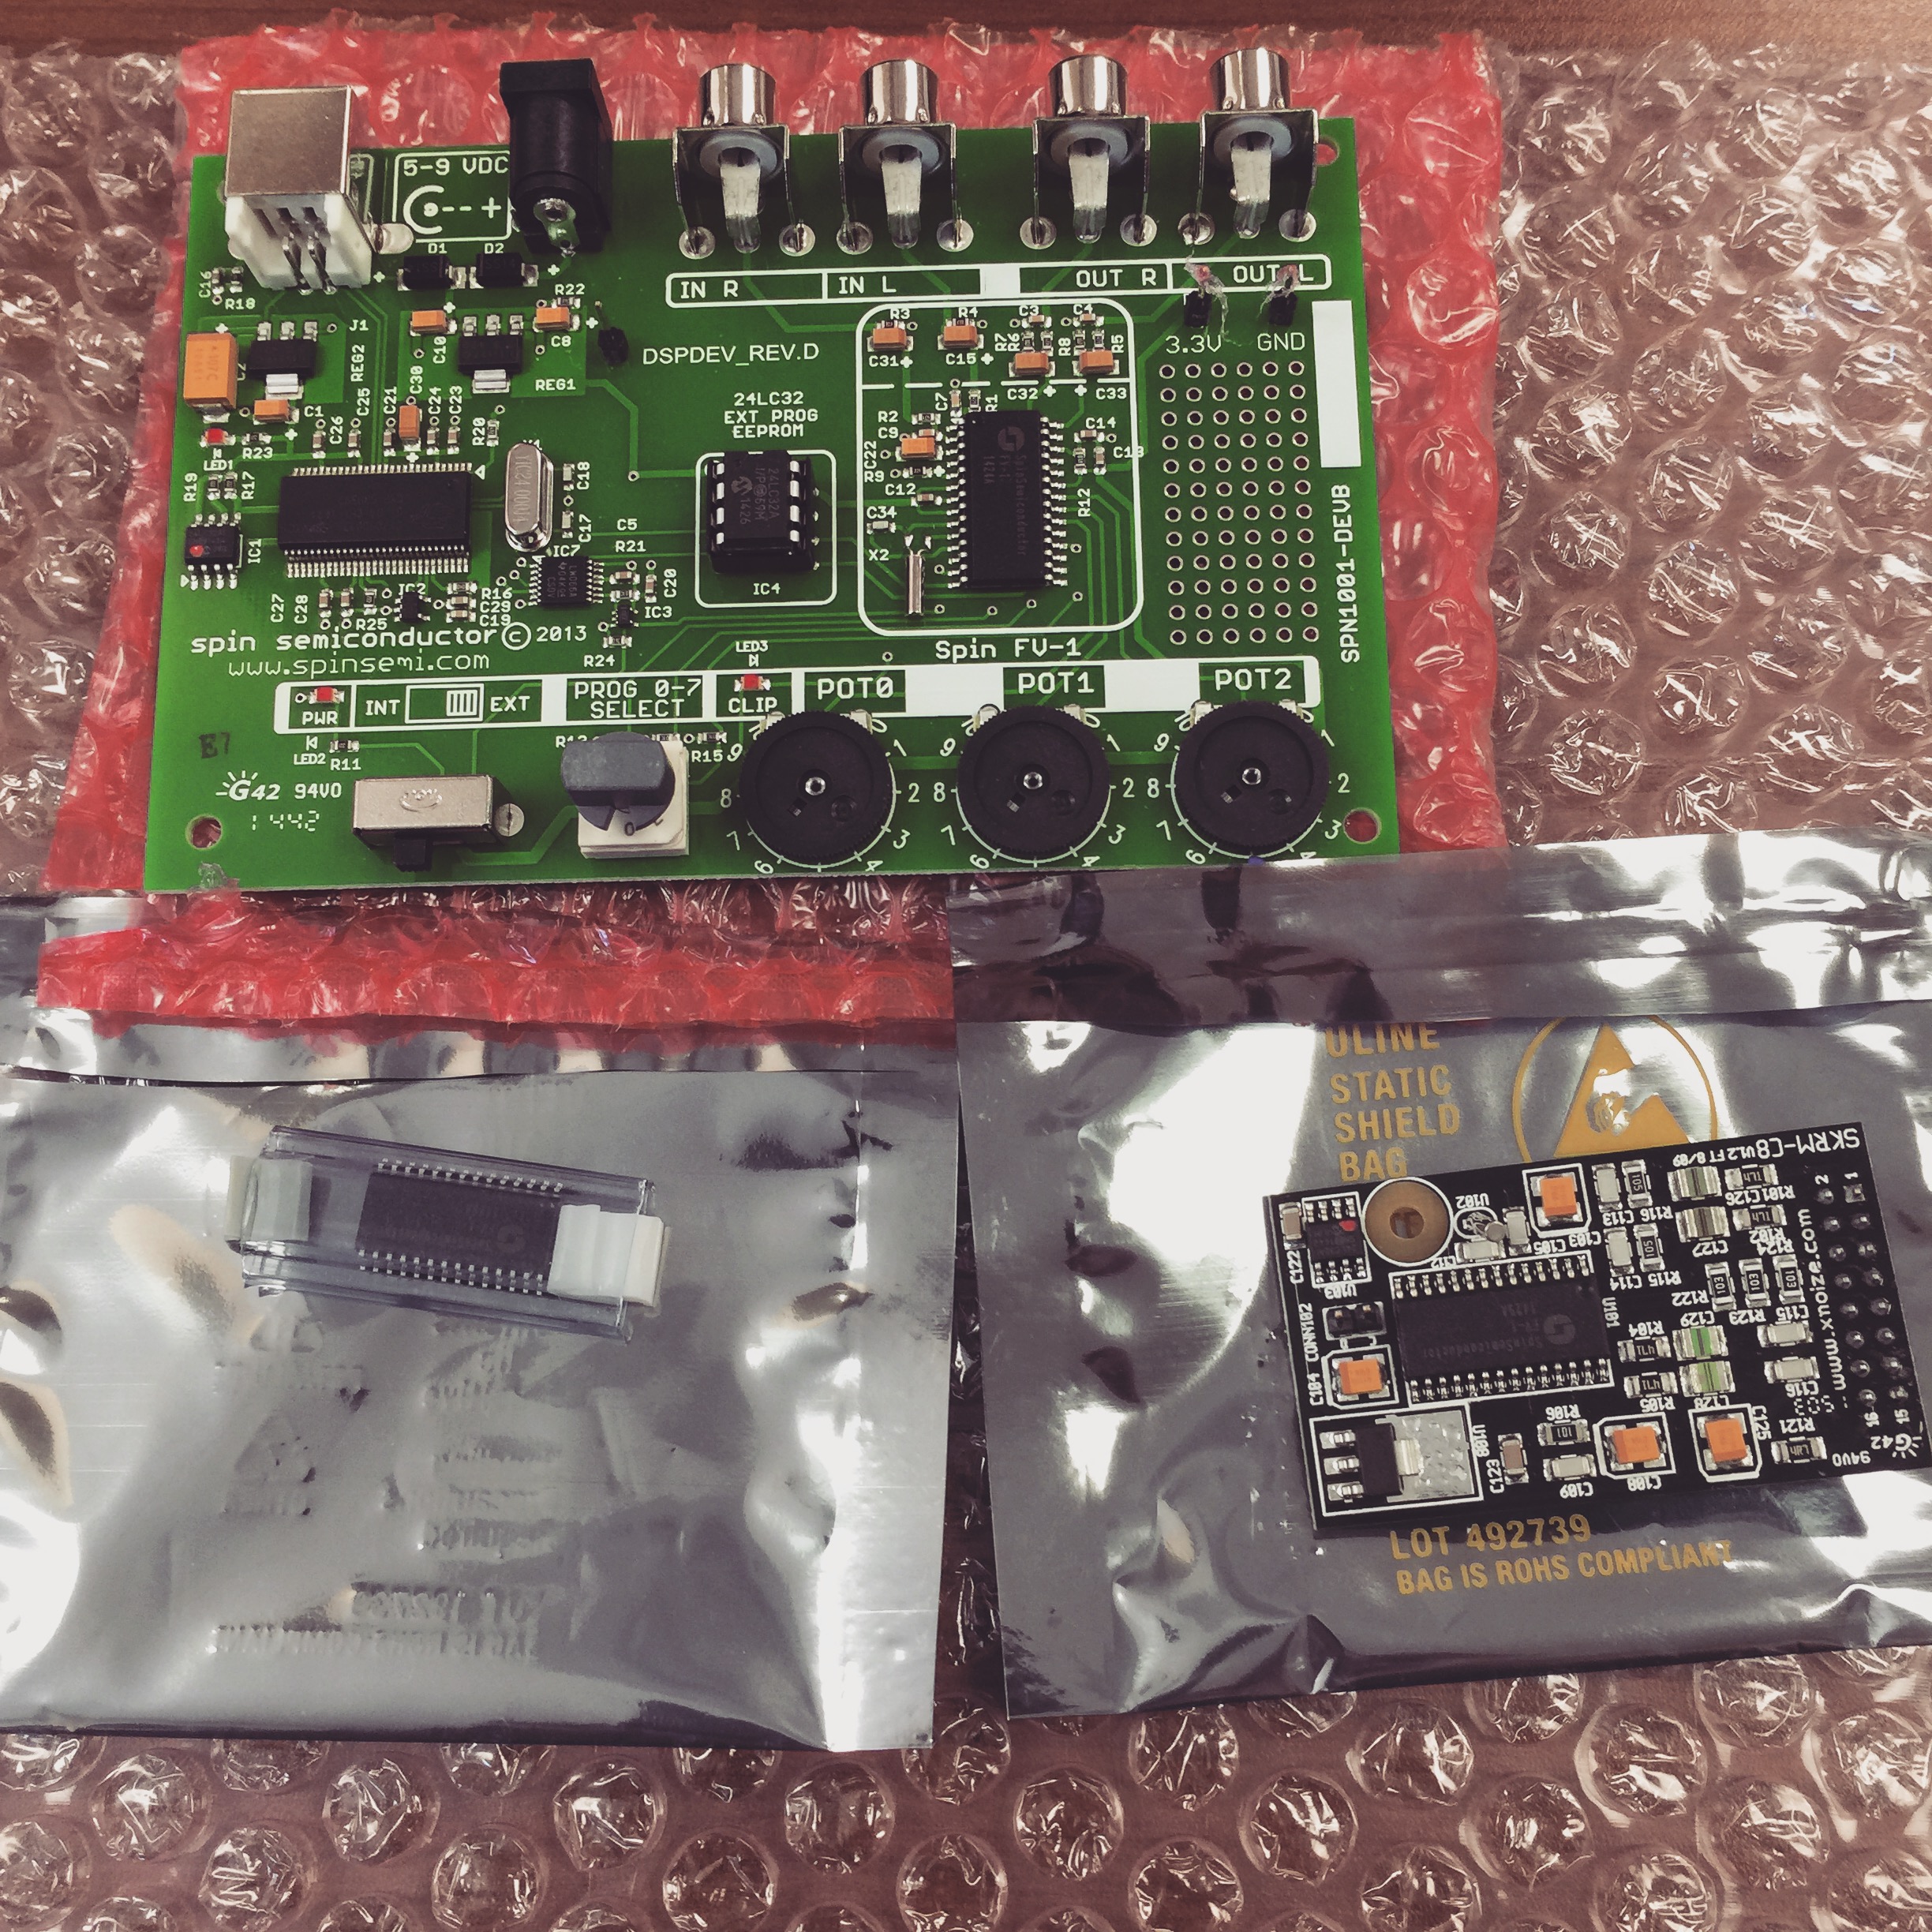
Got a couple new toys today. I have been messing with the Spin FV-1 DSP chip and SpinCAD to make some reverb/delay presets. Just scratching the surface with SpinCAD & SpinASM but its been a blast. I was currently using Ice-9’s DIY FV-1 project board that I picked up from a Madbean forum user. I have created a few programs for it and used my Pickit2 to program it but I really wanted a full blown Dev Board from Spin. I contacted Frank over at Experimental Noize and grabbed some goodies from him.
I picked up:
Spin Semiconductor FV-1
Spin Dev Board SPN1001-DEV
SKRM-C8 Module
Looks like I have plenty to play with. I will be writing more tutorials on setting up and programming these devices over the next few weeks.
TBM Switch
What the heck is a TBM switch you might ask. It’s a Timeline, Bigsky & Mobius Switch. This is a DIY version of the Strymon Multi Switch.
Strymon Firmware Update Procedure
Strymon Multi Switch Manual
TBM switch Build doc with etchable layout
Here are some photos of my proto that I verified the the layout. I tested this with my Timeline and BigSky.


