Switch Monkey

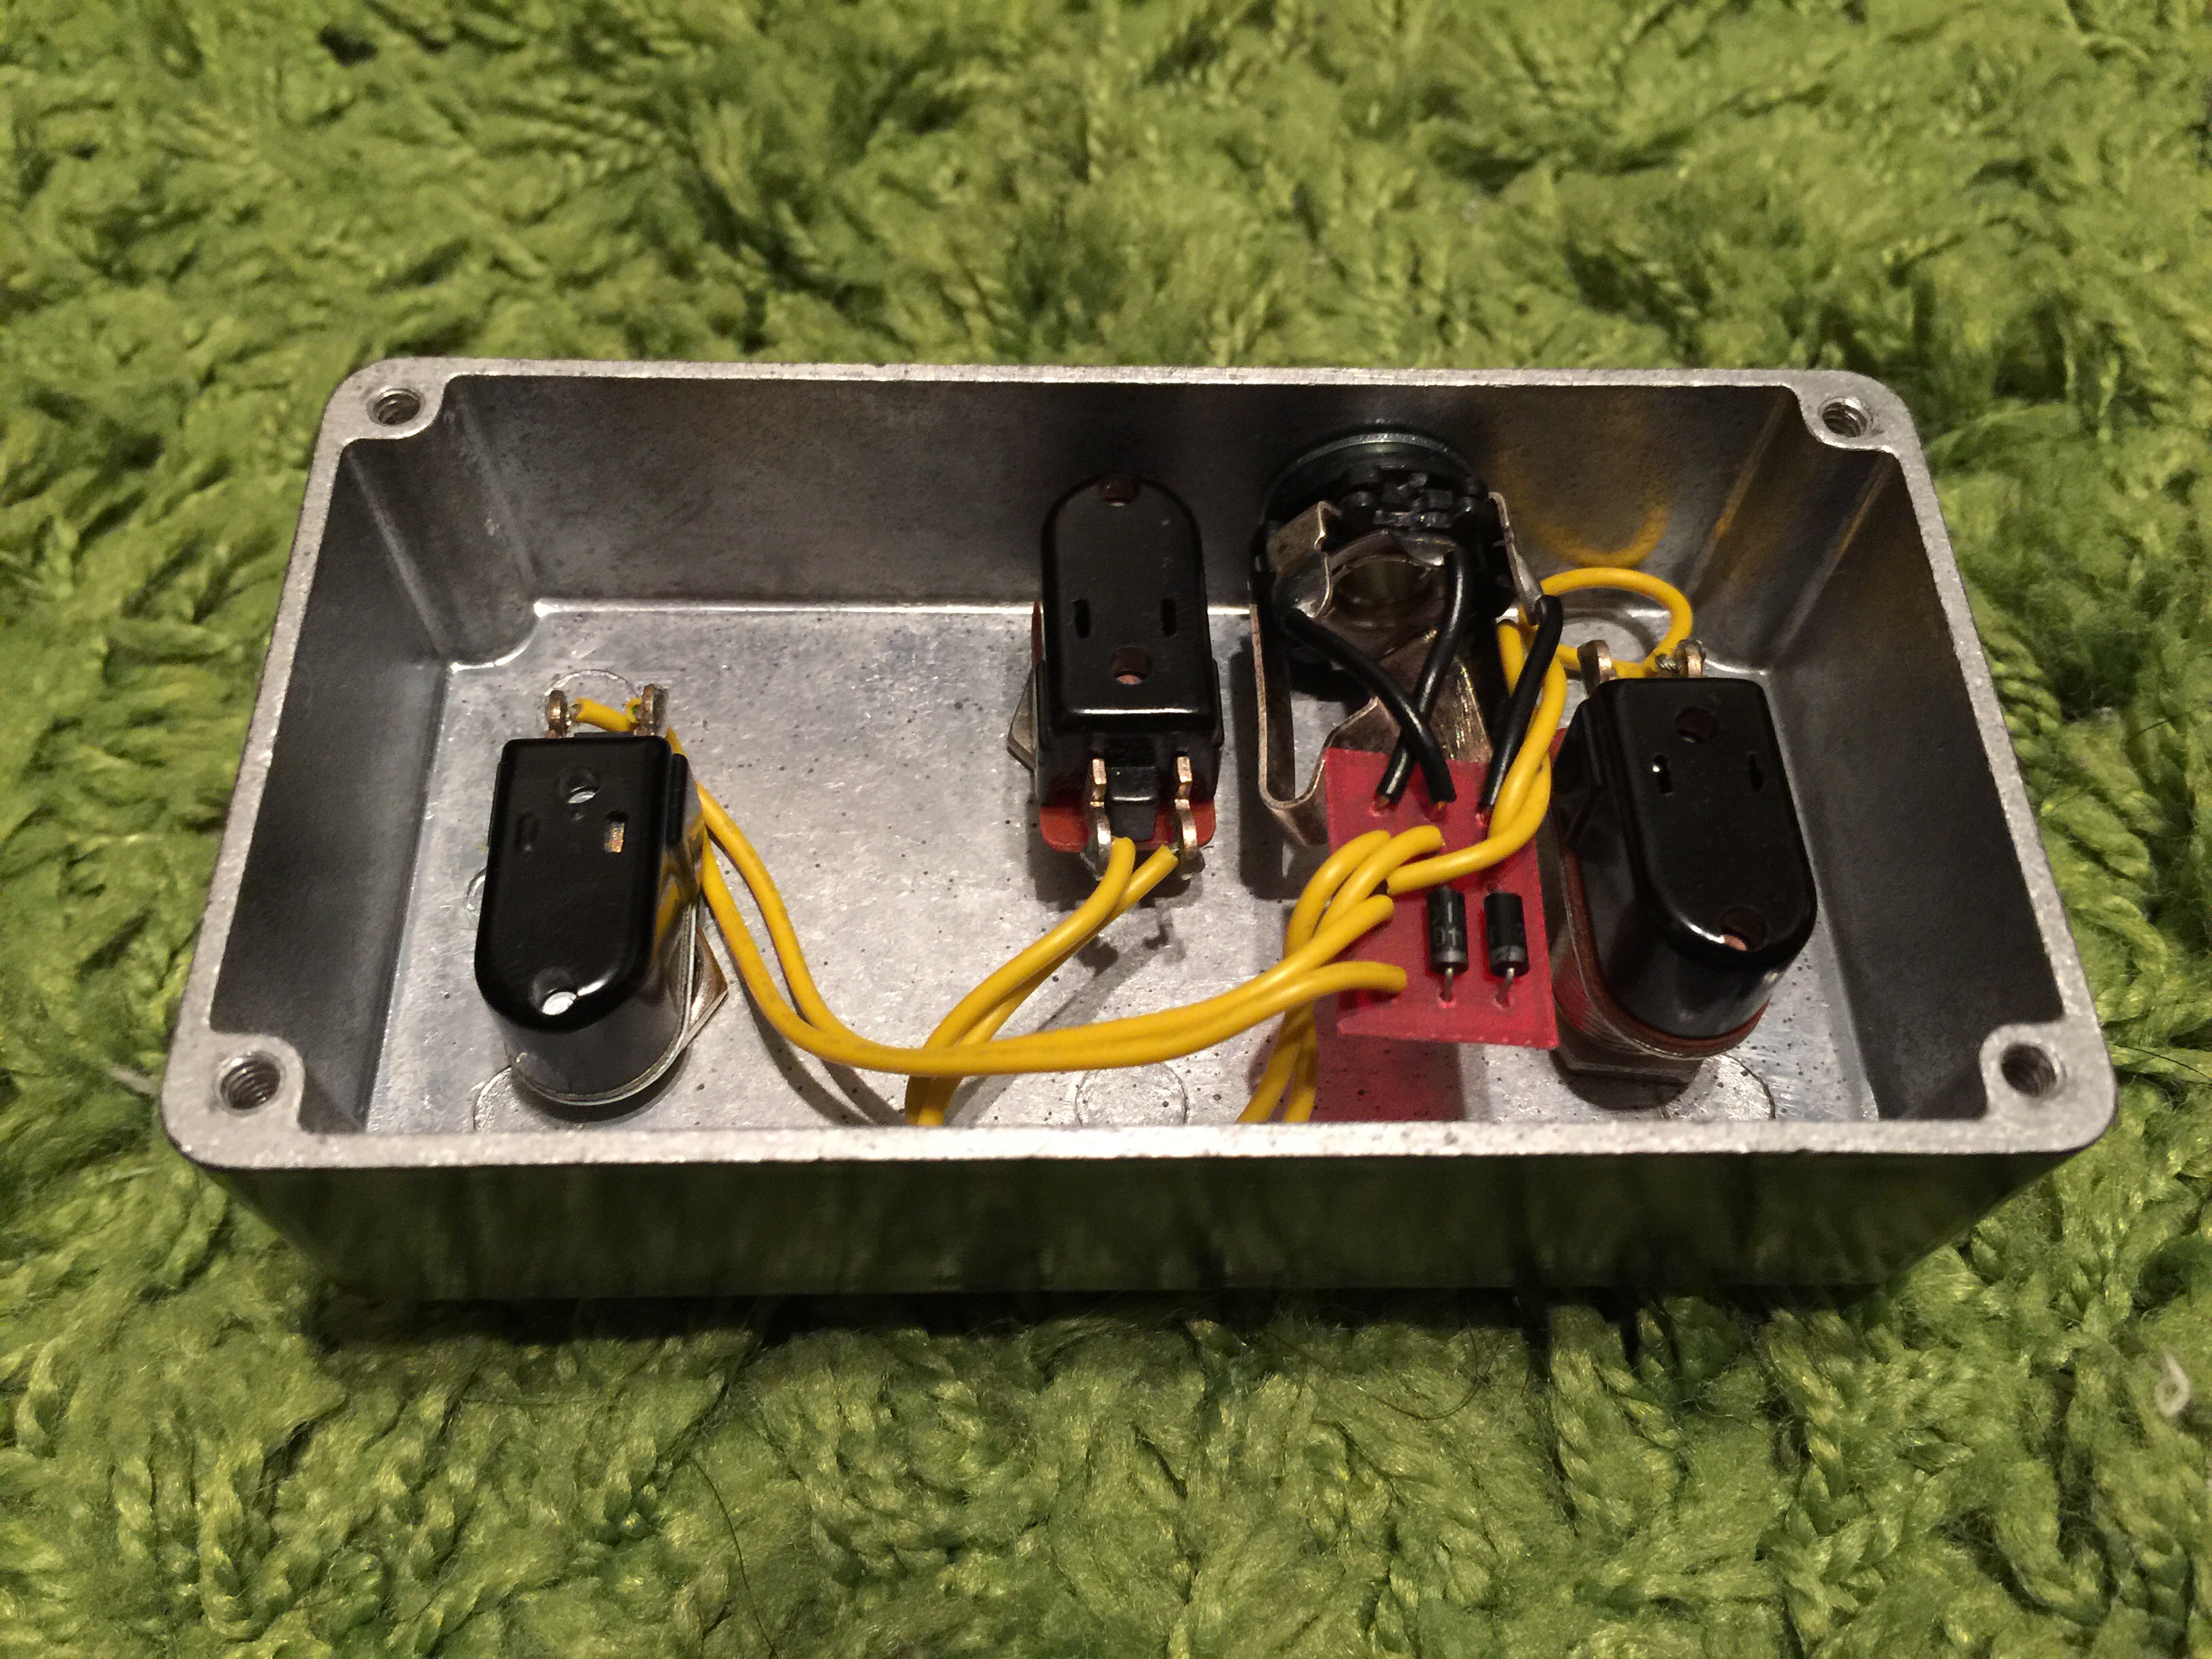
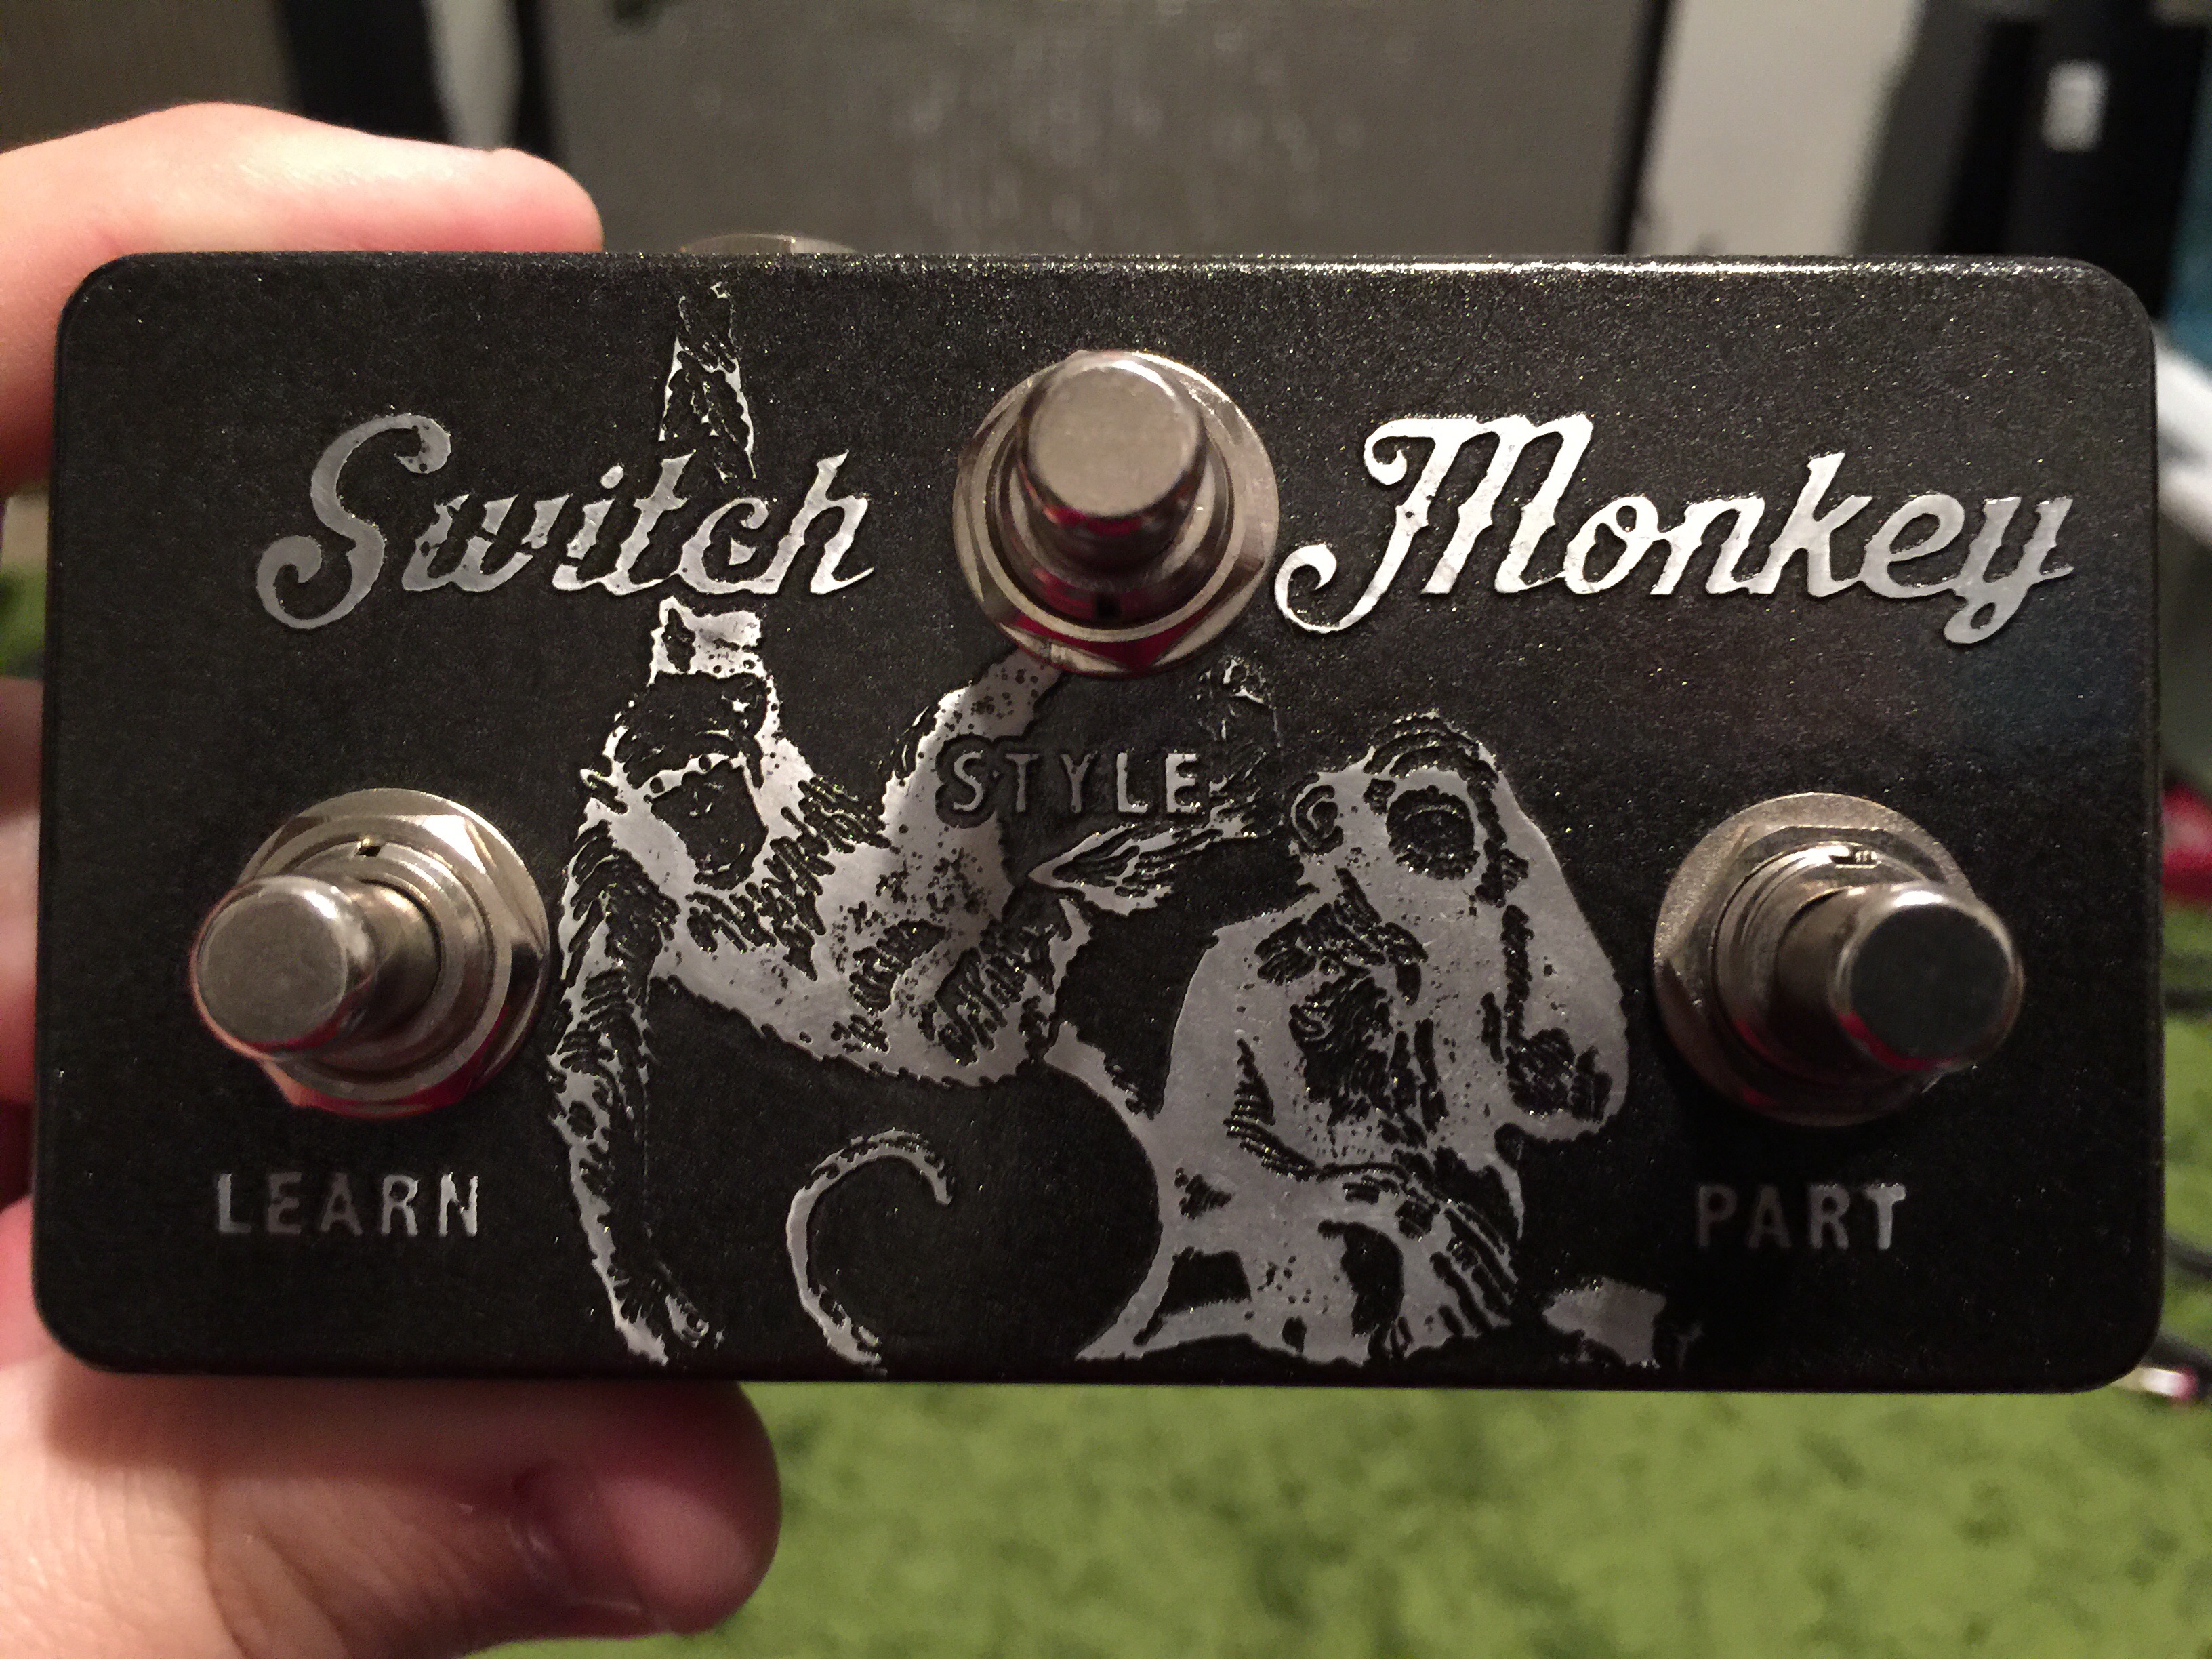
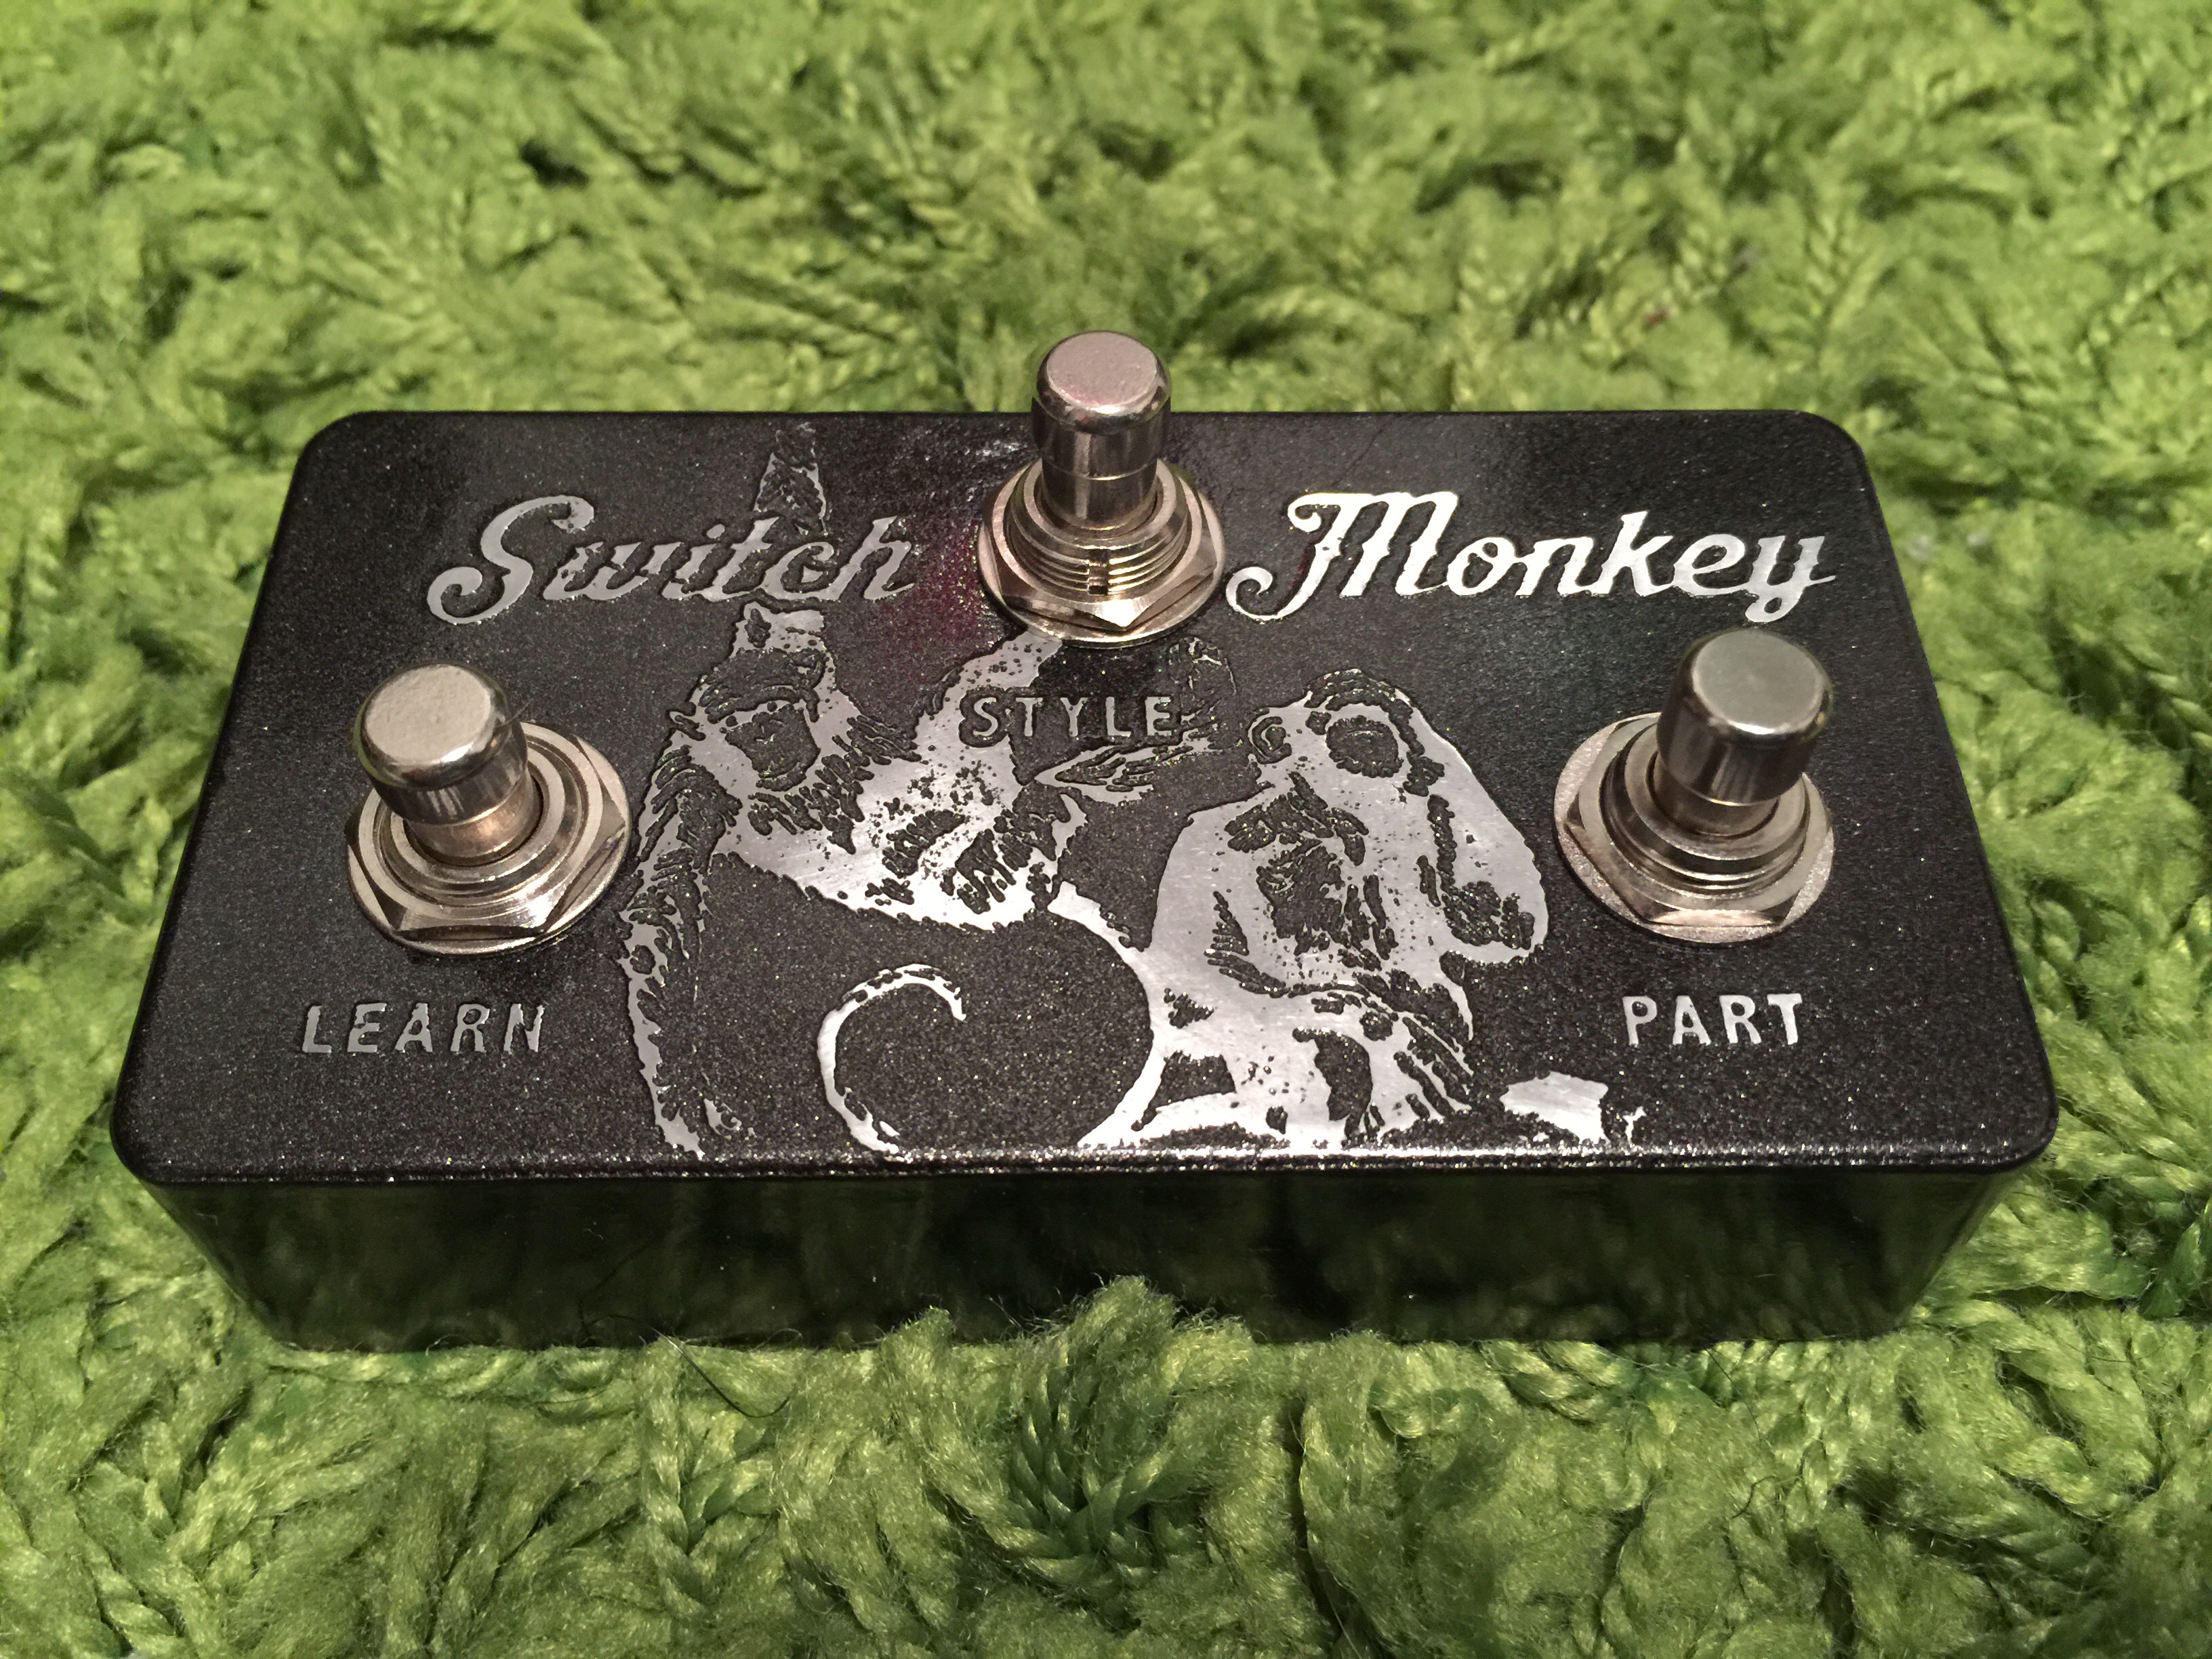
I built this for my father as he wanted something to control his Digitech Trio with. You are able to use a Digitech FS3X with it so I decided to make one for him. Nothing crazy in this build, just 2 diodes and a few switches. It fit the bill and worked perfectly. I am really happy how this etch came out and I think he liked it also.

Gut shot:

Straight on shot:

Enclosure Etch Woes

Here’s an example of a bad reverse etch. This is a perfect example of me trying to use a paint that is too thick/super glossy on a reverse etched enclosure.

What your looking at is a enclosure I reverse etched the text on and painted with a Krylon glossy yellow. I then tried to wet sand the top to expose the raised areas, the only problem is, there is no longer any raised areas. The paint filled in/up all raised areas making it impossible for me to sand away the paint to expose the aluminum.

So how do you know what paints work well for etching?

I have come to the conclusion that flat colors work the best. I am able to do a few thin layers and then oven dry it then wet sand to expose the etch. I then shoot the enclosure with a nice clear coat and call it done.


Lectric-FX Bloodstone

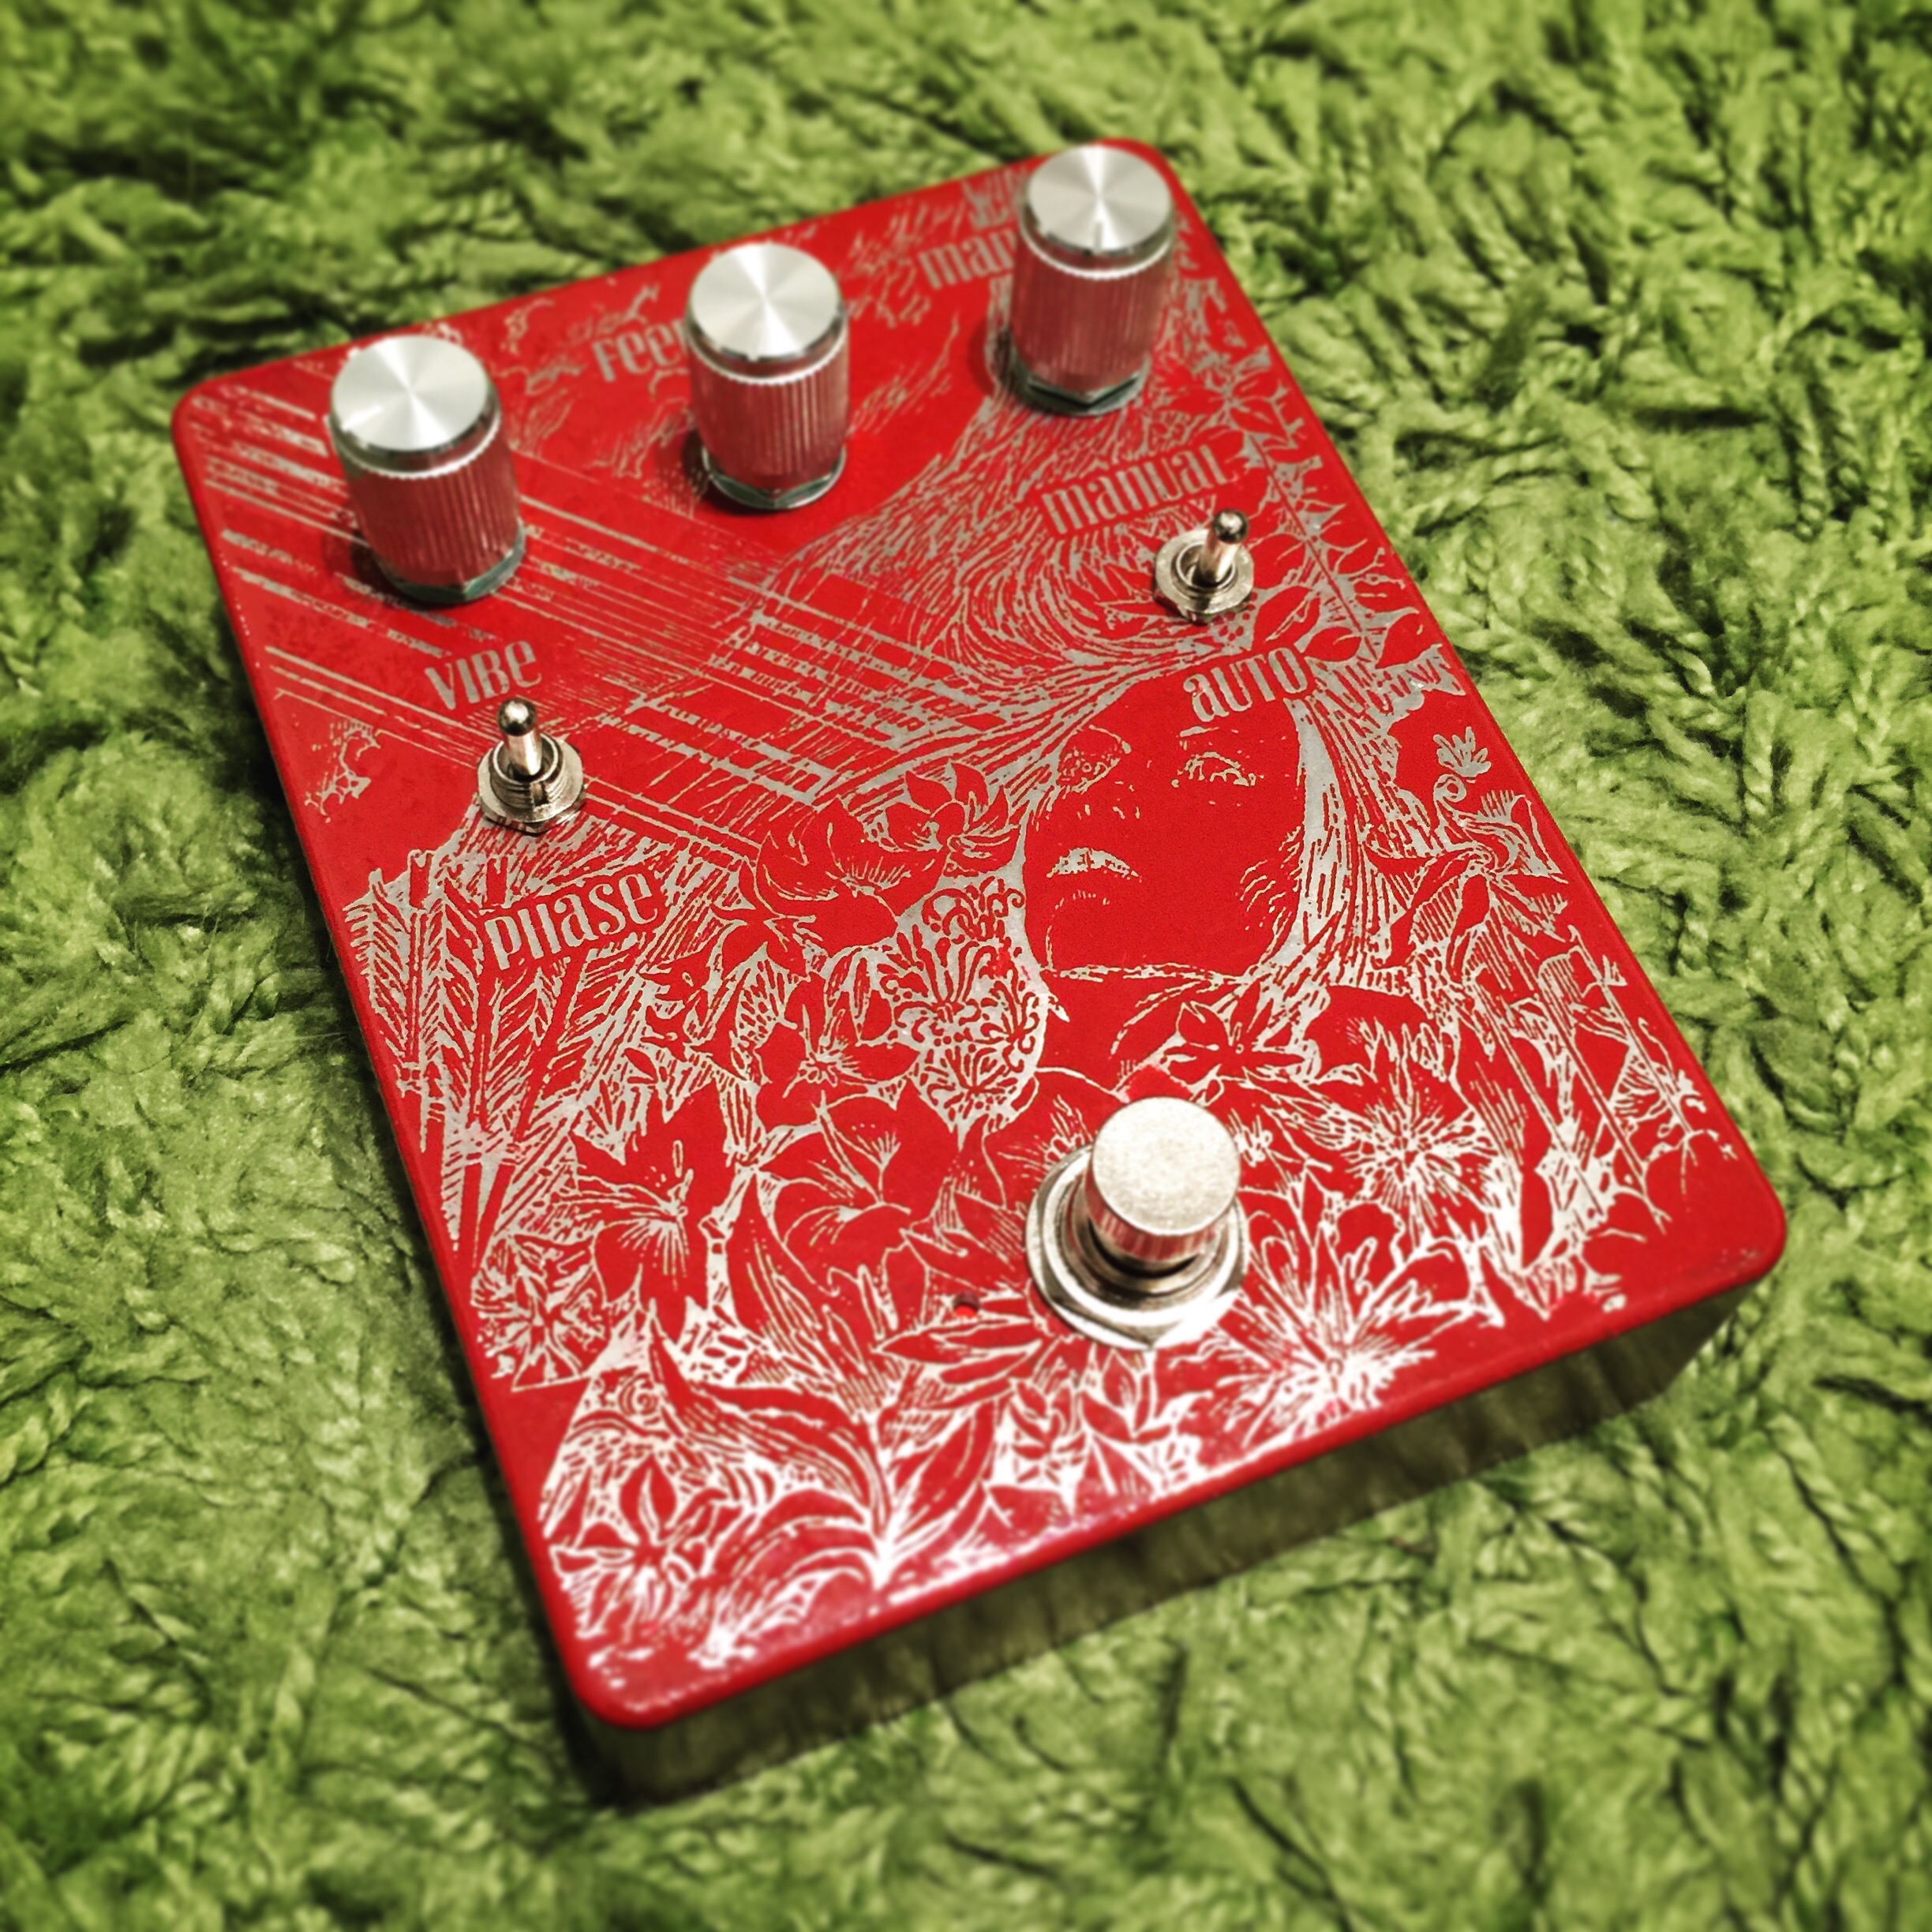
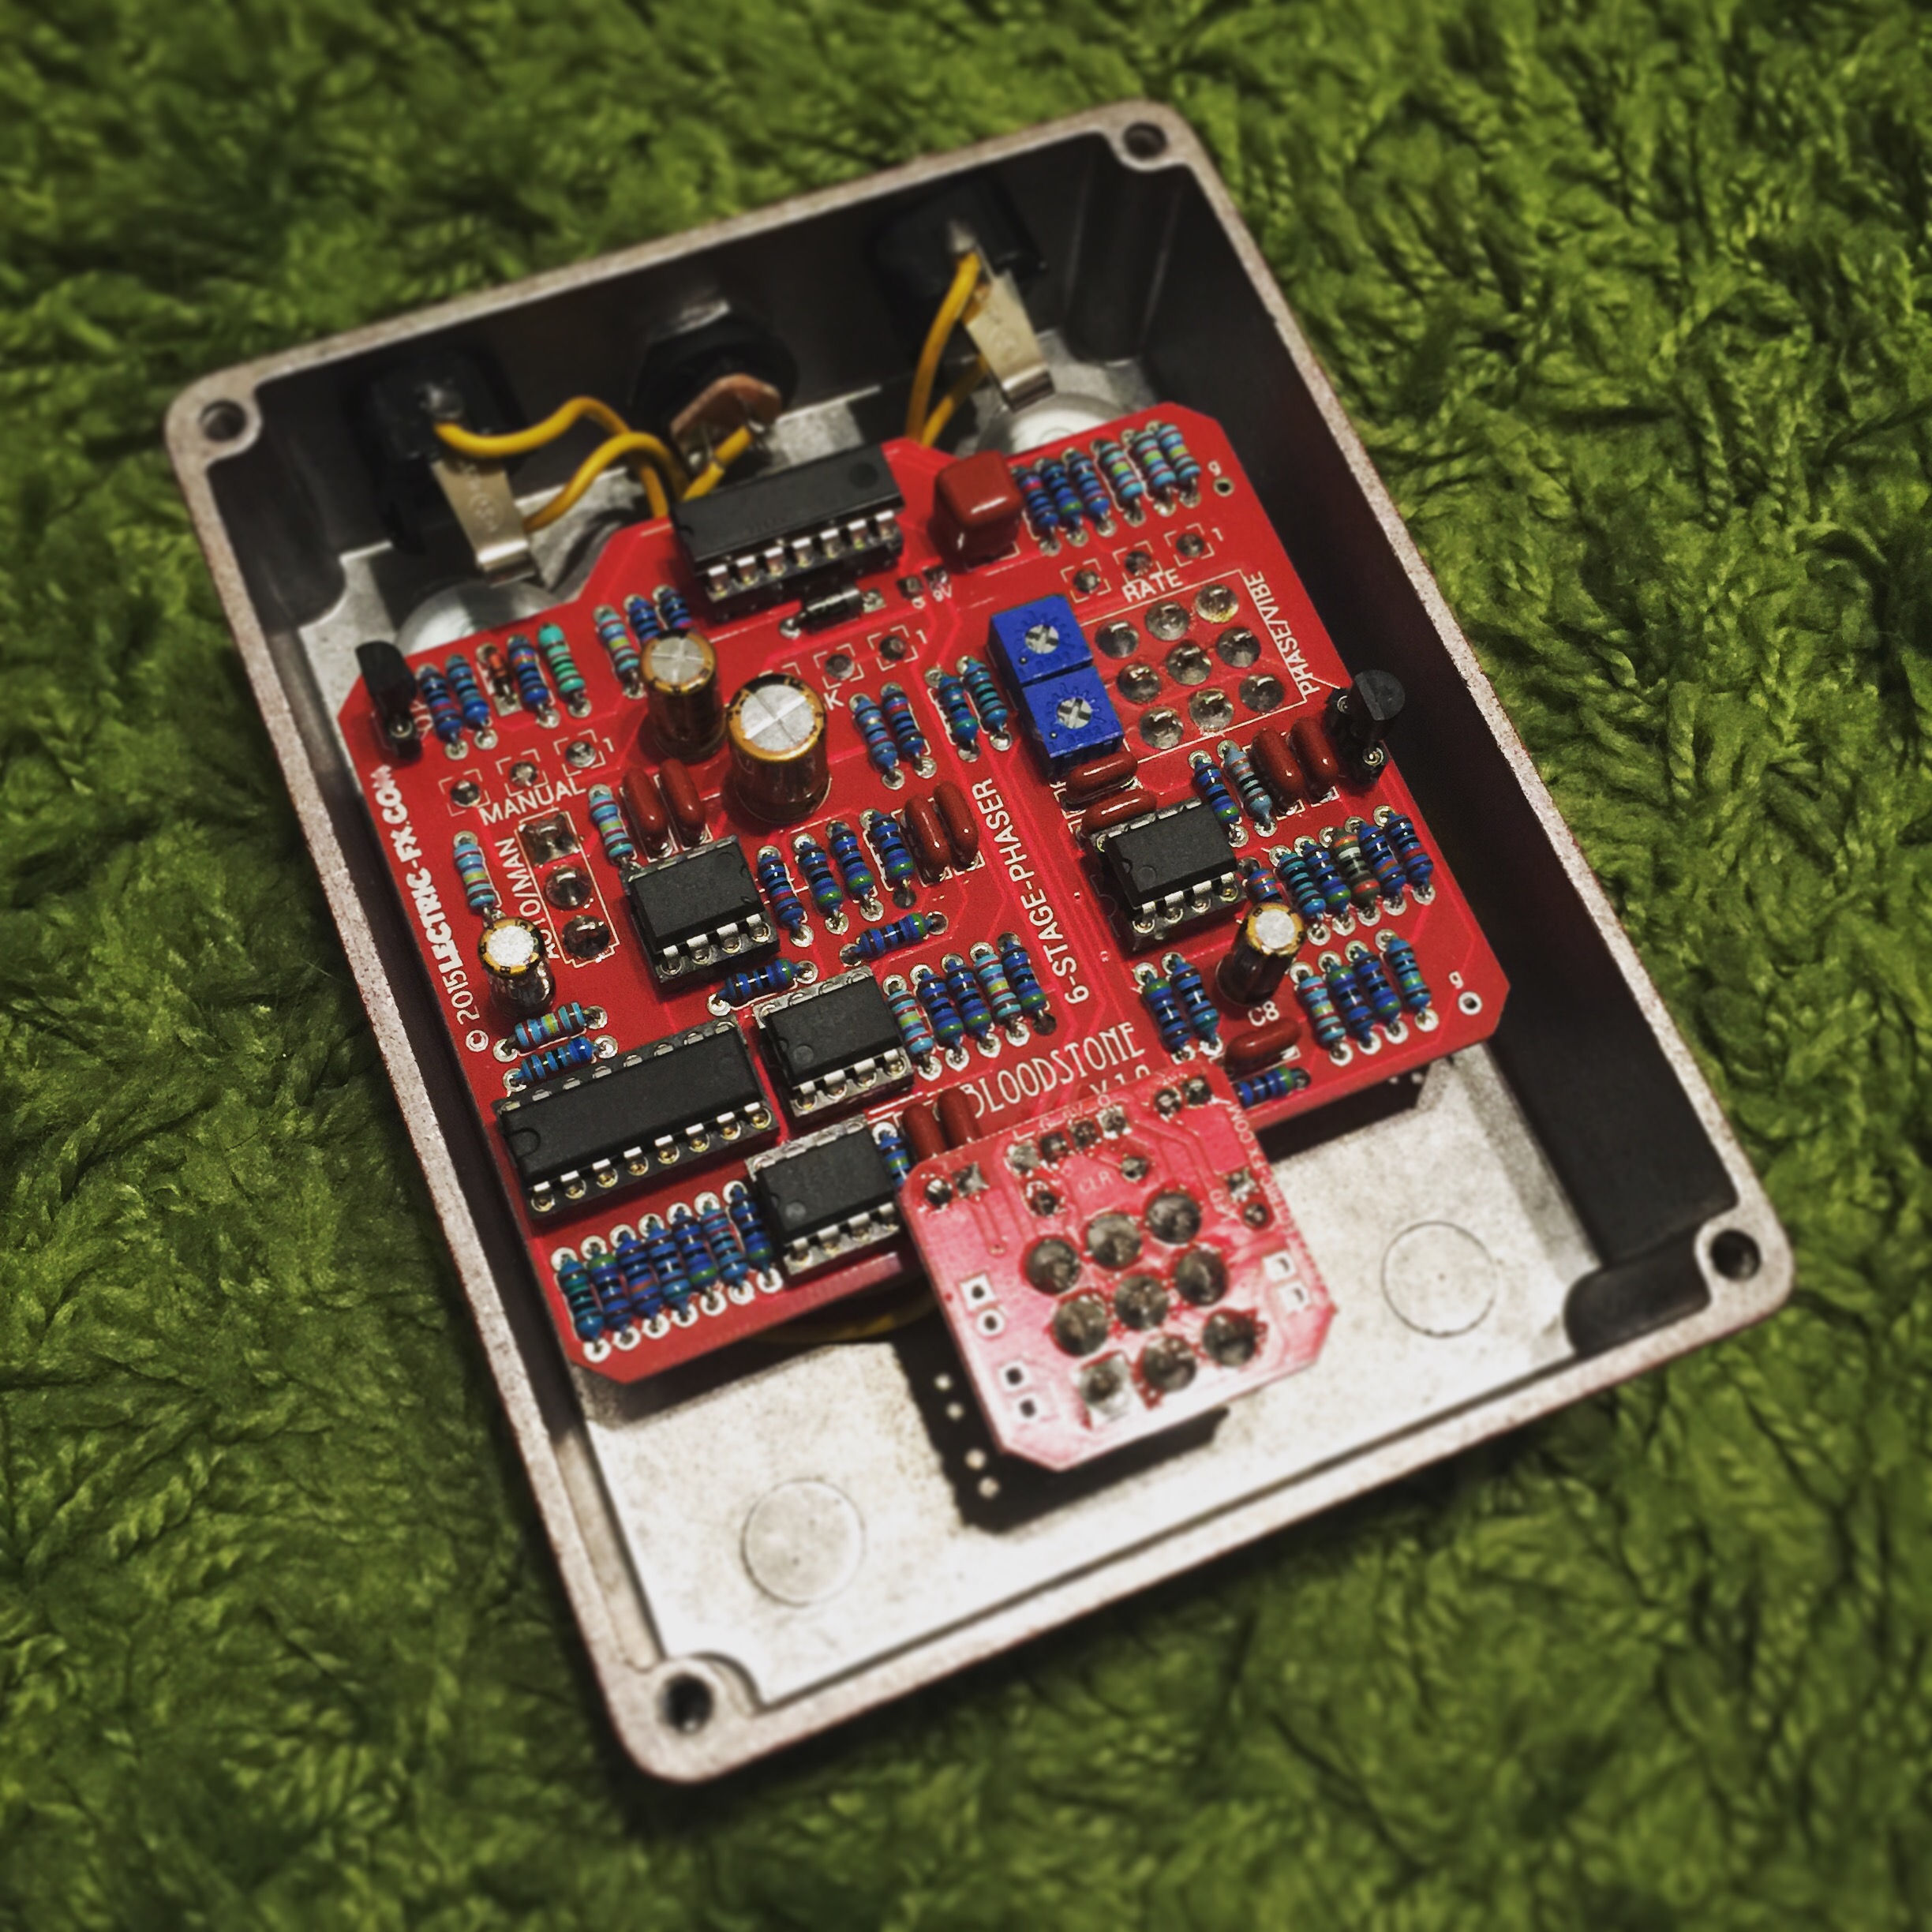
I have had this PCB populated for some time and really wanted to do something special for the artwork. I came across this artwork on Google Images and fell in love with it (Looking for the name of the artist, will update when I find it). Lectric-FX did a great job with this BadStone work alike and it sounds great. Grab a PCB here.

I did a reverse etch and went with some aluminum knobs I had laying around. Instant love affair.

Gut shot.

Headless Centaur

This is the Sunking Classic layout Madbean (Brian) did for etch only. I left off the diode switch and just used some D9E diodes I had. This is a great sounding Klone and is board worthy. This might kick my kingslayer off my board.

I did a reverse etch of some art I found online of a headless centaur and thought it was perfect for this project.

Gut shot

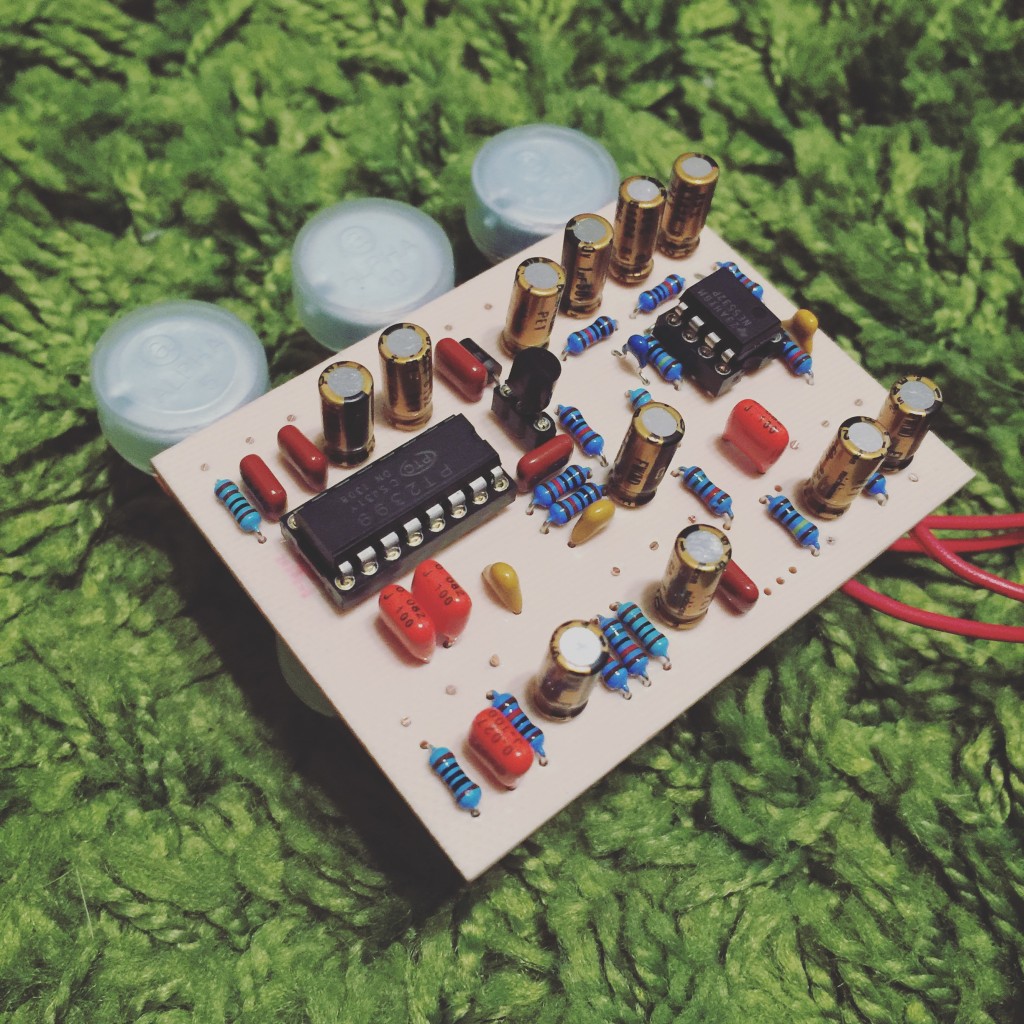
Casper Electronics EchoBender

Dminner on Madbean Forums asked if I could get one of these together for him in trade for a enclosure designed by him. His enclosure look awesome and I would love to get one on my board so of course I was on board with this idea. I used effectslayouts PCB that was unverified as of now and decided to give it a go.

EchoBender

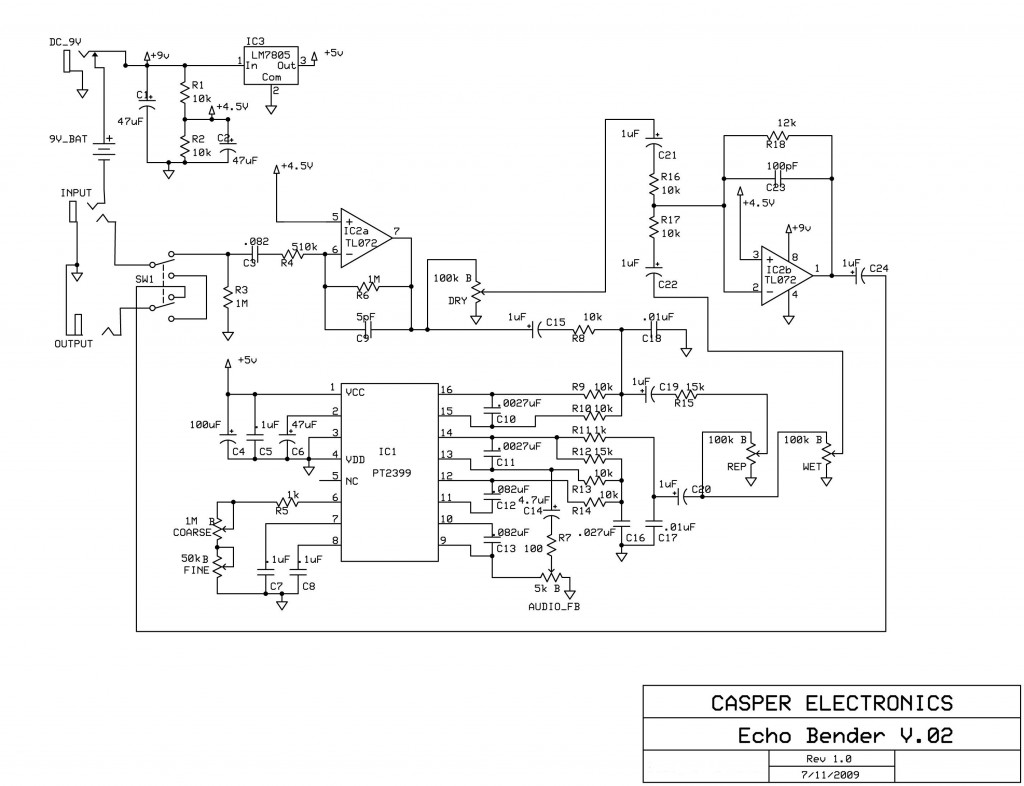
After looking at the layout and looking at a revised schematic that Casper Electronics posted:

echobenderrev02

There a few subtle changes.

  • C1 has been assigned a value of 47uF instead of 100uF ( Im sure this really does not matter since its just power filtering)
  • R19 has been removed. This is a 4k7 resistor off of pin 3 of the TL072
  • The 330k resistor at pin 5 of the op amp has been removed.
  • Feedback pot needs legs 2 & 3 swapped.

So far this thing sounds crazy, insane, intriguing all at once.

Swamp Nuts

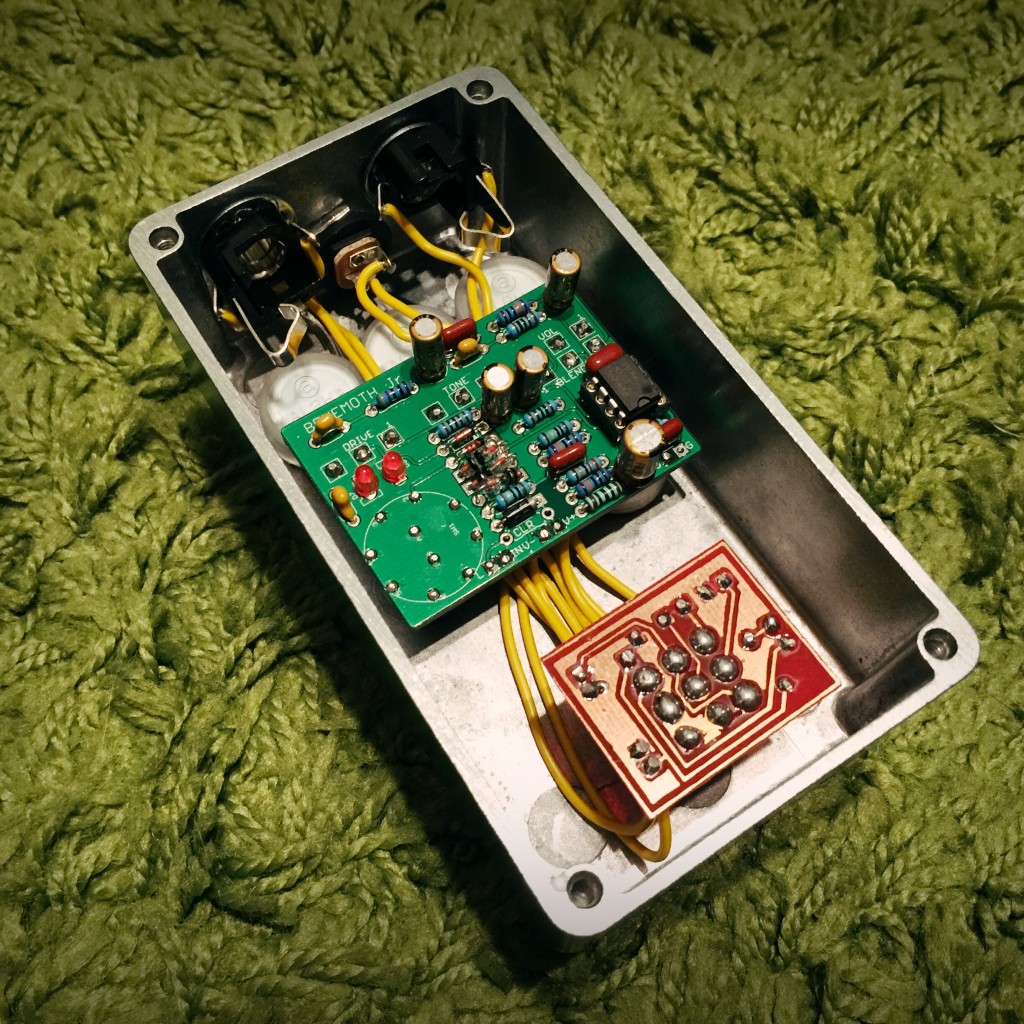
This is a D*A*M Ezekiel work-a-like built on a Tinnitus Behemoth Jr. PCB. I built for my uncle as he wanted some dirt for his bass and I thought this would fit the bill.


Image-2 (2)

Image-1 (2)

Deep Blue Delay

This is another layout by David over at effectslayouts of the Mad Professor Deep Blue Delay work-a-like. This is one of my favorite “simple” delays out there. Its got 2 basic controls and a mix knob. This circuit does a great job working with the PT2399 delay IC and keeps the noise down to a minimum. I built this for a multi build I am making and really happy with how it came out.

Rat Proto Build

This is a proto from David over at effectslayouts blog. I was needing a Rat for a multi build I am working on and it was perfect timing for him to ask me to build it. Whats cool about this Rat layout is that it supports 4 different Rats (Rat, Rat2, Turbo Rat & You Dirty Rat). I went with the classic original Rat for this build.

Here is 2 of the Rats etched and ready to go.

I could not decide on what clipping I wanted to use so I went with all of them. I used a mini 2p4t switch and just used one half of it for the clipping selector. This switches between pairs of 1N914, 1N4148, 3mm Red LEDs & 1N34a in a symmetrical configuration.
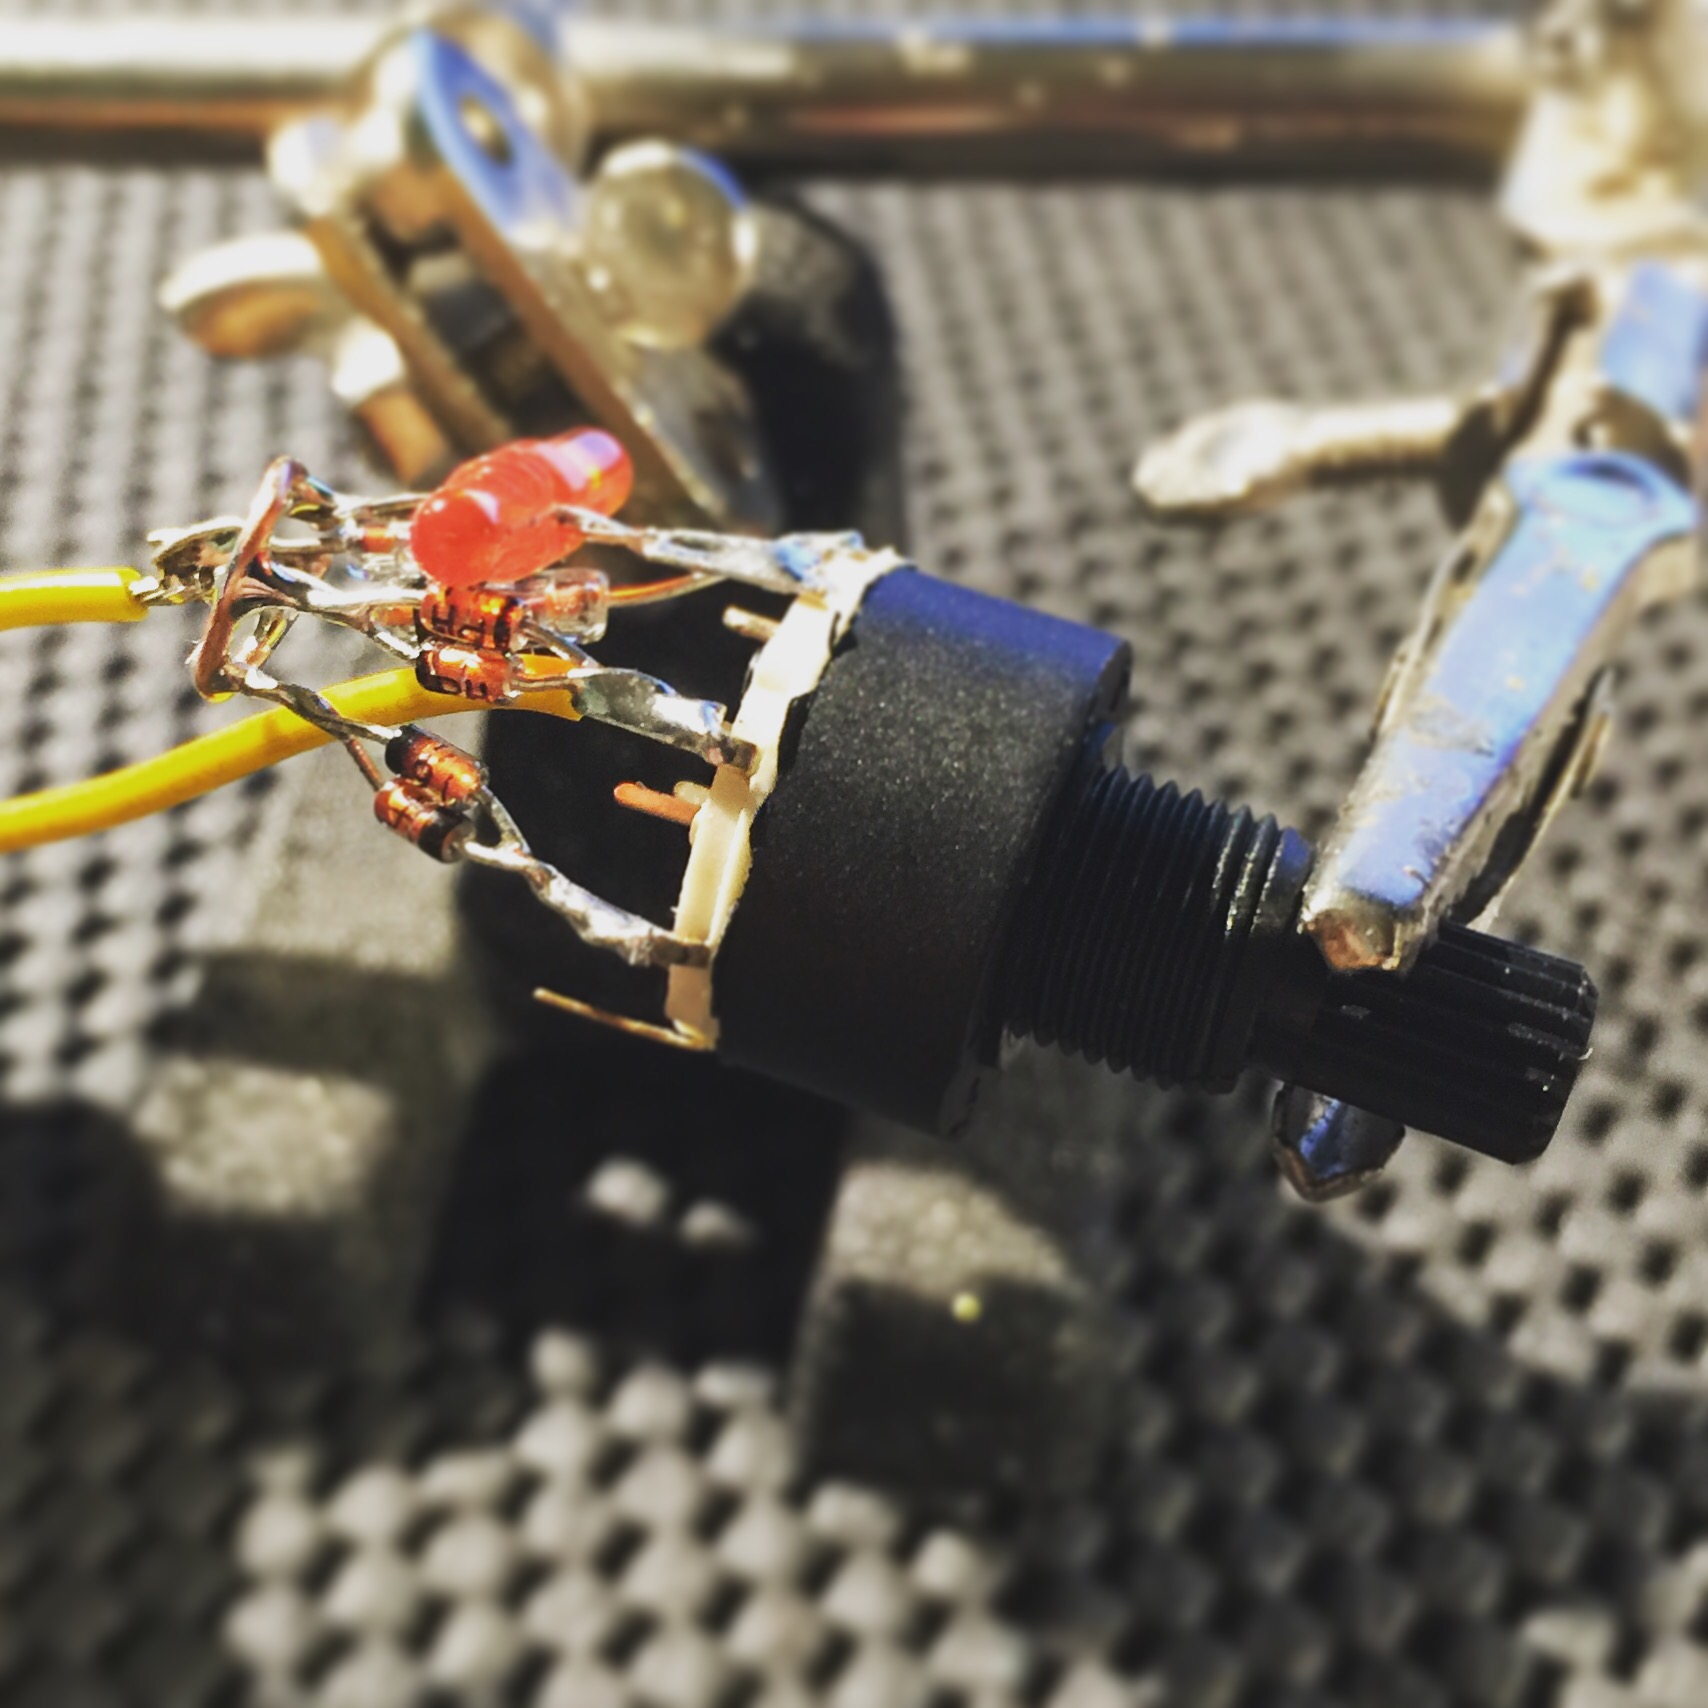
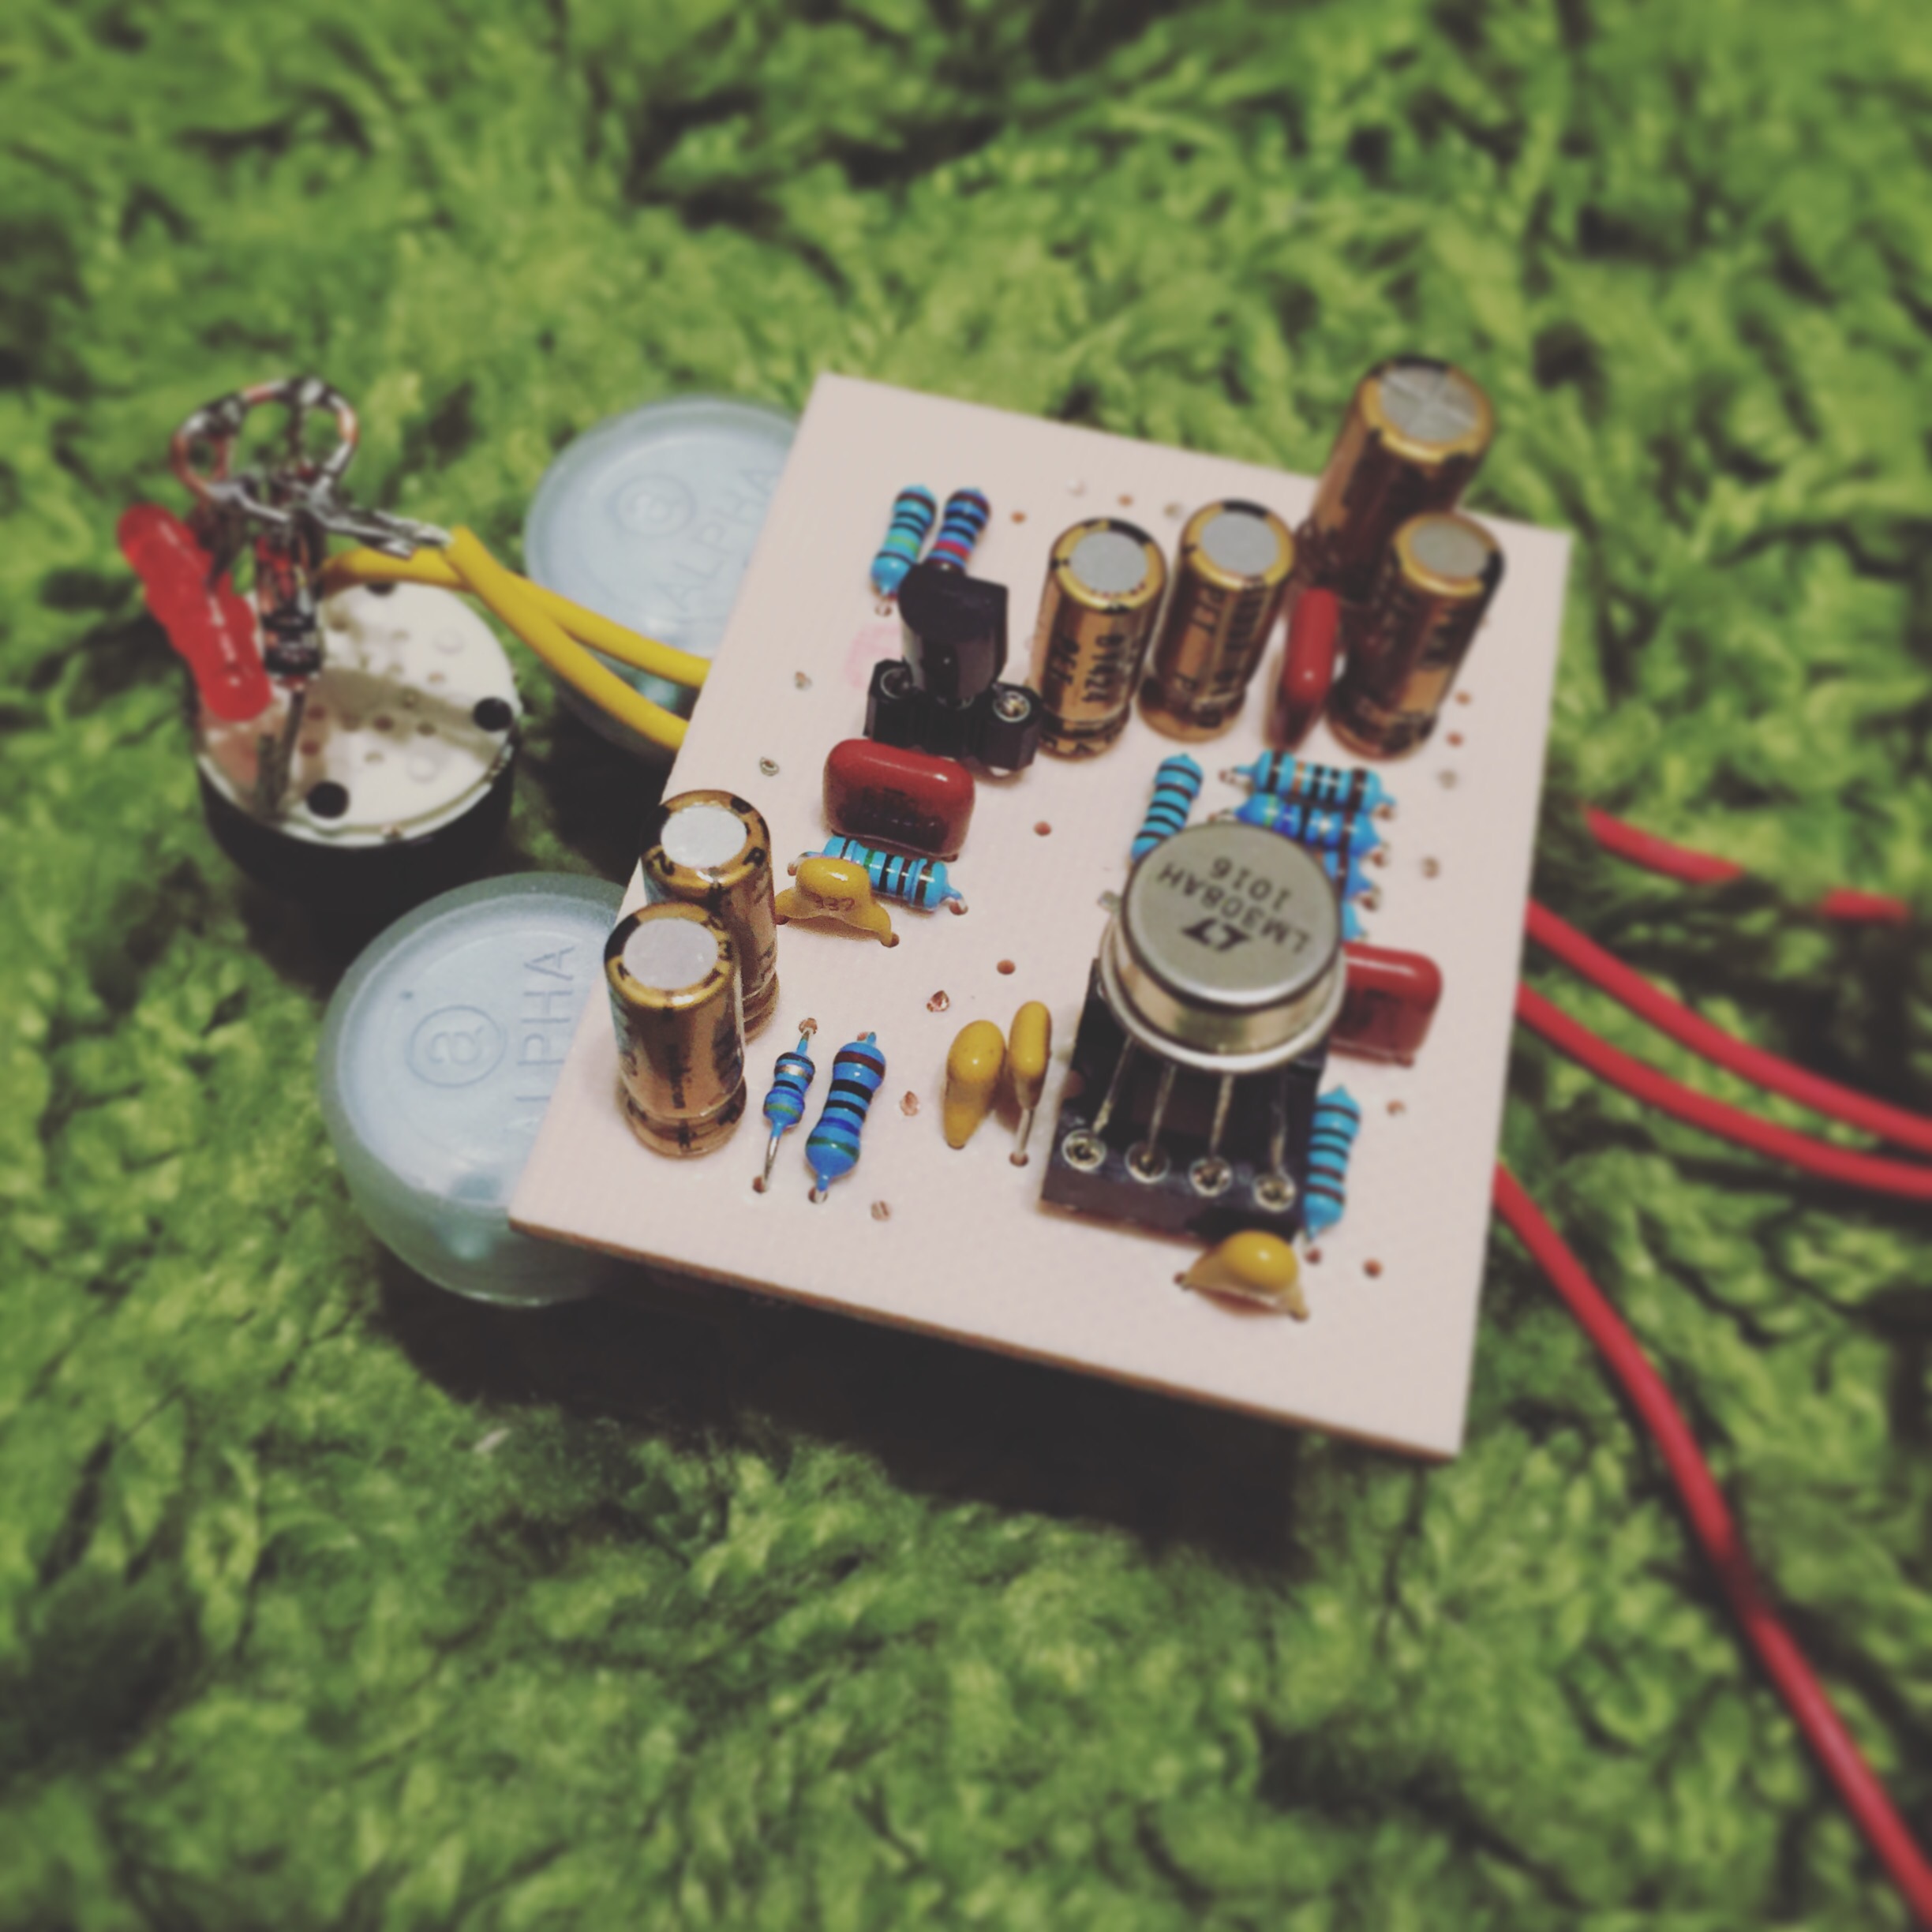
I went with a LM308AM IC in a cool metal can… why? cause I had them on hand.  In this picture you can see the little copper halo I made for the clipping switch. It looks like a mess but it works great. I still need to trim the legs on the IC before it’s mounted in an enclosure.
Katzenkonig work alike verified


Tonight I was able to verify this Catalinbread Katzenkonig work alike layout by Stroyboardist.

Howard from Catalinbread said this on Madbean Forums about the transistors:

they’re not 2222s… I’m using something in the 300-400 range though.

So for something in the 300-400 Hfe range I went with 2N3904’s that were matched around 380 Hfe for all 4 transistors.

This thing sounds great. Time to get it boxed up.