Category: Tools

Mutable Instruments Module Tester

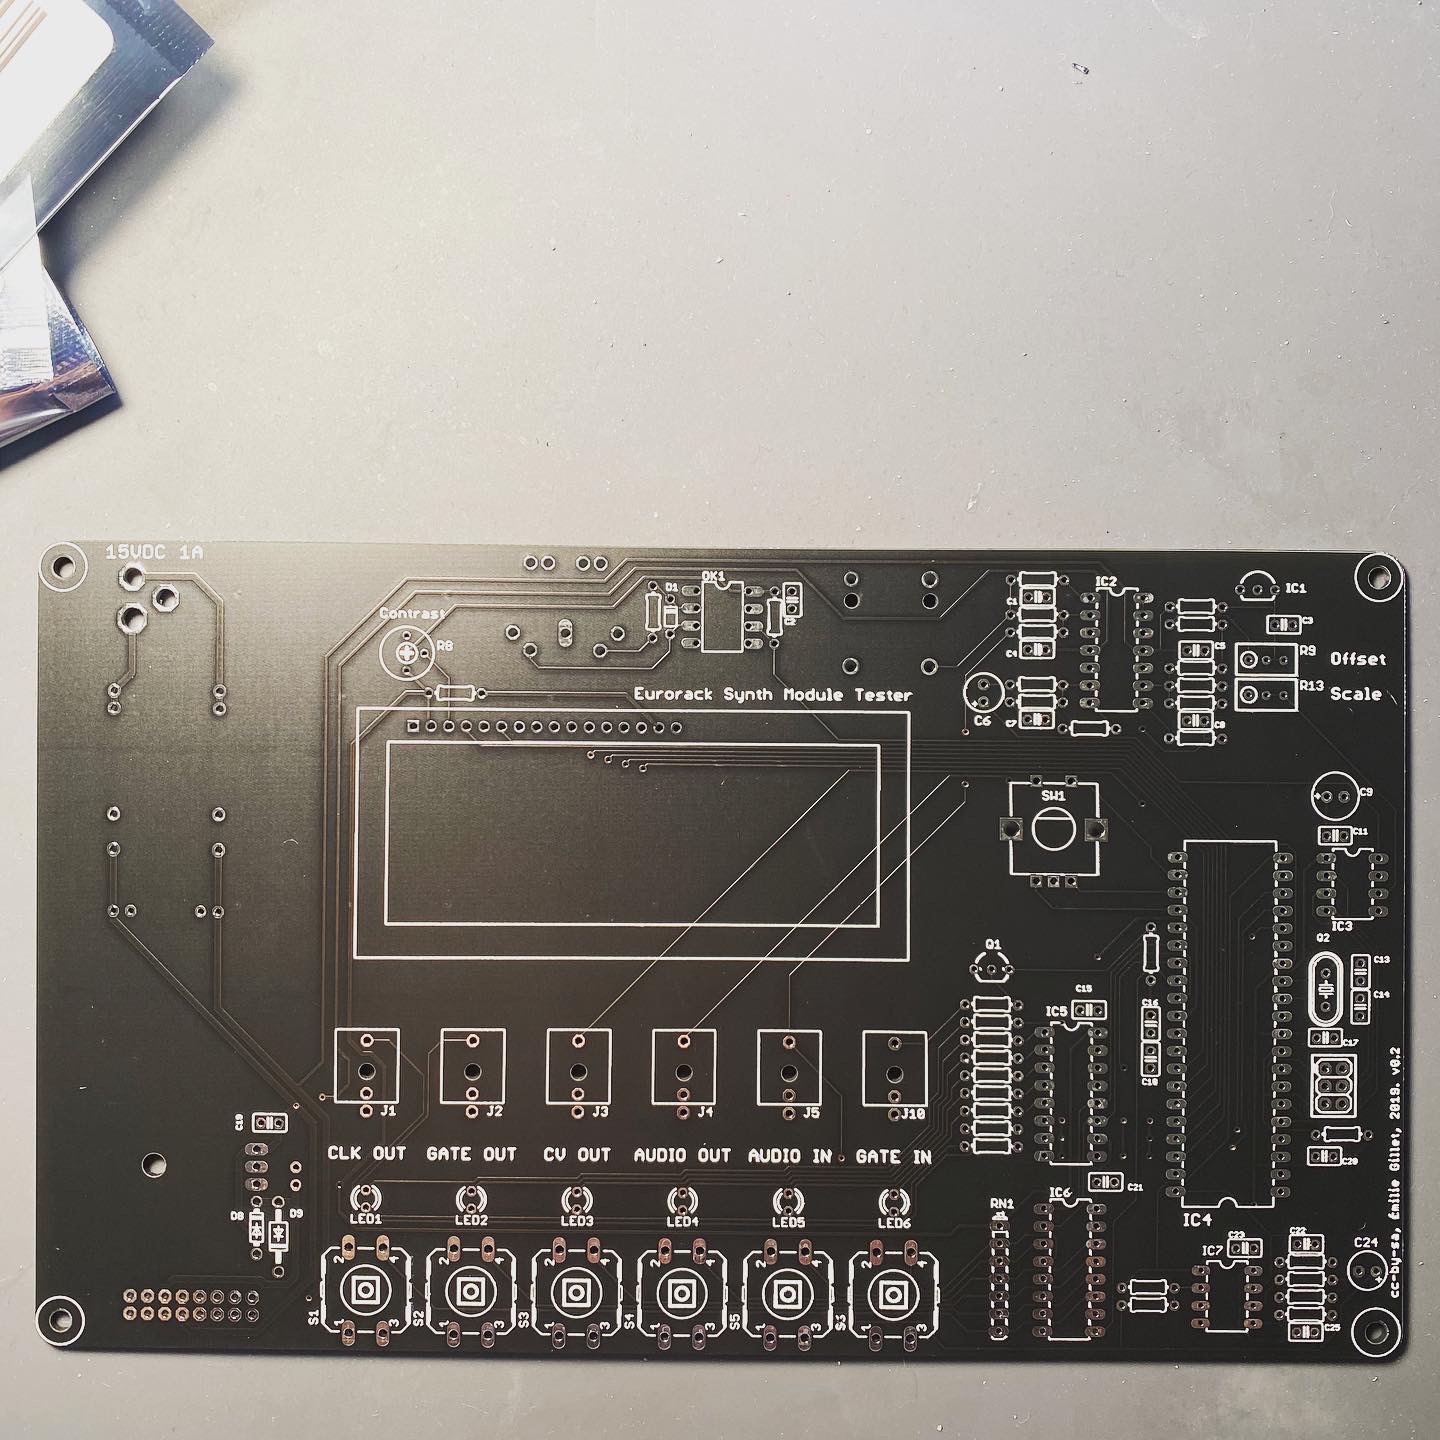
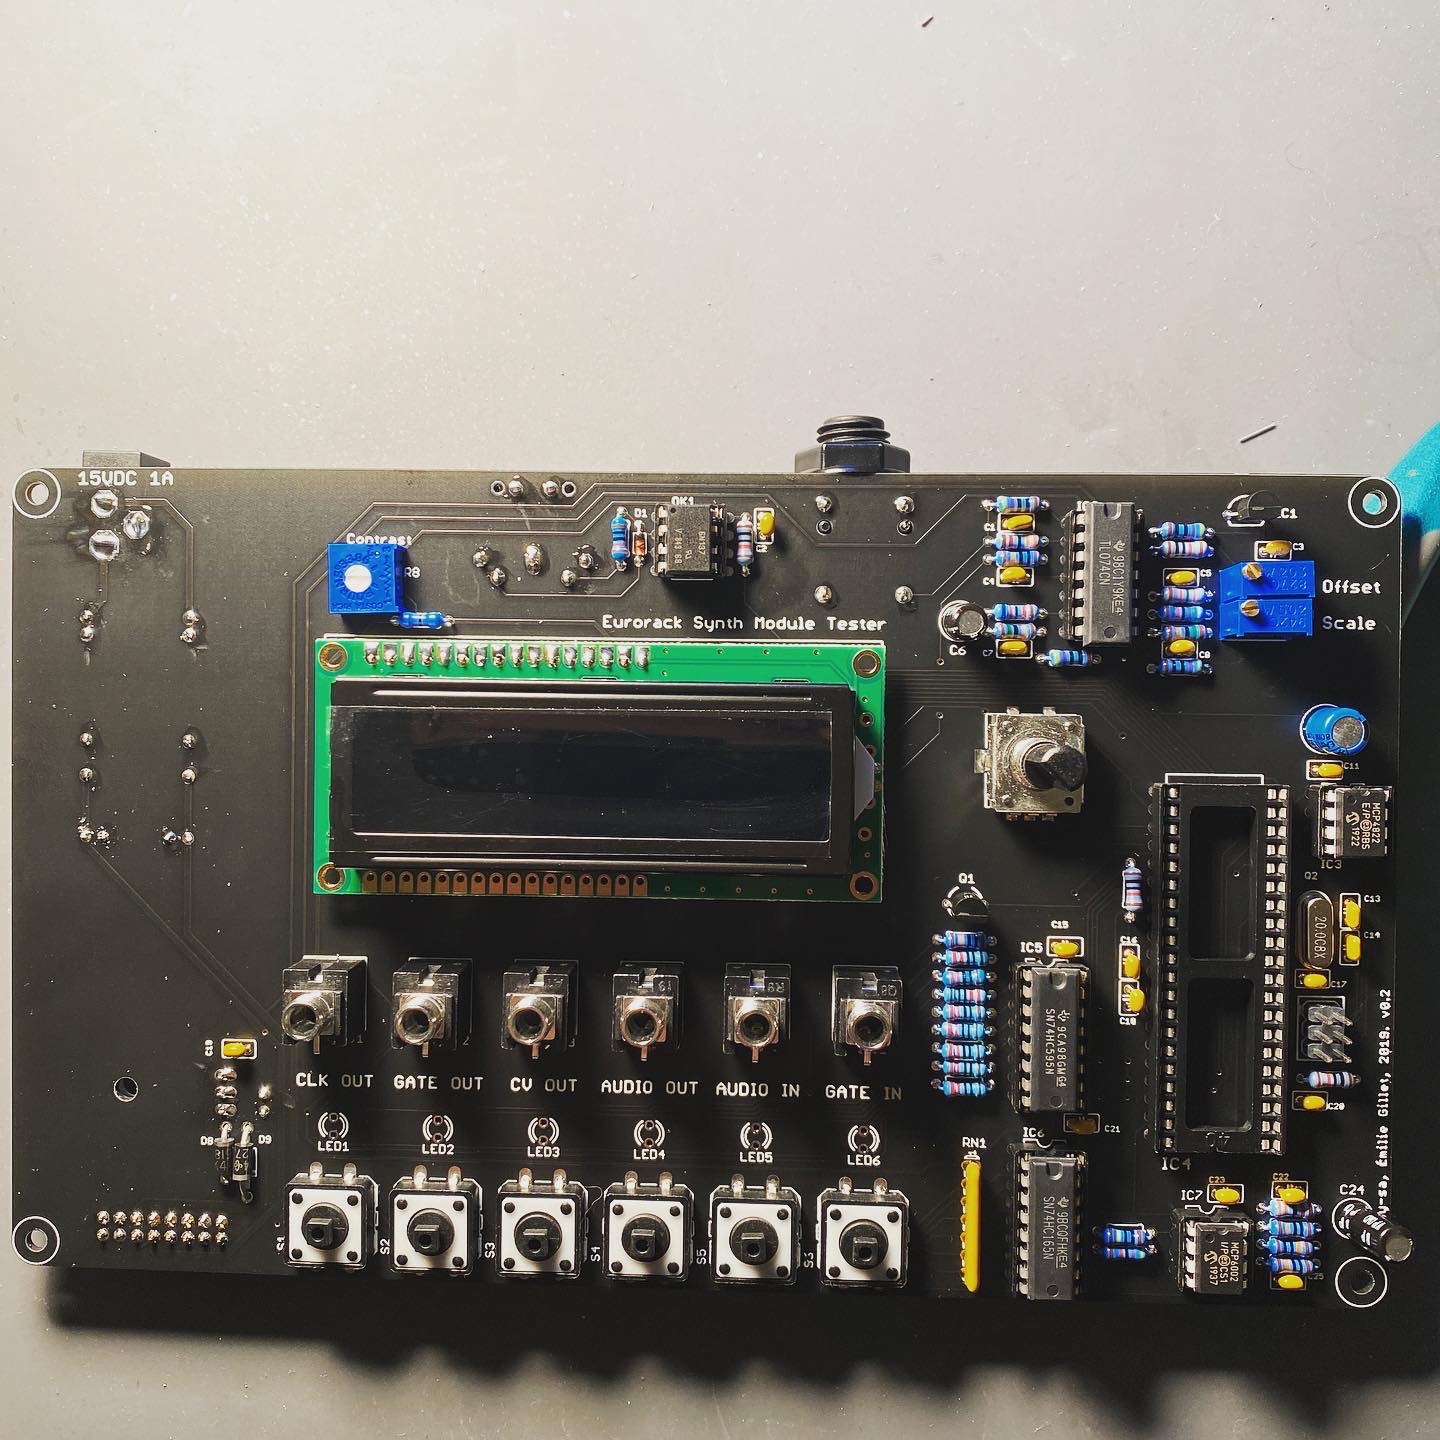
I wanted to build one of these when I first started my DIY eurorack adventure but never got around to it. I seen that the hardware got a revision recently and did away with the AC adapter needs and went with a more readily available 15v DC adapter. I had the PCB fabbed from JLCPCB and parts came from Mouser.

This utility is pretty straight forward. The ability to power your module you are troubleshooting off of this tester and to send various control voltages (waveform, LFO,notes,gates,clock) along with feeding audio & gate back into it will help greatly to pinpoint issues.

Resources:

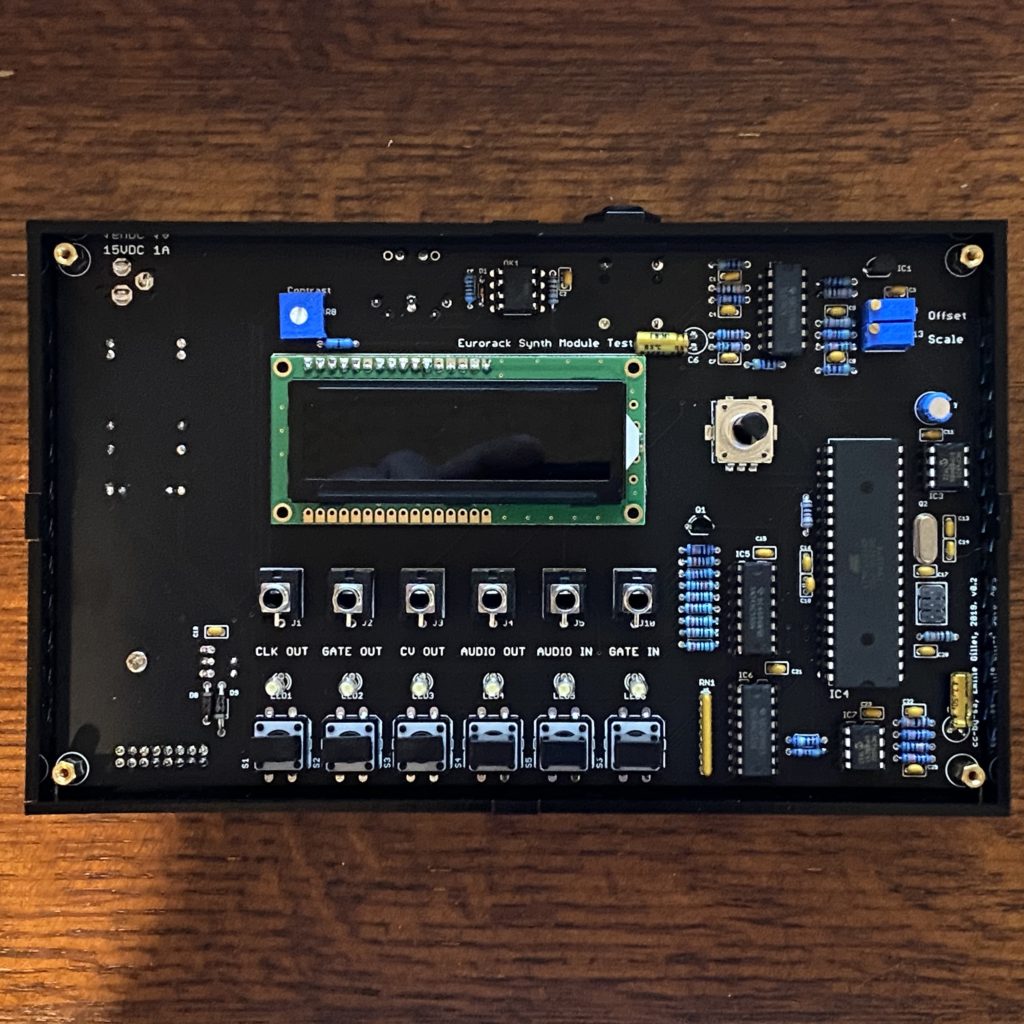
Flashing the AVR was pretty straight forward. Just needed to hook up the AVR ISP XPII, power up the unit and write the HEX file.

I used Ponoko for the first time to get the case laser cut and I think it came out great. I went with black sides and a pink top, cause why not.

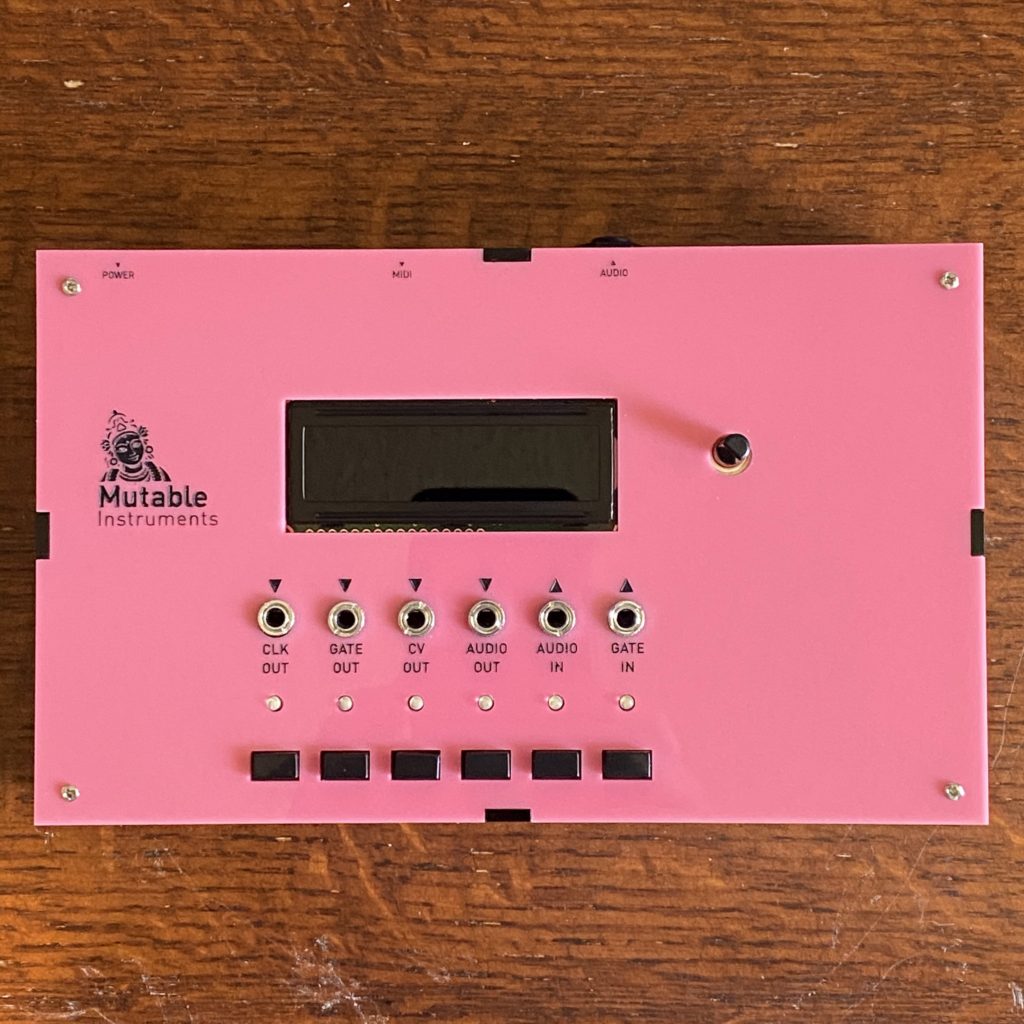
Since the laser cut box came flat and had masking tape on it, I was able to spray paint the top black to back fill in all the text and logo. I was amazed how well this worked out.

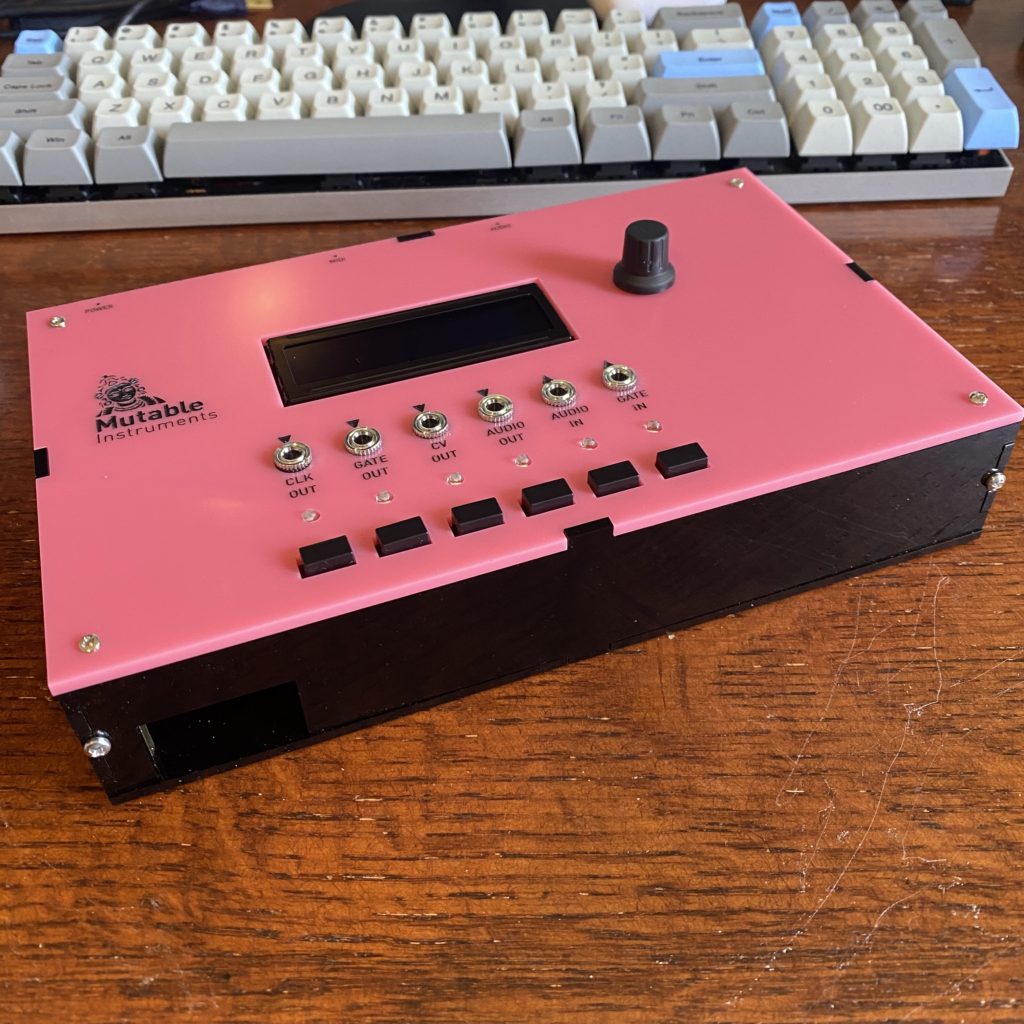
Done, time to start troubleshooting some of my modules in my “box of fail”

FInally got my own table saw

I had a small benchtop one I was using from a friend but he needed it back for a project. I finally decided it was time to add one to my shop. The main goal is to make amp cabinets and work on some wood ends for a few of my synths and enclosures. There is also a “honey do” list my wife has made for me. I searched for a few days to figure out what one I wanted. I did the obvious price, quality & features comparisons. Not only did I read customer reviews but I also looked for thoughts/reviews in woodworking forums.

I ended up going with the Kobalt KT1015 from Lowes. The price was good (There was a 50$ off anything over $250 coupon online) and there was some great video reviews on YouTube about this model. It has some faults but the portability and ease of setup outweighs them. Got the giant box home and with some help from my brother-in-law and 2 beers later we had it put together.

IMG_0145

IMG_0146

First thing I did was got a decent blade for it. I got a Diablo 60 tooth blade (D1060X) for a really smooth cut. I started to get a sled jig going so I can limit any tear out on the plywood.

Let the projects begin.

Engineer SS-02 Solder Sucker

20140301-144003.jpg
This is actually one of those tools you hope you don’t need to use but when you do it needs to be a quality tool. Desoldering can lead to anger issues quickly. I actually saw this first on a YouTube video from Japan and I thought that not only did it look cool but I loved the silicon tip. I looked around a few places to order one but the EMS shipping was close to the price if the solder sucker. I got an email from Adafruit about new products and it looks like they now carry it. I jumped on the opportunity to snag one.

20140301-144545.jpg
It’s got a great brushed aluminum body and a red aluminum push end. It feels solid in your hands and does not feel cheap by any means.

20140301-144730.jpg
It has a heat resistant (up to 350 degrees C / 620 degrees F according to the instructions) silicon tip and it comes with some replacement tubing also.

20140301-144931.jpg
The plunger is very sturdy and does not feel like it will bend or break easily.

20140301-145046.jpg
There are 3 major components to this solder sucker. You have the body, tip and spring. It comes apart easily and can be cleaned with ease. Now it’s time for a bench test.