Building my test rig cable

I was asked by a few this morning about the 5 pin DIN cable I made for my test rig. I took some pictures of the process and maybe they can give some others some ideas. It was pretty straight forward.

What’s needed:

  • Alligator test leads
  • 5 Pin DIN connector
  • Shrink tube

Make sure you place the shrink  tubeing and the DIN connector cover on the alligator leads before soldiering on the DIN connector. I have made that mistake a few time… time wasted.

20140420-141041.jpg

I then soldiered each alligator lead to a pin of the DIN connector.

20140420-141053.jpg

I then placed the connector shield together and used a bit of painters tape to hold it together before hot glueing it.

20140420-141112.jpg

Fill the barrel/shied with hot glue and let it setup.

20140420-141126.jpg

Shrink the tubing and secure the DIN connector

20140420-141138.jpg

New Testing Rig

My old testing rig was falling apart on me and all I really could do with it was test PCBs before I boxed them up. It was not a good tool for troubleshooting by any means. I would usually have to get my tone generator and my audio probe and troubleshoot a stubborn circuit. Jacob of JMK Effects made a new Testing Rig that solves my headaches by having all the needed troubleshooting/testing tools in one device. His Testing Rig PCB is a perfect addition to any bench for DIY pedal builders.

Here is pictures of my build:

20140420-030128.jpg

I wanted the in, out, 9V & GND to be detachable so I could use the pedal as just a headphone amp and not worry about the leads shorting out. I also thought it would be nice to have multiple cables made so I could bounce between builds. I also added a BNC connector so I could use a probe from my oscilloscope as an audio probe.
20140420-030140.jpg

20140420-030148.jpg

I thought, why paint something that is just going to be a bench utility, so I left it just raw aluminum. I will most likely use stamps to label the switches and knobs.

Pharaoh clone

Got a King Tut PCB from Rully and it just simply sounds great. This is my favorite Big Muff variant to date. This will replace my larger 1590BB clone that I made on a Madbean Mudbunny board I made a few months back.

Etched the enclosure and shot it with some burnt gold metallic. The pictures do not do it justice.

20140405-124826.jpg
Here is a gut shot

20140405-124901.jpg

424 Fuzz

This is Madbean’s take on the Mid-fi Demo Tape Fuzz. This is one LOUD fuzz pedal.

Here is the board after I etched it and populated it.

20140308-230912.jpg

I etched an enclosure for this build

20140401-013220.jpg

Finished

20140401-013434.jpg

20140401-013531.jpg

Gut shot

20140401-013646.jpg

Voltages:
IC1 JRC4558
1 4.4v
2 4.4v
3 4.4v
4 0v
5 4.4v
6 4.4v
7 4.4v
8 8.9v

Paint risers

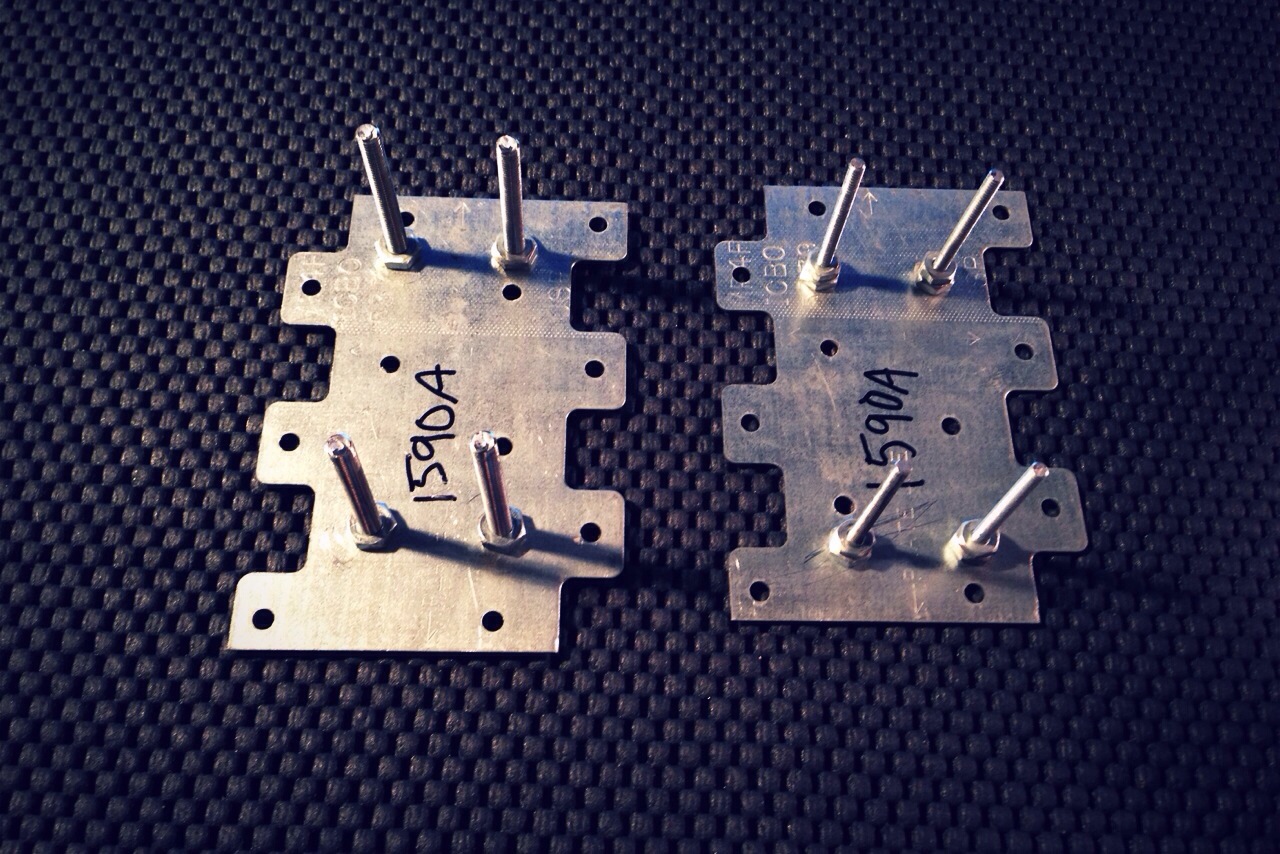
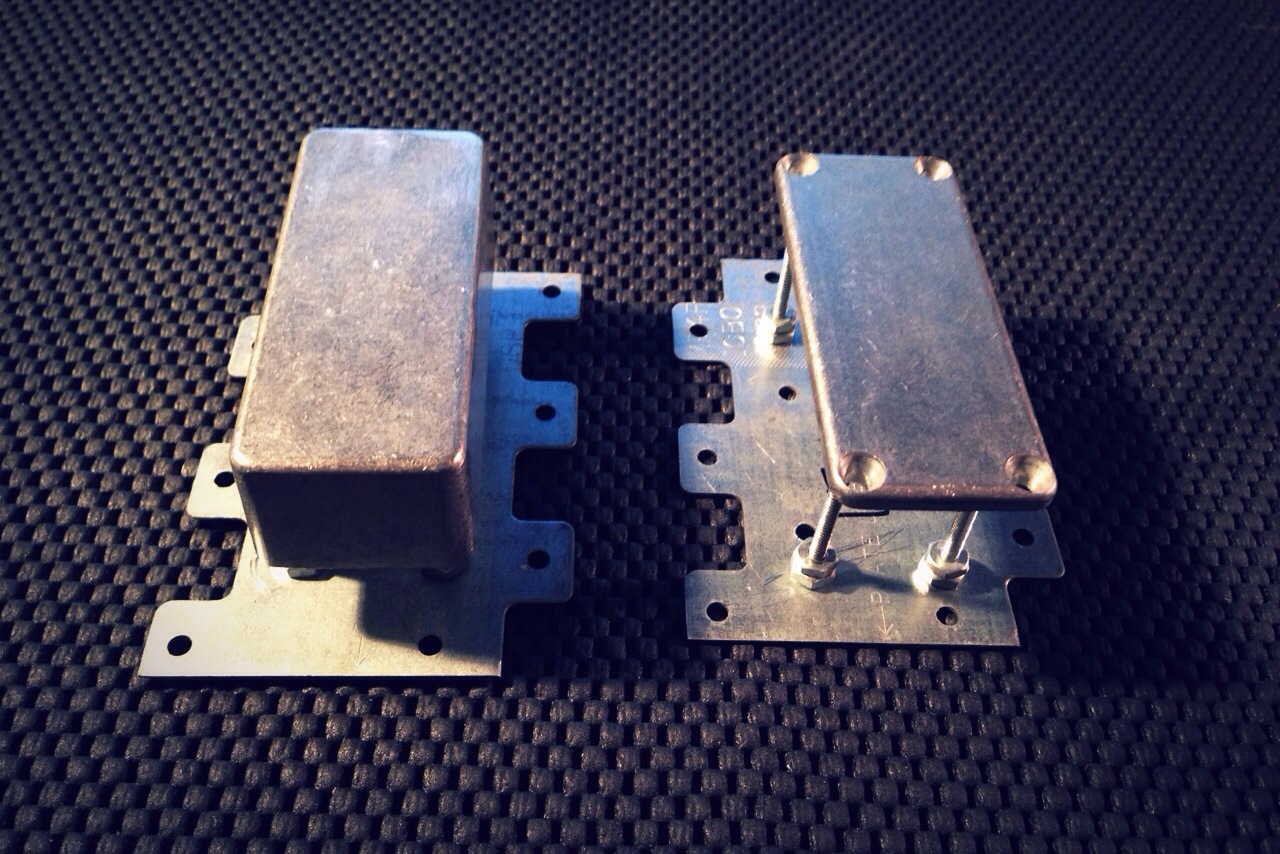
I was looking for something to sit my enclosures on when I paint so I can paint the bottom edge evenly. It was a trial and error and I never found a working solution. I ran the problem by my father-in-law (MacGyver-in-law) and he came up with a perfect solution for me.

He used some Tie Plates he had on hand and some nuts and bolts and came up with something that I can paint on and transfer right to the oven for drying.
Here are the 1590A ones:

20140318-220823.jpg

20140318-220841.jpg

He made me 2 for each standard size (1590A, 1590B and 1590BB)

You can pick up the Tie Plates from Home Depot for under a dollar a piece.

Time to get some paint on them!

The Britannia

This is a great layout made by josh at 1776 Effects and designed by the RunOffGroove people. This is inspired by the Vox AC30 with top-boost and I say it nails it perfectly. I love how you can get the jangly highs with this pedal and it’s low gain breakup.

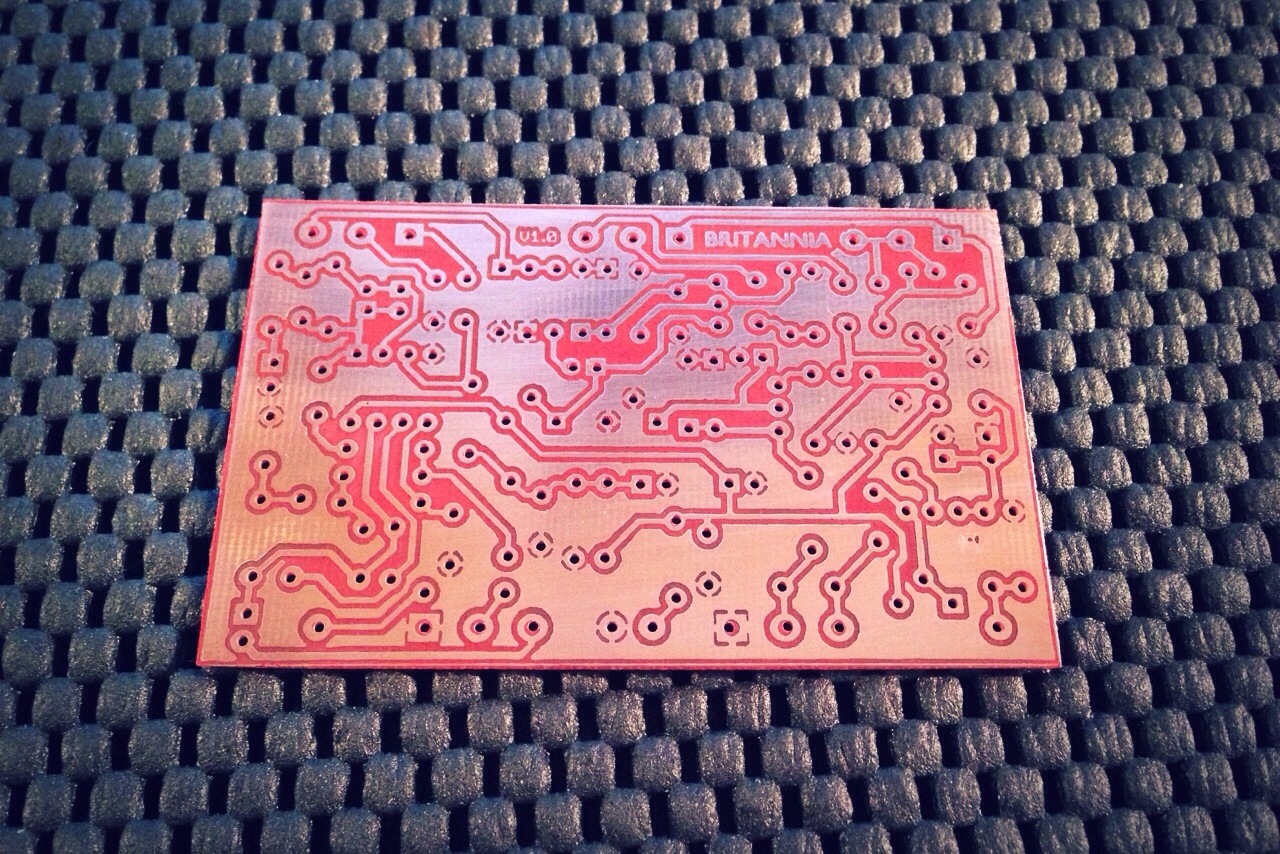
PCB etch:

20140311-202639.jpg

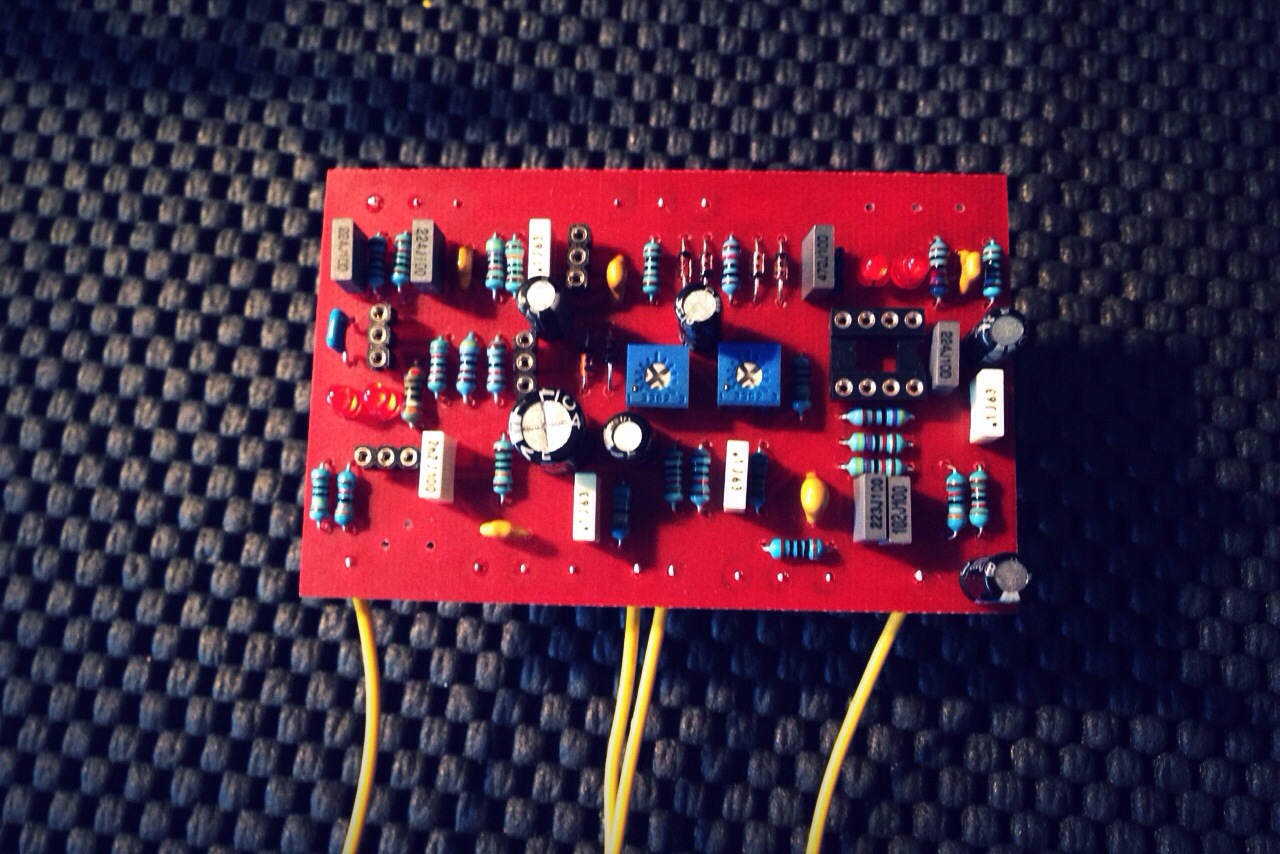
Populated and biased:

20140311-202734.jpg

Etched enclosure:

20140311-202823.jpg

Finished:

20140311-202905.jpg

Gut shot:

20140311-202942.jpg

Over all I am very happy with this build. Just like the Voxy Brown circuit I built, it’s a bit shrill sounding at times on my Twin Reverb but it does sound excellent on my Bassman.

Information and layout

Buy a PCB from 1776 Effects

Pessimistic Fuzz

I was playing around with a few low part count fuzz pedals and found Marks vero layout of the Monolith Fuzz Oracle and the demos sounded awesome. I used the following transistors in my build.

Q1: AC152 Hfe 114
Q2: AC125 Hfe 306

I decided to go with a “darker” theme on this pedal due to the sounds this thing produces. It gets some great low end and a VERY usable tone knob.

Here is the etched enclosure.
20140306-104530.jpg

Drilled the enclosure and hit it with some flat black rattle can. I then wet sanded with 1000 git.
20140306-104538.jpg

Assembled and ready to melt faces.

20140308-183115.jpg

Gut shot

20140308-183146.jpg

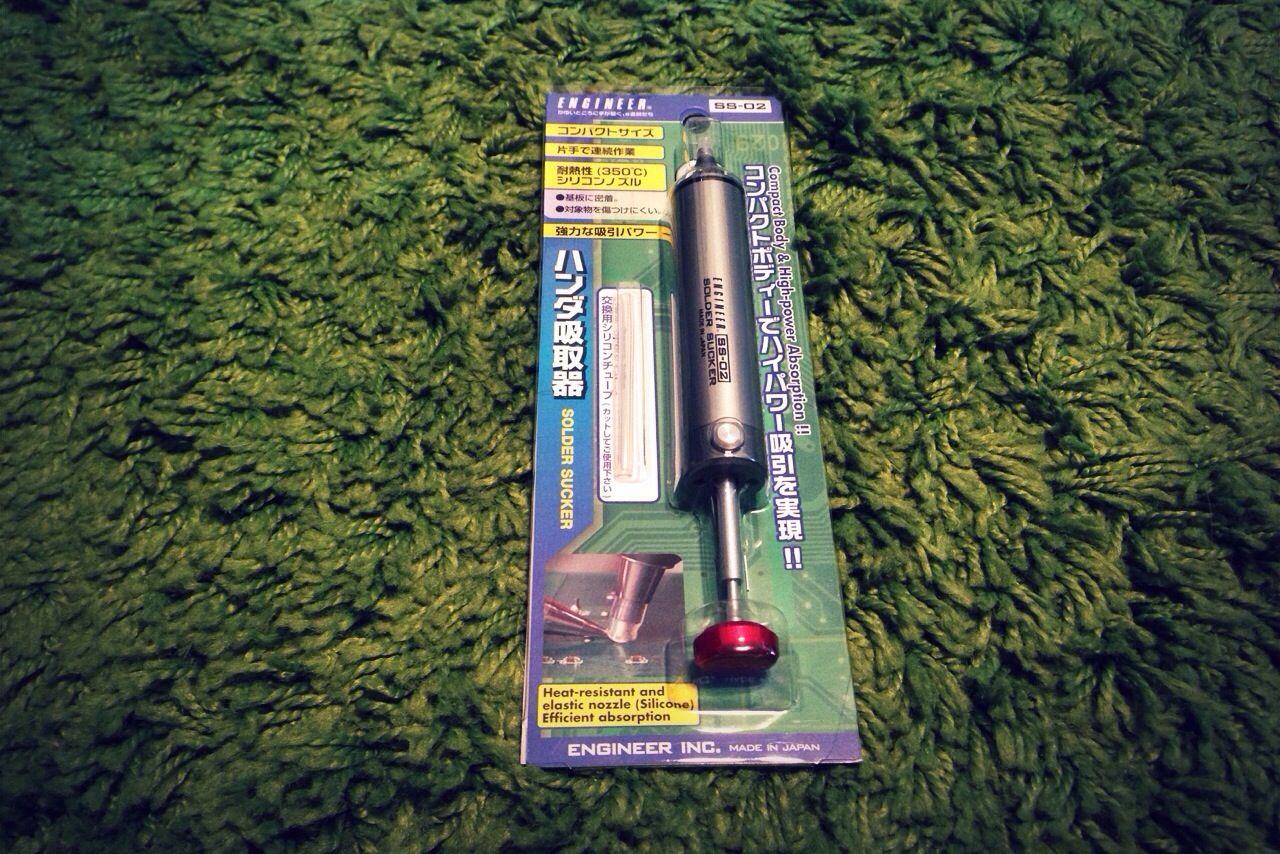
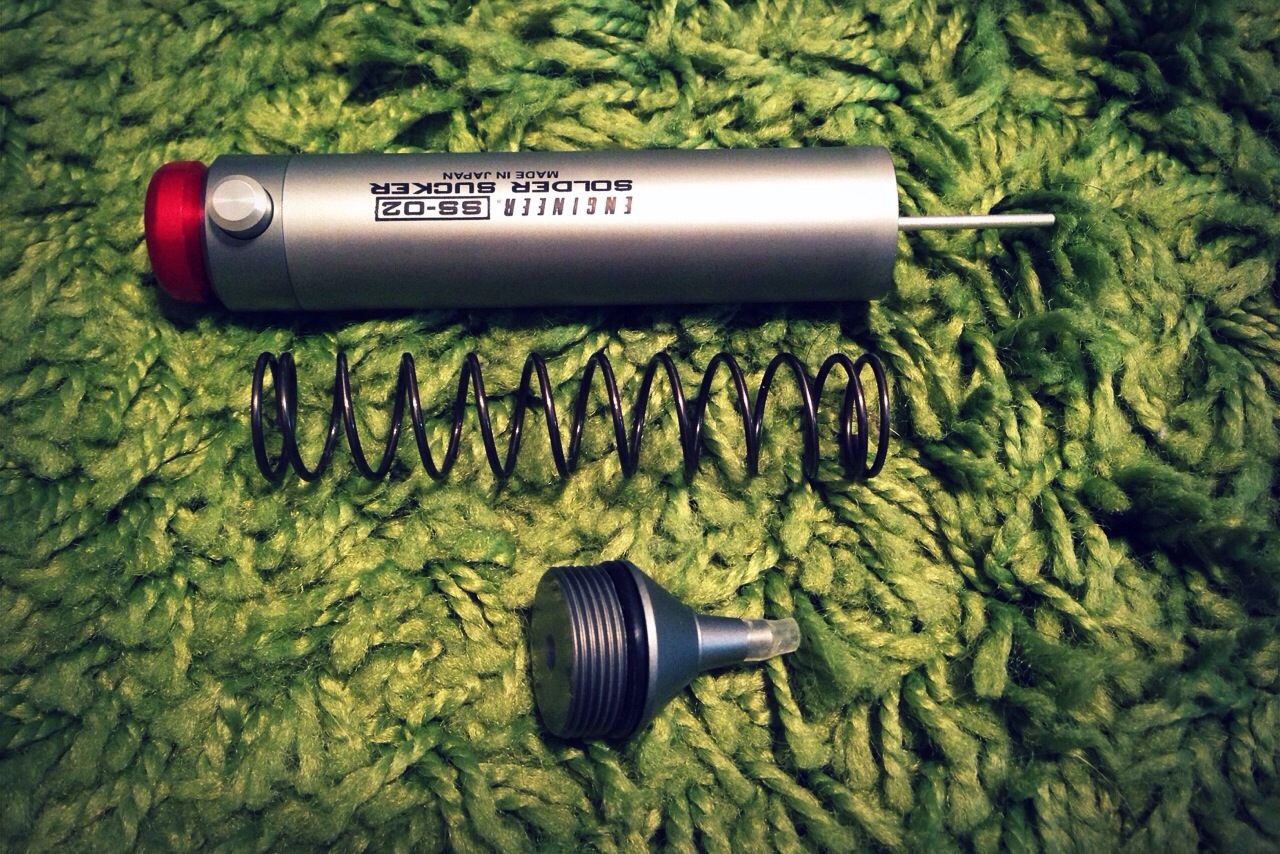
Engineer SS-02 Solder Sucker

20140301-144003.jpg
This is actually one of those tools you hope you don’t need to use but when you do it needs to be a quality tool. Desoldering can lead to anger issues quickly. I actually saw this first on a YouTube video from Japan and I thought that not only did it look cool but I loved the silicon tip. I looked around a few places to order one but the EMS shipping was close to the price if the solder sucker. I got an email from Adafruit about new products and it looks like they now carry it. I jumped on the opportunity to snag one.

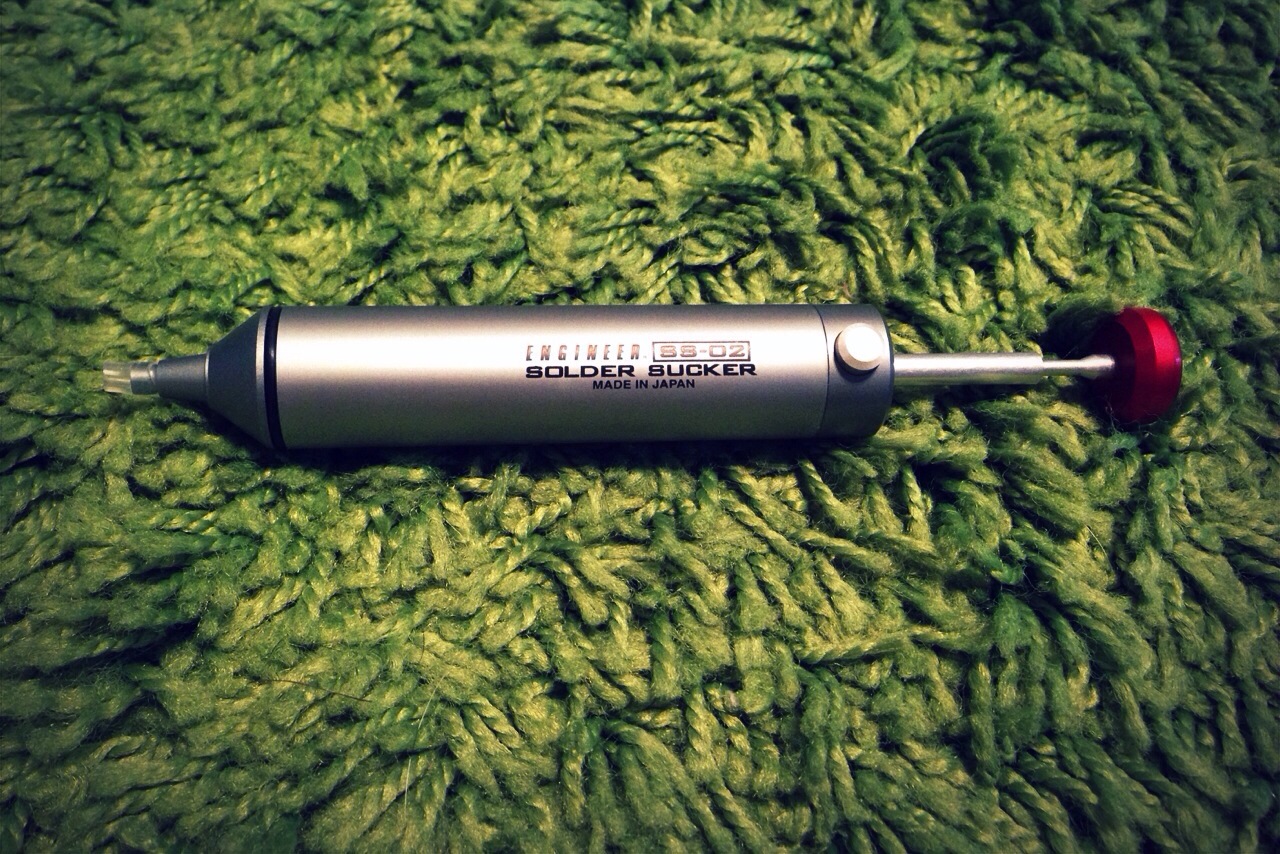
20140301-144545.jpg
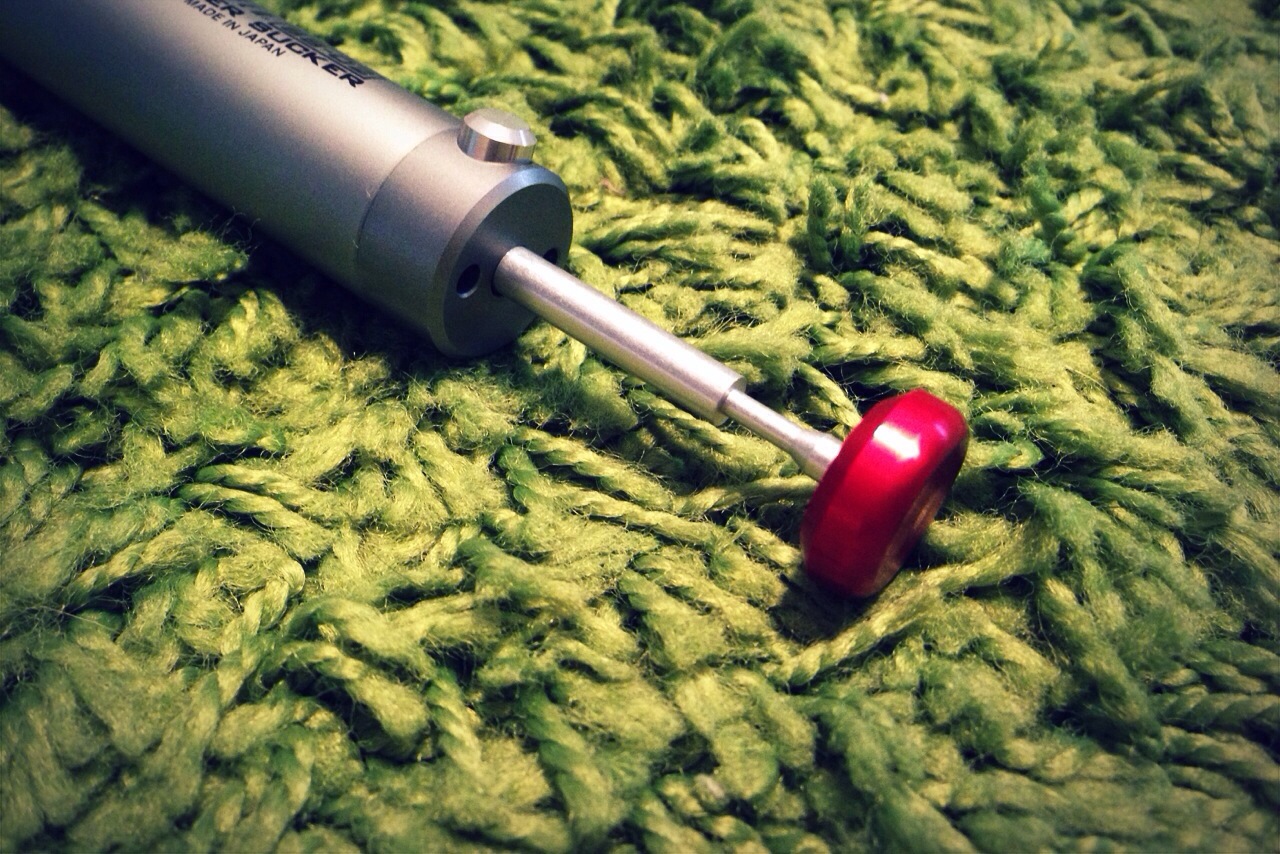
It’s got a great brushed aluminum body and a red aluminum push end. It feels solid in your hands and does not feel cheap by any means.

20140301-144730.jpg
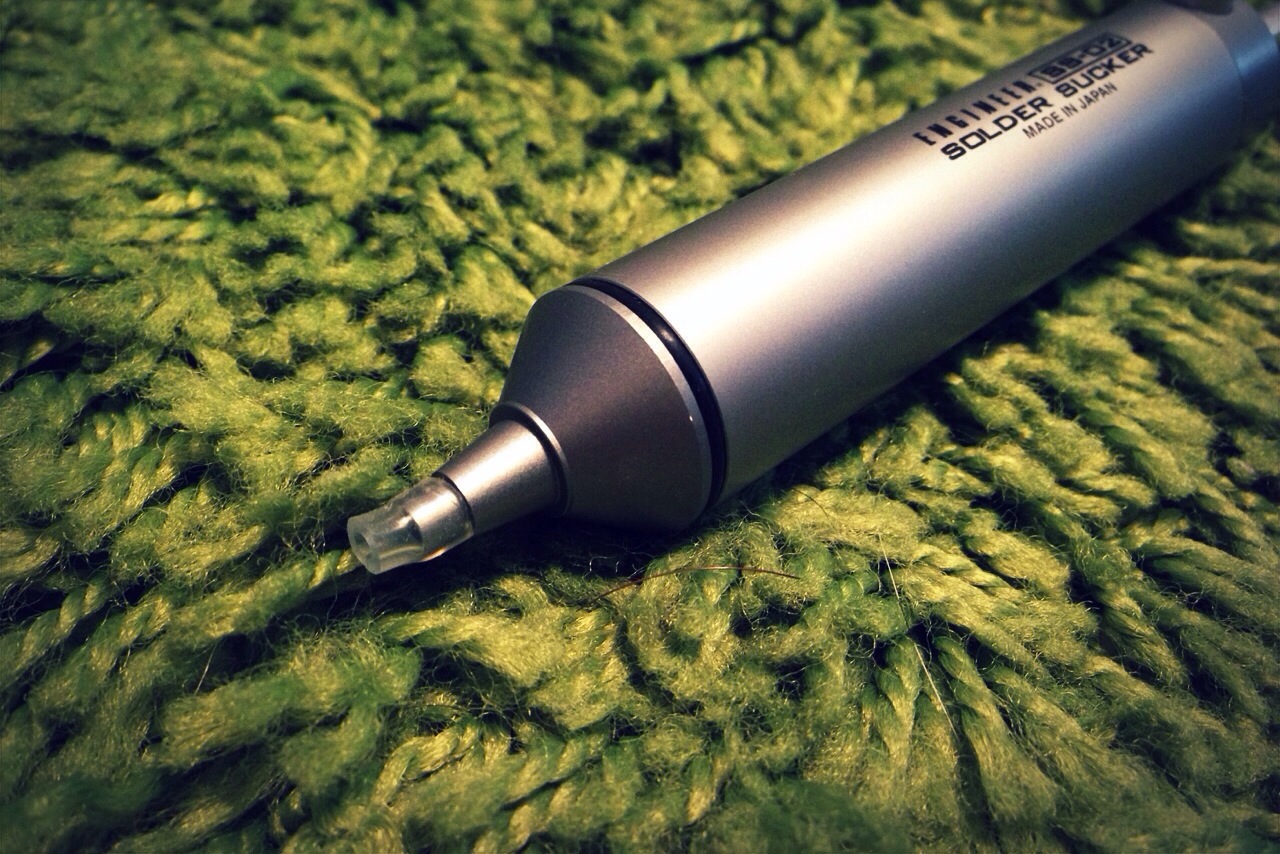
It has a heat resistant (up to 350 degrees C / 620 degrees F according to the instructions) silicon tip and it comes with some replacement tubing also.

20140301-144931.jpg
The plunger is very sturdy and does not feel like it will bend or break easily.

20140301-145046.jpg
There are 3 major components to this solder sucker. You have the body, tip and spring. It comes apart easily and can be cleaned with ease. Now it’s time for a bench test.

Silicon Fuzz Face Transistors

I was looking at a few transistor sources for a simple Fuzz Face layout I built and came across a nice post over at DIYSB by DragonFly

smooth….
q1: 2n2369a (hfe 70-90)
q2: 2n3903, 2n3904 (hfe around 100-120)

slightly aggressive….
q1: 2n3903 (hfe 100-120)
q2: 2n3904, 2n2222a, 2n4401, bc108 (hfe 140-200)

gnarly….
q1: bc108 (hfe160-200)
q2: bc108, bc109, 2n5088 (hfe 200-350)

over the top….
q1: bc108 (hfe 180-220)
q2: bc109c, 2n5089, mpsa18 (hfe 400-500)

stoopid….

q1: 2n5088, 2n5089, bc109, mpsa18
q2: 2n5089, mpsa18
also…for a nice “all-arounder”, 2n3903’s work well in both q1 AND q2 ….

Looking in to others also but I wanted to get this down to archive it.

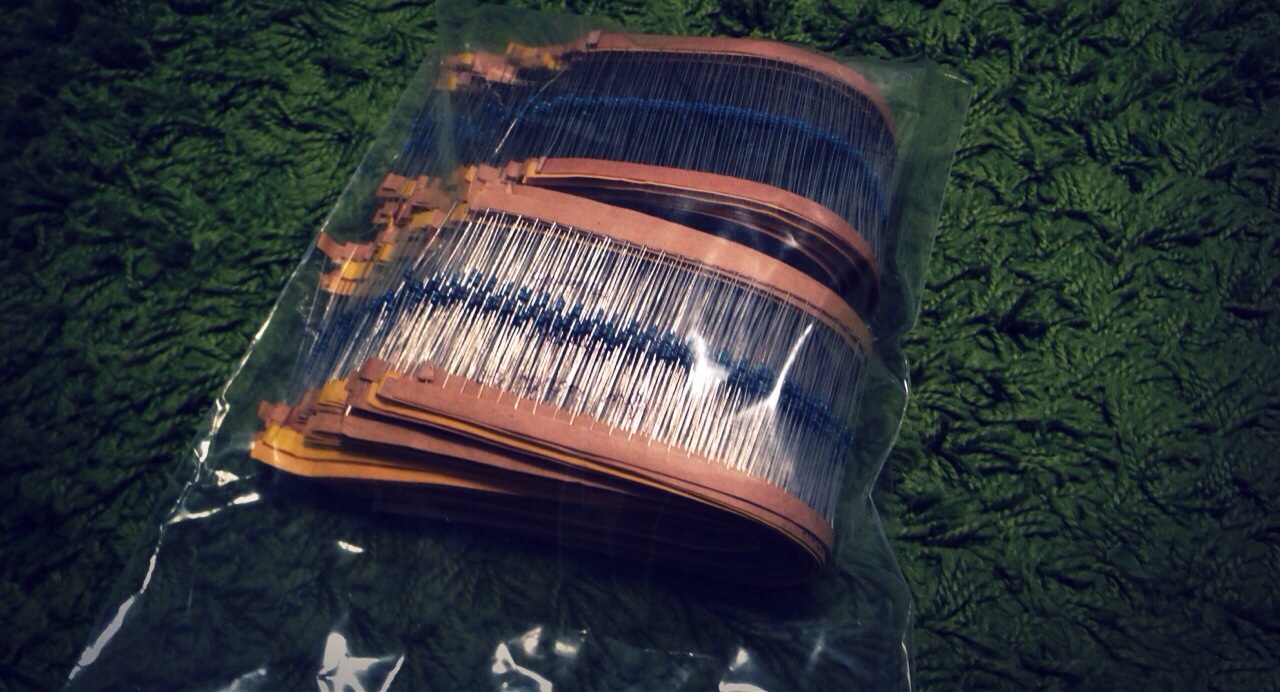
1/8 watt China Madness!

20140222-232708.jpg

Just got these in today. Took a whopping 1.5 weeks (which is not to bad from China to the US) to get them but it was well worth it. I was tired of the expensive prices of 1/8 watt resistors from Mouse. I found a seller on eBay from China that had a bulk of 97 values and 50 each. That’s a total 4850 pieces. I got all this for $30 and free shipping. Time to test and sort and to move up some mini builds to the top of the build list.