Possible candidate for Klon Centaur diodes?

20140518-181554-65754528.jpg

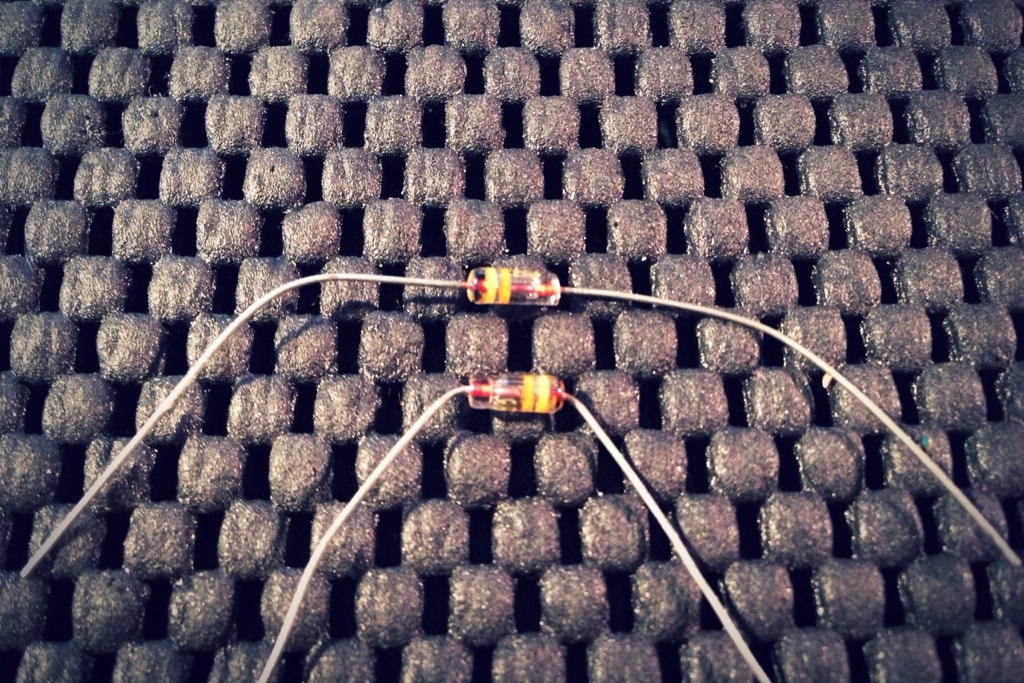
Everything I have been reading says the original “magical” germanium diodes in the Klon Centaur have a forward voltage of 0.35v. Going through my old stock of diodes all I found was 0.65v germanium diodes until I ran across the above pictured. They were consistantly giving reading of 0.34v which I think is the closest I can get from my stock. I have no idea what part number they are since there is no markings other than the Black, Yellow Orange bands.

From my Peak Atlas DCA Pro:
Test Result:
Diode junction
Red-A Green-K
Vf=0.343V at 5.00mA

Back to my build.

MKLEC first purchase

There was a thread at Madbean forums about a new online store that will sell electronic components at competitive prices and they were located in the US…I was interested. Mklec, a Mississippi based husband and wife ran shop with a pretty good selection of parts to start with. Their pricing is on par and better in some cases with other online shops like Tayda and Small Bear. I have noticed that most of their parts seem to be of the same quality of Mouser and not some of the lower quality of Tayda. Mklec had a nice assortment of audio quality Nichicon electrolytic capacitors. My first order consisted of the following:

50 x 100uF 16v Audio Grade Electrolytic Capacitor – Nichicon – $4.00
50 x 1uF 50v Audio Grade Electrolytic Capacitor – Nichicon – $4.00
50 x 4.7uF 50v Audio Grade Electrolytic Capacitor – Nichicon – $4.00
50 x 47uF 16v Audio Grade Electrolytic Capacitor – Nichicon – $4.50

Order Details:

  • 5-7-2014 – Placed order online
  • 5-7-2014 – Received a Stamps.com shipment notification.
  • 5-8-2014 – Received an update from owner David Miles letting me know my package was on its way to me and thanking me for my business.
  • 5-10-2014 – Package was delivered by USPS.

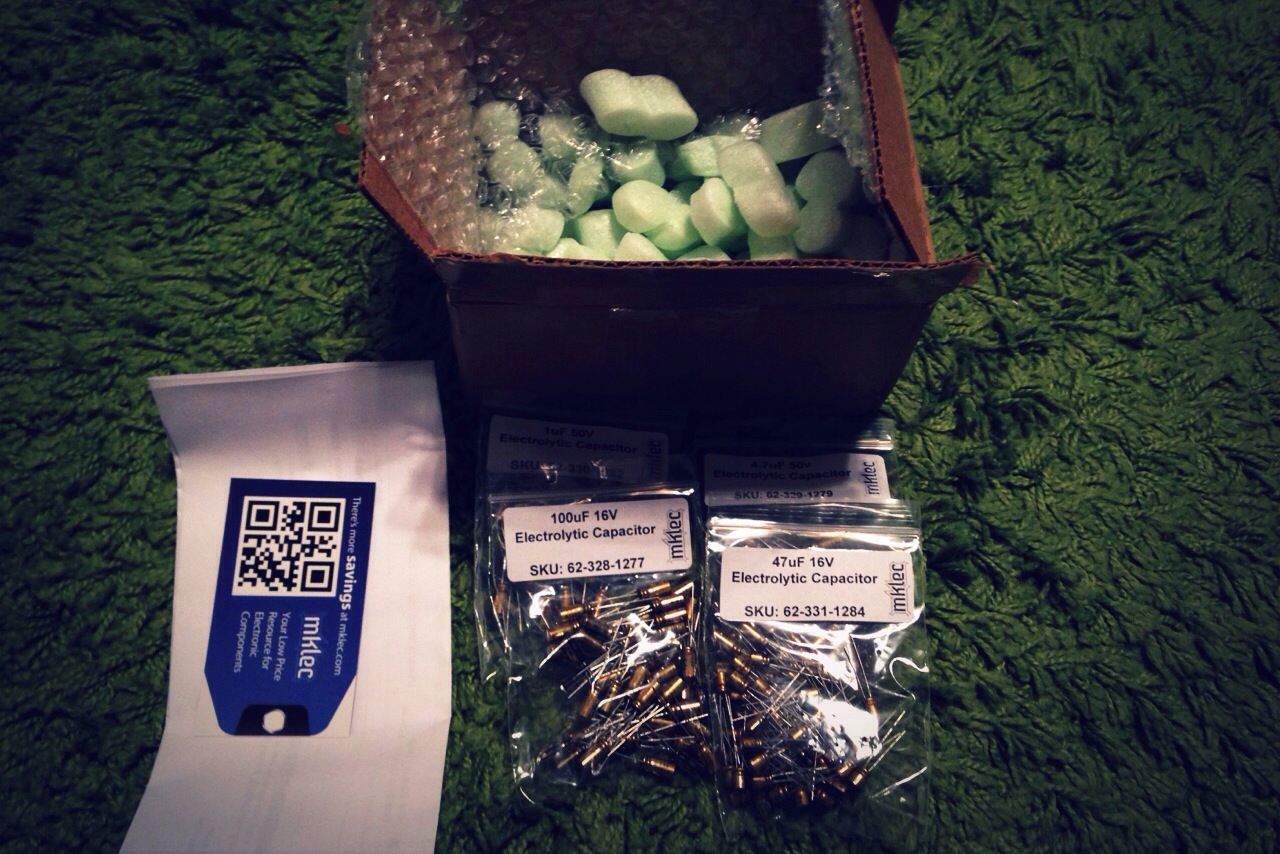
Opening the package I noticed everything was well packaged and all bags were labeled correctly and clearly.
20140511-010604.jpg


The capacitors are nothing shy of what I would get from Mouser just priced better from Mklec.

Final Thoughts:

I will definitely be using Mklec for passive components and look forward to seeing what items he starts stocking in the future.
 

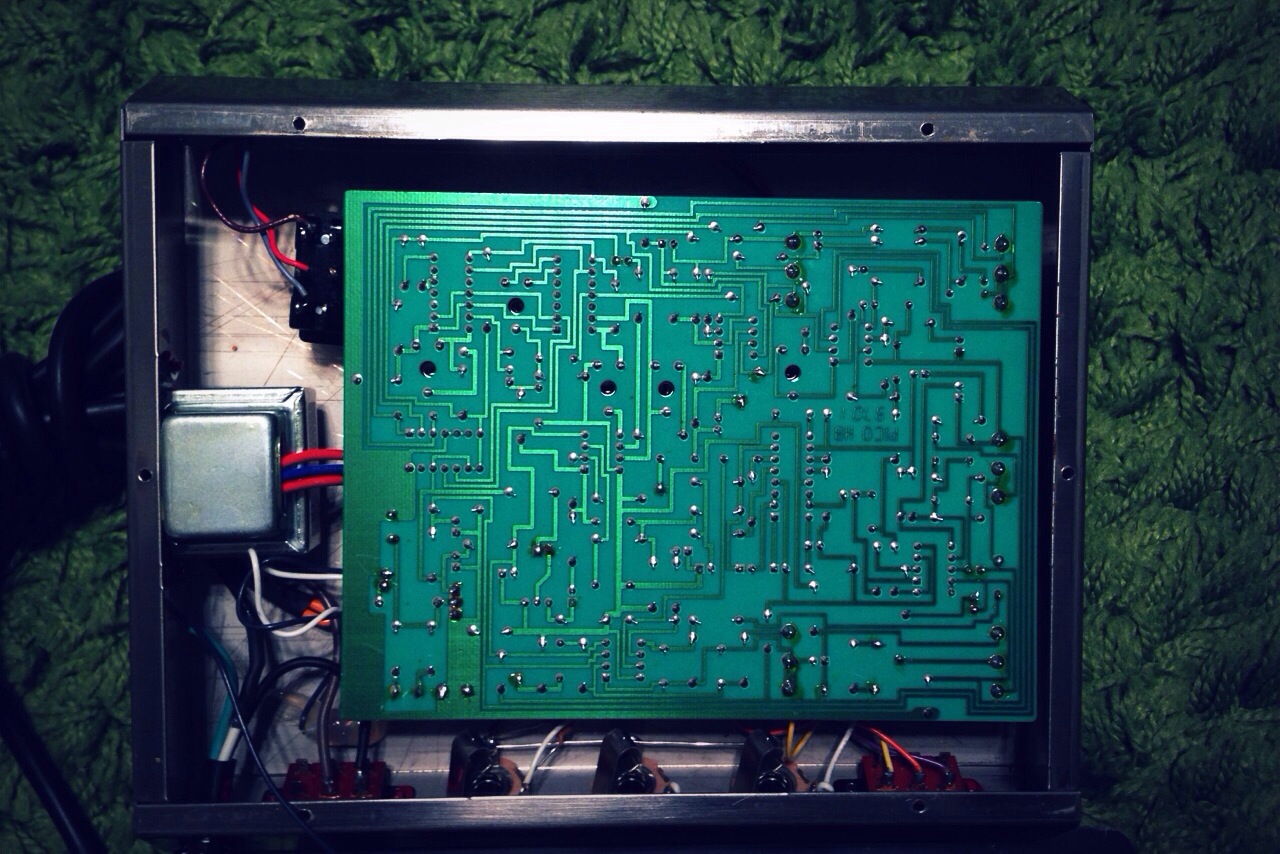
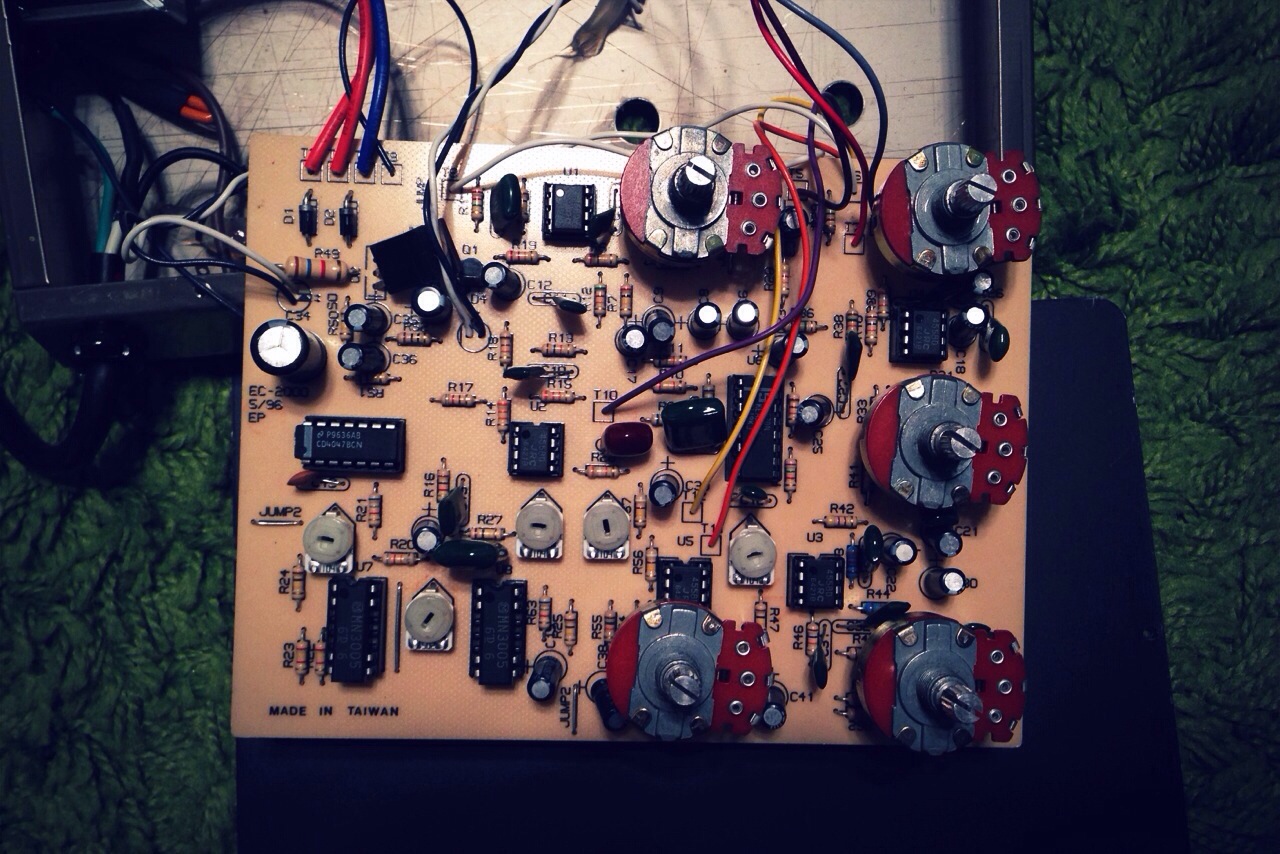
Vintage’ish pedal: EHX Deluxe Memory Man

I got this early 90’s DMM from eBay a few years ago and it’s been kicked on and off my pedal board. It has not been removed because I do not like it but for the reason that I have so many delay pedals that I constantly swap them around. I simply love this pedal but never used it enough to justify the real estate on my board to it. I decided to open it up and give it a bit of clean up and tool some photos along the way.

20140510-170754.jpg

20140510-170806.jpg

20140510-170817.jpg

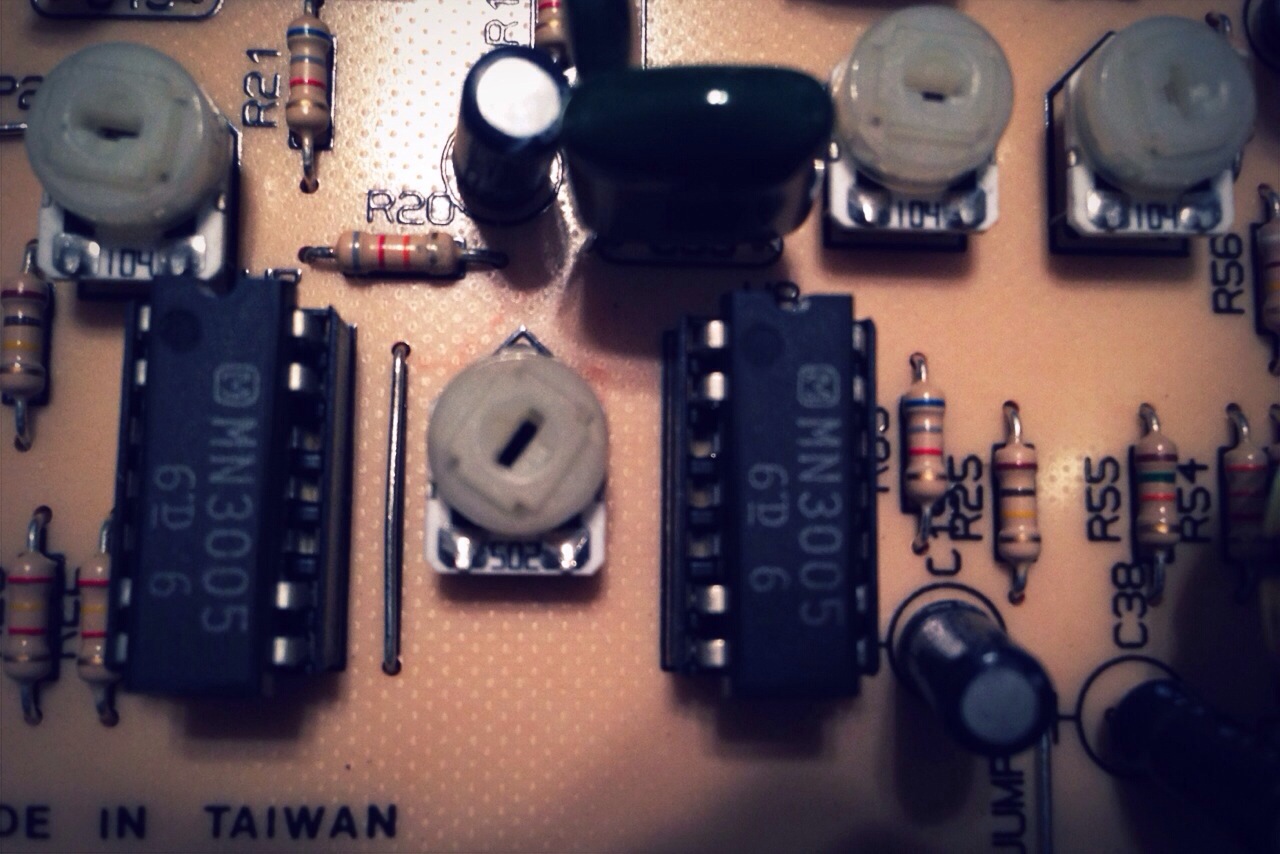
I did not think that this model had the Panasonic MN3005 bucket brigade delay chips, so you can imagine my joy when I seen this:20140510-170825.jpg

I buttoned this beast back up and played with it for about 30 minutes. It doesn’t take long to see why you keep a pedal like this around.


PCB mounted pots

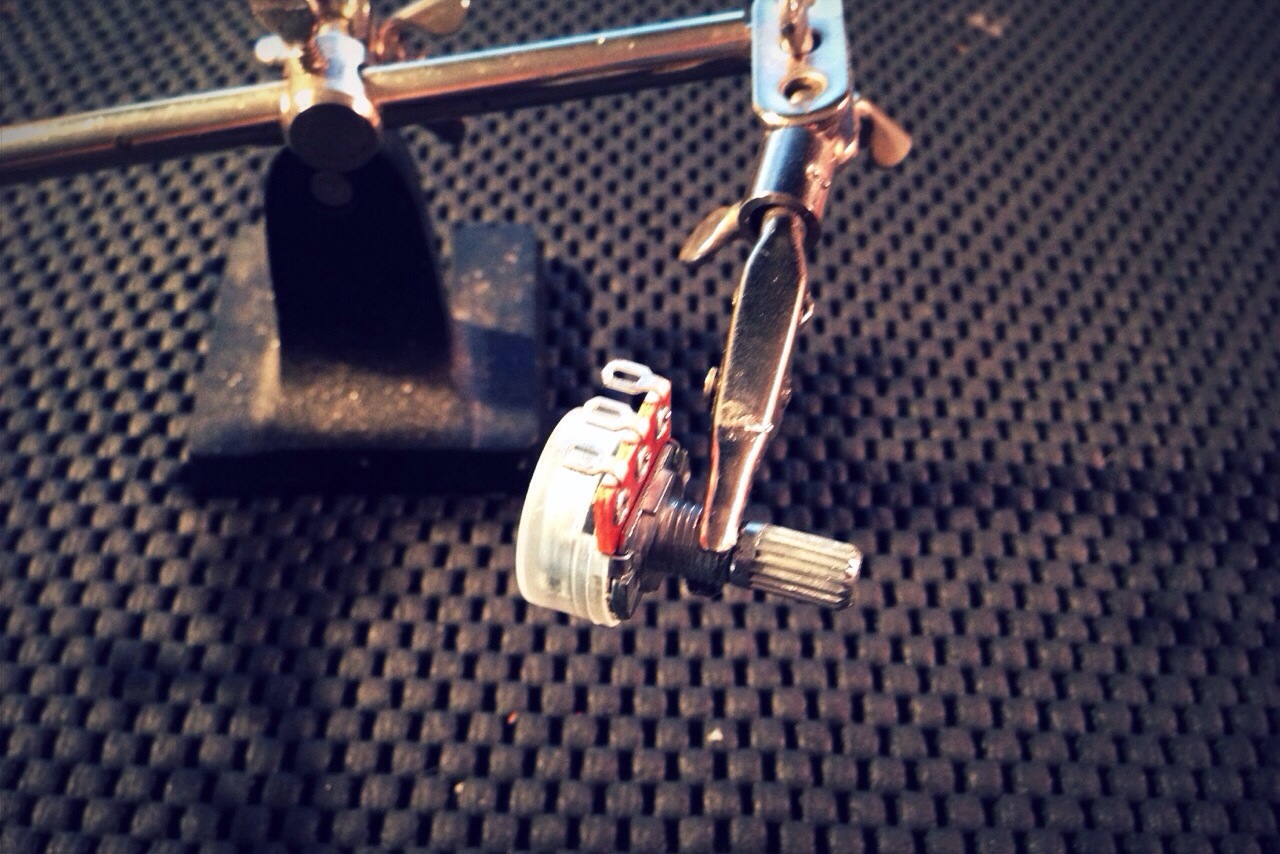
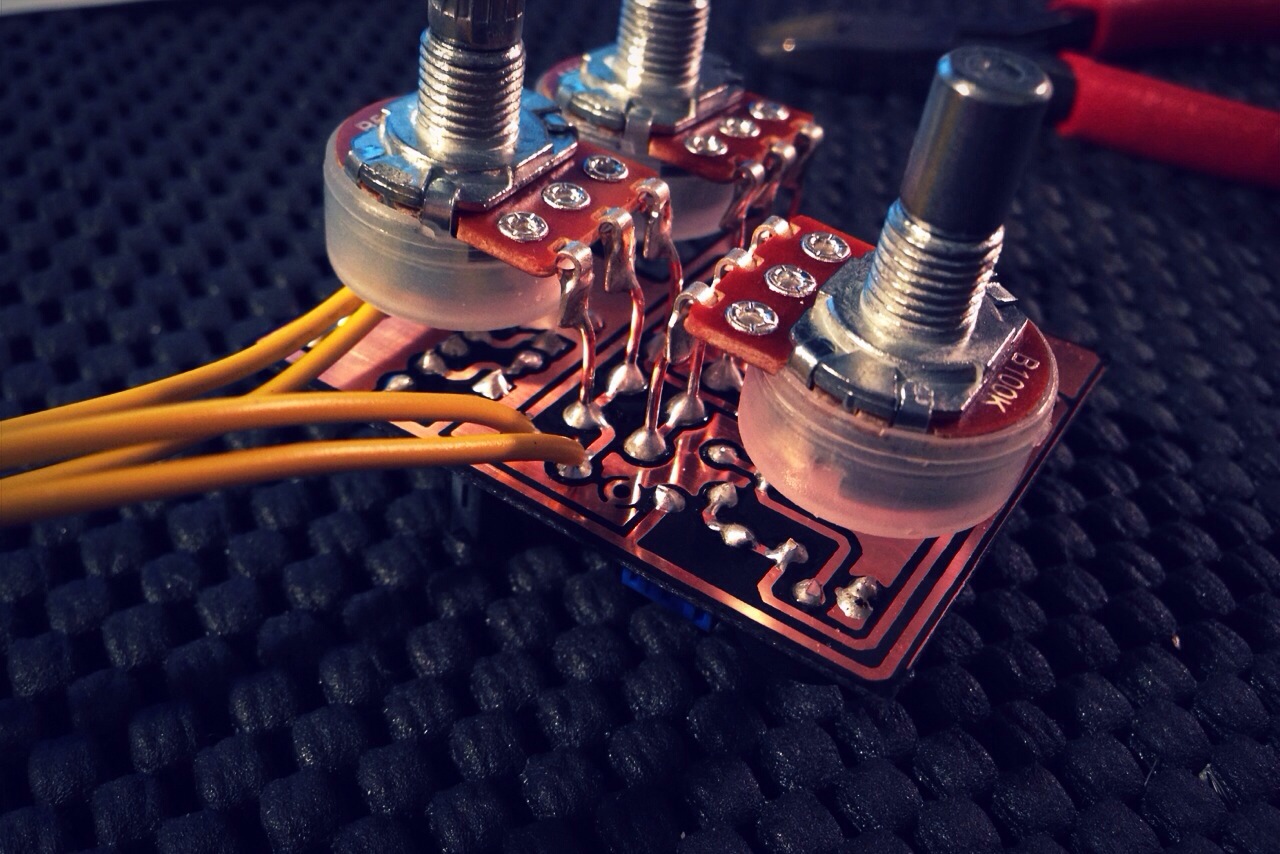
If you notice on my builds I use board mounted pots 99% of the time. I mainly do this to secure the PCB in the enclosure and not have to use double sided tape or Velcro. Instead of stocking up on board mounted pots and solider lug pots, since there are uses for both, I decided to just make my own PCB mount ones. I have been doing this for about a year and have been asked about it recently. I took some photos of the process as it really straight forward and save you some money and keep your PCB secure in your builds.
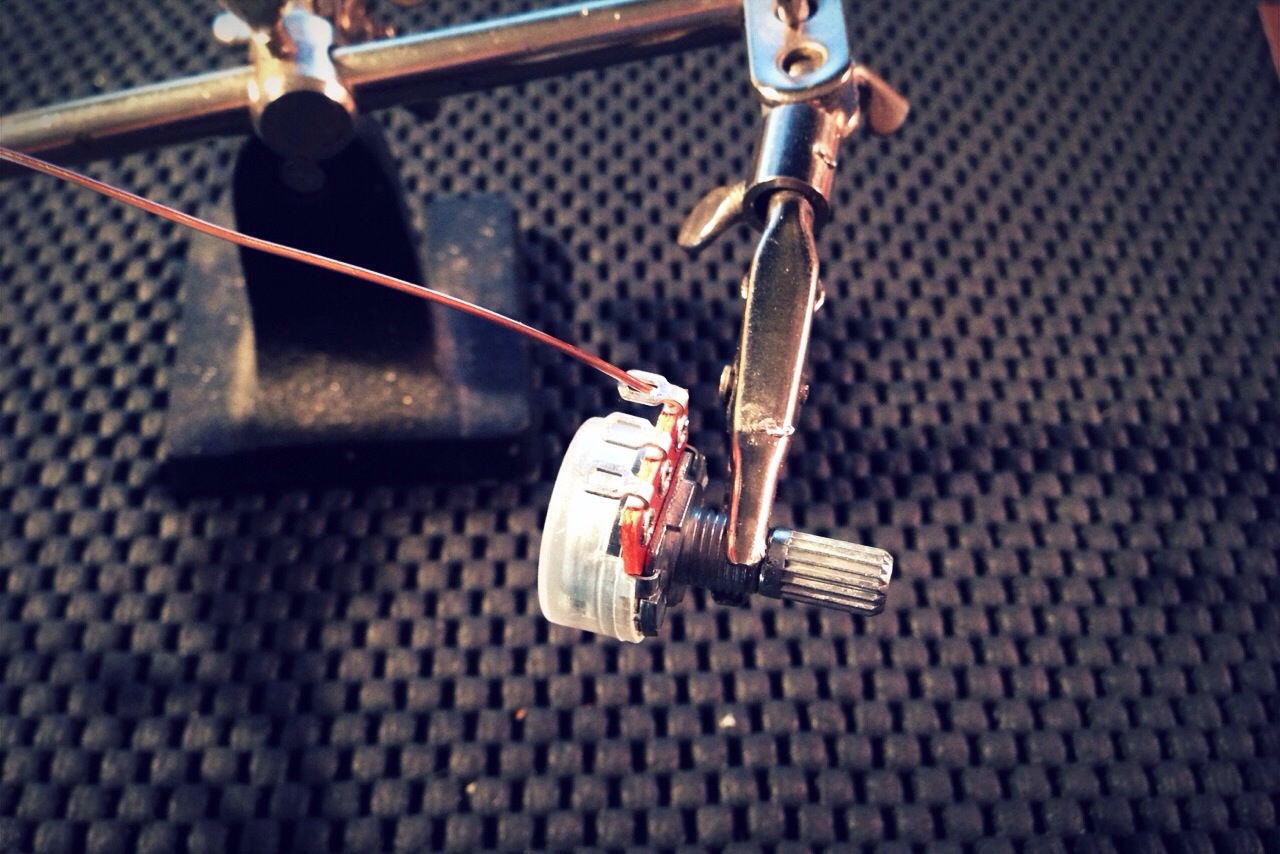
I put the pot in my helping hand:
20140508-151035.jpg
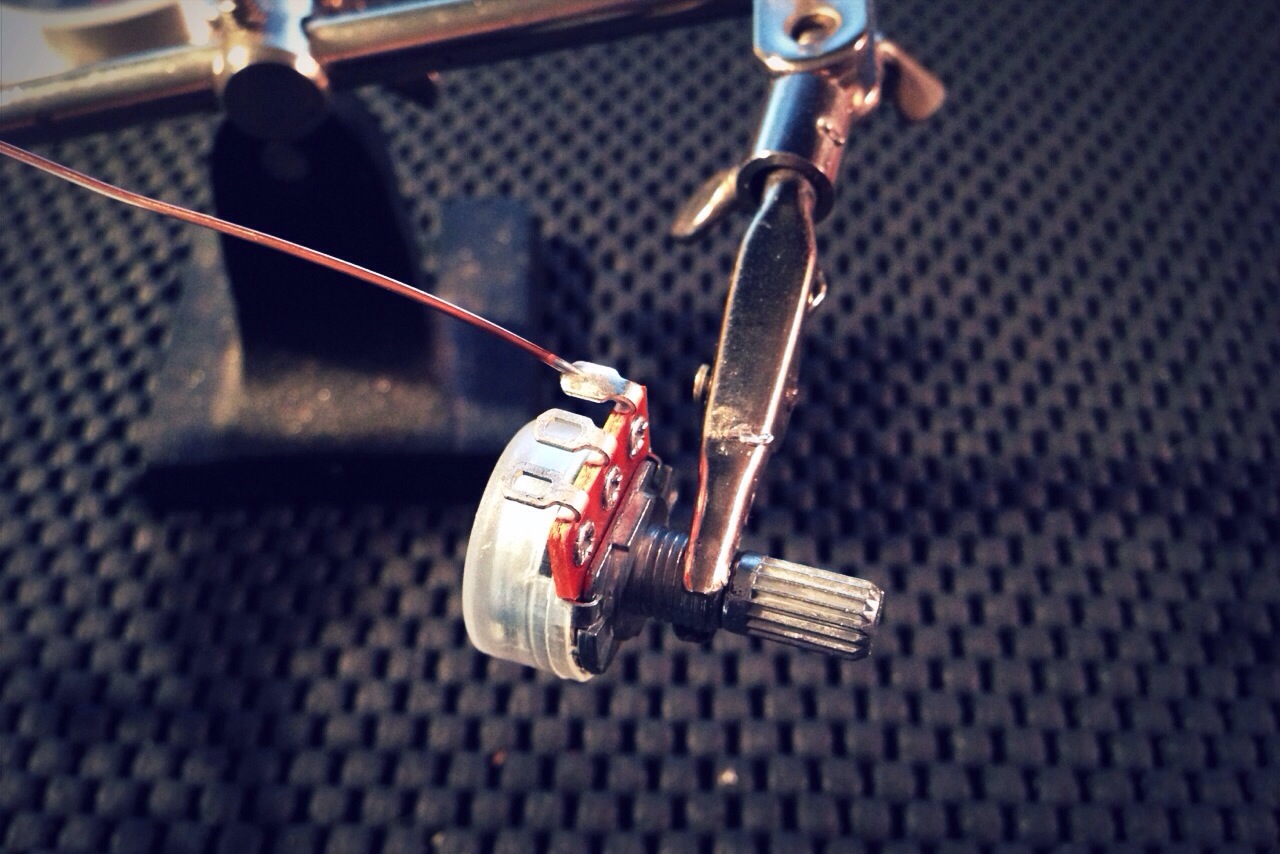
Put the solid copper wire (22 gauge is what I use) in the eyelet:
20140508-151044.jpg
Soldier the wire to the eyelet:
20140508-151052.jpg
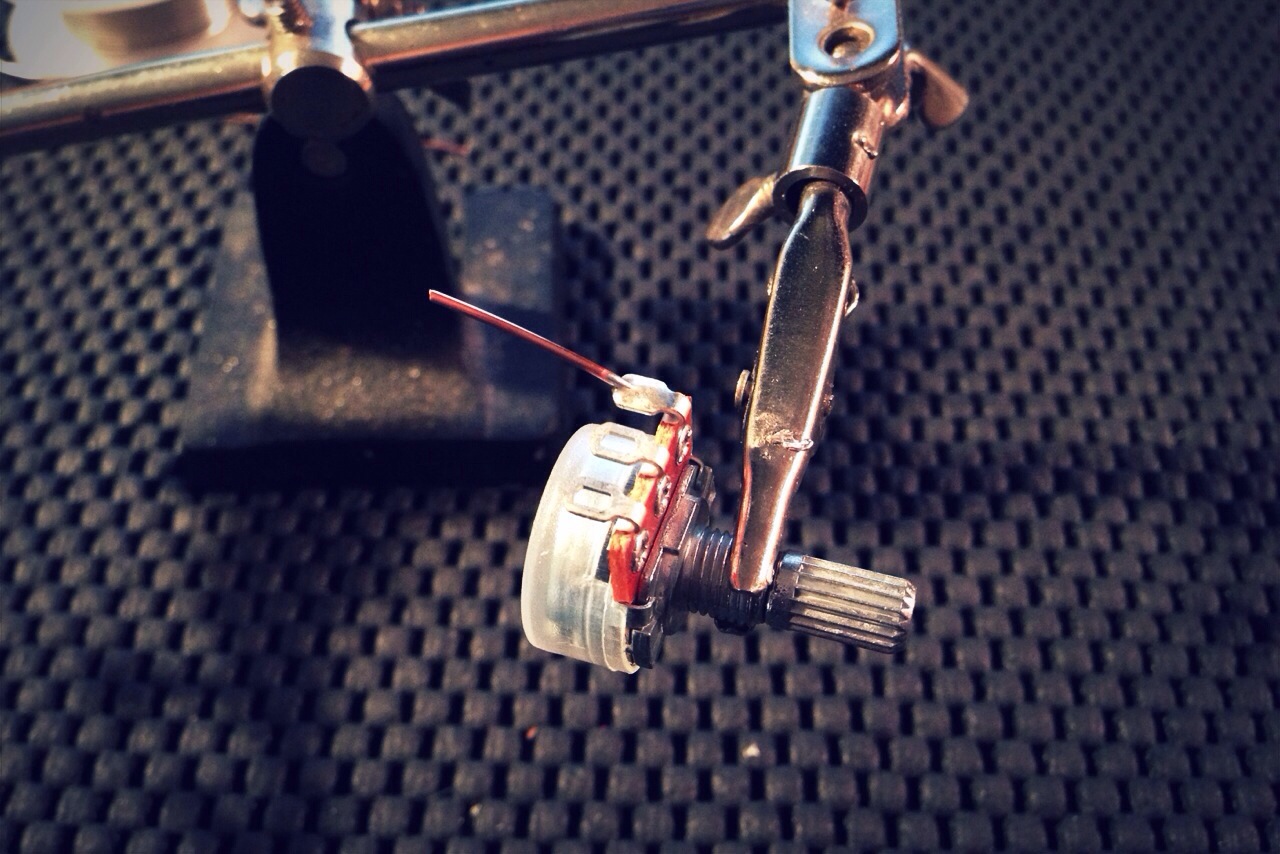
Cut the copper wire to length. The length of the wire is determined by the PCB you are mounting it to.
20140508-151104.jpg
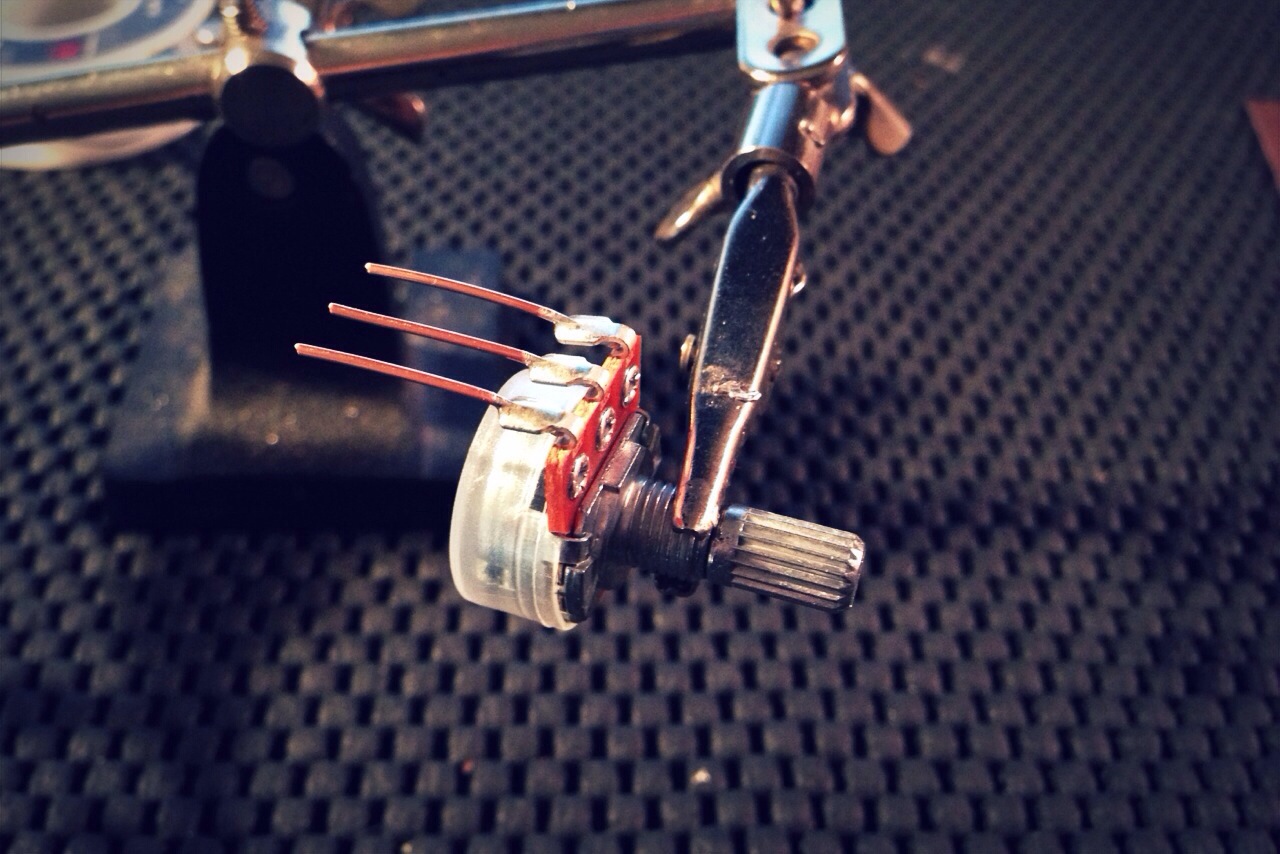
All done:
20140508-151115.jpg
Here are the pots mounted on a PCB:
20140508-151245.jpg

Super Phaser

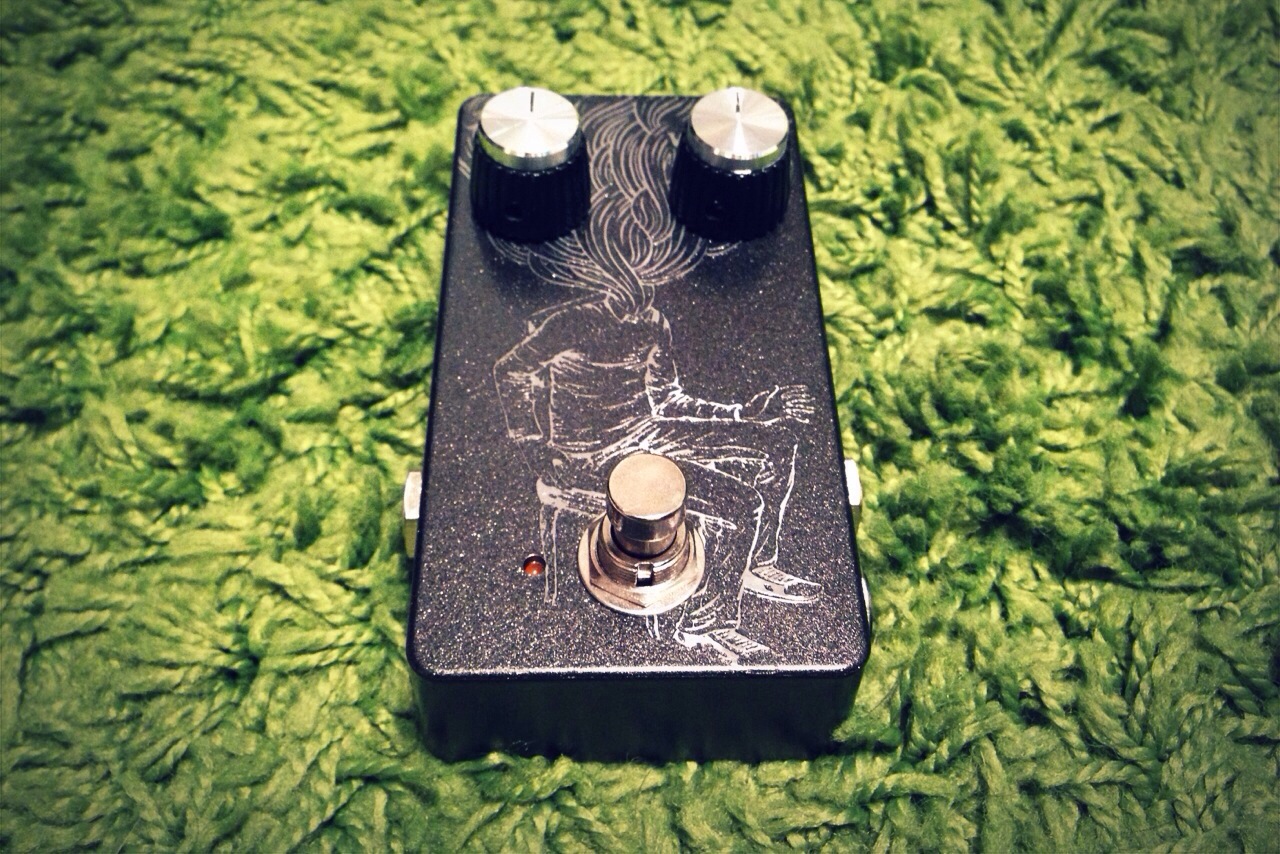
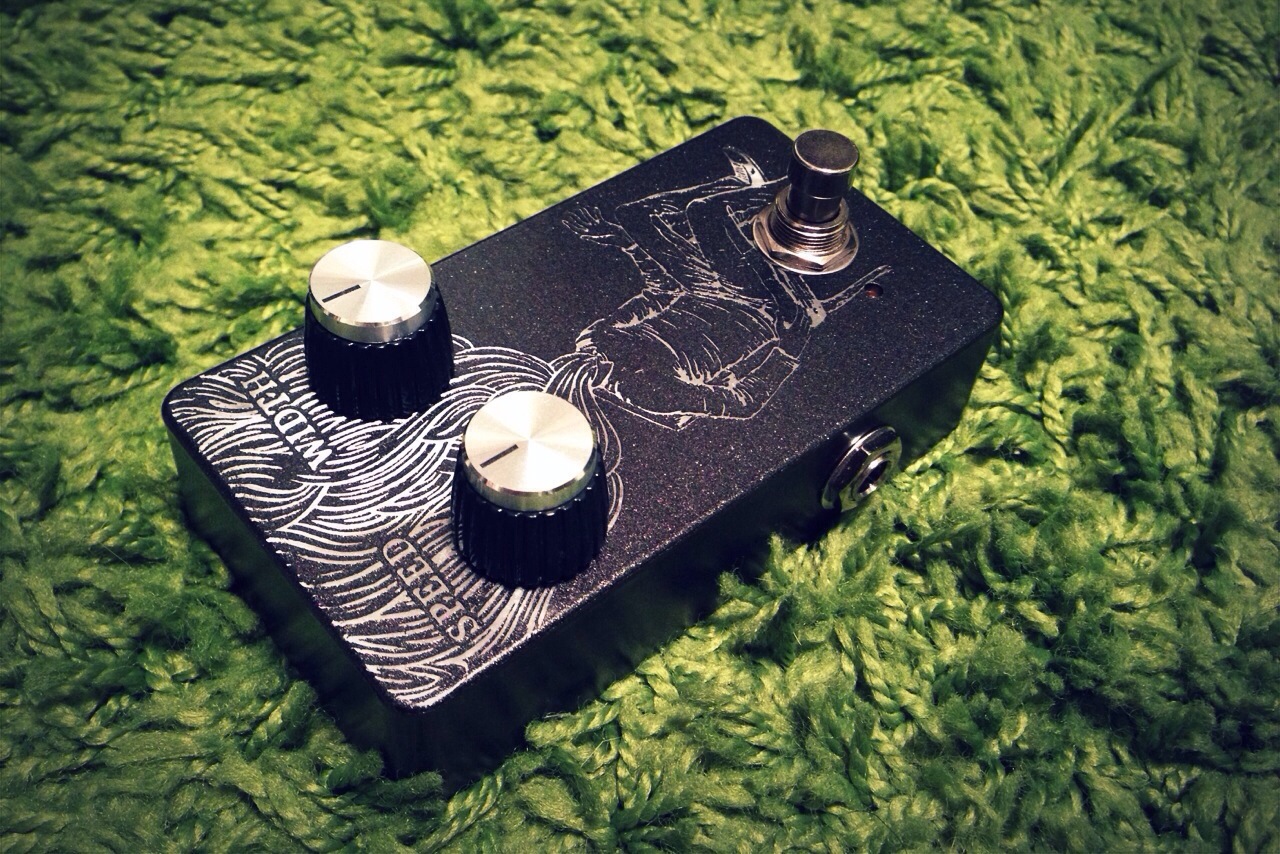
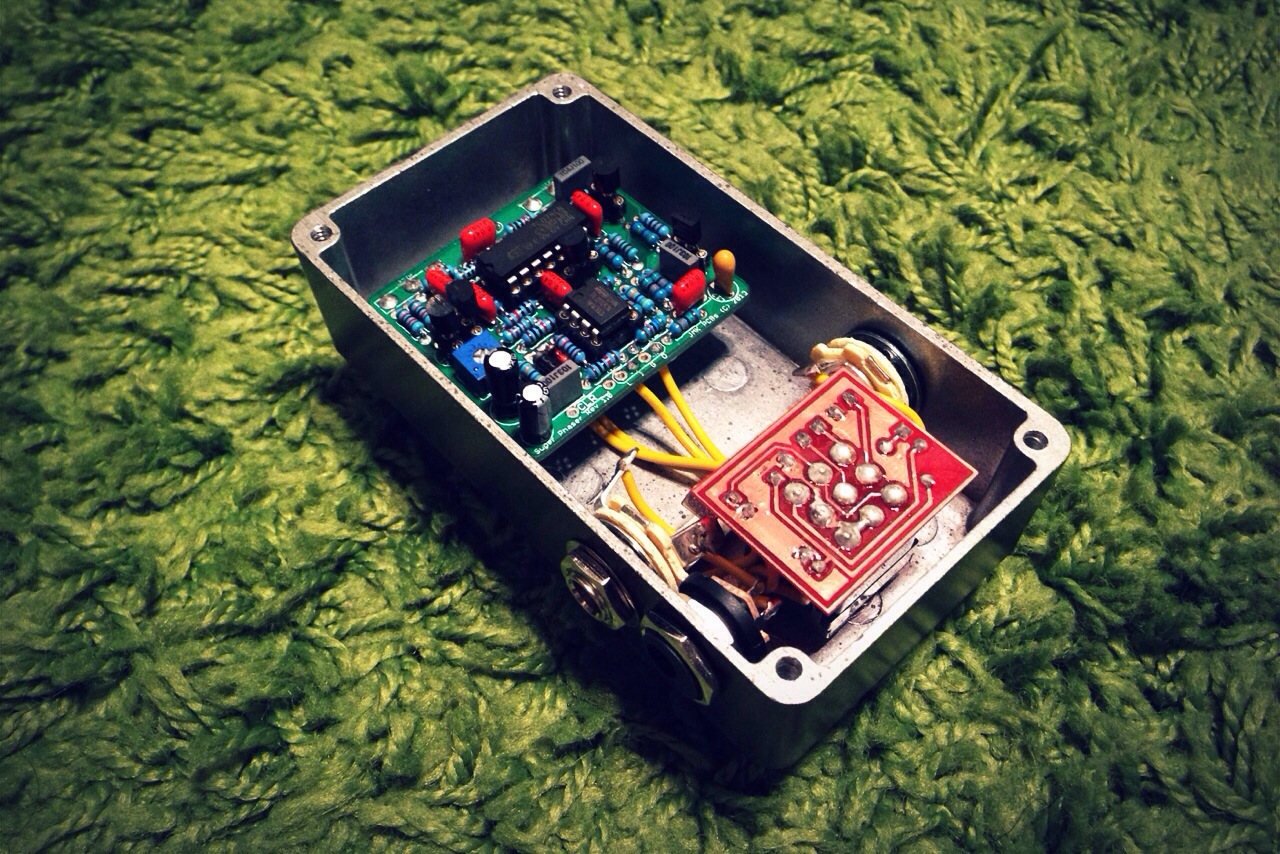
I finished up my first Phaser pedal last night. I like setting it at a very subtle setting and tossing a fuzz in front of it as it adds some nice motion to the sound. I have never been a fan of over wet sounding phasers but at its lower settings it sounds great. I used a PCB from Jacob over at JMK and it was an easy/solid build. I highly recommend it.

The art work on the pedal was more of an experiment to see if the fine lines would hold up to the etching. I love how the results came out but it is hard to see the art work in the photo.

20140507-093610.jpg

20140507-093622.jpg

Gut shot:
20140507-093634.jpg

OctoFuzz

Behold, the Madbean Retrograde which is inturn based on the Tycobrahe Octavia. I took the etchable layout and populated this beast in under an hour, ran in the room and started tearing the paint off the walls with this pedal. This is a thick octave fuzz pedal with a switch that can remove the octave down and leave you with a very usable fuzz only effect. This pedal uses a small 42TM022 transformer that generates the octave portion of the fuzz. This is the first time I have ever worked with a transformer. As far as transistors, I used some old NPNs I had that were unmarked but sounded great in this circuit. They are the little round top button transistors.

I etched the enclosure with some lineart of a few octopus’ that my wife picked out for me.

20140505-195448.jpg

Gut punch:
20140505-195500.jpg

King of what?

Finally got this thing done. It’s a King of Tone work alike laid out by Brejna and I etched and populated the board. All in all its 2 modified Marshall BluesBreaker pedal’s in one and I must say, it sounds fantastic. It nails that great low gain blues rock sound and then can get that pushed overdrive sound when both sides are engaged. There is also some DIP switches inside that will let you select the clipping diode configuration. This pedal just knocked my Morning Glory clone off my board.

The pedal is etched with King David sitting on his throne. The paint is actually a metallic purple but it looks more of a blue in the picture.

20140504-232747.jpg

20140504-232759.jpg
Gut Shot:
20140504-232808.jpg

Tommy

This is a great PCB layout by a guy named Papasmurfsharem on the Madbean forums. It’s a nice Timmy layout with 2 switches for clipping diode selection. A very cool medium gain pedal that cleans up nice and has great note sustain. This will make it on my board for sure.

Etched the enclosure and shot it with a blue metallic paint with some matte clear.

20140504-031306.jpg

Gut shot:
20140504-031316.jpg

Zendrive-ish

This is a Madbean Serendipity which is a “inspired by” Hermida Zendrive. This is, so far my favorite low gain pedal. I built one for my father and I really like it so I decided to build another one for myself. I did change the Drive pot from 500KB to a 100kB since I really did not use the drive past 50%. I am super happy with this build.

I did a reverse etch and used the Dumble fonts. I shot it with a flat black and a matte clear.

Went with a amp like look.
20140504-005116.jpg

Gut shot:
20140504-005124.jpg

Voltages:
AD712
1 4.7v
2 4.7v
3 4.5v
4 0
5 4.7v
6 4.7v
7 4.7v
8 9.5v

Getting ready for some builds

Work has been stupid busy the past few weeks and I just wanted to come home and do nothing. It would be an understatement if I said I have had no time to build recently. I had the stomach flu for 2 days and had some time to work on a few layouts and a bit of artwork, nothing life changing. Tonight I decided to etch 9 of my 3PDT daughter board so I am ready to populate a few enclosures this weekend.

20140501-000854.jpg

(The white on the PCB above is the toner from the transfer. I leave it on the protect the copper and wet sand it off when I am ready to use the board.)

I have the following PCBs on my bench right now that have been tested and tuned and ready for boxing:

  • Timmy (Papasmurfsharem Tommy)
  • Octavia (Madbean Retrograde)
  • Zendrive (Madbean Serendipity)
  • King of Tone (Brejna’s Layout)

Hope to get these all boxed up this weekend.