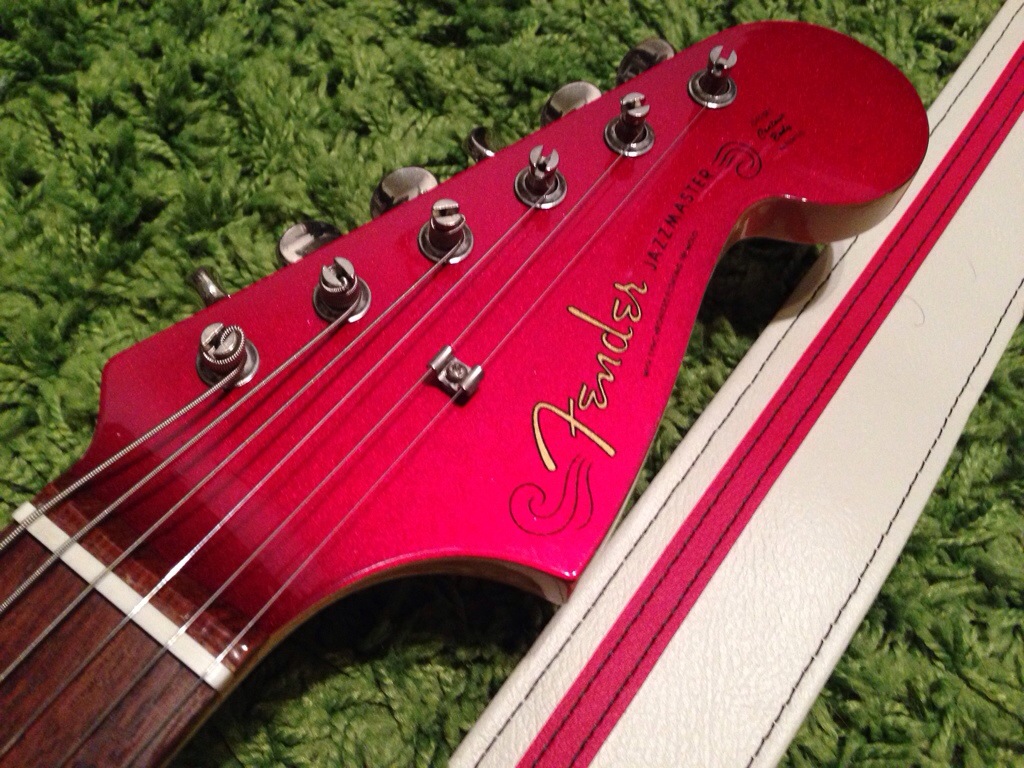
Black Arts Toneworks Pedals

black-arts-toneworks-pedals

I am a fan of their pedals and wanted to make a quick list of what their pedals are based on. I am still researching some of these to see what makes them tick. I will update this post when I find more information.

  • Dark Forest – Colorsound Overdriver
  • Quantum Mystic – Ross Grey Distortion
  • Destroyer – Ritual and an Oath in one box
  • Pharaoh – Electro-Harmonix Big Muff Pi
  • Ritual – Colorsound One knob Fuzz
  • Oath – Revelation Superbass version (No Knobs)
  • Coven – Pharaoh and an Dark Forest in one box
  • Revelation –
  • LSTR – Electro-Harmonix Big Muff Pi
  • Fnord – Ampeg Scrambler and Electro-Harmonix Muff Fuzz
  • Sarcophagus – Pharaoh and an LSTER in one box with change order switch
  • SHOD –
  • Badascan – Moded Pharaoh for the Doom Room

Strymon Timeline MIDI controller

Looking at making a MIDI controller for my Timeline and wanted to look at a few options. First off the retail units I have been reading about.

Tech 21 MIDI Mouse
Disaster Area MMC-3
PedalSync OZ

I am really wanting to take advantage of the Full/Half speed toggle and the reverse and Undo functions. To start out I will most likely look at doing a 3 footswitch box just for those functions until I can learn more about how to have mode switching like the Disaster Area units have.

Strymon Timeline MIDI implementation chart for looping functions:

You can set up your MIDI controller with either MIDI CC (continuous controller), or MIDI note numbers.

MIDI CC values:

  • Record – CC# 87, any value
  • Play – CC# 86, any value
  • Stop – CC# 85, any value
  • Reverse (toggle) – CC# 94, any value
  • Full/Half Speed (toggle) – CC# 95, any value
  • Pre/Post (toggle) – CC# 96, any value
  • Undo (to initial loop) – CC# 89, any value
  • Redo – CC# 90, any value
  • Looper Level – CC# 90, value range 0-17

Note values:

  • Record – note 0, velocity > 0
  • Play – note 2, velocity > 0
  • Stop – note 4, velocity > 0
  • Reverse (toggle) – note 14, velocity > 0
  • Full/Half Speed (toggle) – note 16, velocity > 0
  • Pre/Post (toggle) – note 17, velocity > 0
  • Undo (to initial loop) – note 7, velocity > 0
  • Redo – note 9, velocity > 0

I was thinking about doing a Arduino project but figured it would be to bulky and to much unneeded overhead. I think a basic PIC with a small program to translate the MIDI values will be my best option.

More to come…

Black arts Toneworks Pharaoh clone

I used a Madbean Mudbunny as a base PCB for this great big muff pi variant. This thing just screams “stoner rock” at its finest. I am really starting to like the diode switch set to no diodes, it sounds so harsh.. in a good way. The High/Low input switch I found pretty useless in my situation since the high setting always sounded better to my ears. I will need to see what the real purpose of this switch is.. I might not understand its usage clearly.

20131008-222532.jpg

20131008-222539.jpg

Unicord Superfuzz

Finally.. FINALLY.. I got a working layout. I had so many problems getting this to work and come to find out I had an old layout that had errors. Thanks to the guys at DIYSB they help to point me in the right direction. Now that its done I simply love this fuzz, it is my 2nd favorite fuzz with the v4 Big Muff OpAmp fuzz. This pedal nails that harsh fuzz that I was craving.

Here is the layout I used

20131008-003811.jpg

20131008-003819.jpg


I am a bit sad since I got this all put together and I dropped a screw driver on it and chipped the paint right next to the SPDT switch.

Modded Germanium Fuzz Face

I was looking for a Fuzz Face that got some of the low end like the Ox Fuzz and as much control as I can get out of it. I came across a layout by Ataraxia Engineering called the 4-Knob Fuzz Face. Its a basic Fuzz Face layout with a charge pump to make it a negative ground pedal. This pedal has a few of the more “well known” mods.

Here is the layout I used

20131008-003656.jpg

20131008-003704.jpg


Looks like the ground pour got the best of me with my solder. No biggie.. it sounds great.

1776 Multiplex Jr.

I just simply love this delay. Josh over at 1776 made a solid design and its bullet proof. This is the 2nd one I have built and I am not sure why but this one was a lot harder to fit in a 1590B. At the end of the day I finally got it fit and it came out pretty clean… oh oh .. and it sounds great too.

Here is the build Doc from 1776 Effects

20131008-003544.jpg

20131008-003552.jpg

I am debating if I should label the controls or leave it as is. Think I will toss it on my board and see how it goes.

Flexi Clip

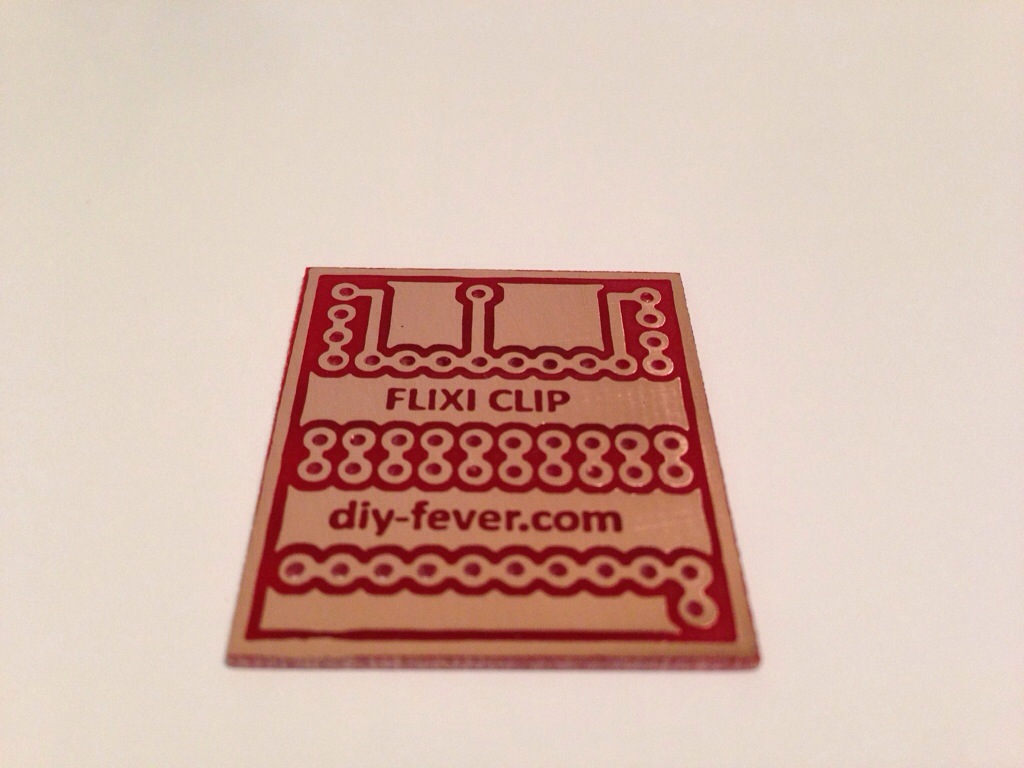
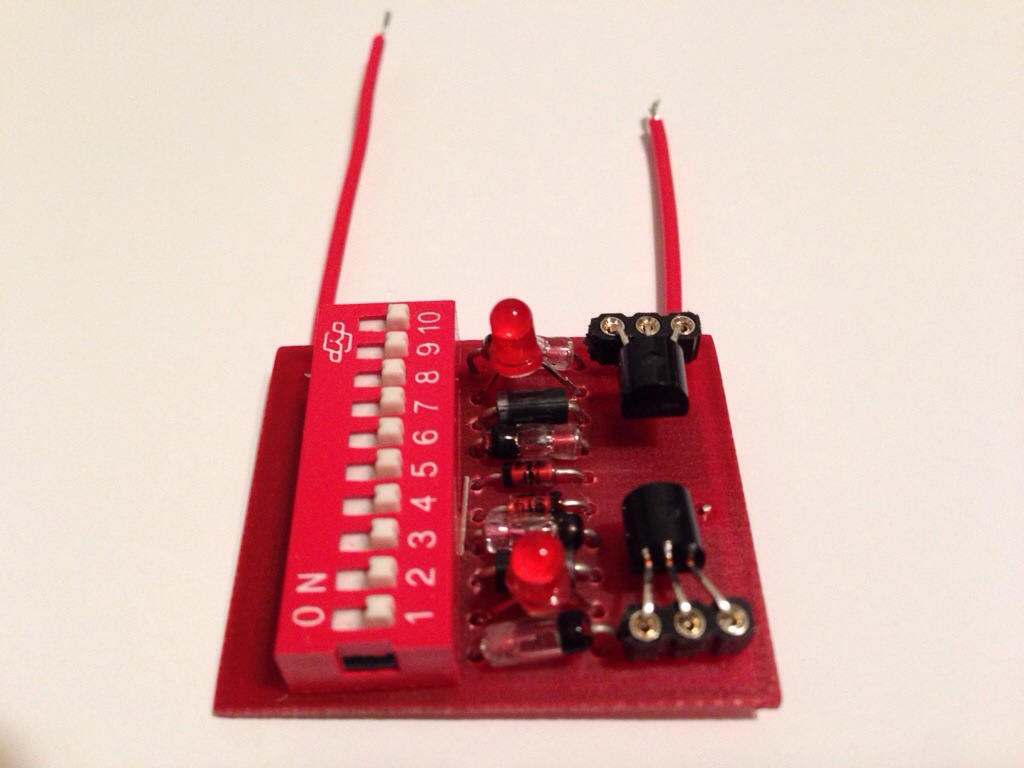
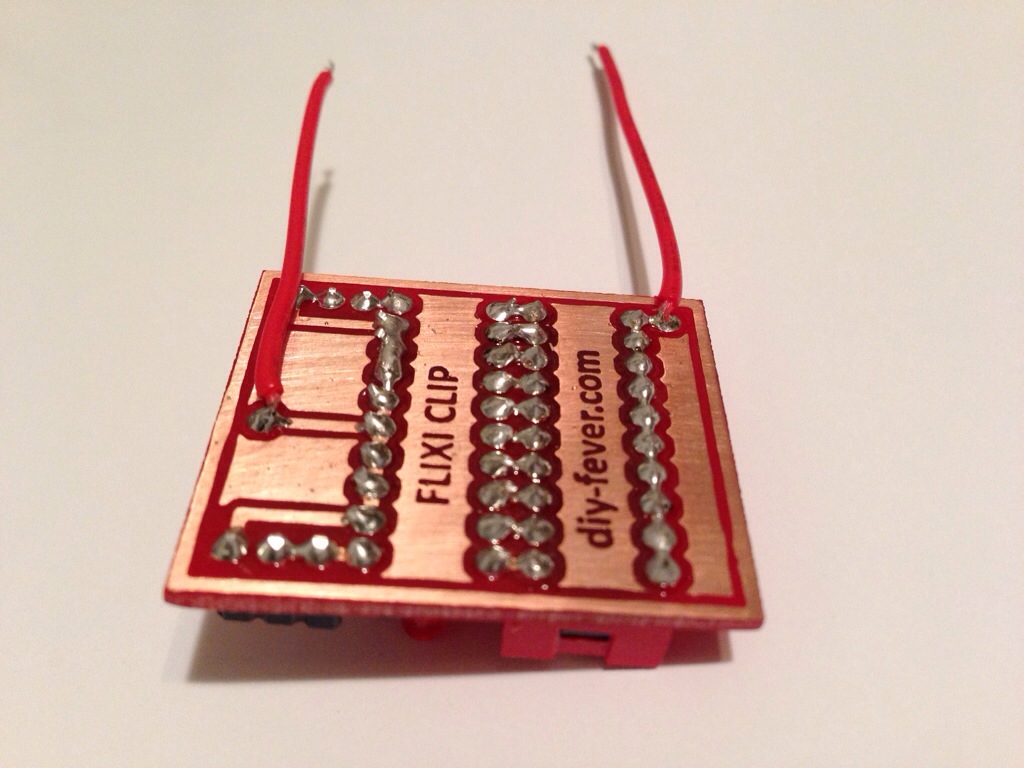
I pulled the information from diy-fever and I wanted to make a quick PCB for it. I am trying to force myself to use Eagle but for something so simple I decided to use DIYLC for a quick layout. Here is a description of this pulled from diy-fever.

This circuits lets you try many symmetrical and asymmetrical clipping types combining few most used clipping diodes: Silicon, Germanium, Rectifier, LED and FET (used as diode: Drain and Gate for cathode and Source for anode). Below is chart of forward voltages I measured on all parts used here.

This is how mine turned out.

20131007-184656.jpg

20131007-184703.jpg

20131007-184711.jpg

Worked perfect and I was able to try a few different configuration with a Rat pedal I am building.

Testing new copper clad

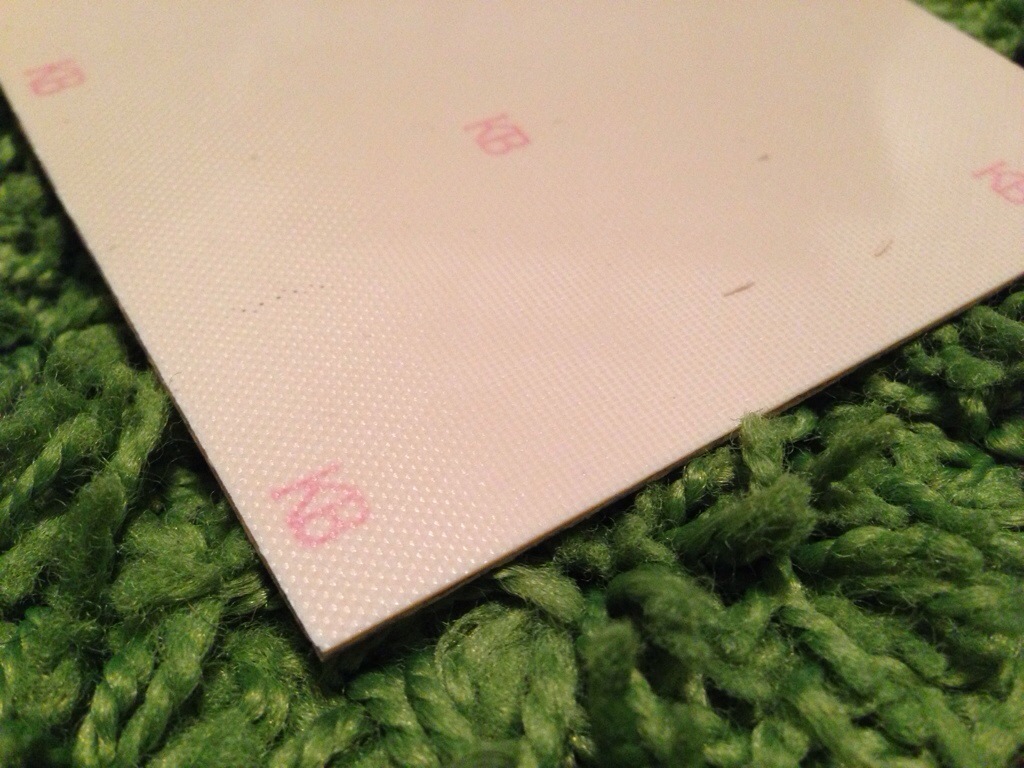
I recently ordered some new copper clad from eBay and I noticed the prices of the red laminate that I like useing went up in price. I decided to jump on a deal he was having on 4″x6″ CEM (Composite epoxy material) single sided copper clad. I got a great deal on a 49 pieces so I jumped on it. I figured that if they don’t work well as PCBs then I can use them as faceplates. Here is the information I found on them.

20130923-211948.jpg

First thing I noticed was the copper was cleaned up pretty well and I just hit it with some 600 grit wet sandpaper before etching.
20130923-211956.jpg

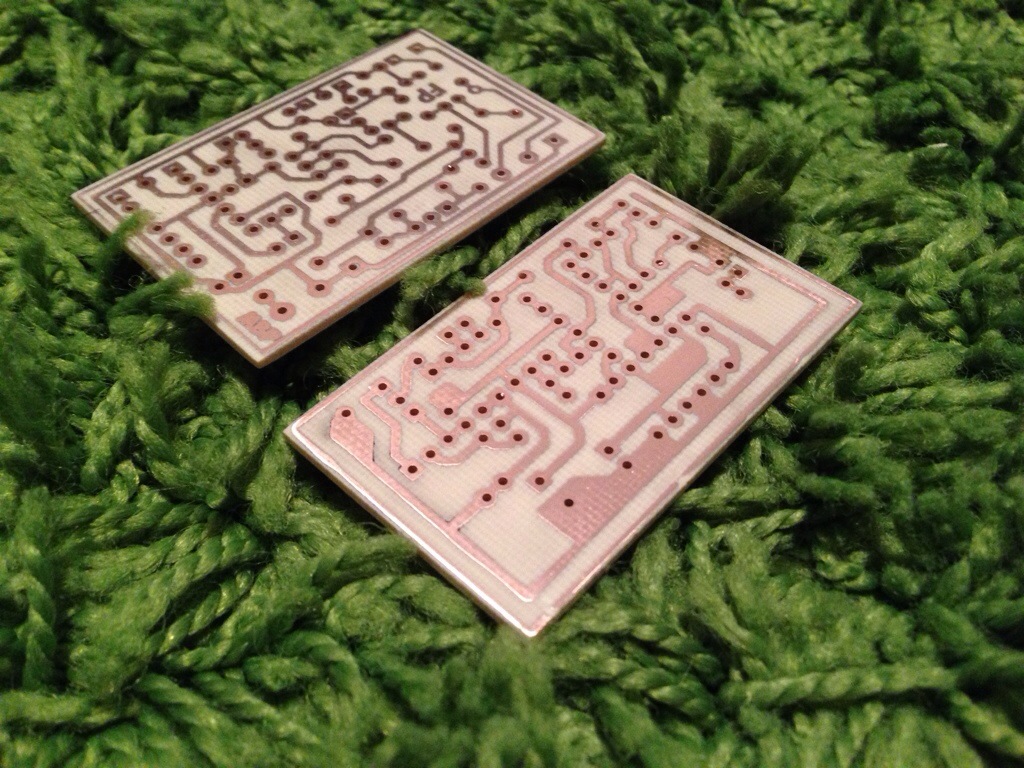
It seemed to etch well and even.
20130923-212010.jpg

If I was going to complain about anything it would be the fact that CEM will chip when cut with my table top paper cutter. So I may have to use the jigsaw or Dremel.

DC Plugs for my test bench

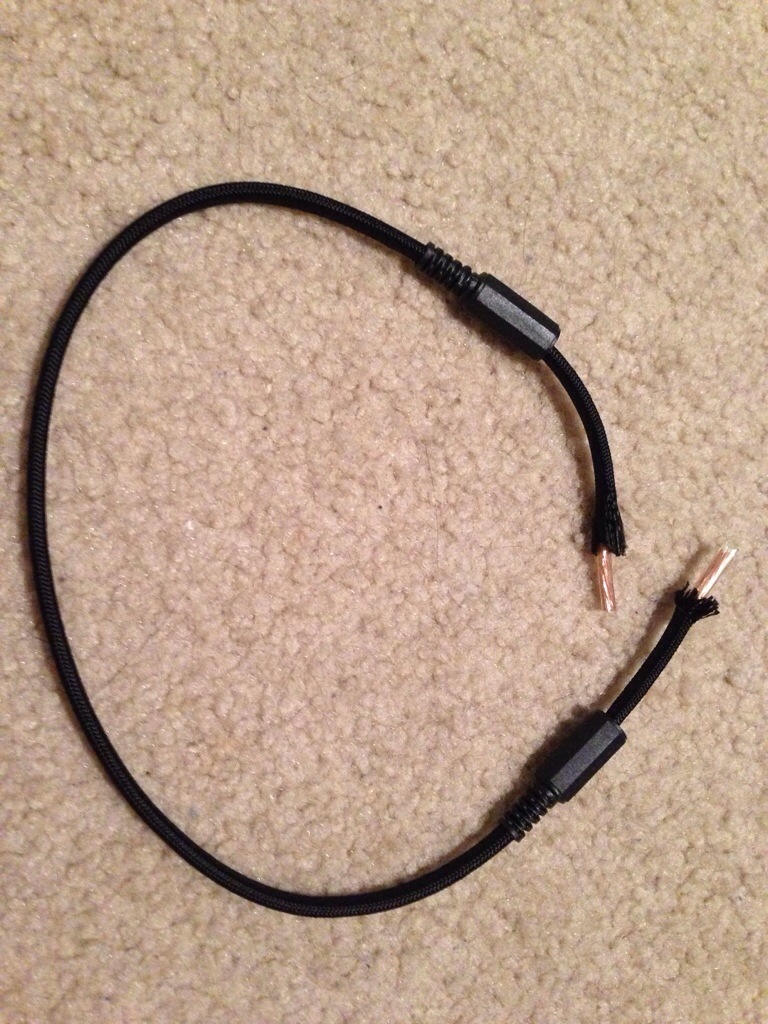
A few months back I made a desktop PSU for my work bench and I thought the Madbean Road Rage charge pump would be perfect since I was able to get +9v -9V 12v & 18V all in one box. I needed to make some DC jacks for the PSU and decided to spruce it up a bit with some easy to find parts. This is the items I needed for this project,

  • DC Power Plug 2.1mm – I grabbed these since they were cheap and did the job.
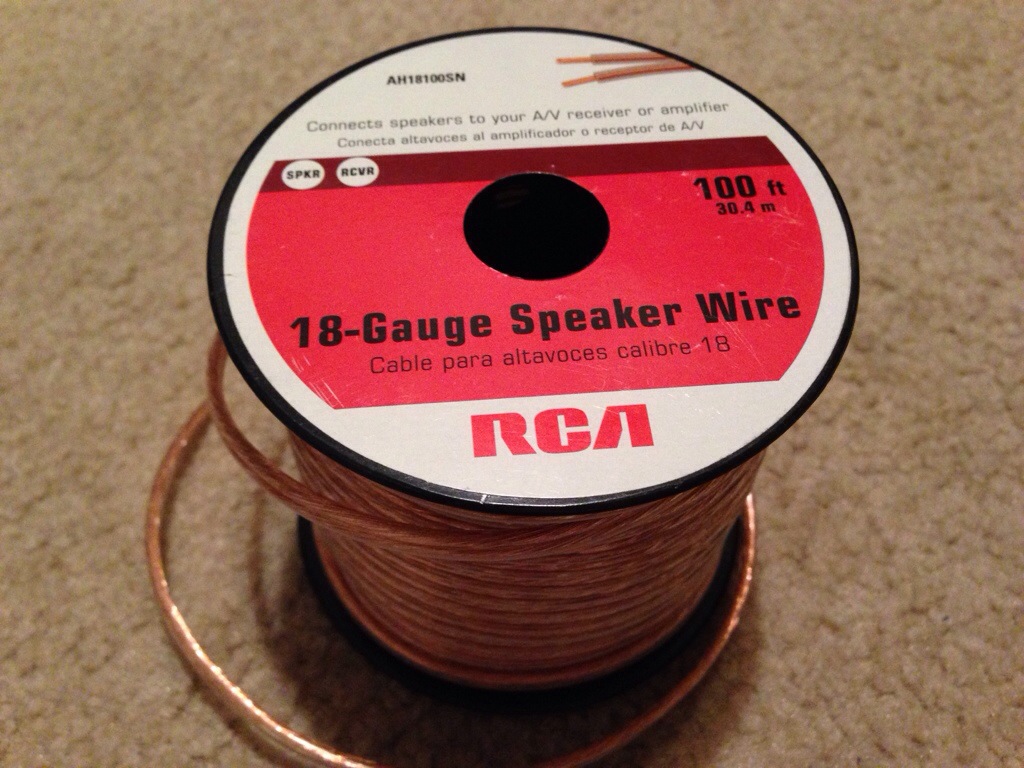
  • 18 Gauge Speaker wire – I’m not sure where I bought this since it was a stash I had in my garage.
  • Black Paracord – I love this stuff but it can be a pain to work with. I suggest taking your time and making sure you use something very sharp to cut it. Also, make sure it does not fray to much, I use a lighter to melt the end a bit.
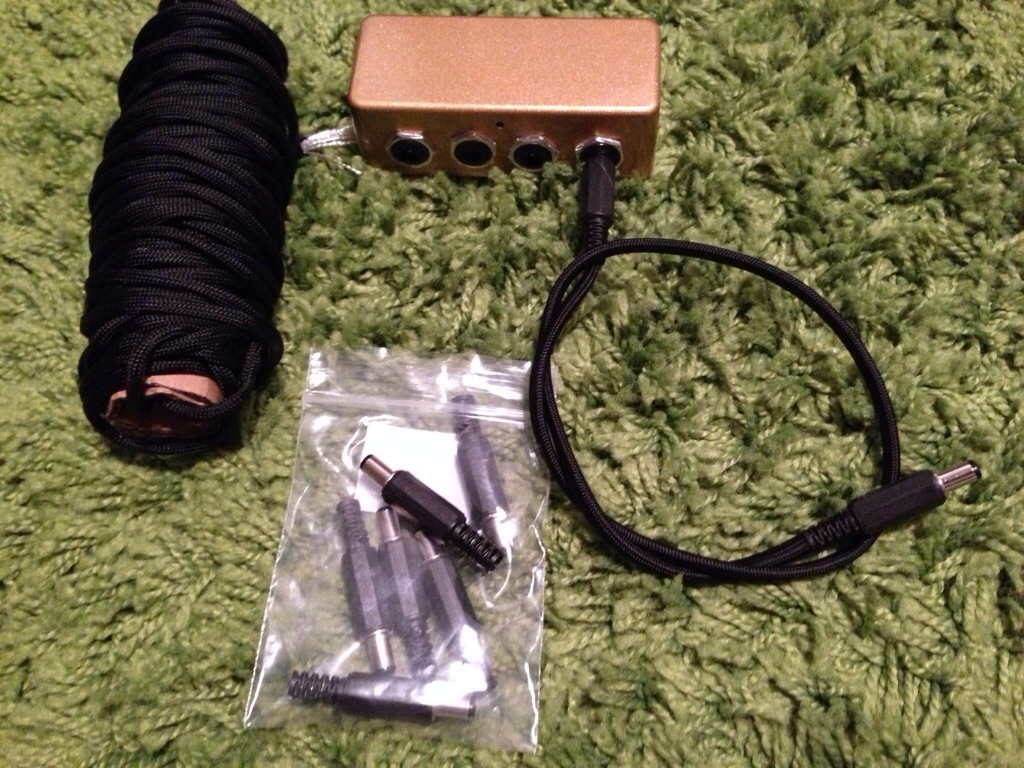
20130923-211657.jpg

20130923-211707.jpg


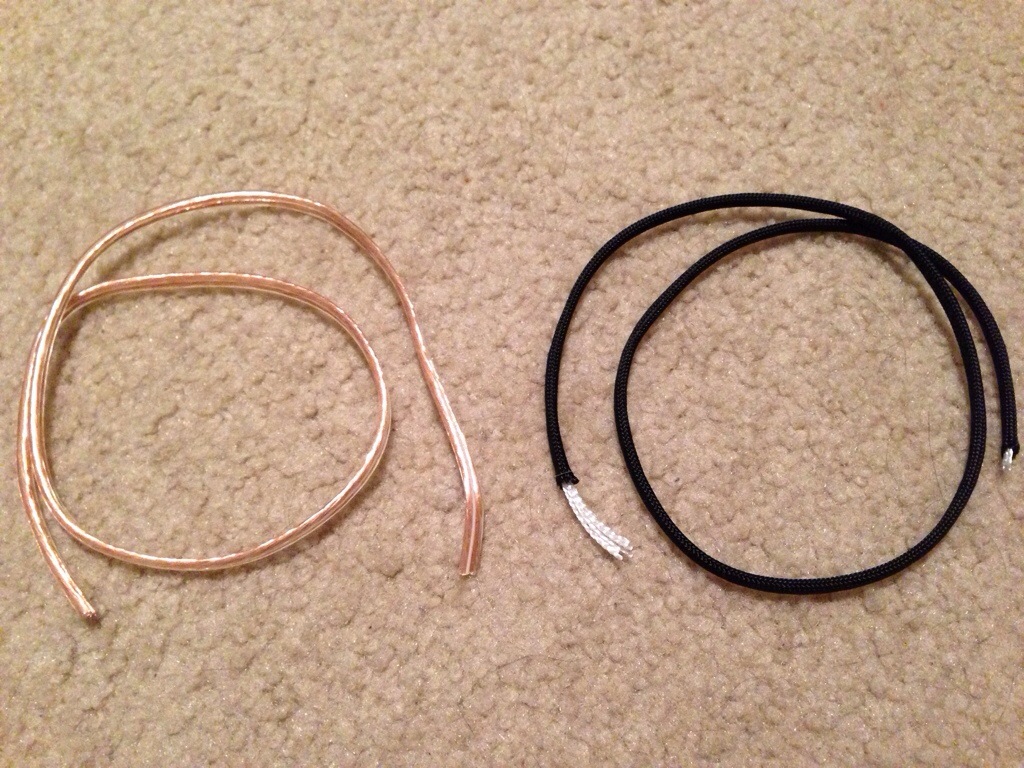
I cut the wire and paracord to the same length. You might need to cut the paracord a bit longer due to the diameter of the cable may shorten the overall length of the paracord.
20130923-211719.jpg


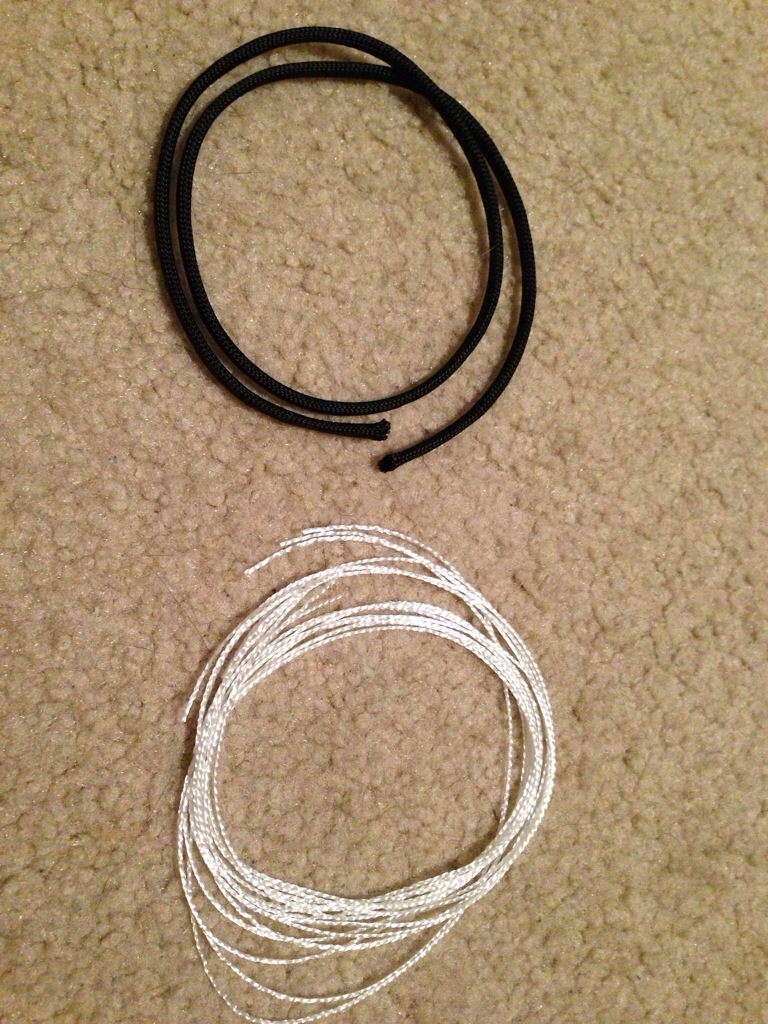
Remove the white nylon strings from with in the paracord. They just pull right out with no effort.
20130923-211729.jpg


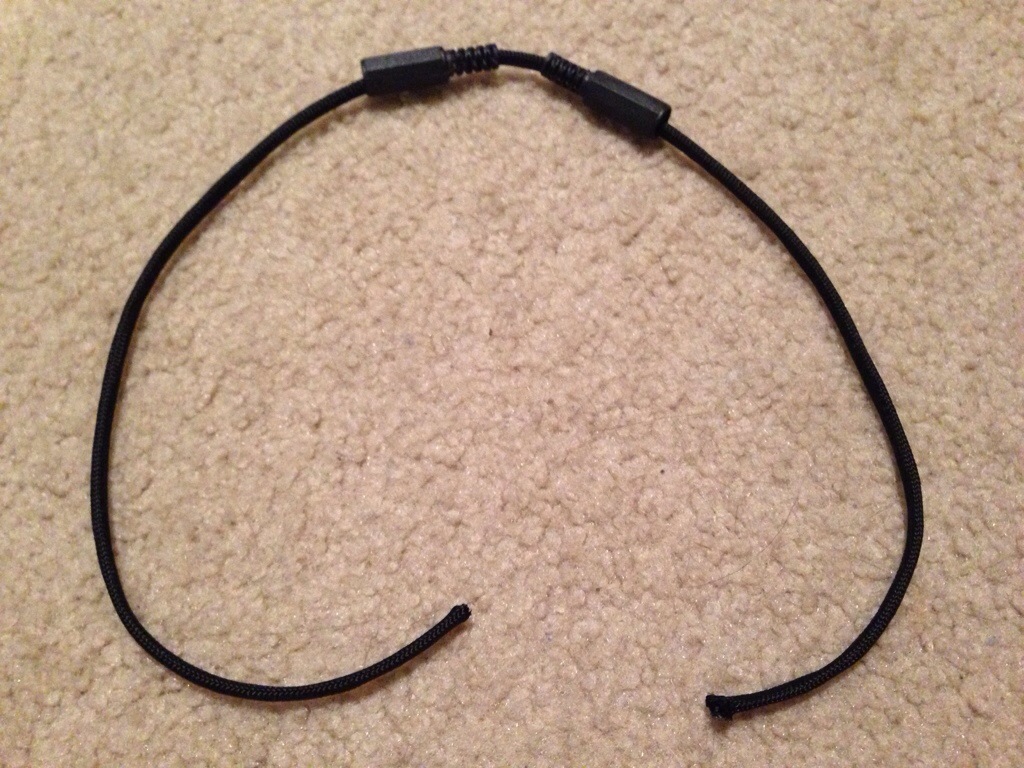
I found it 4000 times easier to put the DC jack plastic covers on the paracord before feeding the wire through. Experiment and rinse and repeat.
20130923-211741.jpg


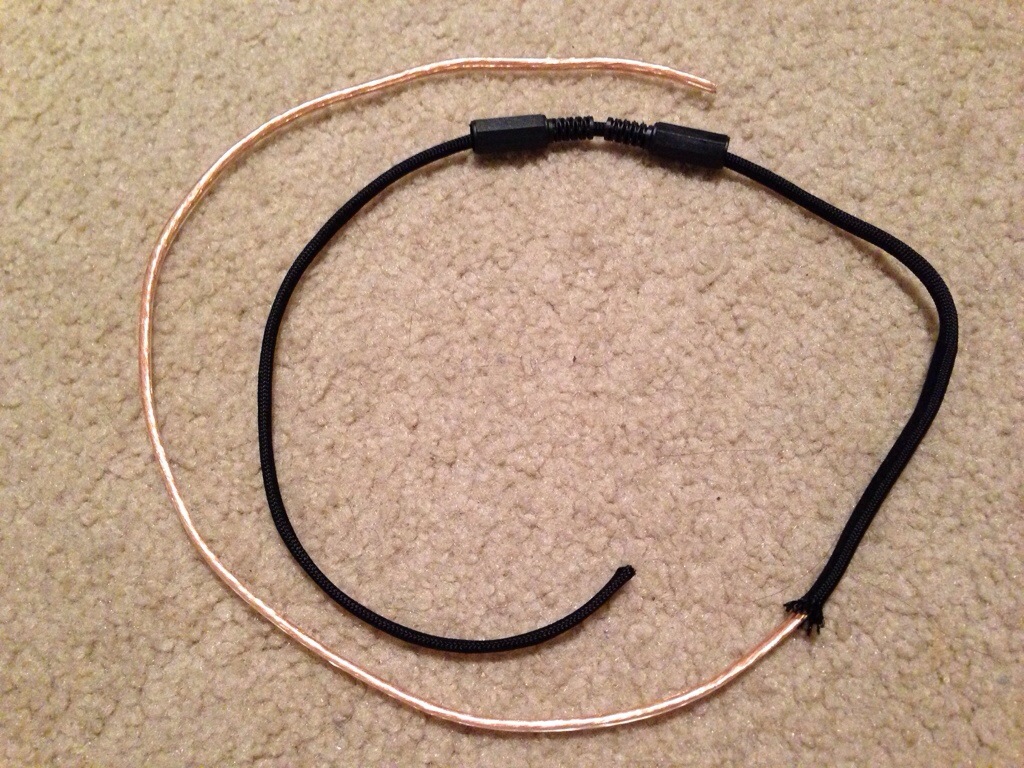
Now for the slow part of this process, feeding the wire into the paracord. Think of the paracord like a “chinese finger trap” and you need to push the paracord together to expand it. I know.. I Know “what the hell is her talking about”, trust me, you will figure it out.
20130923-211752.jpg


All done, that wasn’t to bad, right?

20130923-211801.jpg


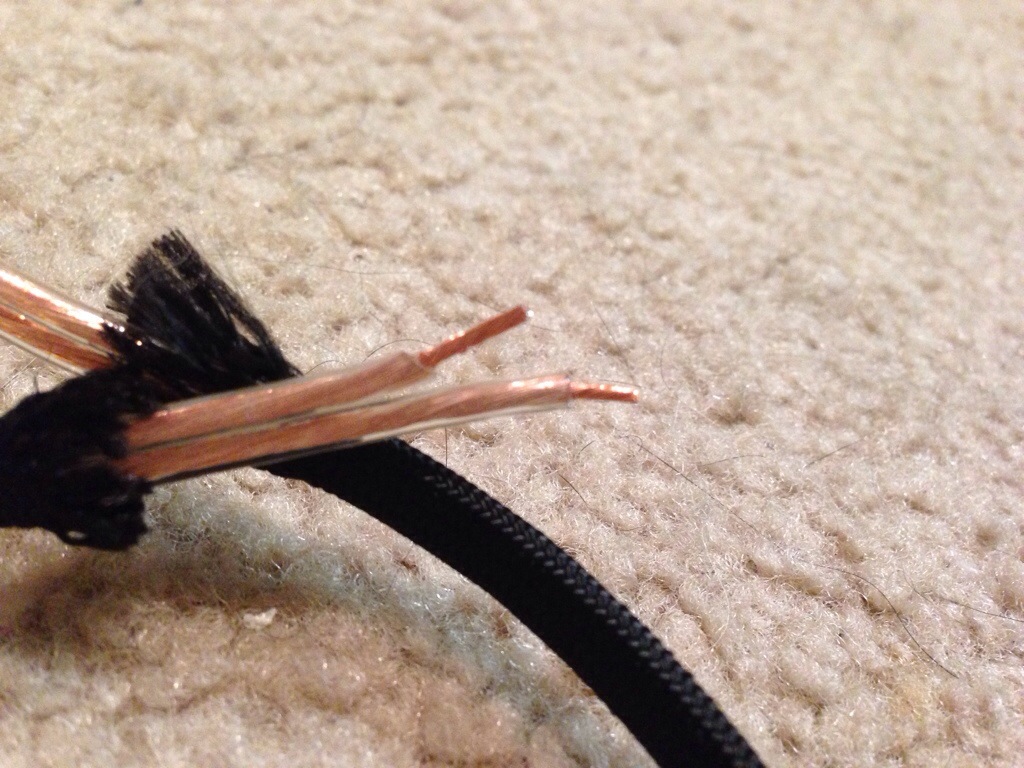
I trim the ground wire back a bit (In this case I used the wire with this white stripe on it) so I can solder it to the sleeve of the DC jack.
20130923-211810.jpg


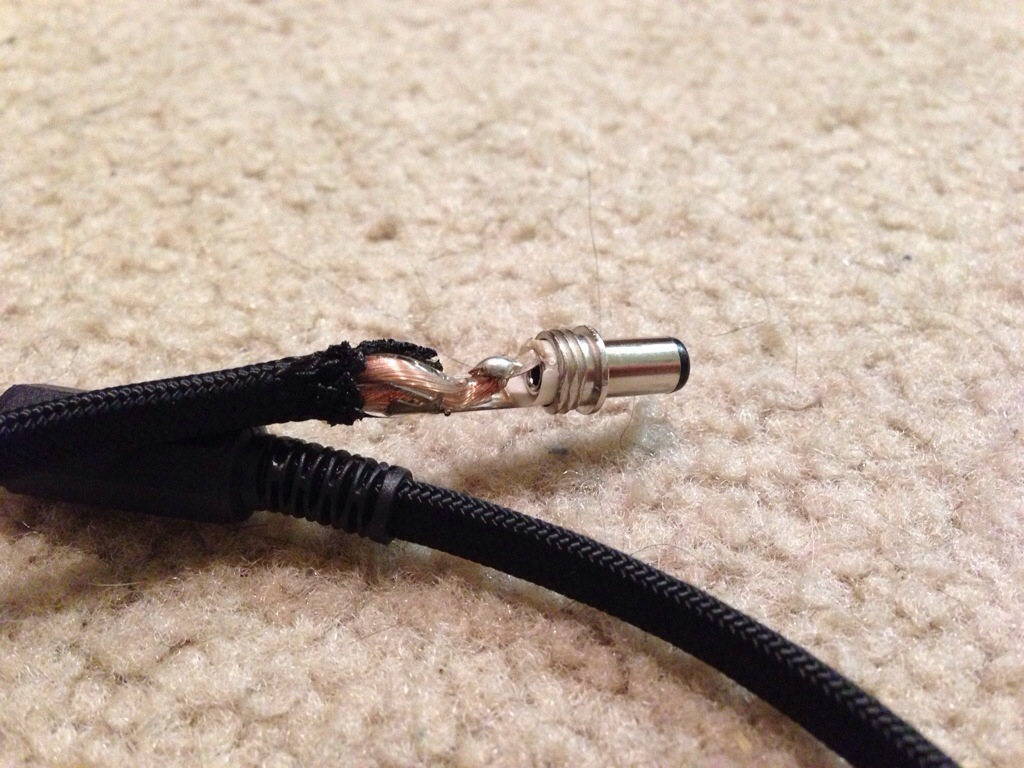
Shazam, all soldered up. wow this picture makes it look like a pretty bad job but since the ground wire was trimmed there is a very low possibility for a short.
20130923-211820.jpg


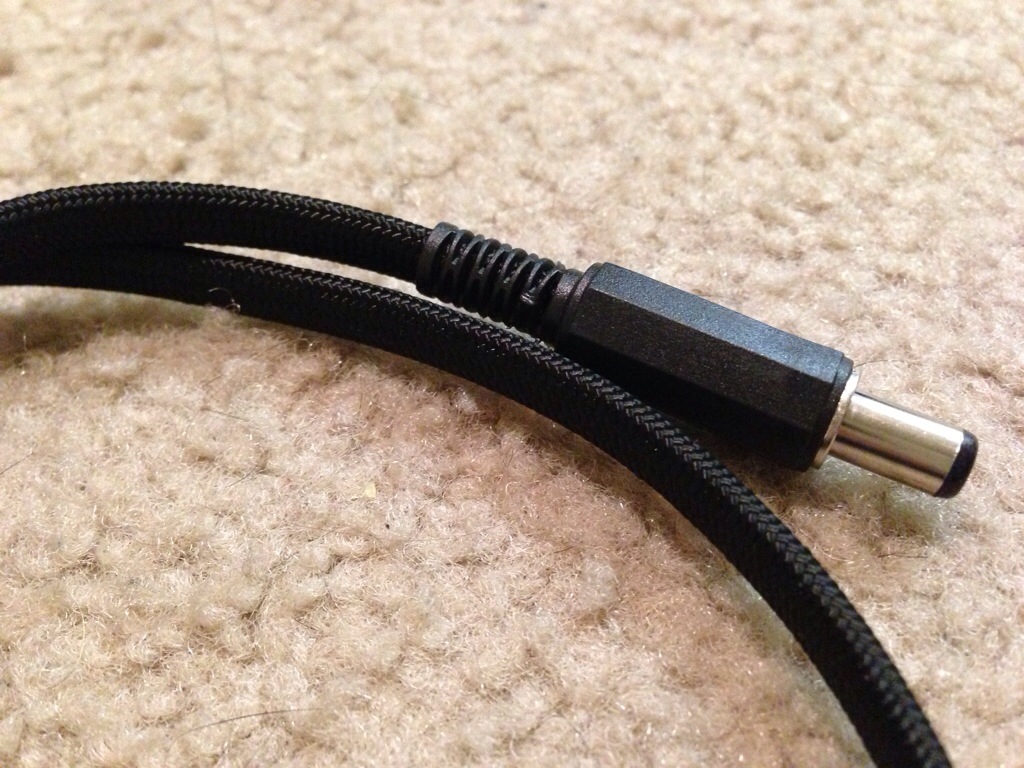
Here it is all put together. I think the paracord just makes it look so clean.
20130923-211832.jpg