Category: DIY

Engineer SS-02 Solder Sucker

20140301-144003.jpg
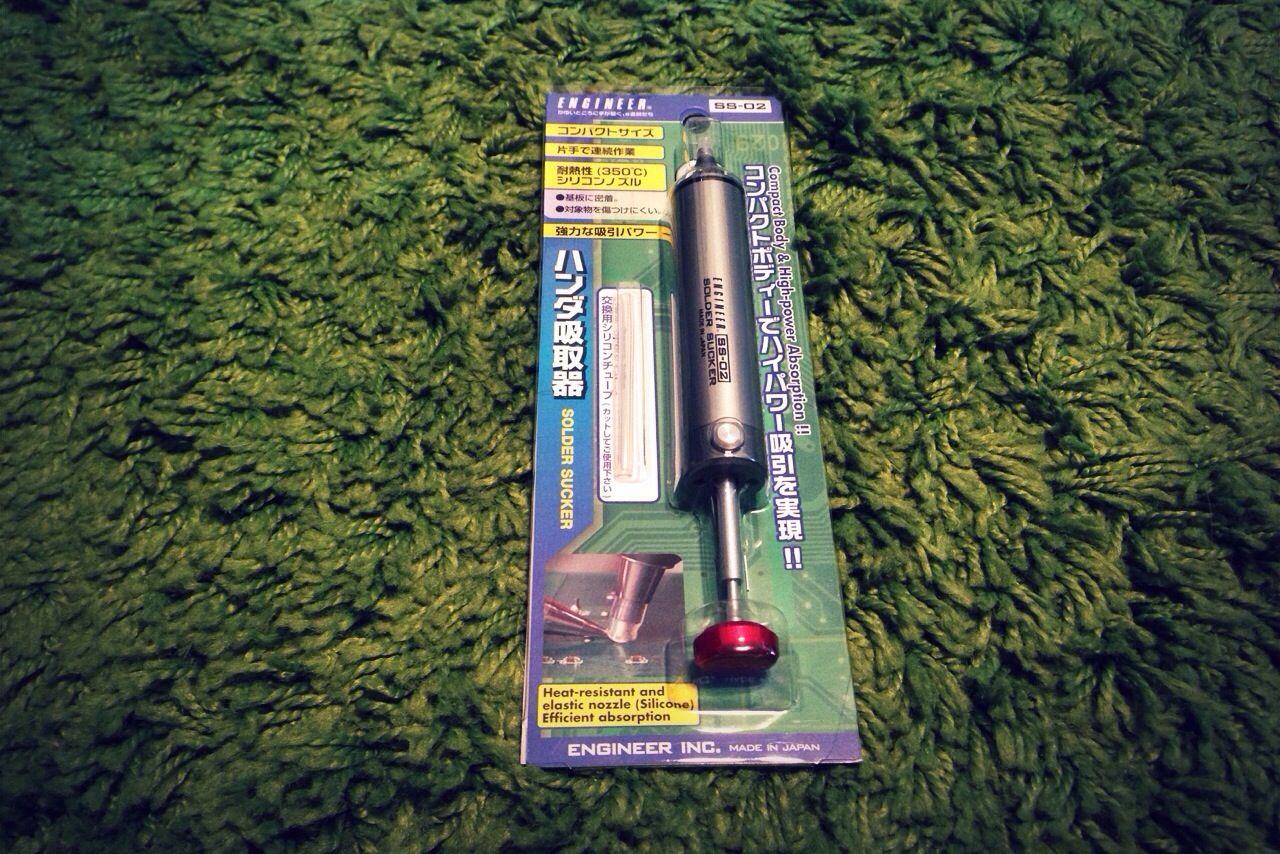
This is actually one of those tools you hope you don’t need to use but when you do it needs to be a quality tool. Desoldering can lead to anger issues quickly. I actually saw this first on a YouTube video from Japan and I thought that not only did it look cool but I loved the silicon tip. I looked around a few places to order one but the EMS shipping was close to the price if the solder sucker. I got an email from Adafruit about new products and it looks like they now carry it. I jumped on the opportunity to snag one.

20140301-144545.jpg
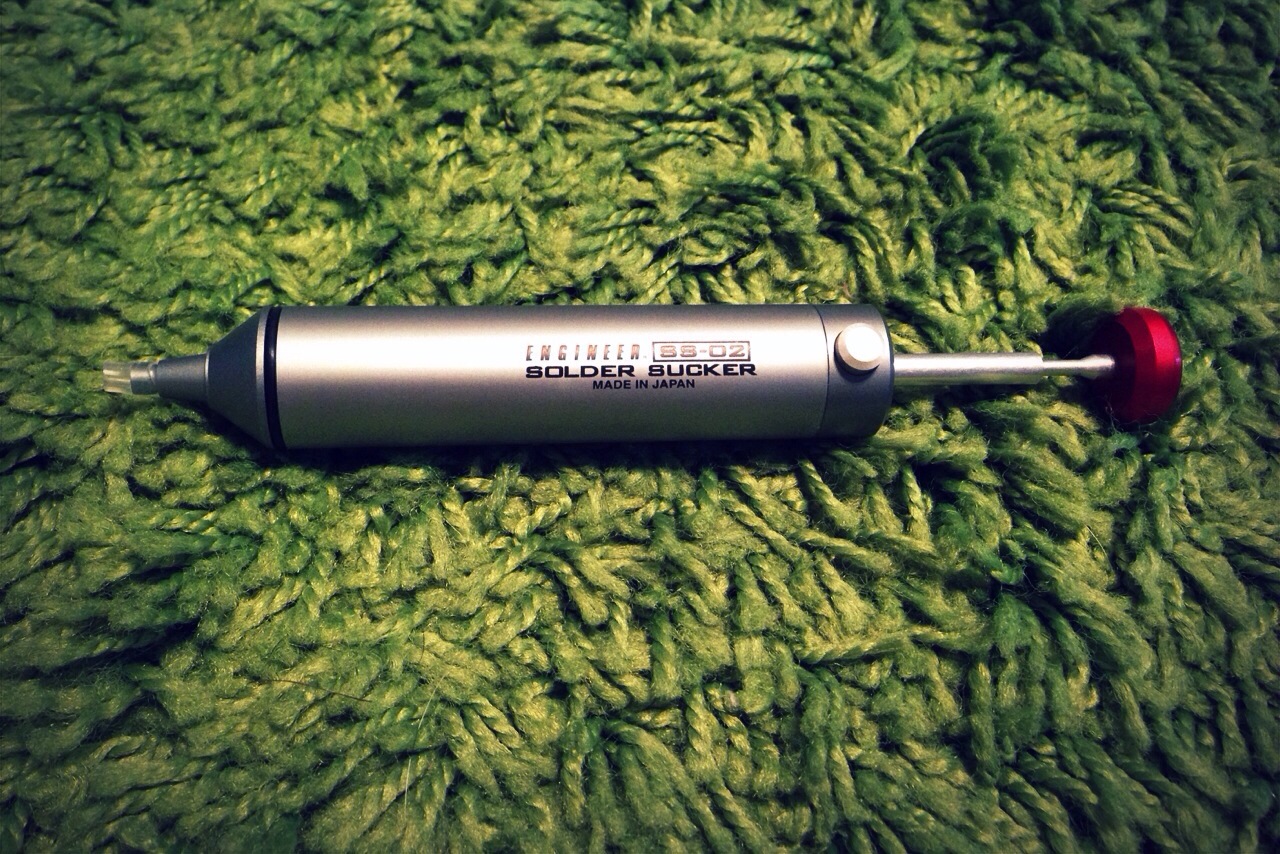
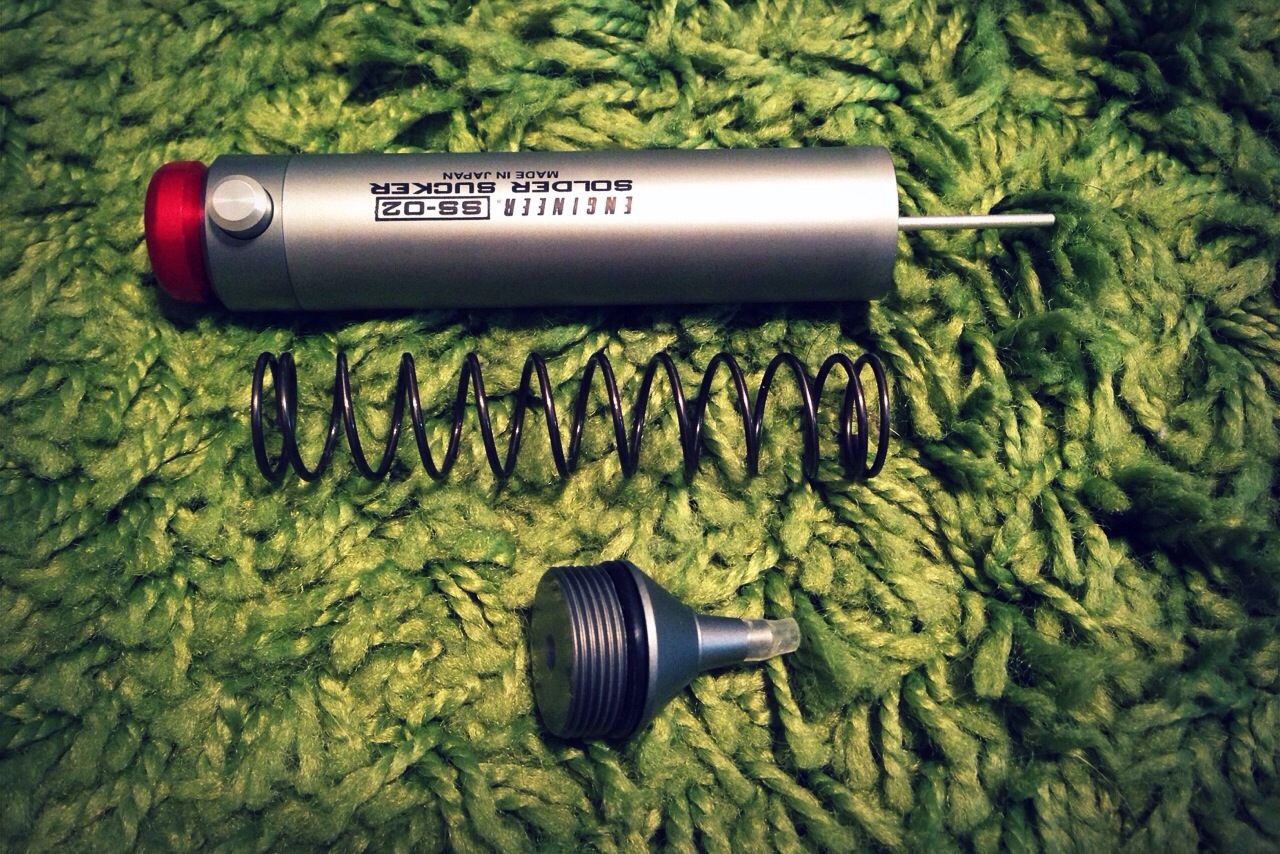
It’s got a great brushed aluminum body and a red aluminum push end. It feels solid in your hands and does not feel cheap by any means.

20140301-144730.jpg
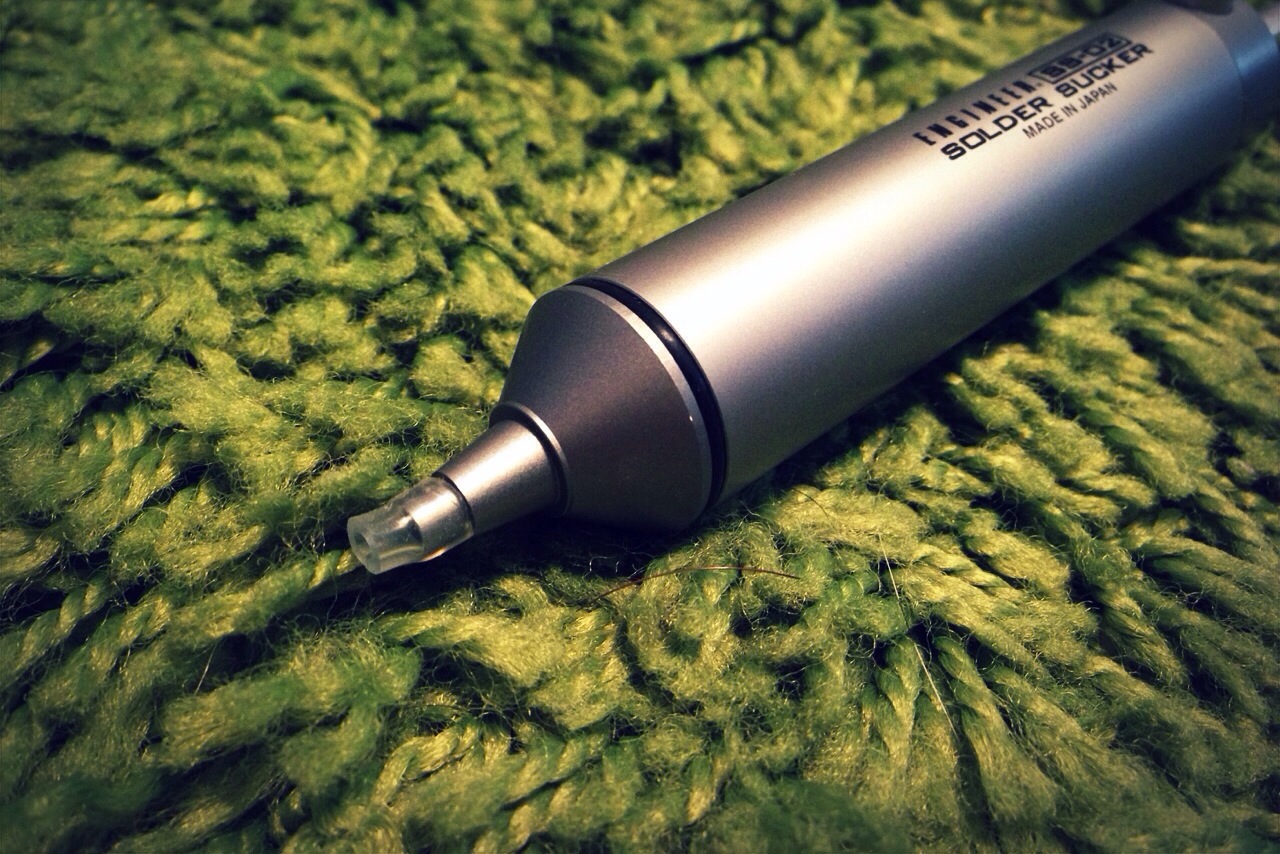
It has a heat resistant (up to 350 degrees C / 620 degrees F according to the instructions) silicon tip and it comes with some replacement tubing also.

20140301-144931.jpg
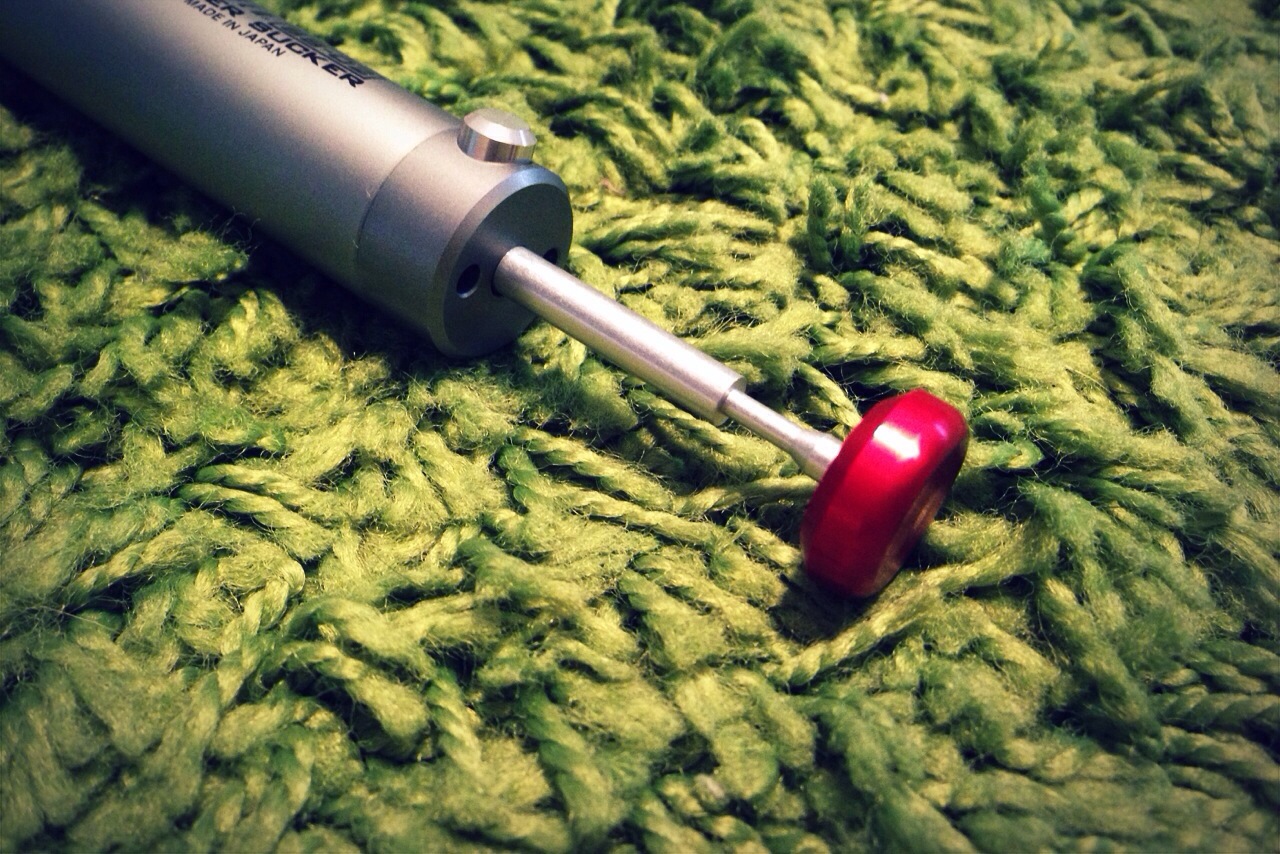
The plunger is very sturdy and does not feel like it will bend or break easily.

20140301-145046.jpg
There are 3 major components to this solder sucker. You have the body, tip and spring. It comes apart easily and can be cleaned with ease. Now it’s time for a bench test.

1/8 watt China Madness!

20140222-232708.jpg

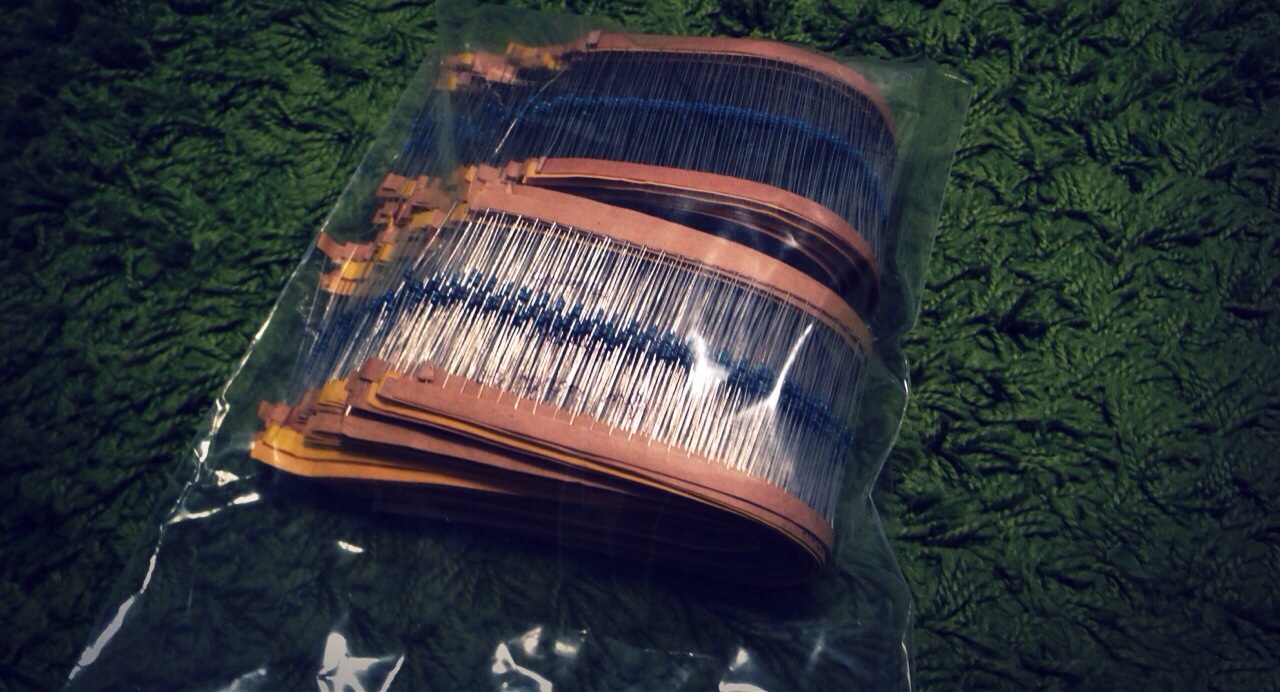
Just got these in today. Took a whopping 1.5 weeks (which is not to bad from China to the US) to get them but it was well worth it. I was tired of the expensive prices of 1/8 watt resistors from Mouse. I found a seller on eBay from China that had a bulk of 97 values and 50 each. That’s a total 4850 pieces. I got all this for $30 and free shipping. Time to test and sort and to move up some mini builds to the top of the build list.

Clomipramine (OCD Clone)

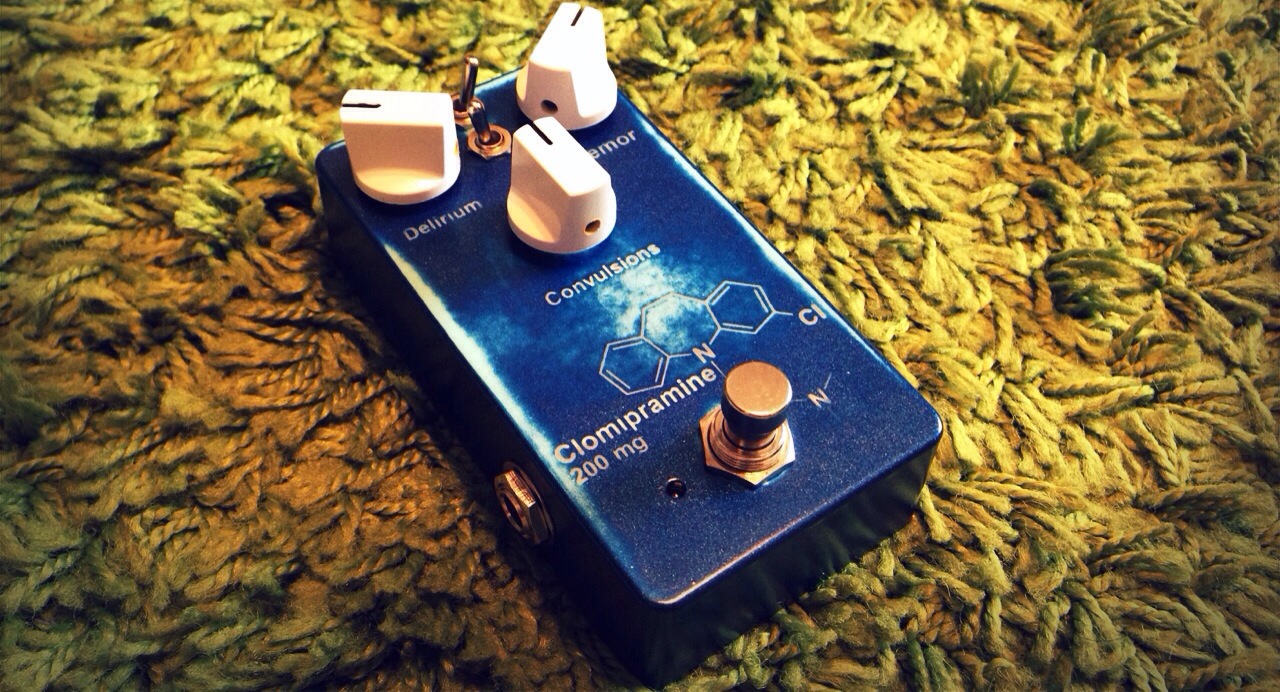
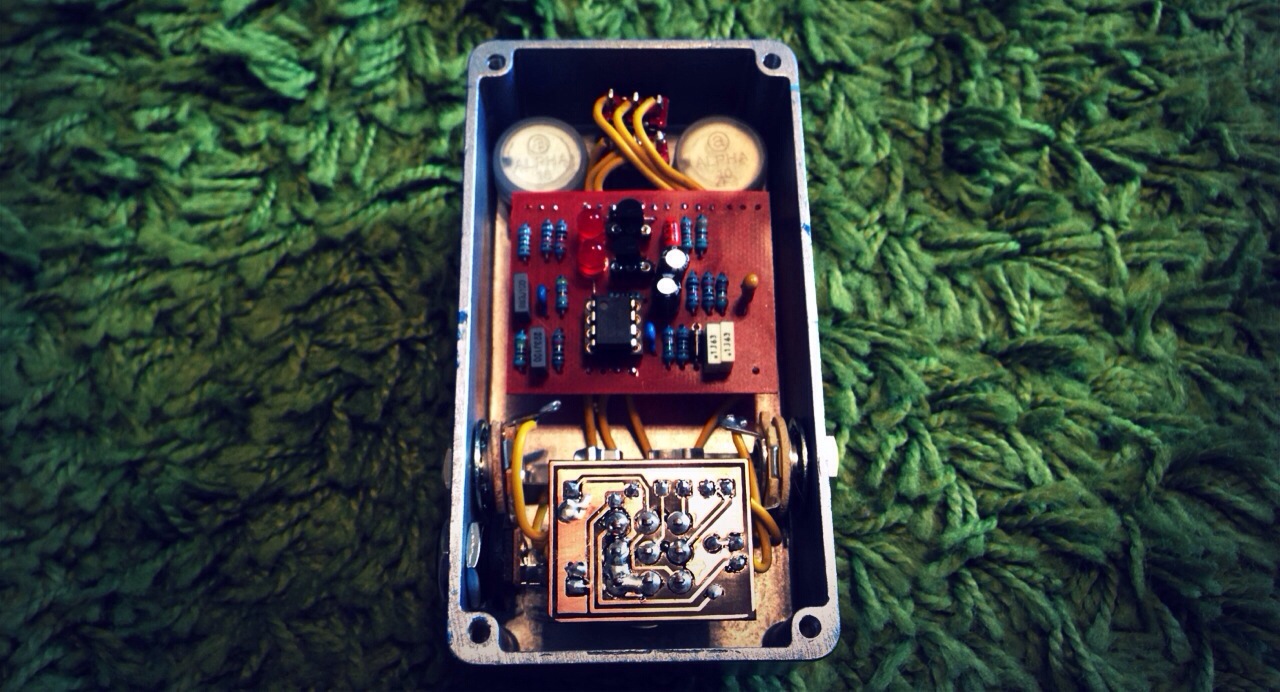
I built this on the Madbean EgoDriver layout and left in the Hi/Low switch and the Clipping switch. I am loving this overdrive at the moment and it will find a place on my board.

As for the finish of this pedal, it was a mess up and I ended up liking the results. It stated as a light baby blue but you were unable to see the etch and I did not want to paint the etched area. So I shot it with metallic blue but it wore through even with just 1000 grit wet sandpaper. So instead of risking sanding the etch away I decided to keep it with the worn look. It has grown on me.

20140216-155530.jpg

20140216-155540.jpg


The name is from the first drug that was developed in the 60’s to treat obsessive-compulsive disorder. I tossed the 2D molecular structure on it also for fun.

Tested a few builds

Just got done testing a couple builds and I can’t wait to box them up.

First up was a Fat Fuzz Factory that Brian (Madbean) laid out. I have a standard horizontal mount Fuzz Factory that I love but I have the pedal placement and wanted a vertical built. I tossed a couple old 2SA72 transistors I had and they sound great.

PCB Picture:

20140202-232623.jpg
Next is to etch an enclosure and get this beast boxed up.

Next up is a Fulltone OCD built from the Egodriver layout by Madbean. I really missed out on the whole OCD overdrive band wagon but I am glad I have it a try. I will choose this OD over a Hotcake any day. The Egodriver has a clipping diode mod on it where you can choose from the 2N7000 MOSFET clipping or 2 diffused red LEDs. Both have their place but I find the LEDs to be a bit clearer on chords and better sustain.

PCB picture:

20140202-233351.jpg

I will work on boxing both of these up this week so they can find a home on my board.

Enclosure Etching Tutorial/Pictorial

20140127-193621.jpg

I have been asked to document my enclosure etching method by a few people. I documented one of my last etches last week and finally got it all layed out and created a page just like my PCB etching tutorial. Let me know if you have any questions or comments about my process. You can either click on the link below or from the button in my top menu bar. Enjoy

Etching Tutorial Page

Enclosure Etching

This is by no means a “must do it this way” tutorial. This is simply what works for me consistently. I will try to explain each step of my process.

Items I needed:

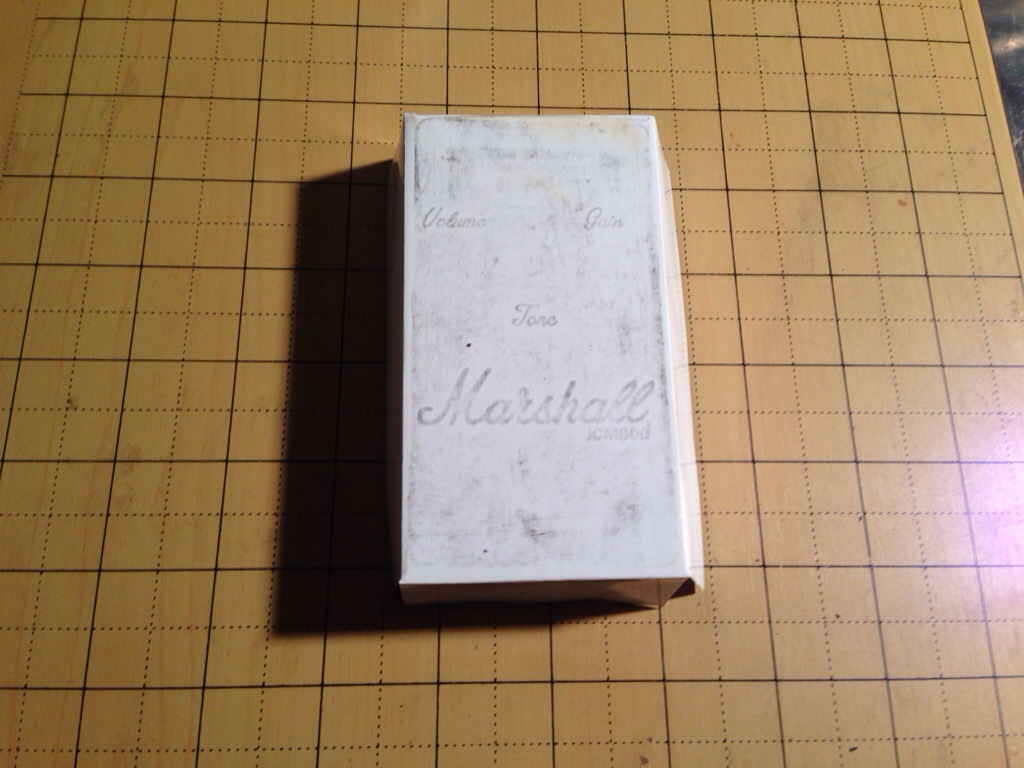
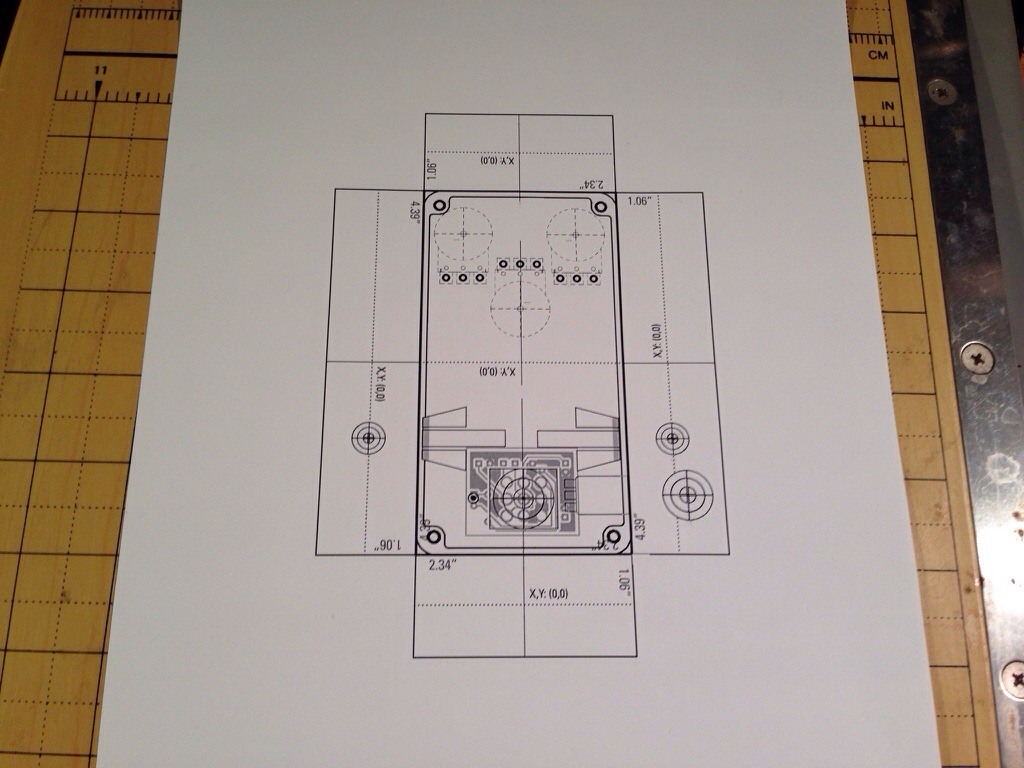
I start with a layout that I create using my Photoshop template. I use the same template for making a drill templates & etch masks. DO NOT FORGET TO FLIP YOUR IMAGE. I seem to remember that just as I start to iron on the etch mask of course.

Here is a copy of my Photoshop Template
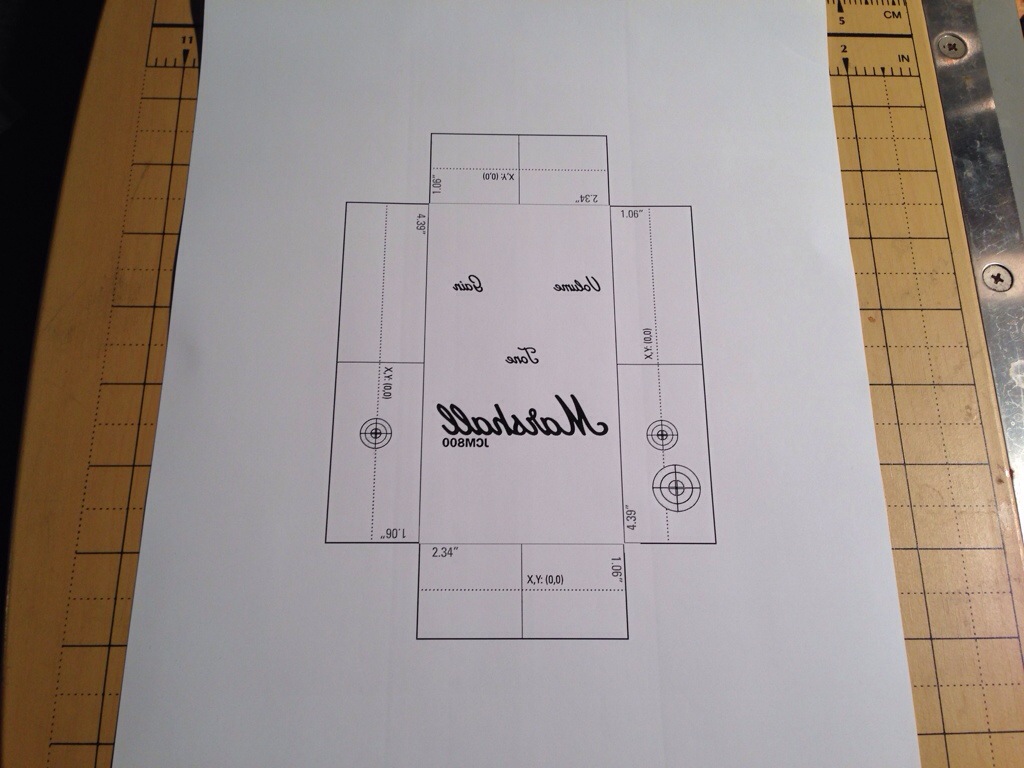
20140127-193135.jpg

I sand the enclosure with 600 grit just to get off any imperfections. The picture below doesn’t look that great but its just the awesome garage lighting.
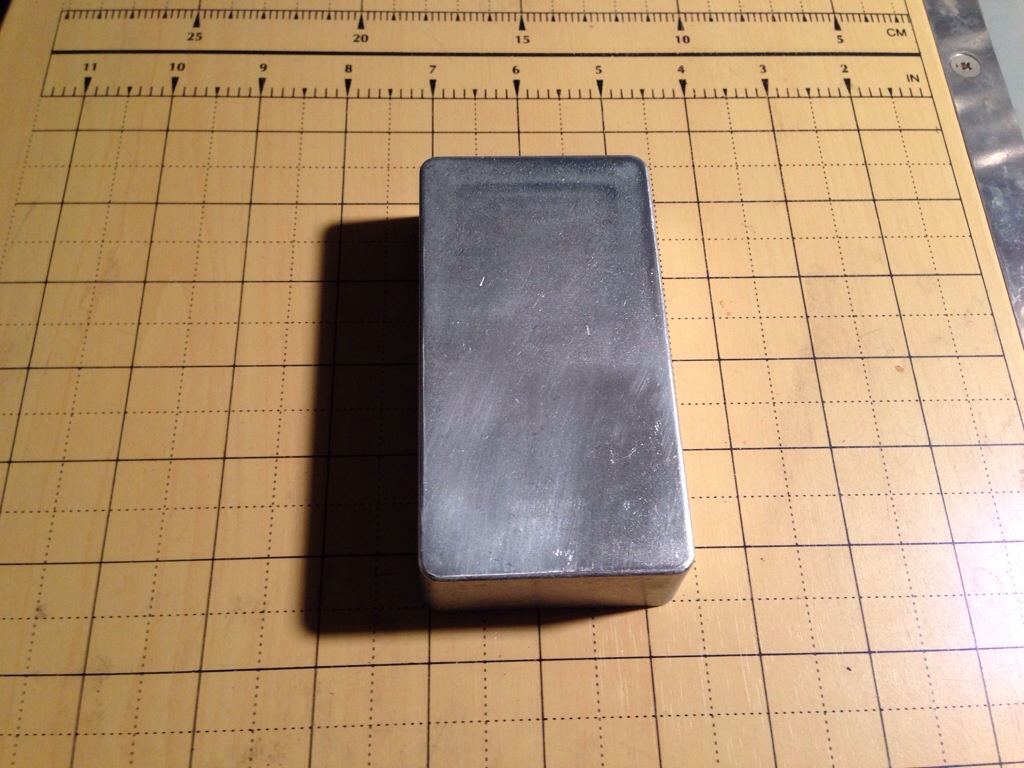
20140127-193149.jpg

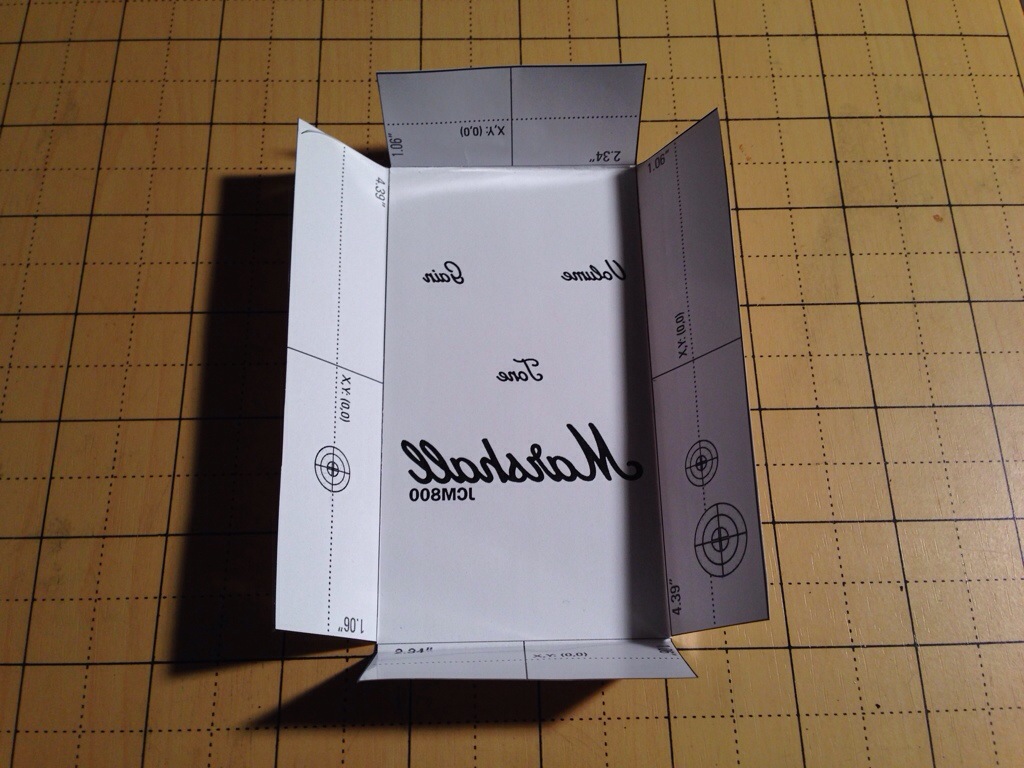
Cut out the template and make your folds.
20140127-193205.jpg

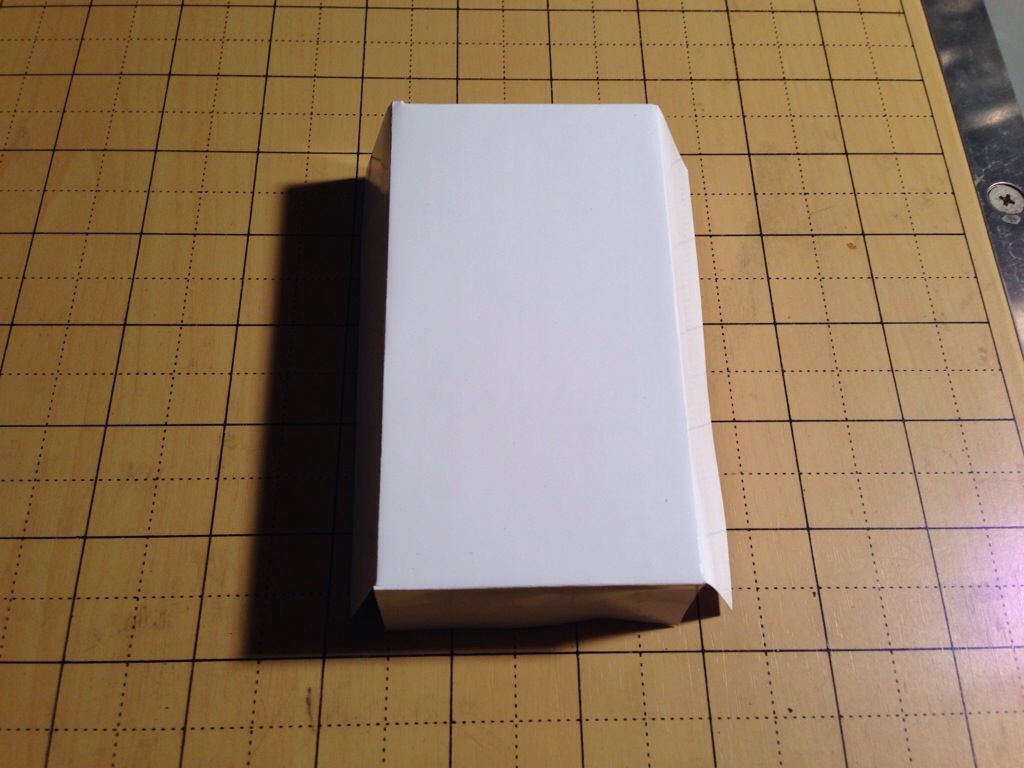
Lay the template face down on your enclosure and prepare it for the wrath of the iron.
20140127-193218.jpg

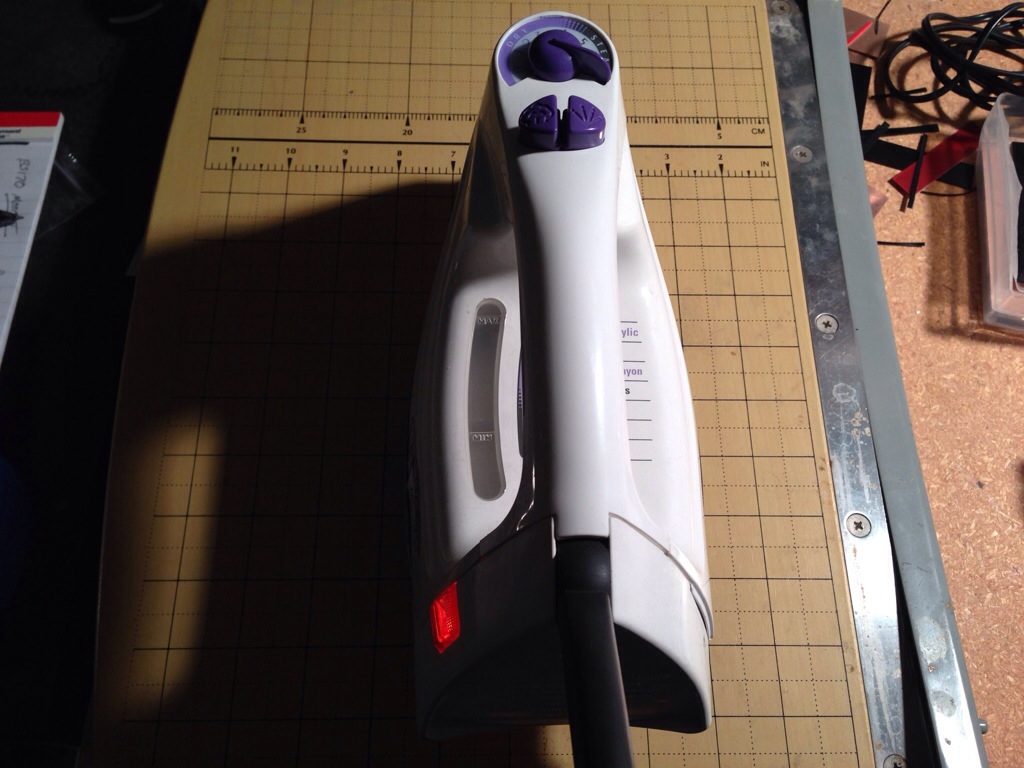
Plug in your iron and get it maxed out on the heat setting. I set the iron on the enclosure for 10-20 seconds just to stick the presentation glossy paper to the enclosure so it will not move on us.
20140127-193227.jpg

I now begin to use the tip of the iron to move back and forth over the full surface of the etch mask.

20140127-193239.jpg

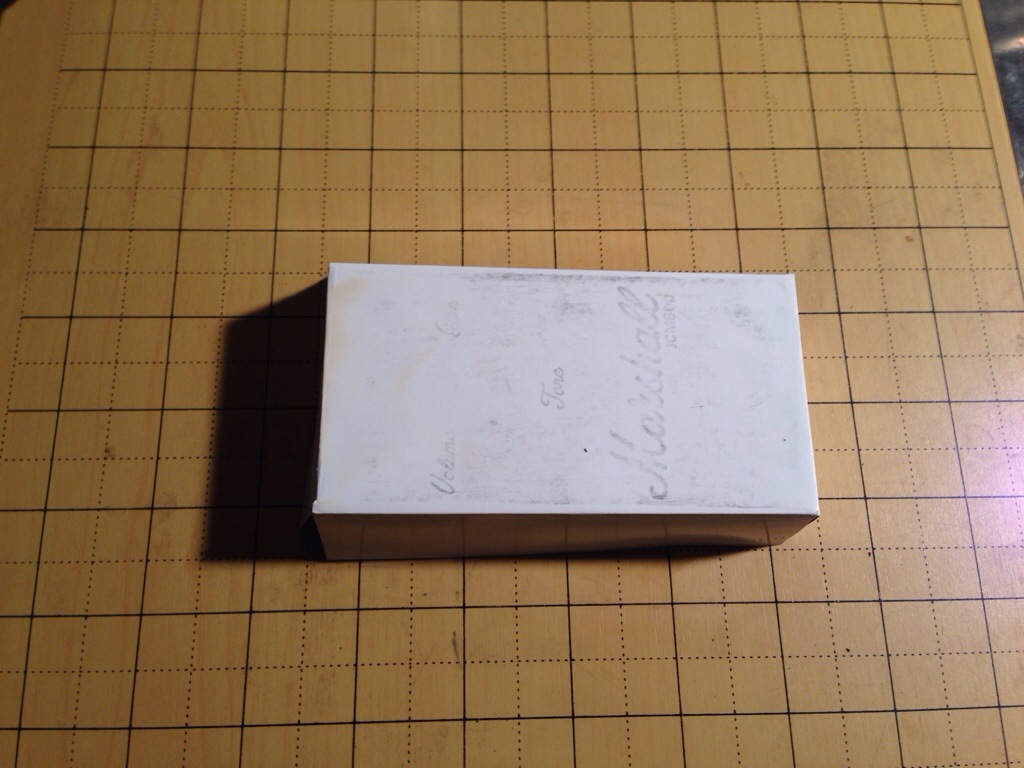
I turn the enclosure and repeat the last step.
20140127-193251.jpg

Keep turning.

20140127-193334.jpg

Let this “as hot as the surface of the sun” enclosure cool for about 10-15 minutes. I will then toss the enclosure in the sink with cool water running it. Wait until the paper the paper is soaked and falling apart.
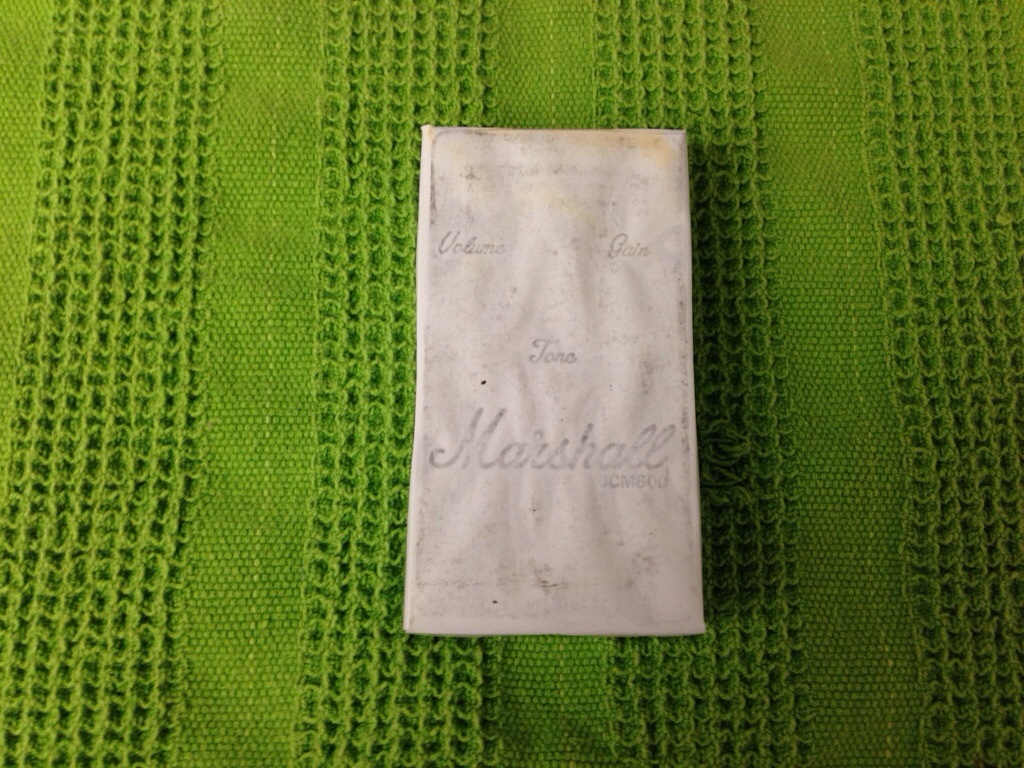
20140127-193345.jpg

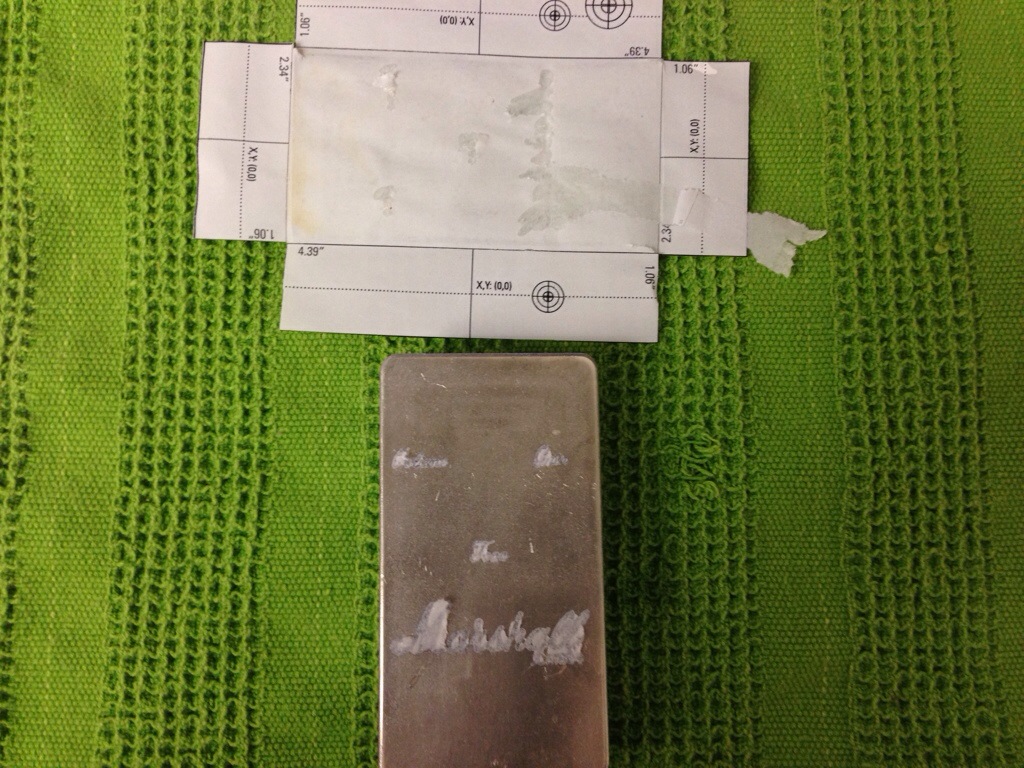
Remove the paper.

20140127-193355.jpg

I use a kitchen sponge (scrubby part) and lightly scrub the remaining paper off the art work. I know it sounds crazy to use the course scrubby part of the sponge on the toner mask, but it actually works well as long as you don’t over do it.
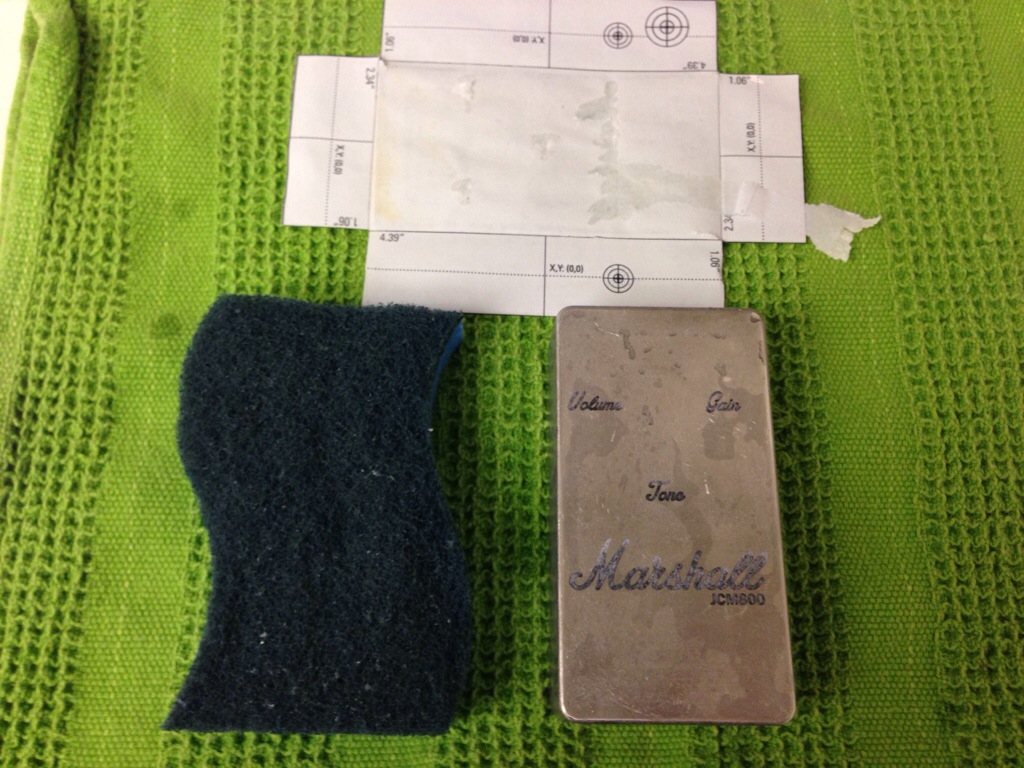
20140127-193405.jpg

Here is an up close of the mask after a light scrub. The goal here is to check each small crevice in your art work and make sure there is no paper left. Notice the loops in the “L’s” and ho there is no paper left behind. This will make for a good, clean etch.
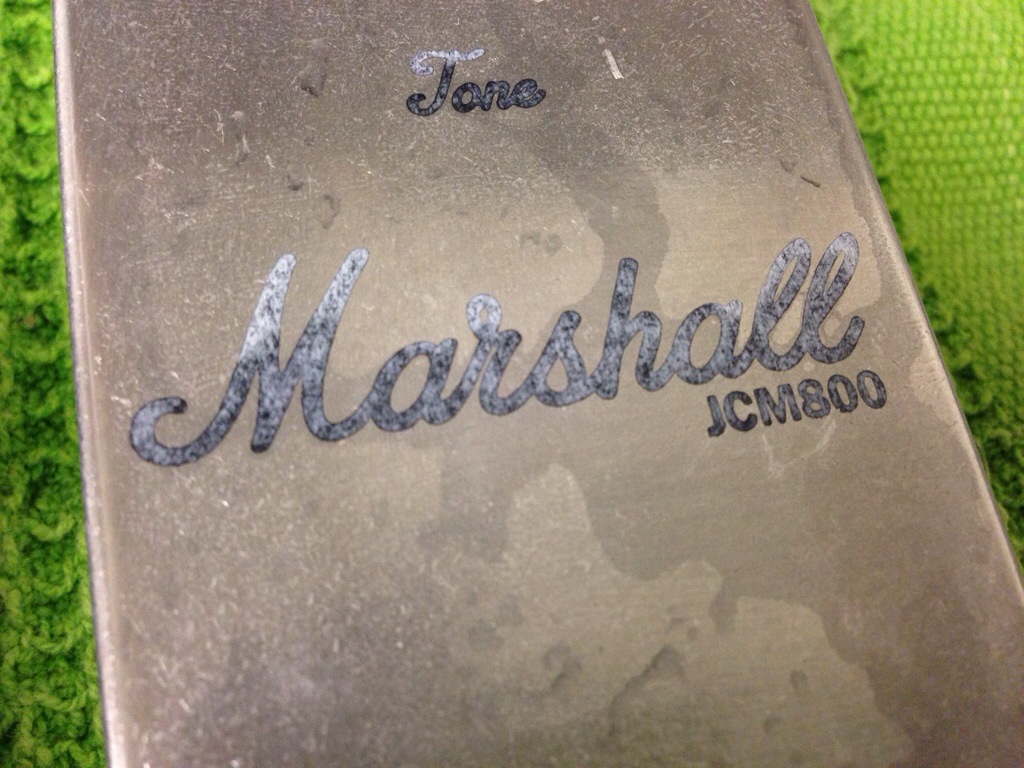
20140127-193416.jpg

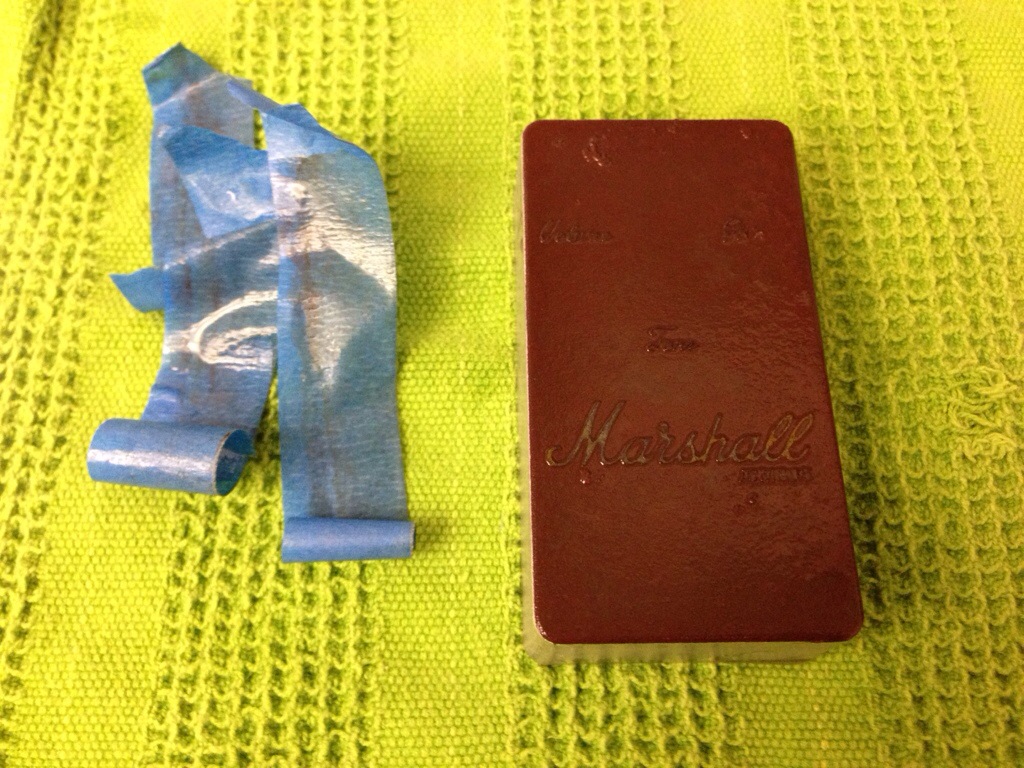
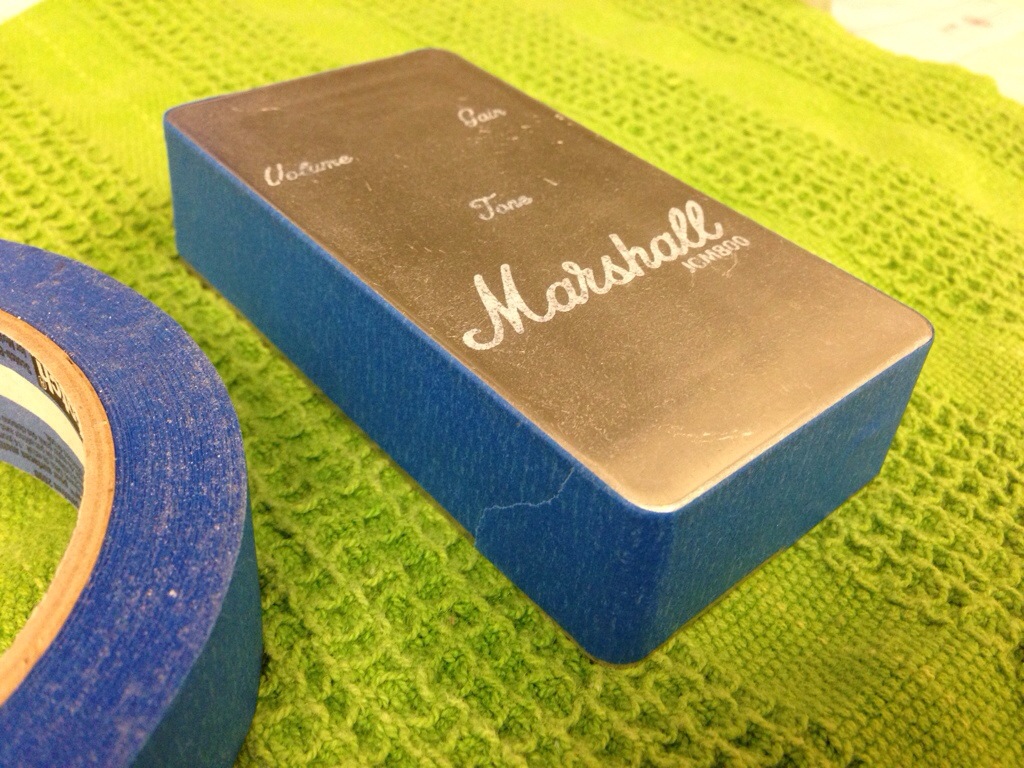
I use plain old blue scotch painters tape to mask off the sides of the enclosure so they will not be effected by the etchant.
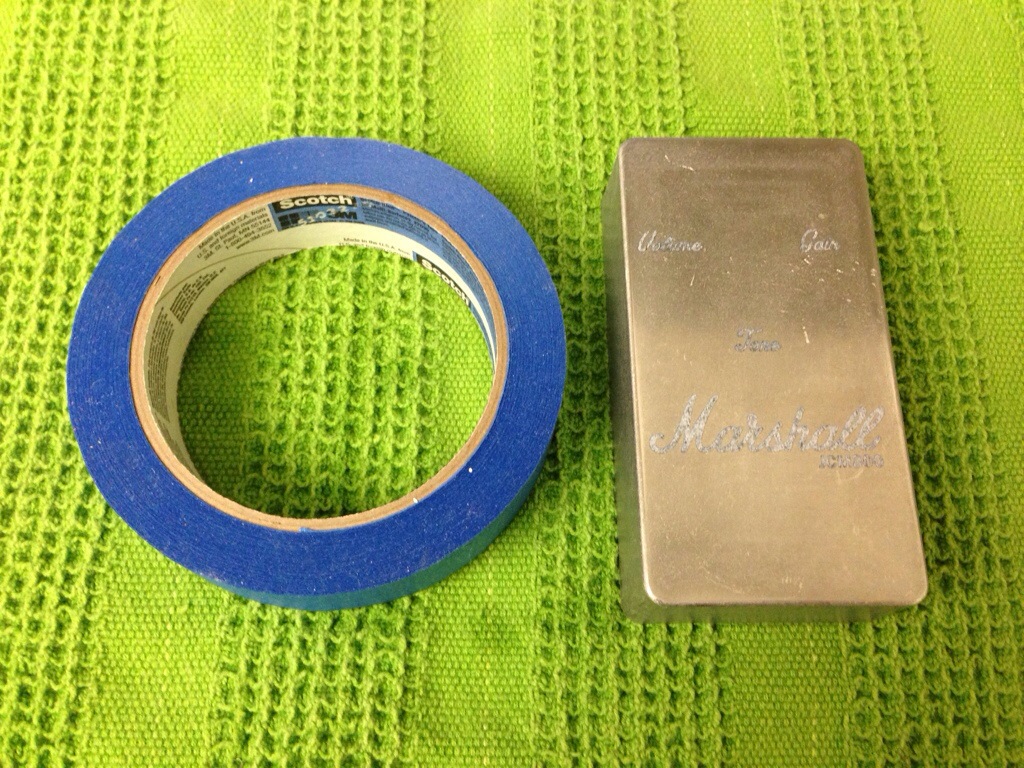
20140127-193429.jpg

Make sure you run your finger along the edge well to make sure the tape has fully adhered to the enclosure. I have yet to have any issues with this method in the etchant bath.
20140127-193437.jpg

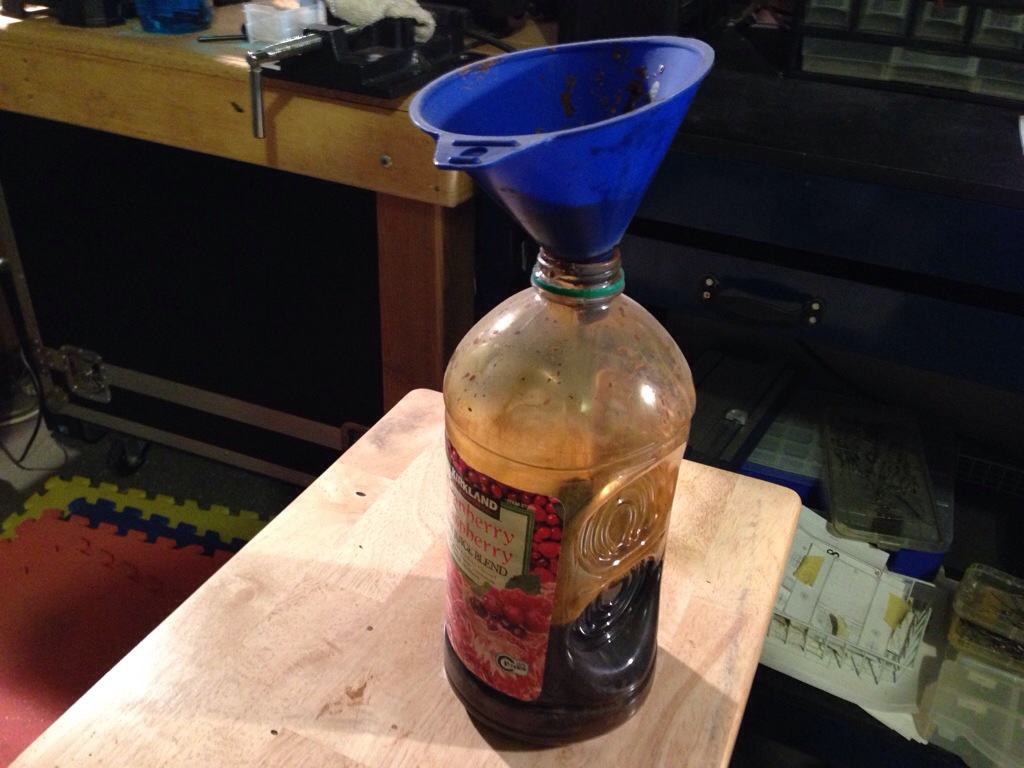
This is my fully OSHPD approved container for spent etchant. I will use new Ferric chloride solution for about 10 PCB boards then I will pour the Ferric chloride in to this container and use it just for etching enclosures. I have found that the used Ferric chloride works well on aluminum since it is much softer than copper and reacts faster.
20140127-193500.jpg

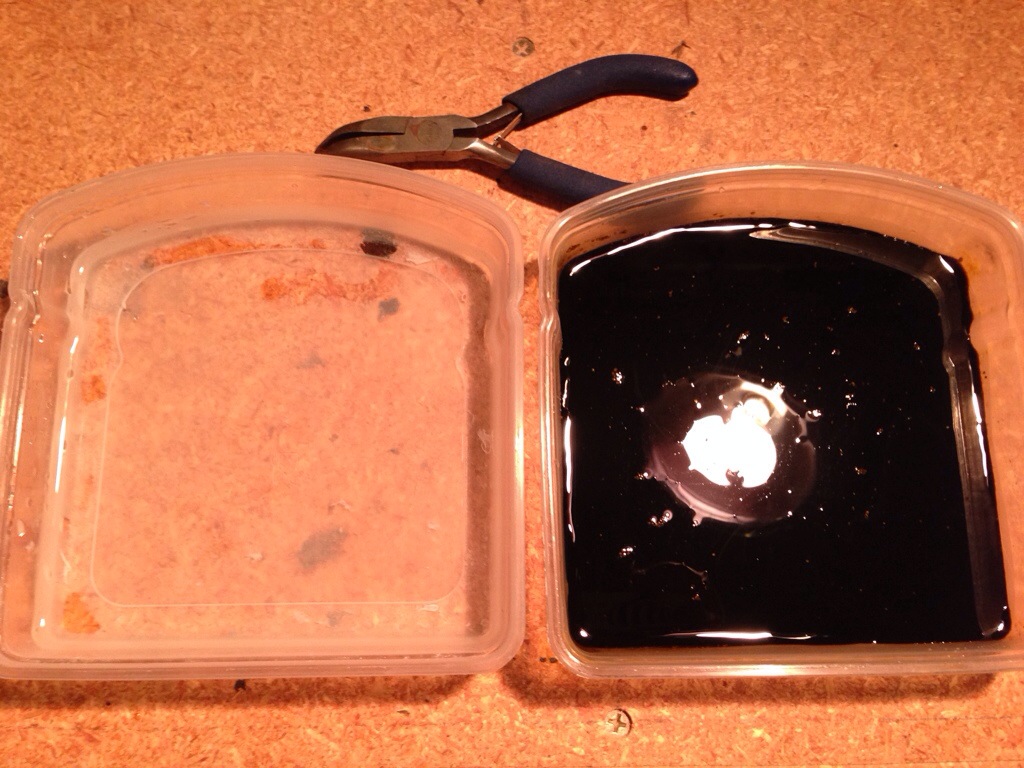
I use Rubermaid or the 99 cent store alternative sandwich containers to hold clean water and the ferric chloride solution. I also setup some small pliers to hold on to the enclosure with since it will get every hot to the touch in the ferric chloride.
20140127-193513.jpg

Here is an example of how I do the etching bath. Don’t mind the messy bench or my huge hairy arms. As you can see in the video I use a dipping motion in the etchant and then the same dipping motion in the water. I found that this helps rid the enclosure from any of the deposits that are left on the face from the etchant and helps keep the etch consistent.

http://www.youtube.com/watch?v=AXrU29w8nXY

After done with the Ferric chloride dips and the water dips I then take the enclosure to the since and prepare for a final rinse and scrub.
20140127-193540.jpg

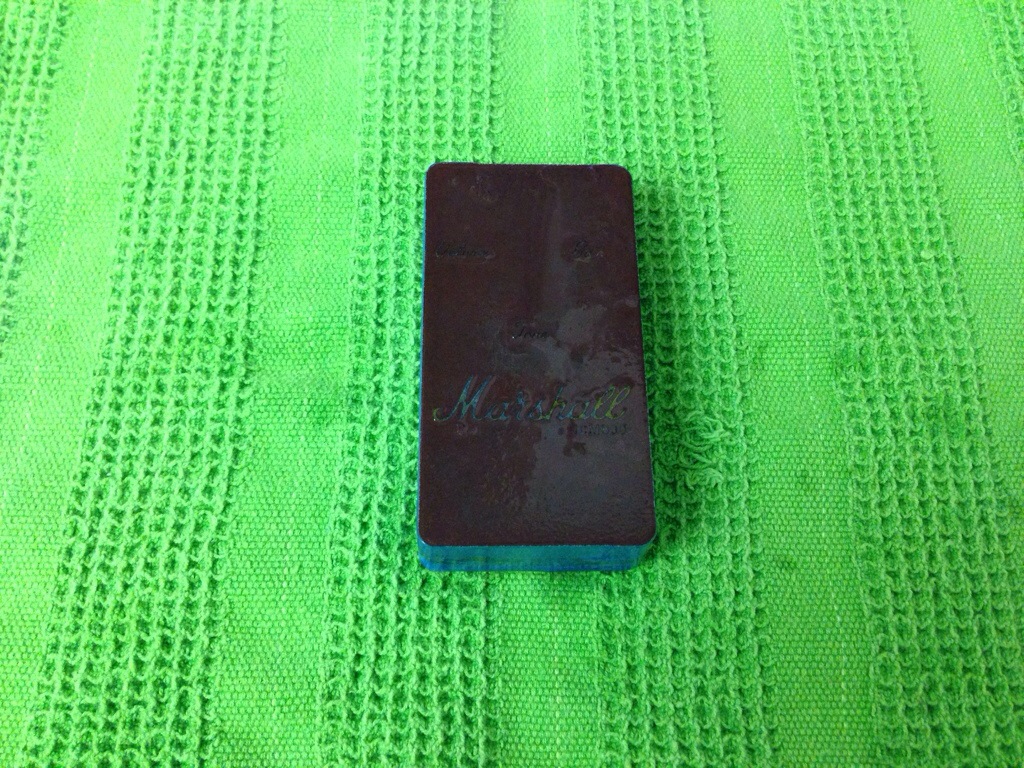
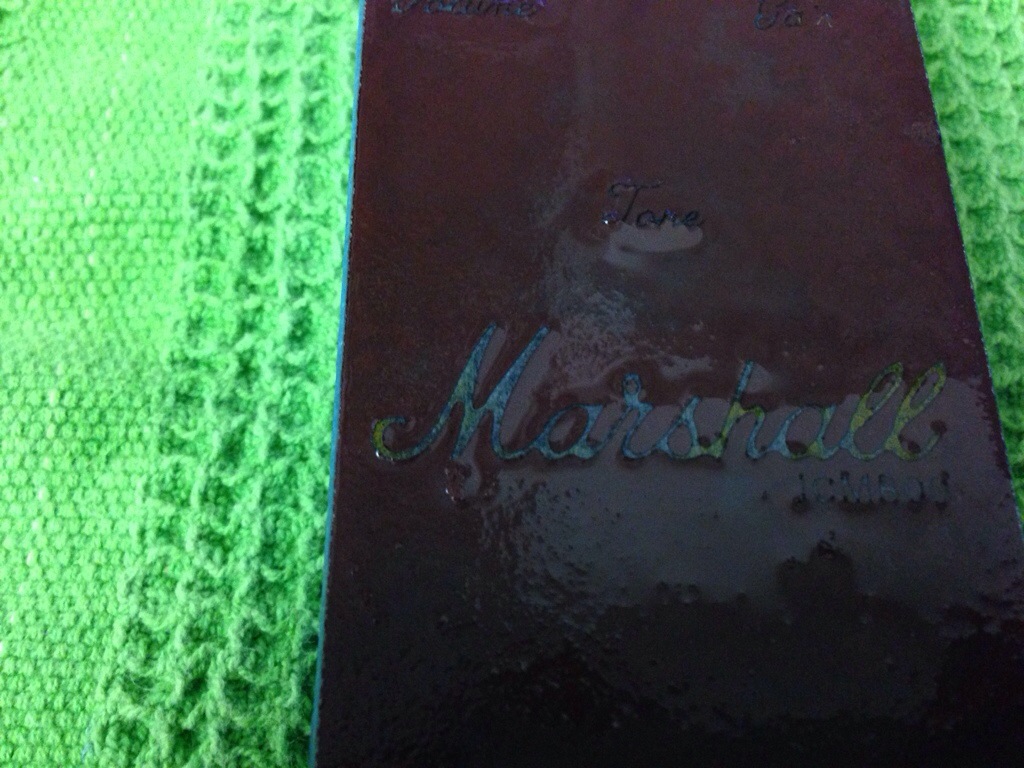
Here is a closer look at the etch and what is left of the mask on the enclosure. Looks pretty bad at this point doesn’t it? It will look 100X better once its scrubbed a bit, I promise.
20140127-193554.jpg

Remove the tape from the enclosure.

20140127-193603.jpg

And using a different sponge than the one you used for the paper scrubbing in above step, start to scrub the enclosure until all rust colored residuals are gone and you are left with a aluminum color.
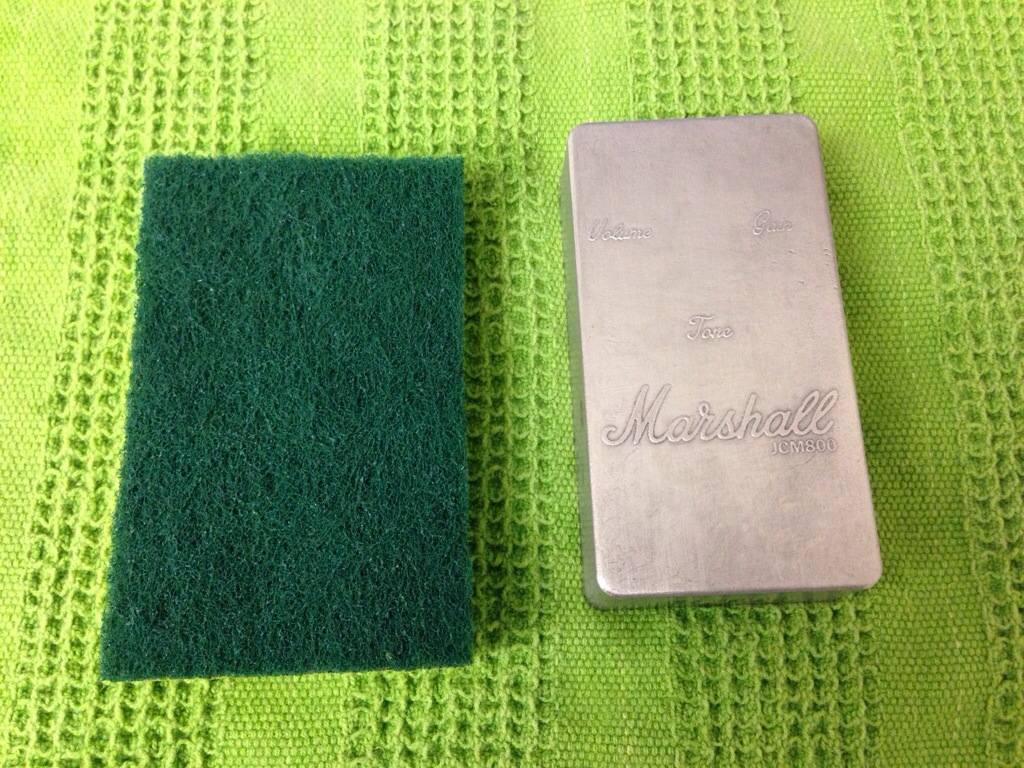
20140127-193611.jpg

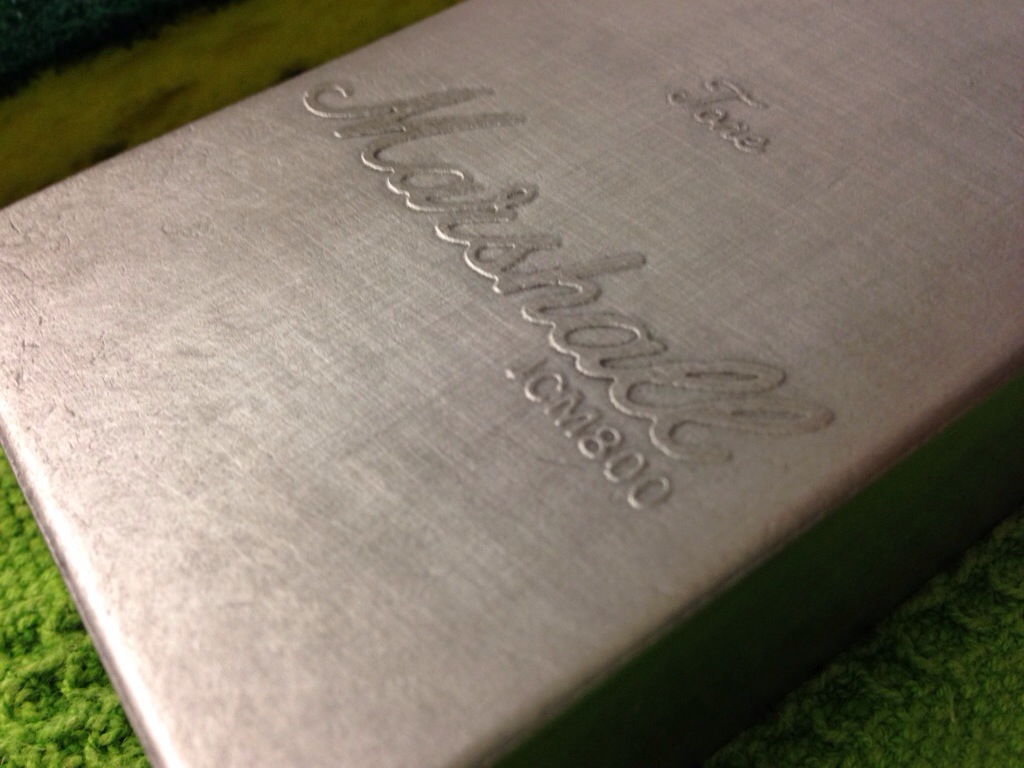
Here is a close up and at this point you can see how deep the etch is.
20140127-193621.jpg

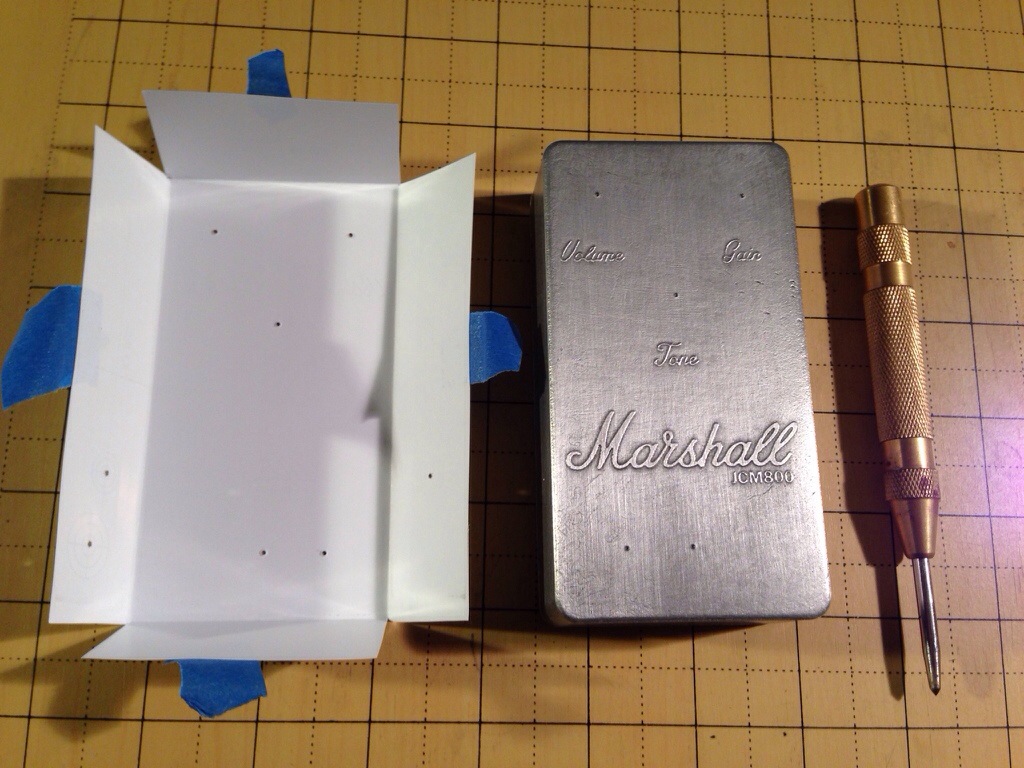
At this point I like to get the holes drilled for my hardware. I use my Photoshop template that I used for the etch mask and print out a drill template.
20140127-220817.jpg

Cut out the template and lay it on the enclosure and use the punch tool to punch out my centers of the hardware.
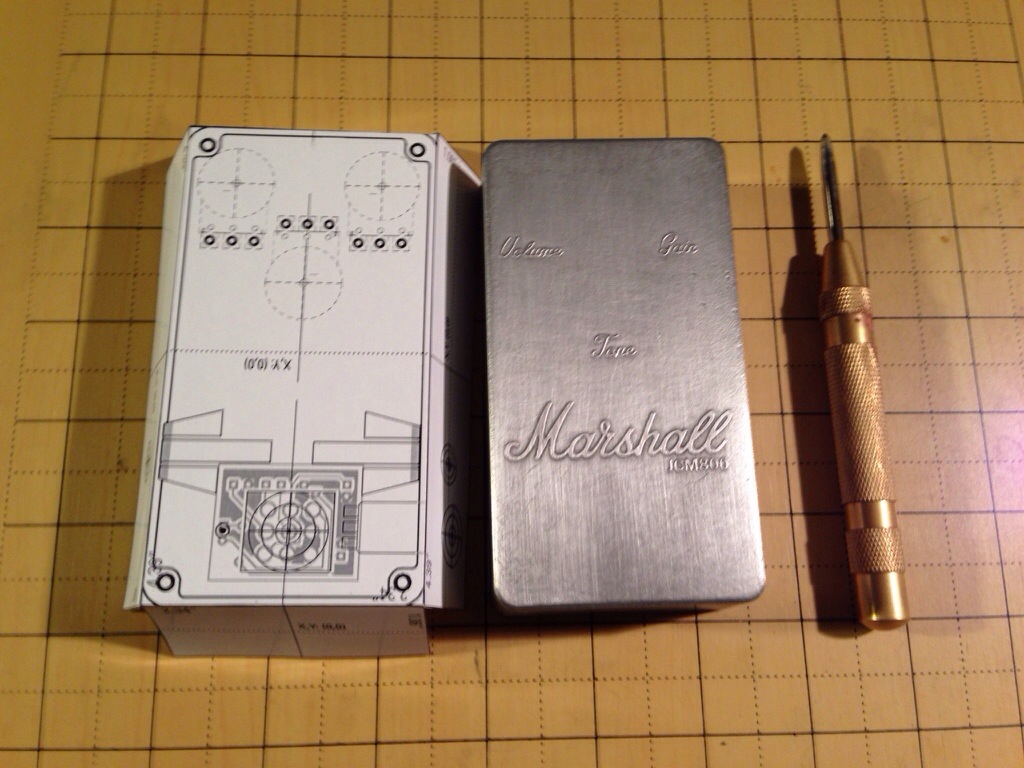
20140127-220835.jpg

Like so…

20140127-220854.jpg

Unibit and a drill press were the 2 most used tools on my bench. If you are going to make this a hobby then I suggest sell a few pedals and buy these tools ASAP.
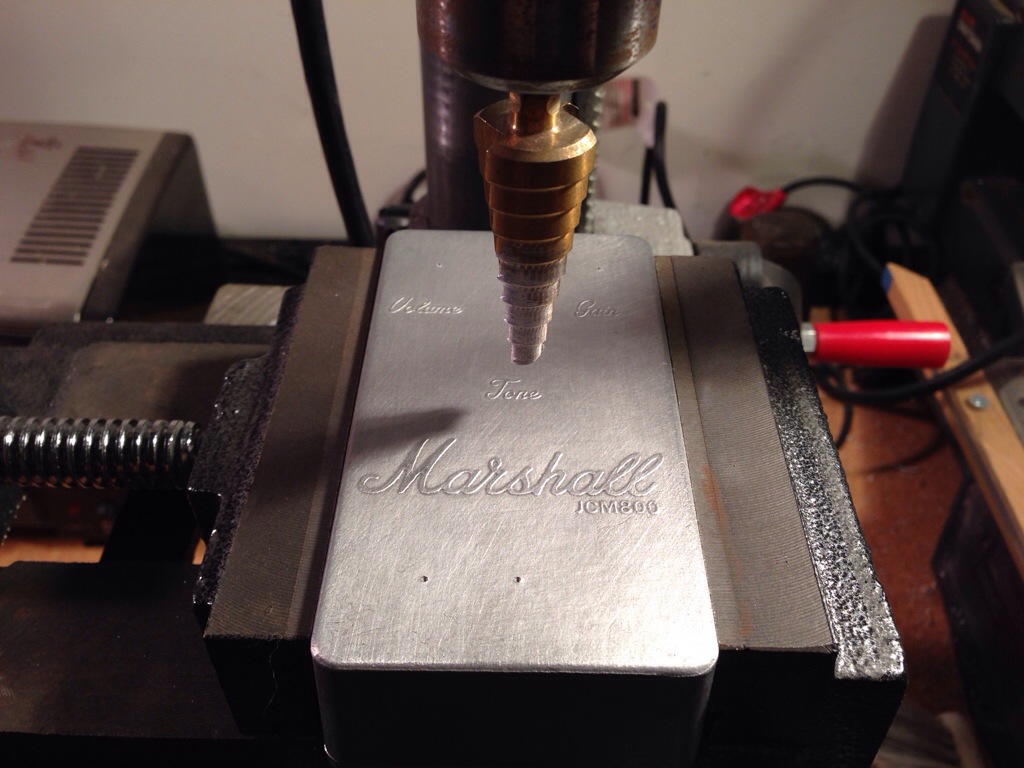
20140127-220902.jpg

I then use a reamer to clean up the holes a bit from any burrs or shavings.
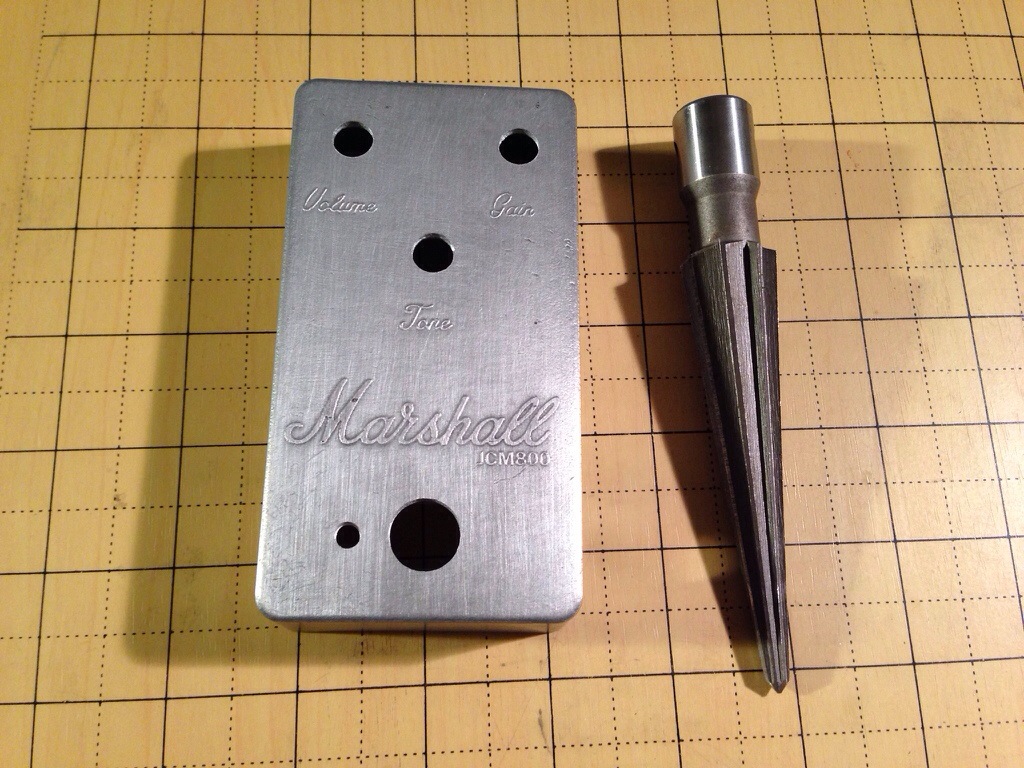
20140127-220911.jpg

Enclosure painting tutorial

Univox SuperFuzz

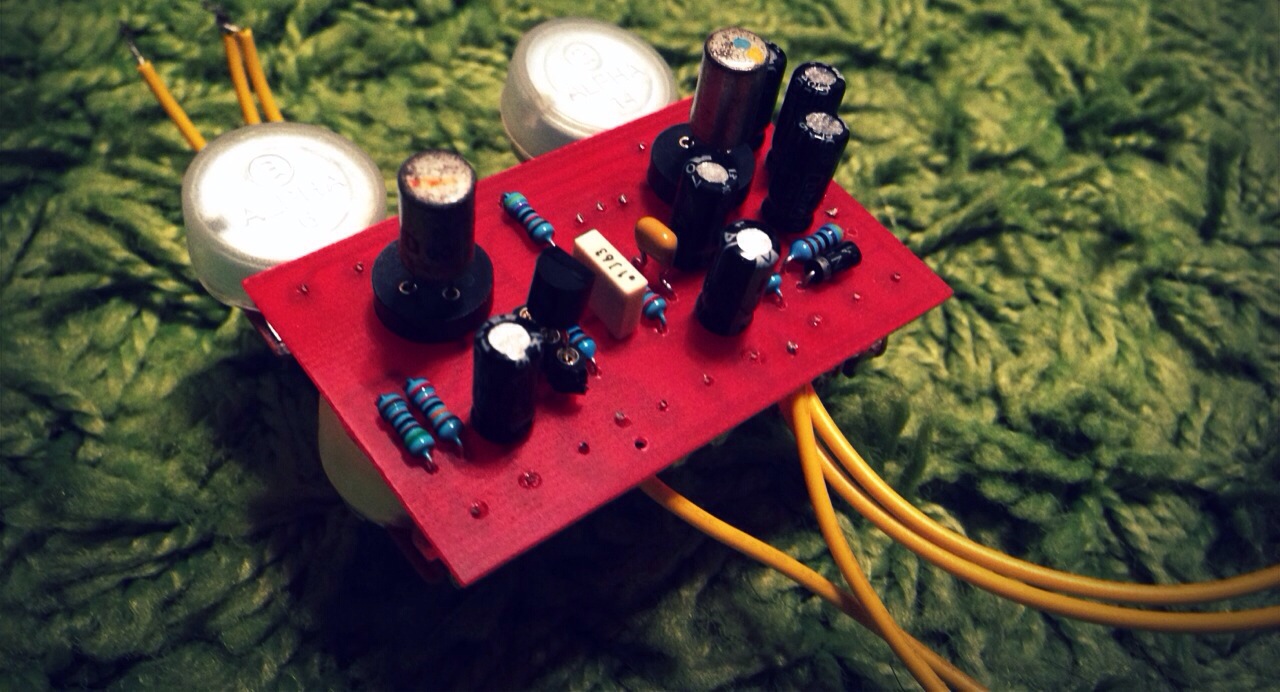
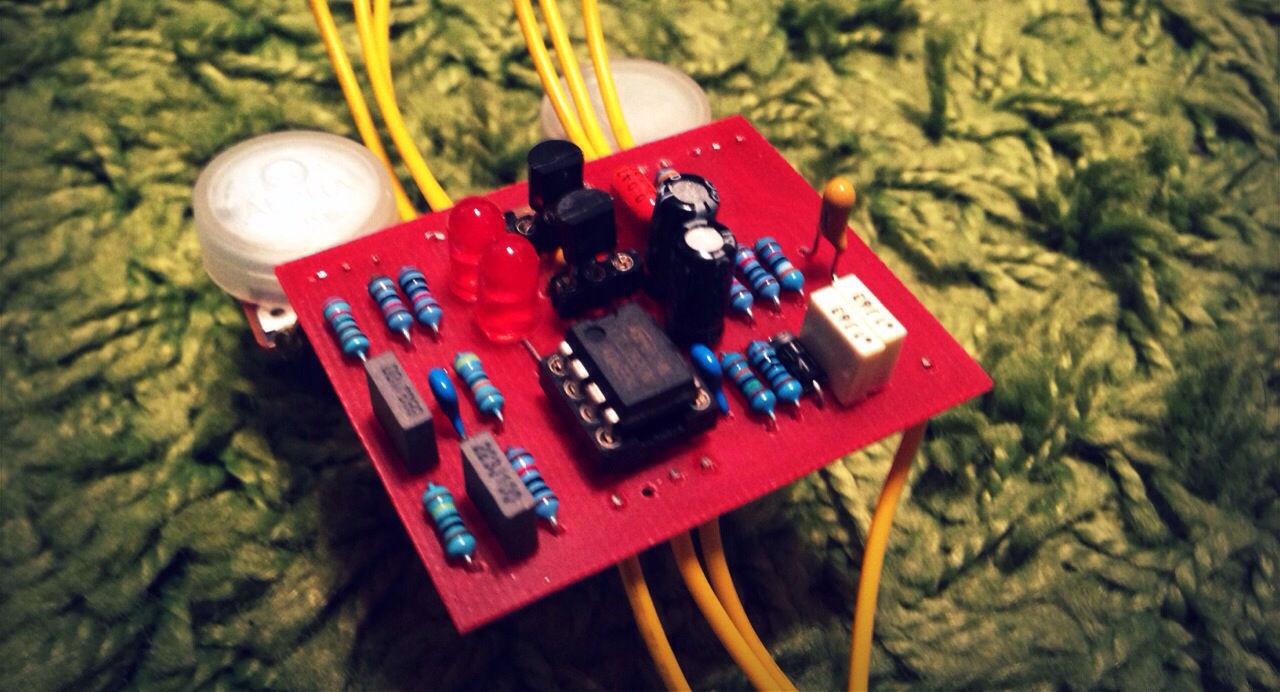
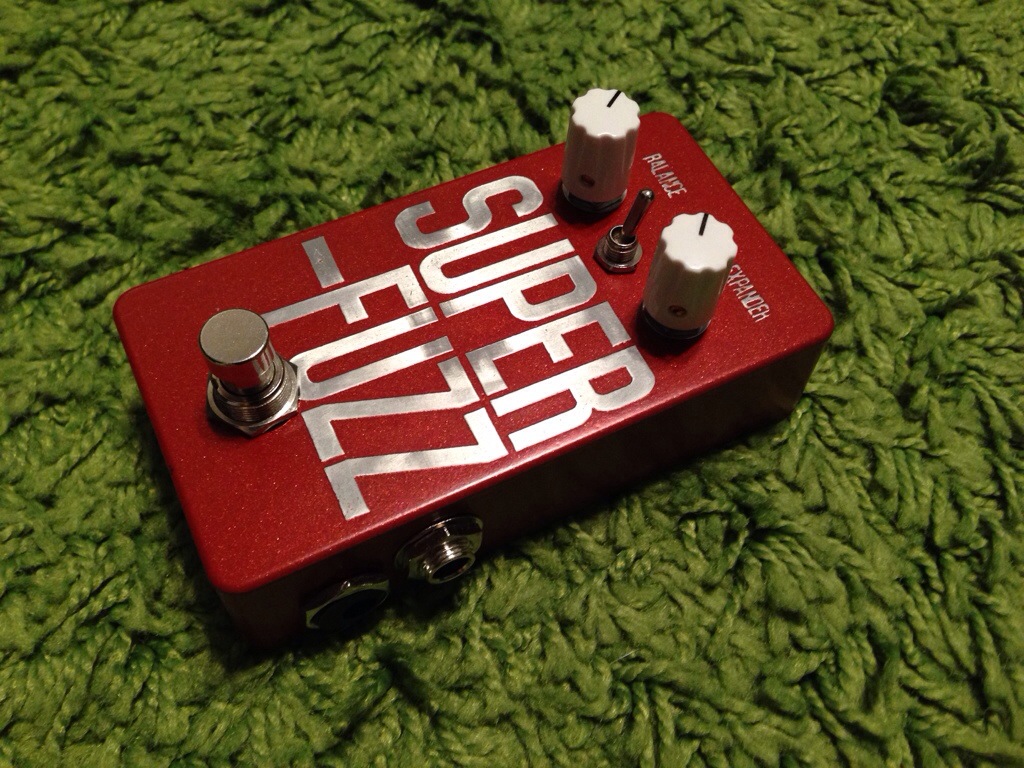
To continue my week of builds I present a Univox Superfuzz. This is a great “wall of sound” fuzz with a nice octave sound to it. I am very happy to retire my older 1590bb (larger) build and move to this gem.

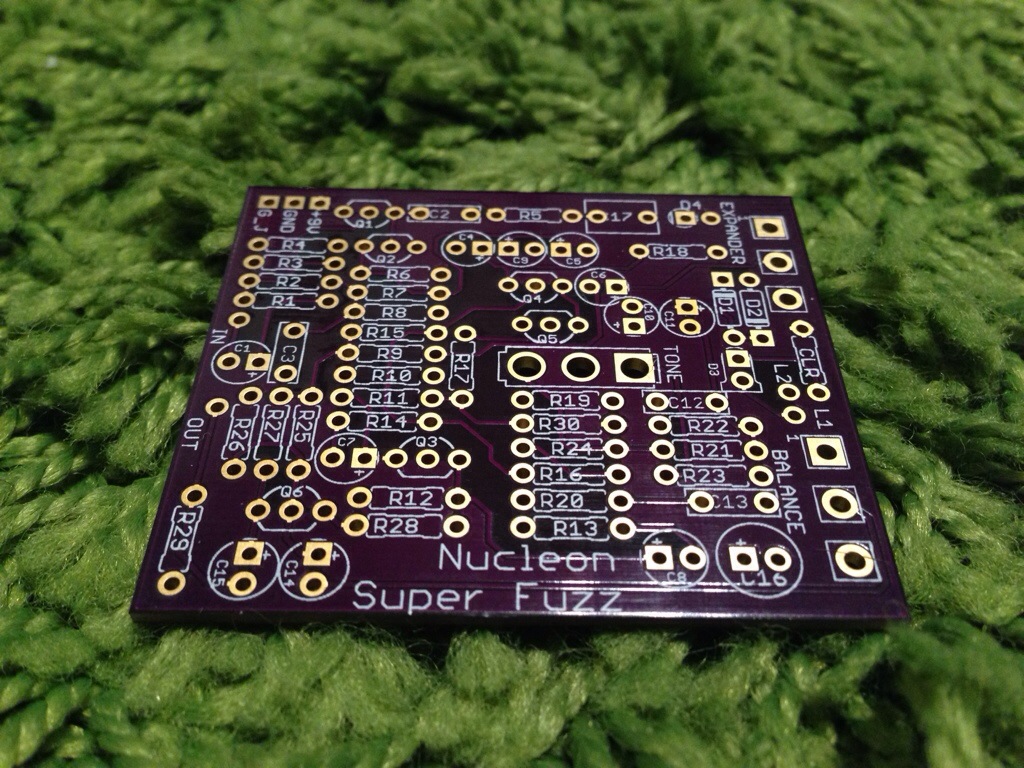
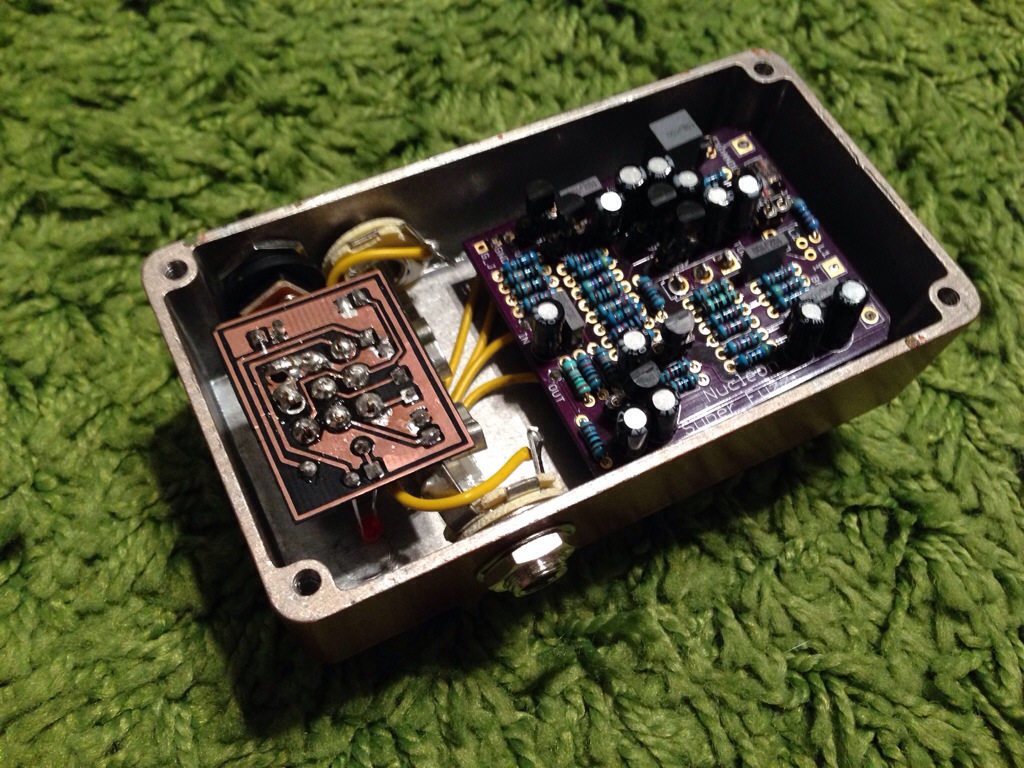
The PCB was bought from Nucleon on the Madbean forums.

20140123-190542.jpg

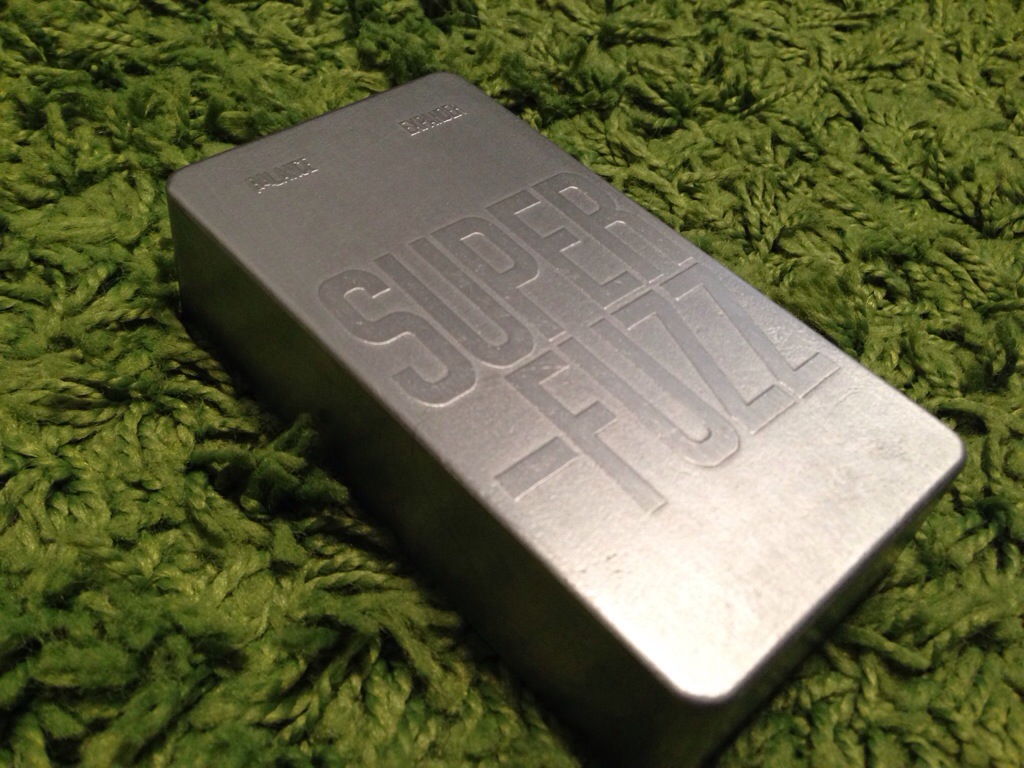
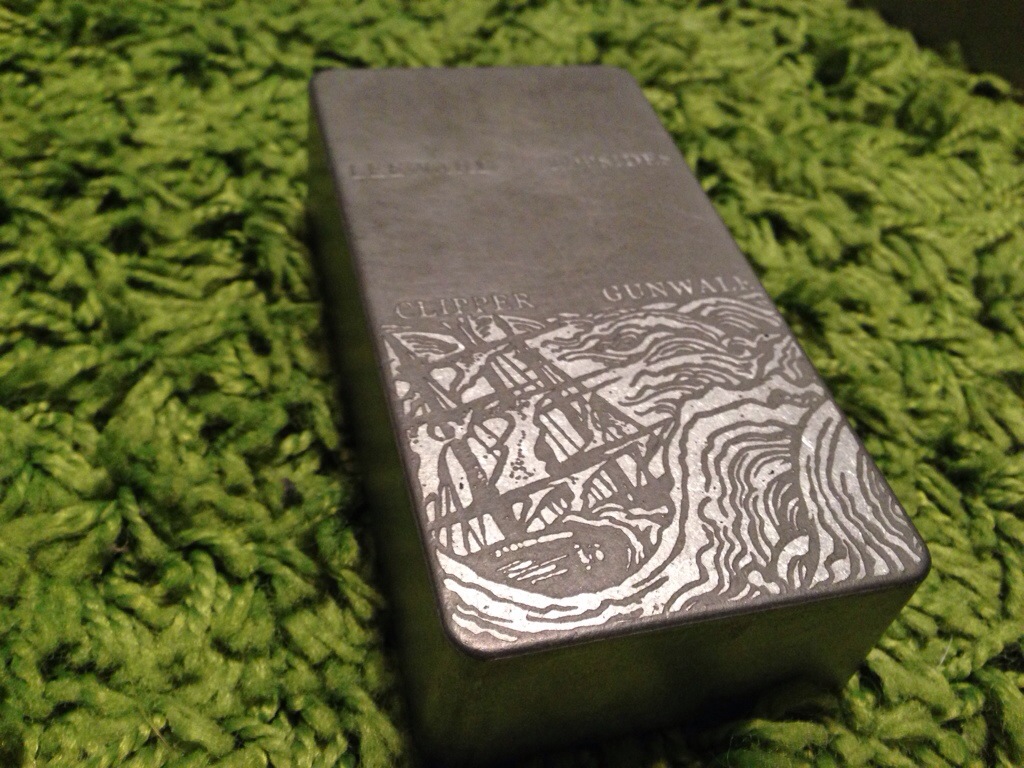
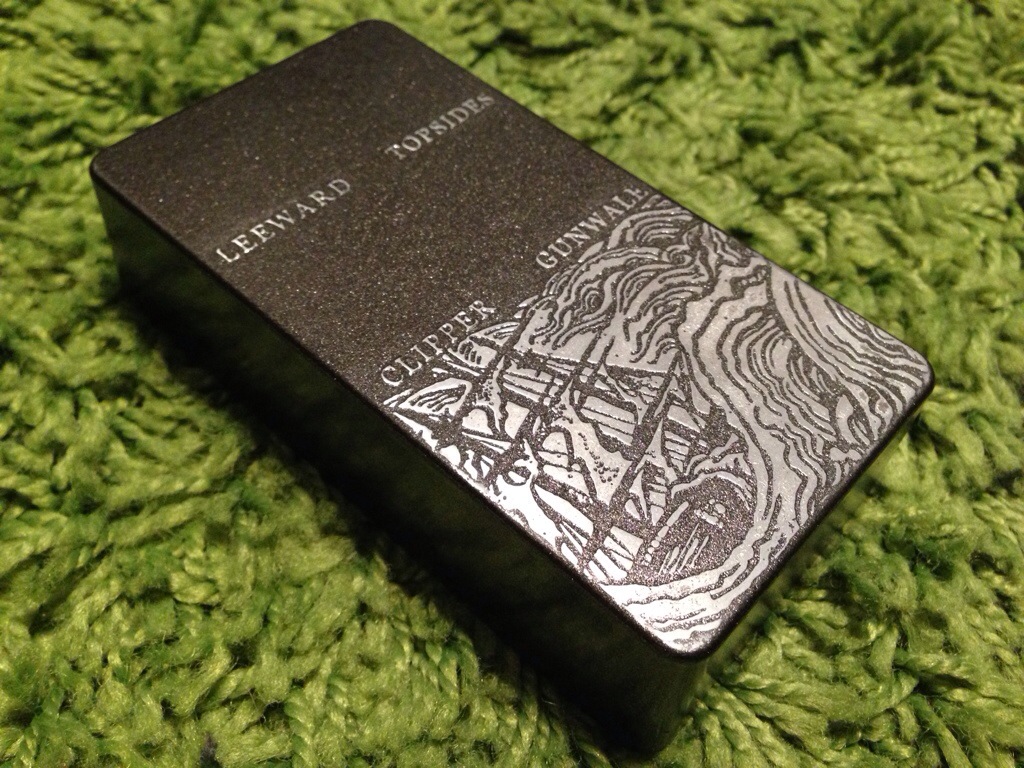
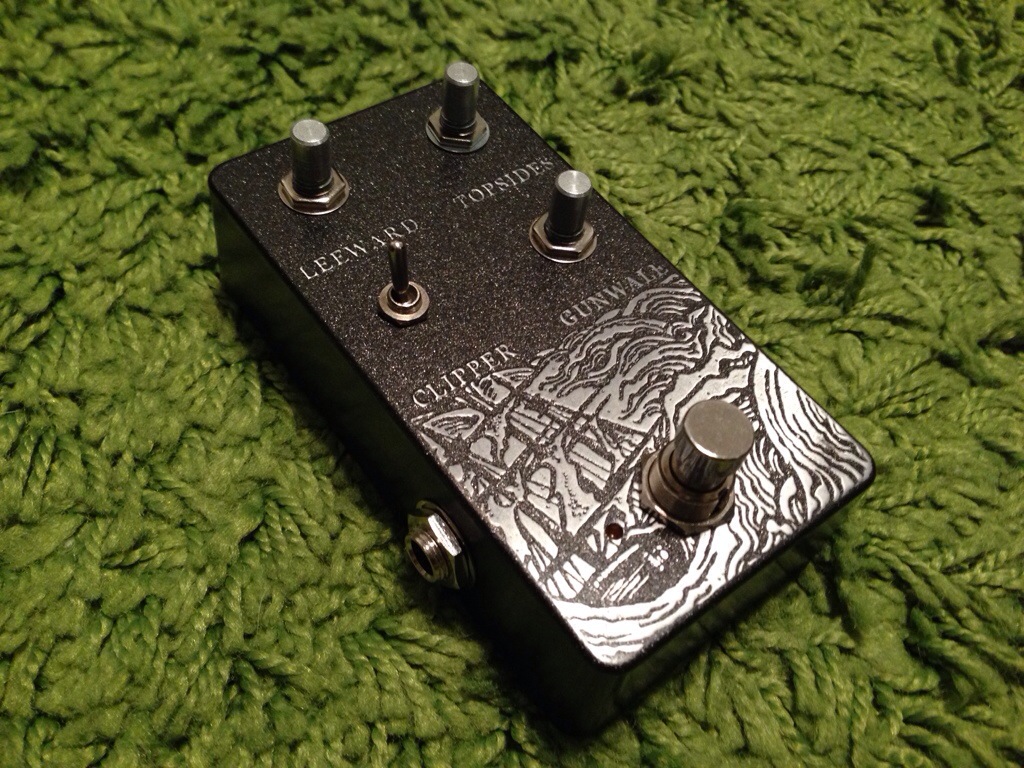
Etched the enclosure

20140123-190702.jpg

Assembled

20140123-190743.jpg

Under the skirt

20140123-190811.jpg

Modded Bluesbreaker Build

Got a PCB from a Madbean board member and decided to check it out. I am pretty happy with the sound of this pedal. Gets a nice low-gain and is very dynamic with picking. I am also able to roll back the guitar volume and get a great warm tube sound. Overall I am happy I built this guy.

Etched enclosure

20140123-003003.jpg

After first coat of paint and a wet sand.

20140123-003745.jpg

Almost done at this point. Just need to pick out some knobs. Looking at some aluminum ones.

20140123-003924.jpg

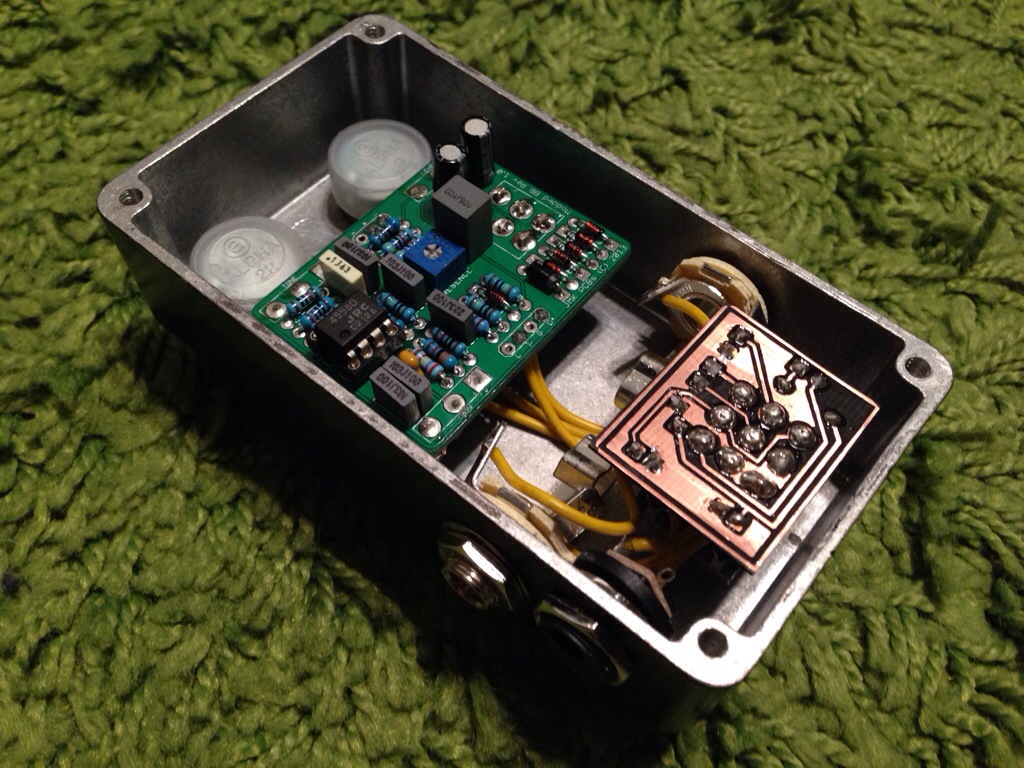
Inside shot

20140123-004013.jpg

Colorsound Jumbo Tonebender Clone

I have had a PCB by 1776Effects called Sucker Punch kicking around the bench for a few months. I was between builds and decided to populate it and see how it sounds. I was really blown away by its sound. With some searching around I found that the Jumbo Tonebender is based on the Big Muff Pi but with 3 transistors and not the 4 that the Big Muff has. It definitely has it’s own sound and at low-gain settings it sounds great as it has a really nice “stoner rock / psychedelic rock” sound.

I etched a enclosure and shot it with some purple metallic paint.

20140120-222643.jpg

After boxing up the effect.

20140120-222819.jpg


Not to happy with the way the 3PDT switch daughter board came out. My soldering looks terrible on it. I was out of my fluxed larger gauge soldier and I had to be careful not to melt the switch when soldiering the PCB to the switch. I may redo it in time.

20140120-222840.jpg

Which one, pick one

Which Big Muff circuit or variant would you like to build?
I finally got a fabricated PCB from Madbean of a MudBunny (Electro-Harmonix Big Muff Pi). The reason I wanted a fabricated one was the fact that most of the components were lined up perfectly for SIP sockets. This is by no means my idea or even a new idea. It is very useful if you like messing with the Big Muff circuit (I sure do!)

Here is what I got so far:

20140109-220909.jpg

I used standard SIP sockets and cut them to length. I also added solid copper wire to the potentiometer pads so I can clip on some alligator clips. I also used some shielded mini coax wire for the input. My goal is to use this to make my own variants of the BMP circuit.