Single knob goodness

This is a Colorsound one knob fuzz with some mods to make it close to the Black Arts Toneworks Ritual. The output of the pedal is crazy loud and it nails that doom sound well. Very happy with this build.
This is a Colorsound one knob fuzz with some mods to make it close to the Black Arts Toneworks Ritual. The output of the pedal is crazy loud and it nails that doom sound well. Very happy with this build.
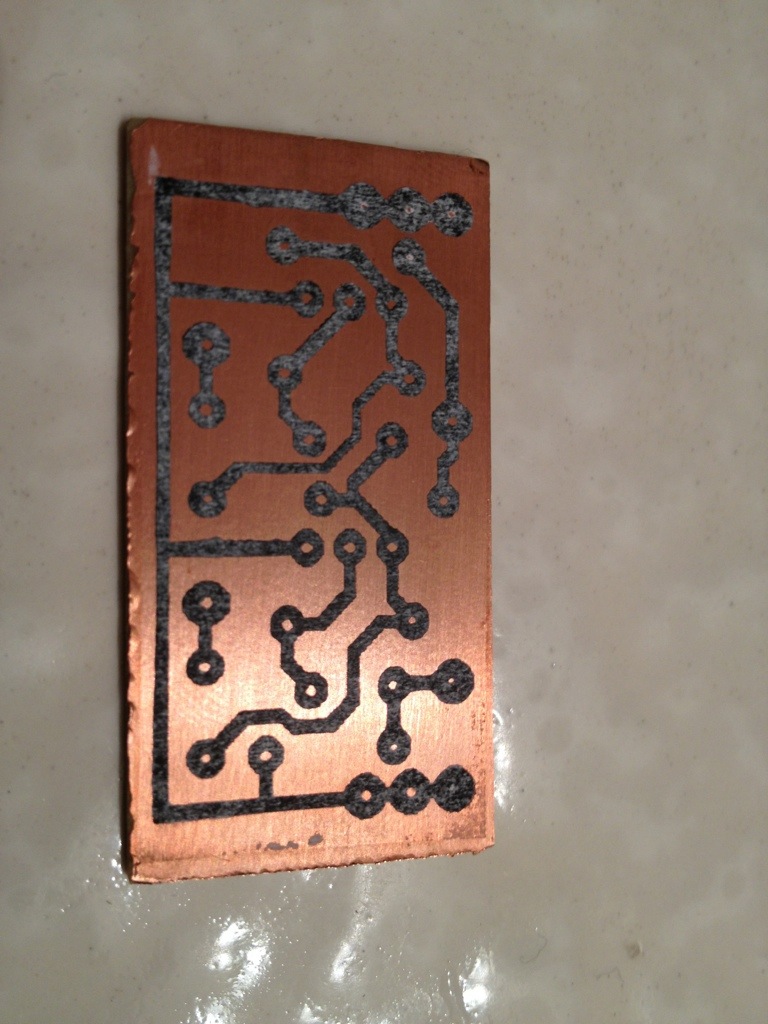
Armed with a new technique found online and some new glossy paper to do the toner transfer I attempt to try this again.
Items I needed:

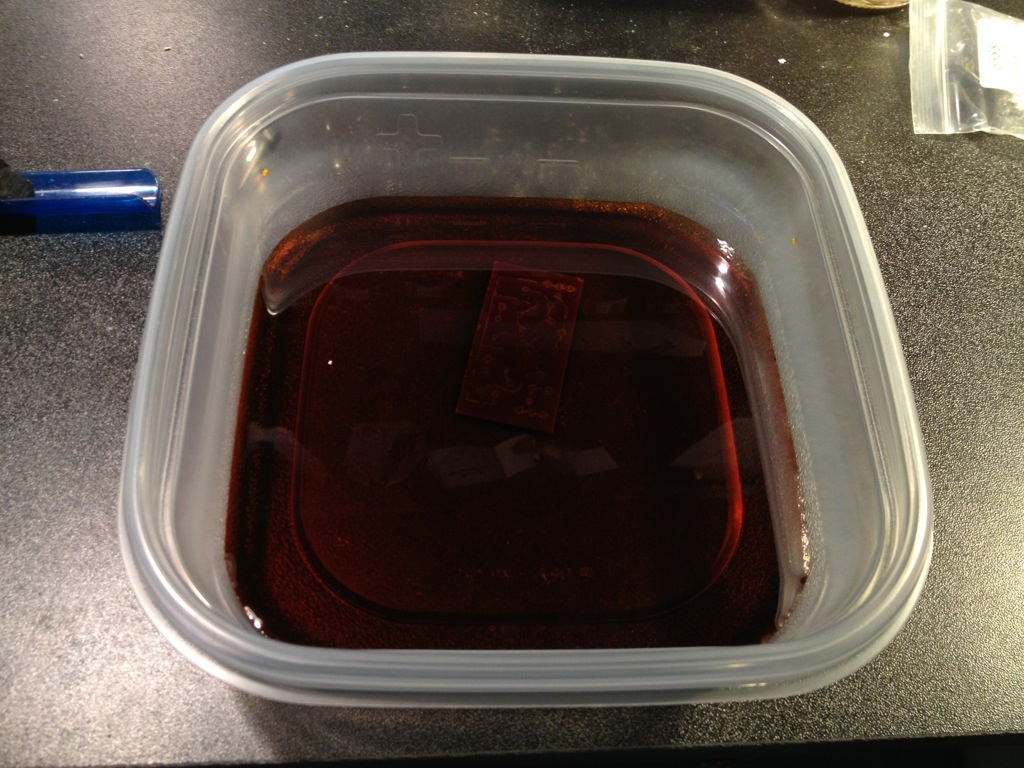
I then put it in a bath of the ferric chloride solution. I would “agitate” the solution every 3-5 minutes.
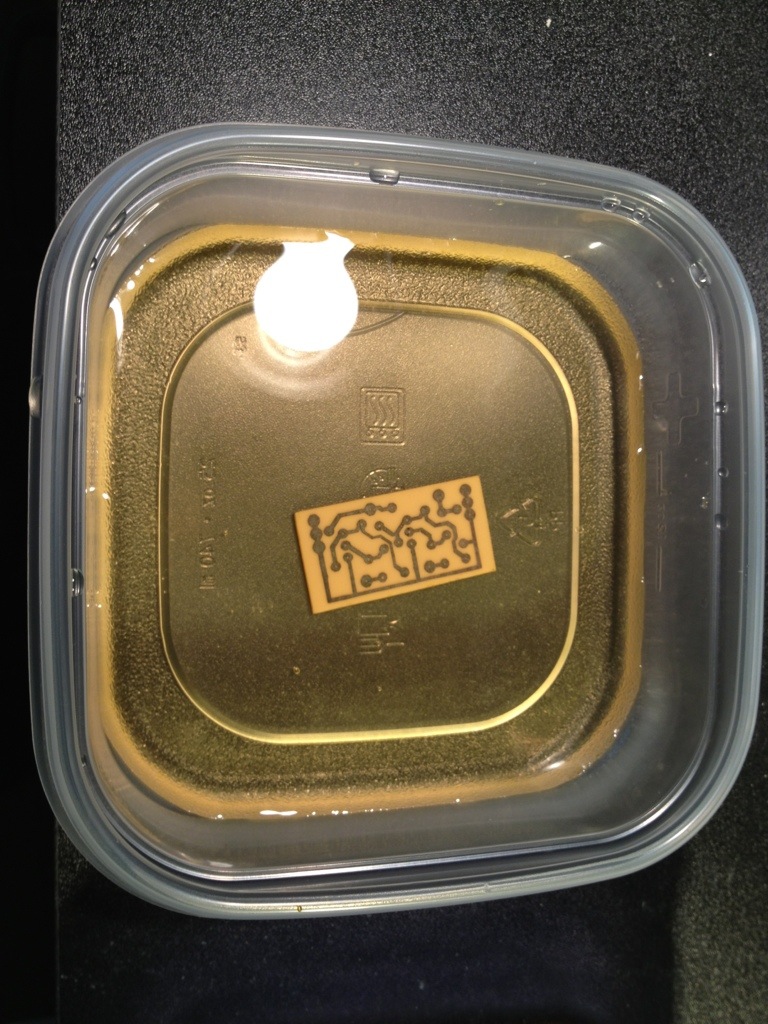
After I noticed that all the copper was removed from the clad board and all that is left was the toner covered traces. I then gave it a bath in water to remove any of the left behind ferric chloride solution.
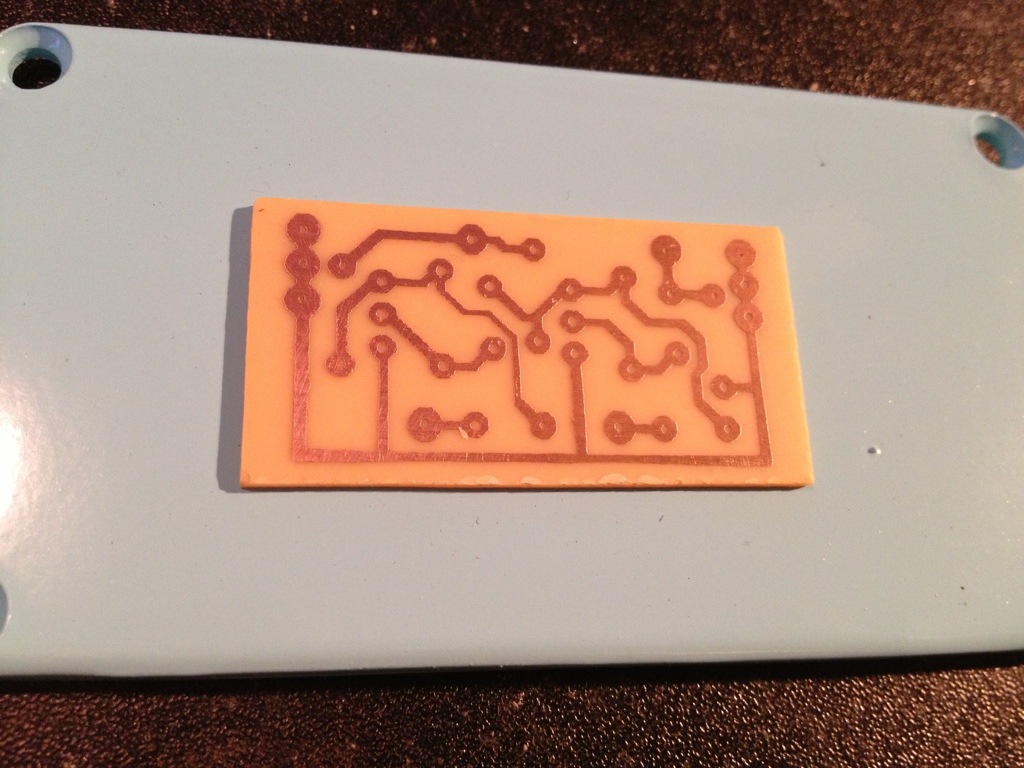
I then use some nail polish remover and abrasive sponge to clean off the toner and leave behind the copper traces. This is the point where it looks like a proper PCB.
Then the holes are drilled for “trough hole” hardware.
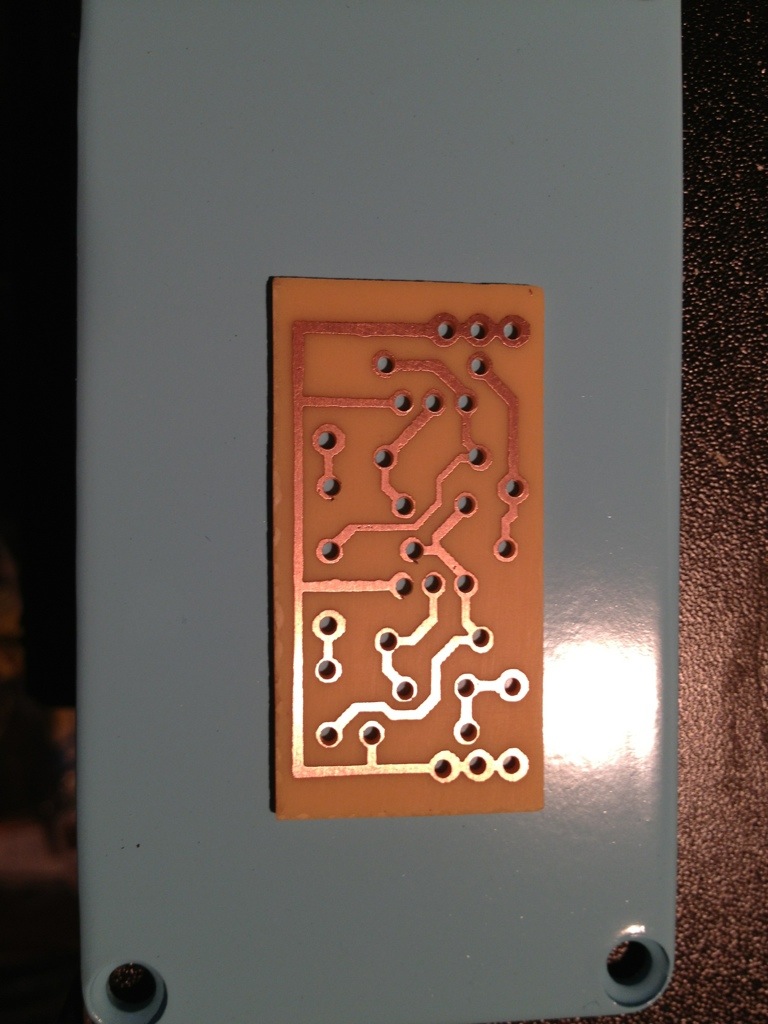
The holes I drilled are WAY to big but it was all I had to test with. I will need to buy a proper drill bit for my Dermal. I just wanted to drill the holes with what I had on hand so I can go through the process to practice.
The ferric chloride solution is reusable and I just slapped a lid on the plastic container so I can use it to make other PCBs this week.
To list a few:
Pulled this from Dr. Tony Balls on FSB
 copy")
Someone took apart a Black Arts Toneworks Ritual and said these were the different values on the parts from the picture above.
There is other schematics with these pedals using transistors BC108 and BC109.
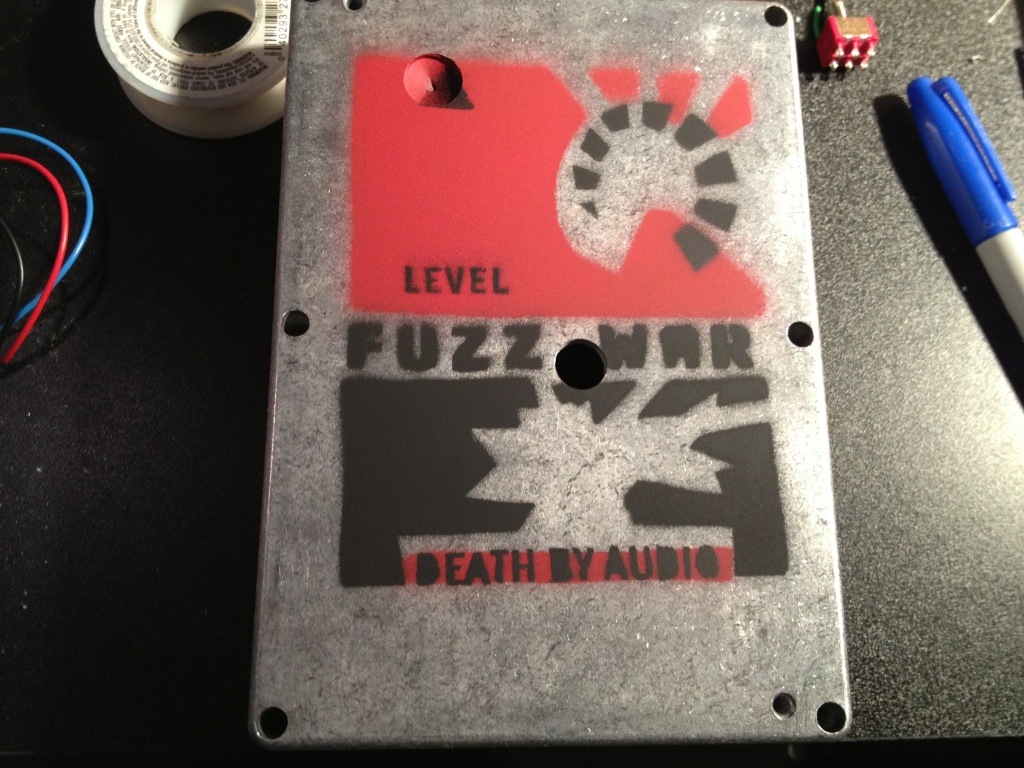
This is for a Death By Audio Fuzz War clone I’m working on. I did not have any white paint so I used red instead. Still doesn’t look bad.

I attempted to make some art for a pedal I am working on (The Lovepedal Karl Fuzz) Everything started out great and the design came out great. I printed it out on my HP Officejet onto some waterslide paper. I did a seal of the artwork with some clear coat since the injet ink will come off in water. I let it dry and started the process, everything went well until I tried to remove air bubbles and the artwork just scraped off. I used my finger to remove air bubbles and not some abrasive tool. Well, I guess I need some more clear coat next time. Time to do it again.
Finally got this thing in a test box. Sounds pretty good but I think the transistors need some tweaking and I may add a tone knob.

I did a thick coat of green hammered Rustoleum and topped it with a thick grey hammered Rustoleum and baked it at 200 degrees for 15 minutes and got this result.

This is just a test box but I plan on using this method. I think it would look better with the grey first then the green. I’ll try that next.

I made a quick layout of a Magnavibe and a Muff Fuzz OpAmp. I did a rushed job just to get the concept down and tomorrow I will take my time and try for a better one. More to come….
It is so hard to find any parts locally. I am trying to compile a list of local electronics/service centers that deal parts and see if I can make a mailing list to just send a blanket email to all of them looking for parts.