PCB etching attempt #2
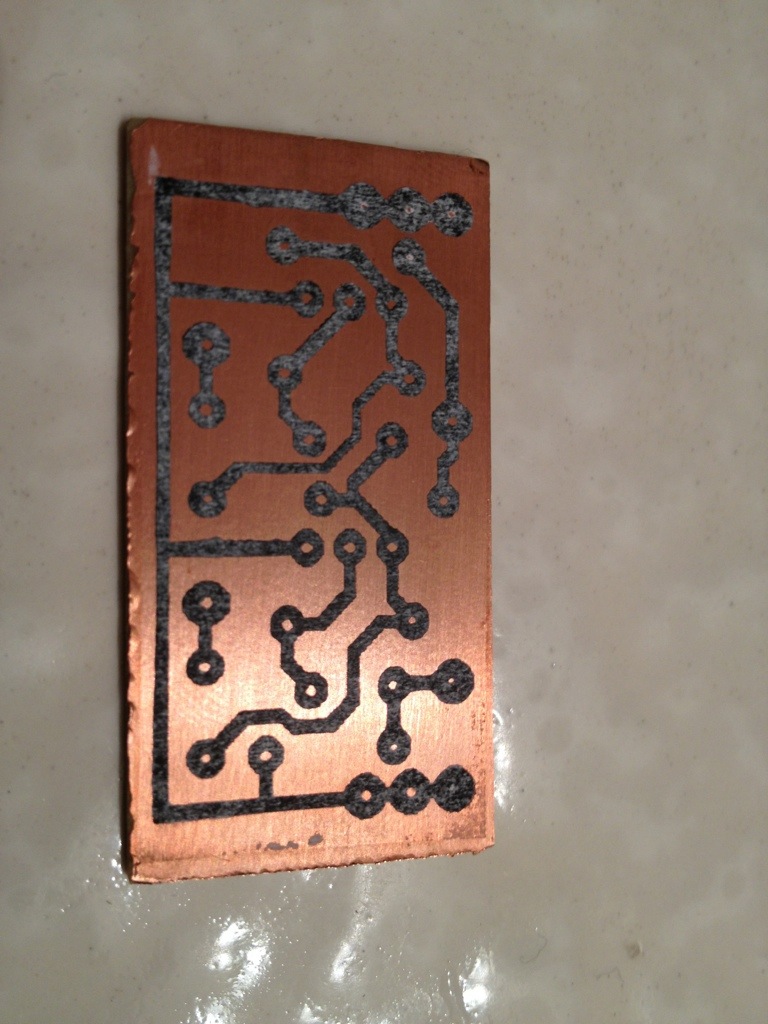
Armed with a new technique found online and some new glossy paper to do the toner transfer I attempt to try this again.
Items I needed:
- Copper clad board
- Laser Printer
- HP Glossy Presentation Paper (Office Depot $6.99)
- House hold iron
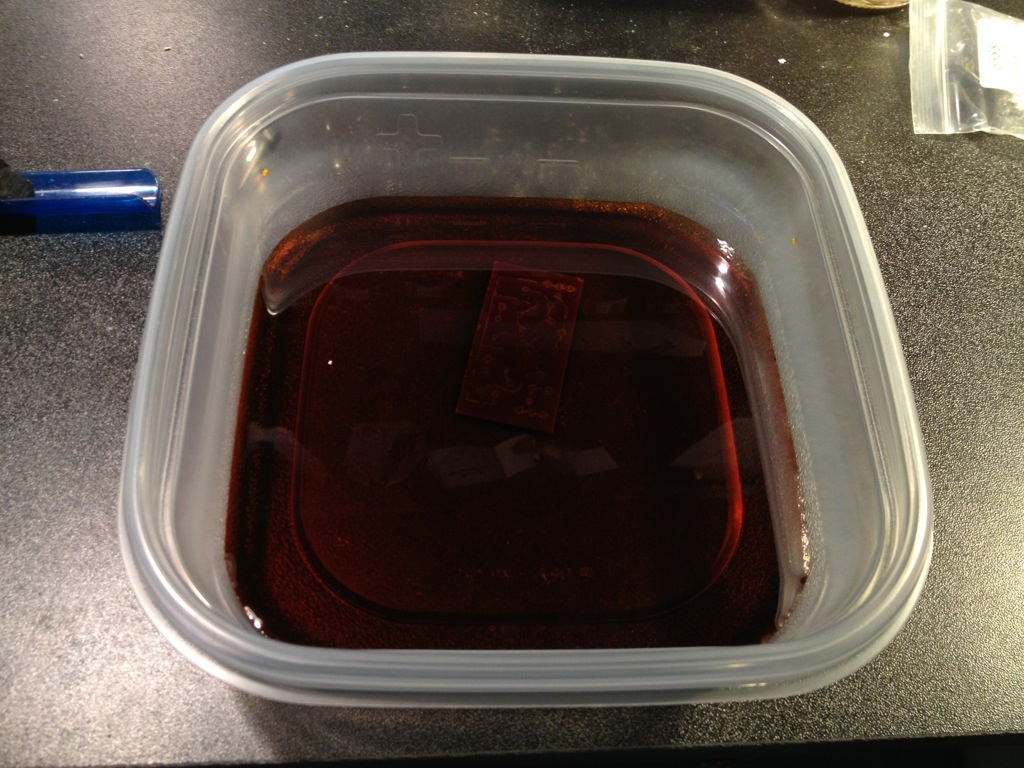
- Ferric chloride solution
- Plastic containers with lids

I then put it in a bath of the ferric chloride solution. I would “agitate” the solution every 3-5 minutes.
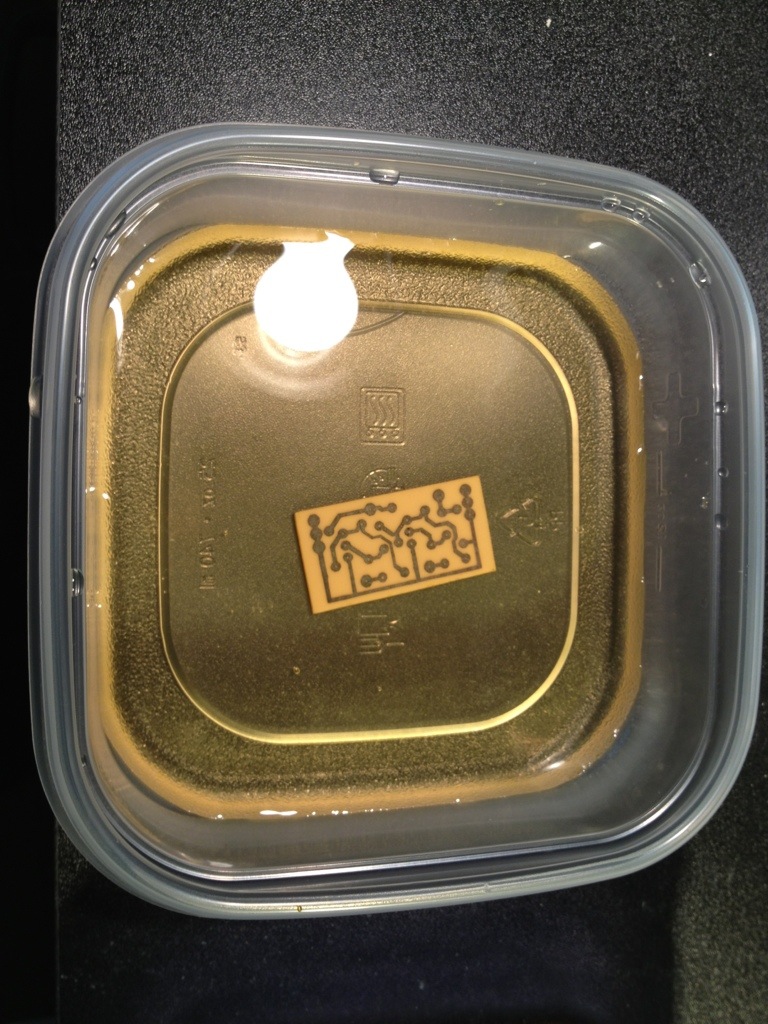
After I noticed that all the copper was removed from the clad board and all that is left was the toner covered traces. I then gave it a bath in water to remove any of the left behind ferric chloride solution.
I then use some nail polish remover and abrasive sponge to clean off the toner and leave behind the copper traces. This is the point where it looks like a proper PCB.
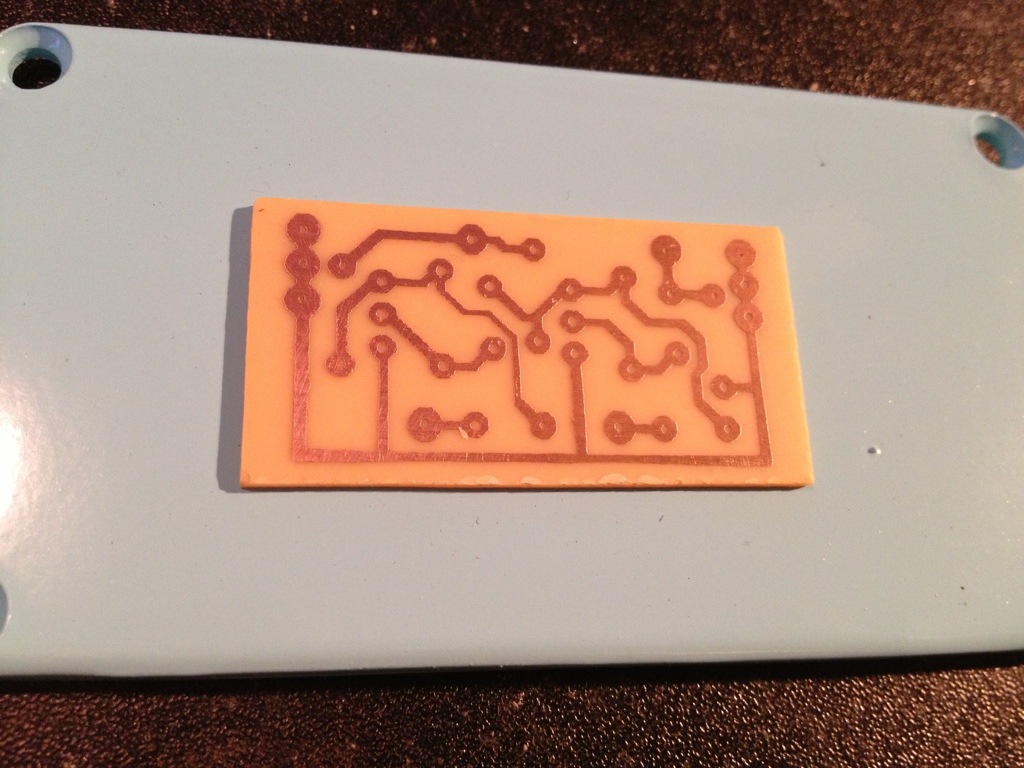
Then the holes are drilled for “trough hole” hardware.
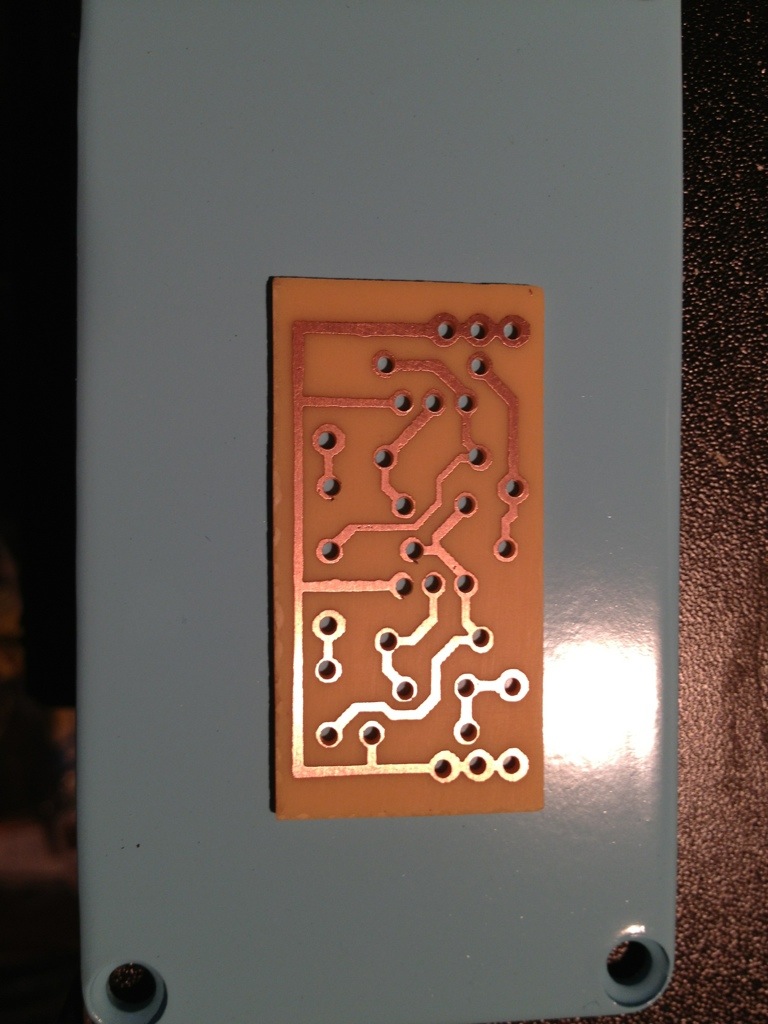
The holes I drilled are WAY to big but it was all I had to test with. I will need to buy a proper drill bit for my Dermal. I just wanted to drill the holes with what I had on hand so I can go through the process to practice.
The ferric chloride solution is reusable and I just slapped a lid on the plastic container so I can use it to make other PCBs this week.