Category: DIY

Grind Customs FX TSM680 MK2

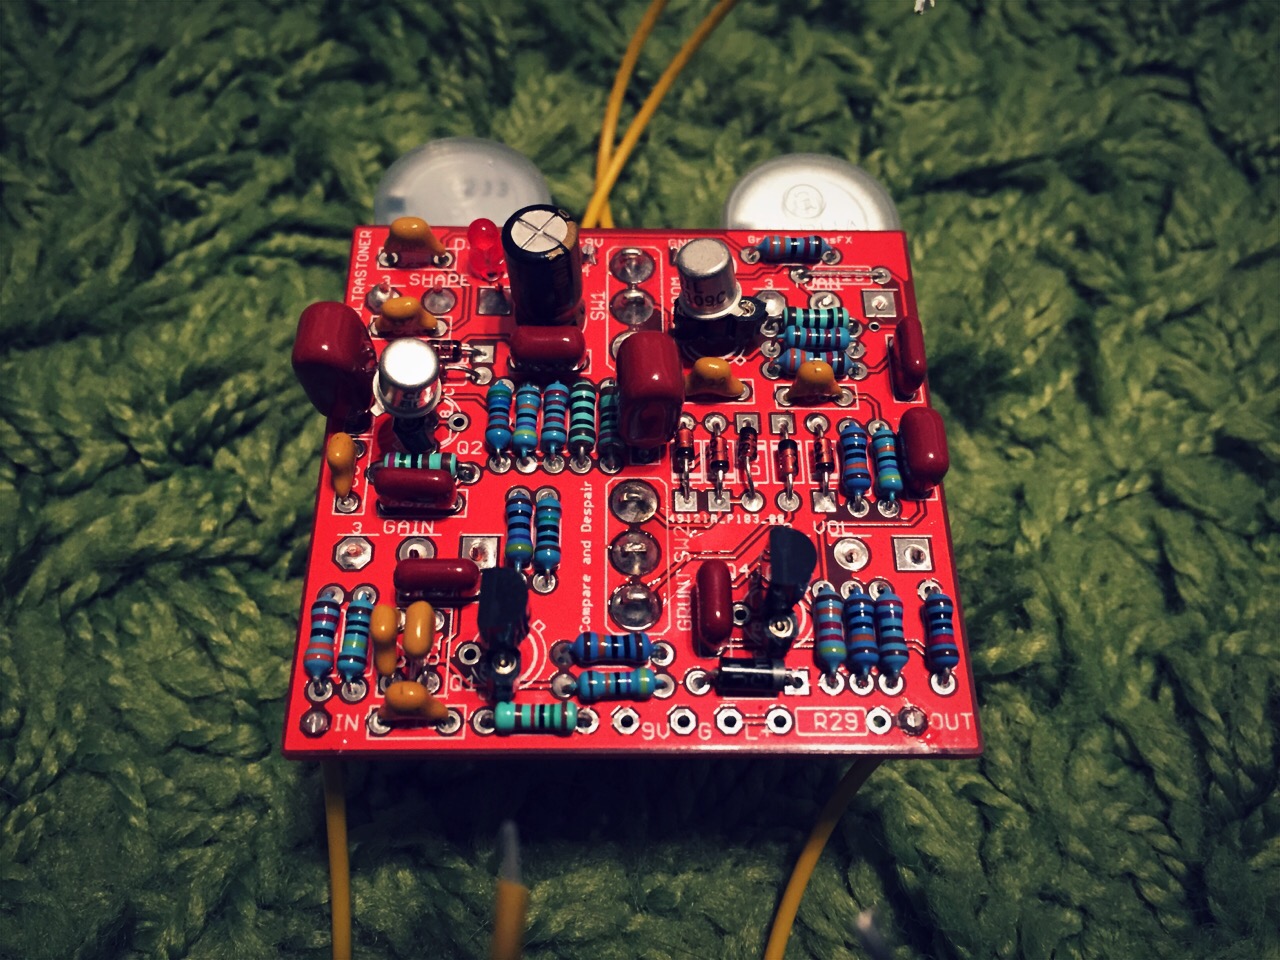
Rej from Grind Customs suggested I give this Big Muff variant a try and I am so glad i took his advice. This thing is so thick sounding and has some piercing mids if you need them. It seems to cut through any mix I throw at it with ease and sounds great. Do yourself a favor and grab an UltraStoner PCB from Grind Customs FX and populate this thing.

Reverse etch on a 125B enclosure. The artwork is hard to see so I posted another photo at the end of this post. The artwork was a random find on Google Images.
IMG_0113.JPG

I went with the top mounted jacks just because it worked well with the layout.IMG_0114.JPG


Here is a better shot of the pedal straight on.IMG_0116.JPG

Voltages:
Q1
C 3.9v
B 0.6v
E 0.0v
Q2
C 5.6v
B 0.5v
E 0.0v
Q3
C 3.7v
B 0.6v
E 0.0v
Q4
C 5.2v
B 1.7v
E 1.1v

A very foolish overdrive

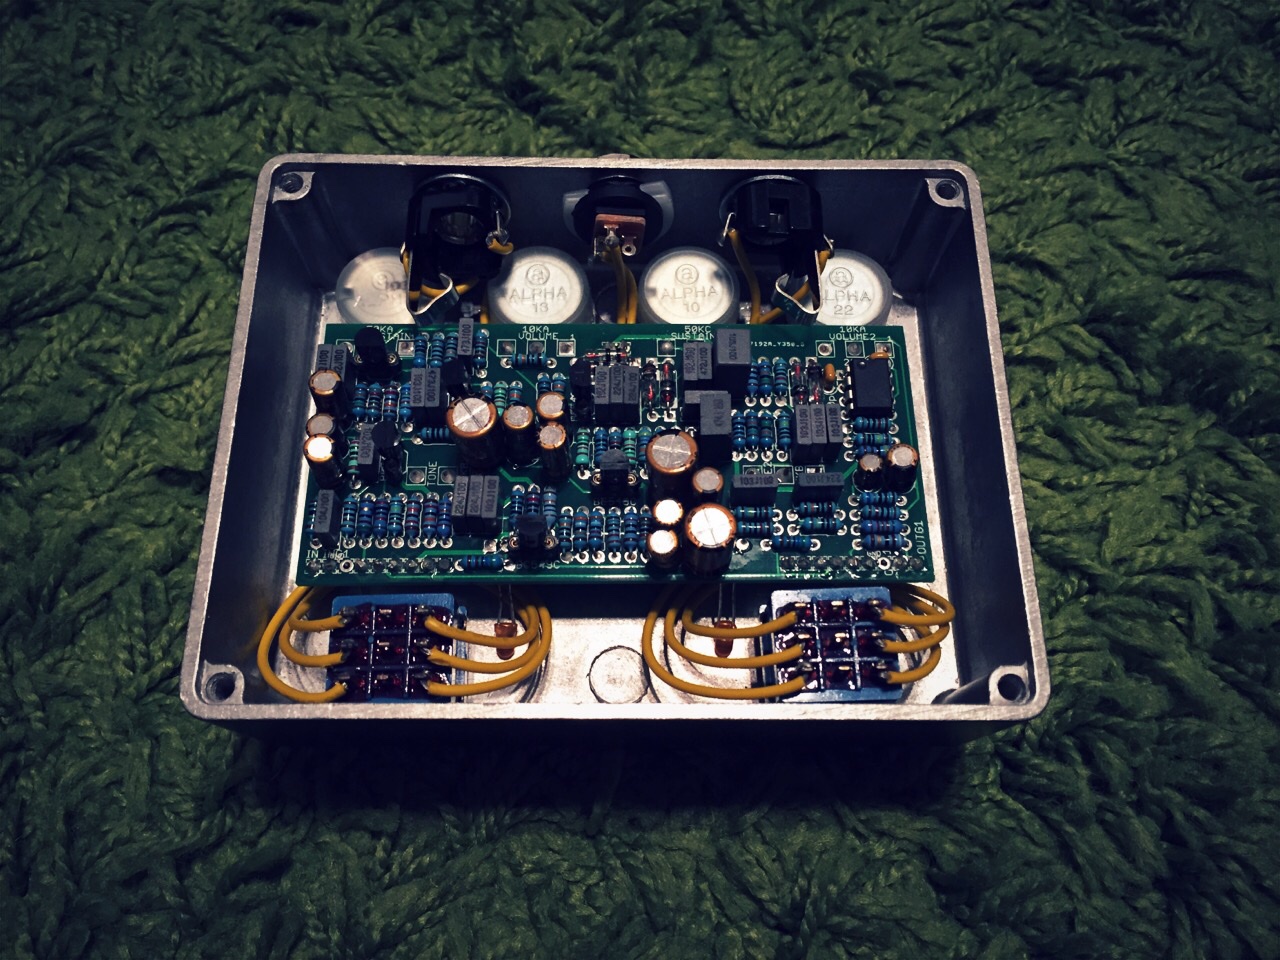
Finally finished this Cornish SS-2 & G-2 pedal using the Black Horse Effect Duplex Drive PCB. This is a great dual pedal and is NOT just another Big Muff pedal. This thing sound great a low gain and is a very smooth sounding low/mid gain OD/distortion. This is definitely a pedal I will be putting on my board and cherishing. I really love how clean & easy Black Horse Effects PCB is and I can finally retire my very version of the G-2.

Used a play on words and tried to get the same look from a Cornish pedal. The knobs are from Small Bear. The artwork is a reverse etch on a 1590BB enclosure.

IMG_0099.JPG

Photo

Voltages:
Q1
C 9.2v
B 6.0v
E 5.5v
Q2
C 4.7v
B 0.8v
E 0.1v
Q3
C 3.9v
B 0.6v
E 0.0v
Q4
C 4.8v
B 0.7v
E 0.2v
Q5
C 9.3v
B 5.5v
E 5.0v
Q6
C 4.8v
B 0.7v
E 0.2v

LM1458
1 4.7v
2 4.7v
3 4.2v
4 0
5 4.4v
6 4.7v
7 4.7v
8 9.4v

Builds in the works

I have been really busy with a few work deadlines and it’s cutting into my bench time. I spent the last few days populating PCBs that have been sitting on the bench way to long. I have some enclosures coming this weekend so I hope to have some etch time with them to get these builds wrapped up.

David Rolo’s Liquid Mercury – Tap Tempo Phaser
IMG_0067.JPG

David Rolo’s TWIN PEAKS Tap Tempo Harmonic Tremolo
IMG_0065.JPG

Black Horse Effects’ The Beast (Maxon OD-820 and Klon Centaur in one box)
I still need to get my diodes auditioned and soldered in.
IMG_0066.JPG

Feel like a winner today!

This last weekend I was determined to empty out my “box of fail” builds and try to breath some life into them. Today I decided to try to conquer a Madbean Zero Point SDX (Which is a beast) and I tamed that beast, slayed the dragon or tipped the cow. I got this PCB back in February 2014 and I populated it over a couple of days and then when testing it I was getting nothing but distorted delay repeats. I was very very green in February (now I am just very green) and had no idea where to start troubleshooting. I then revisited it in June thinking “this is the time I get this thing going” but I failed again. I replaced all the PT2399’s and I checked voltages and they looked fine so It went back in the “box of fail”.

Now, today! I set the PCB up on my test rig and got a tone going through it and started tracing out where the distorted repeats start in the circuit. I found the distortion was on pin 8 of IC2 PT2399 (Current control 0) and to my surprise I had a 10nF film cap instead of a 100nF film cap in C15. As soon as I popped in a 100nF cap everything was repeating clean as it should.

On the PT2399 the pin 8 (CC0) and pin 7 (CC1) are for “mod” and “demod”. Now I just need to figure out what they are used for and why did it produce distortion with a 10nf… but for now, ITS WORKING.

An old build sees the light of day and I finally feel like my troubleshooting skills are getting a tiny bit better.

Here is a shot of the PCB. Ever since I moved to the Panasonic film caps, these box caps are hard to look at. lol

IMG_0086

GrindCustoms TSM680

This is a GrindCustoms UltraStoner PCB built to TSM680 specs and it sounds great. Has a huge mid boost and just makes this Big Muff variant just pop out. I found with little fiddling around with it and with my Gibson SG I was able to nail many of the great stoner rock and psychedelic bands tones with ease. From Sleep to Red Fang with no problems.

IMG_0077-1.JPG


Rej suggested that I put this in a multi build with the UltraStoner built to stock… I just may.

TapLFO2D / Unicorn DNA Chips

The TAPLFO is a program developed by Tom Wiltshire at Electric Druid Synth DIY.

Ever since I got David’s two projects that use the TapLFO IC, I wanted to be able to burn my own. I ordered the PICs from Mouser and bought myself a PIC programmer and hit the ground running. The HEX file can be found here.

Tonight I decided to burn and test 40 chips and offer them over at Madbean Forums in the Buy & Sell section. I even made a cool little label/sticker for them. Here they are in all there glory.

IMG_0070.JPG

Here is one on David’s Twin Peaks Tremolo build I am finishing up this week.

IMG_0073.JPG

Icky Muff populated

Spent an hour this tonight to populate Stomptown Electronics‘ new PCB called the Icky Muff. It’s a combination of two classic pedals in out to achieve some of the great sounds/tone that Jack White got. It’s a MXR Micro Amp boost into a Electro-Harmonix Big Muff Pi. It sounds great on the test rig and I can see this will be a very usable pedal for sure.

IMG_1168.JPG

Time to work on some artwork for the enclosure and box this beast up.

Stomptown’s Pennyroyal Chorus

I have been sitting on this PCB for some time and finally remembered to buy a CD4047 for it. I finished populating it tonight and ran it for a quick test and fell in love. This is a great sounding chorus and can get that slow whirl lush sound really well. Now comes the hard part, boxing It up.

IMG_0062.JPG

Test PT2399 delay chips

I had 2 delay projects this week and got tired of pulling chips that seem to give off more distortion when max delayed. I decided to make a quick Madbean Cave Dweller just for the sole purpose to test PT2399’s. I was able to go through 15 PTs in 20 minutes and it worked out great. I suggest this to anyone that goes thorough many Delay projects and wants to test their PT before they place in their project.

IMG_1189.JPG

Enclosure Painting Tutorial

I finally got a tutorial together on how I paint and wet sand my enclosure after I do a reverse etch. I will be making changes to it over time since my process is evolving with every project. My goal is to get consistent results and little room for error. As with everything with this blog, if you have questions or comments please feel free to express them. I am also always open for more ides or suggestions.

Enclosure Painting Tutorial