Category: DIY

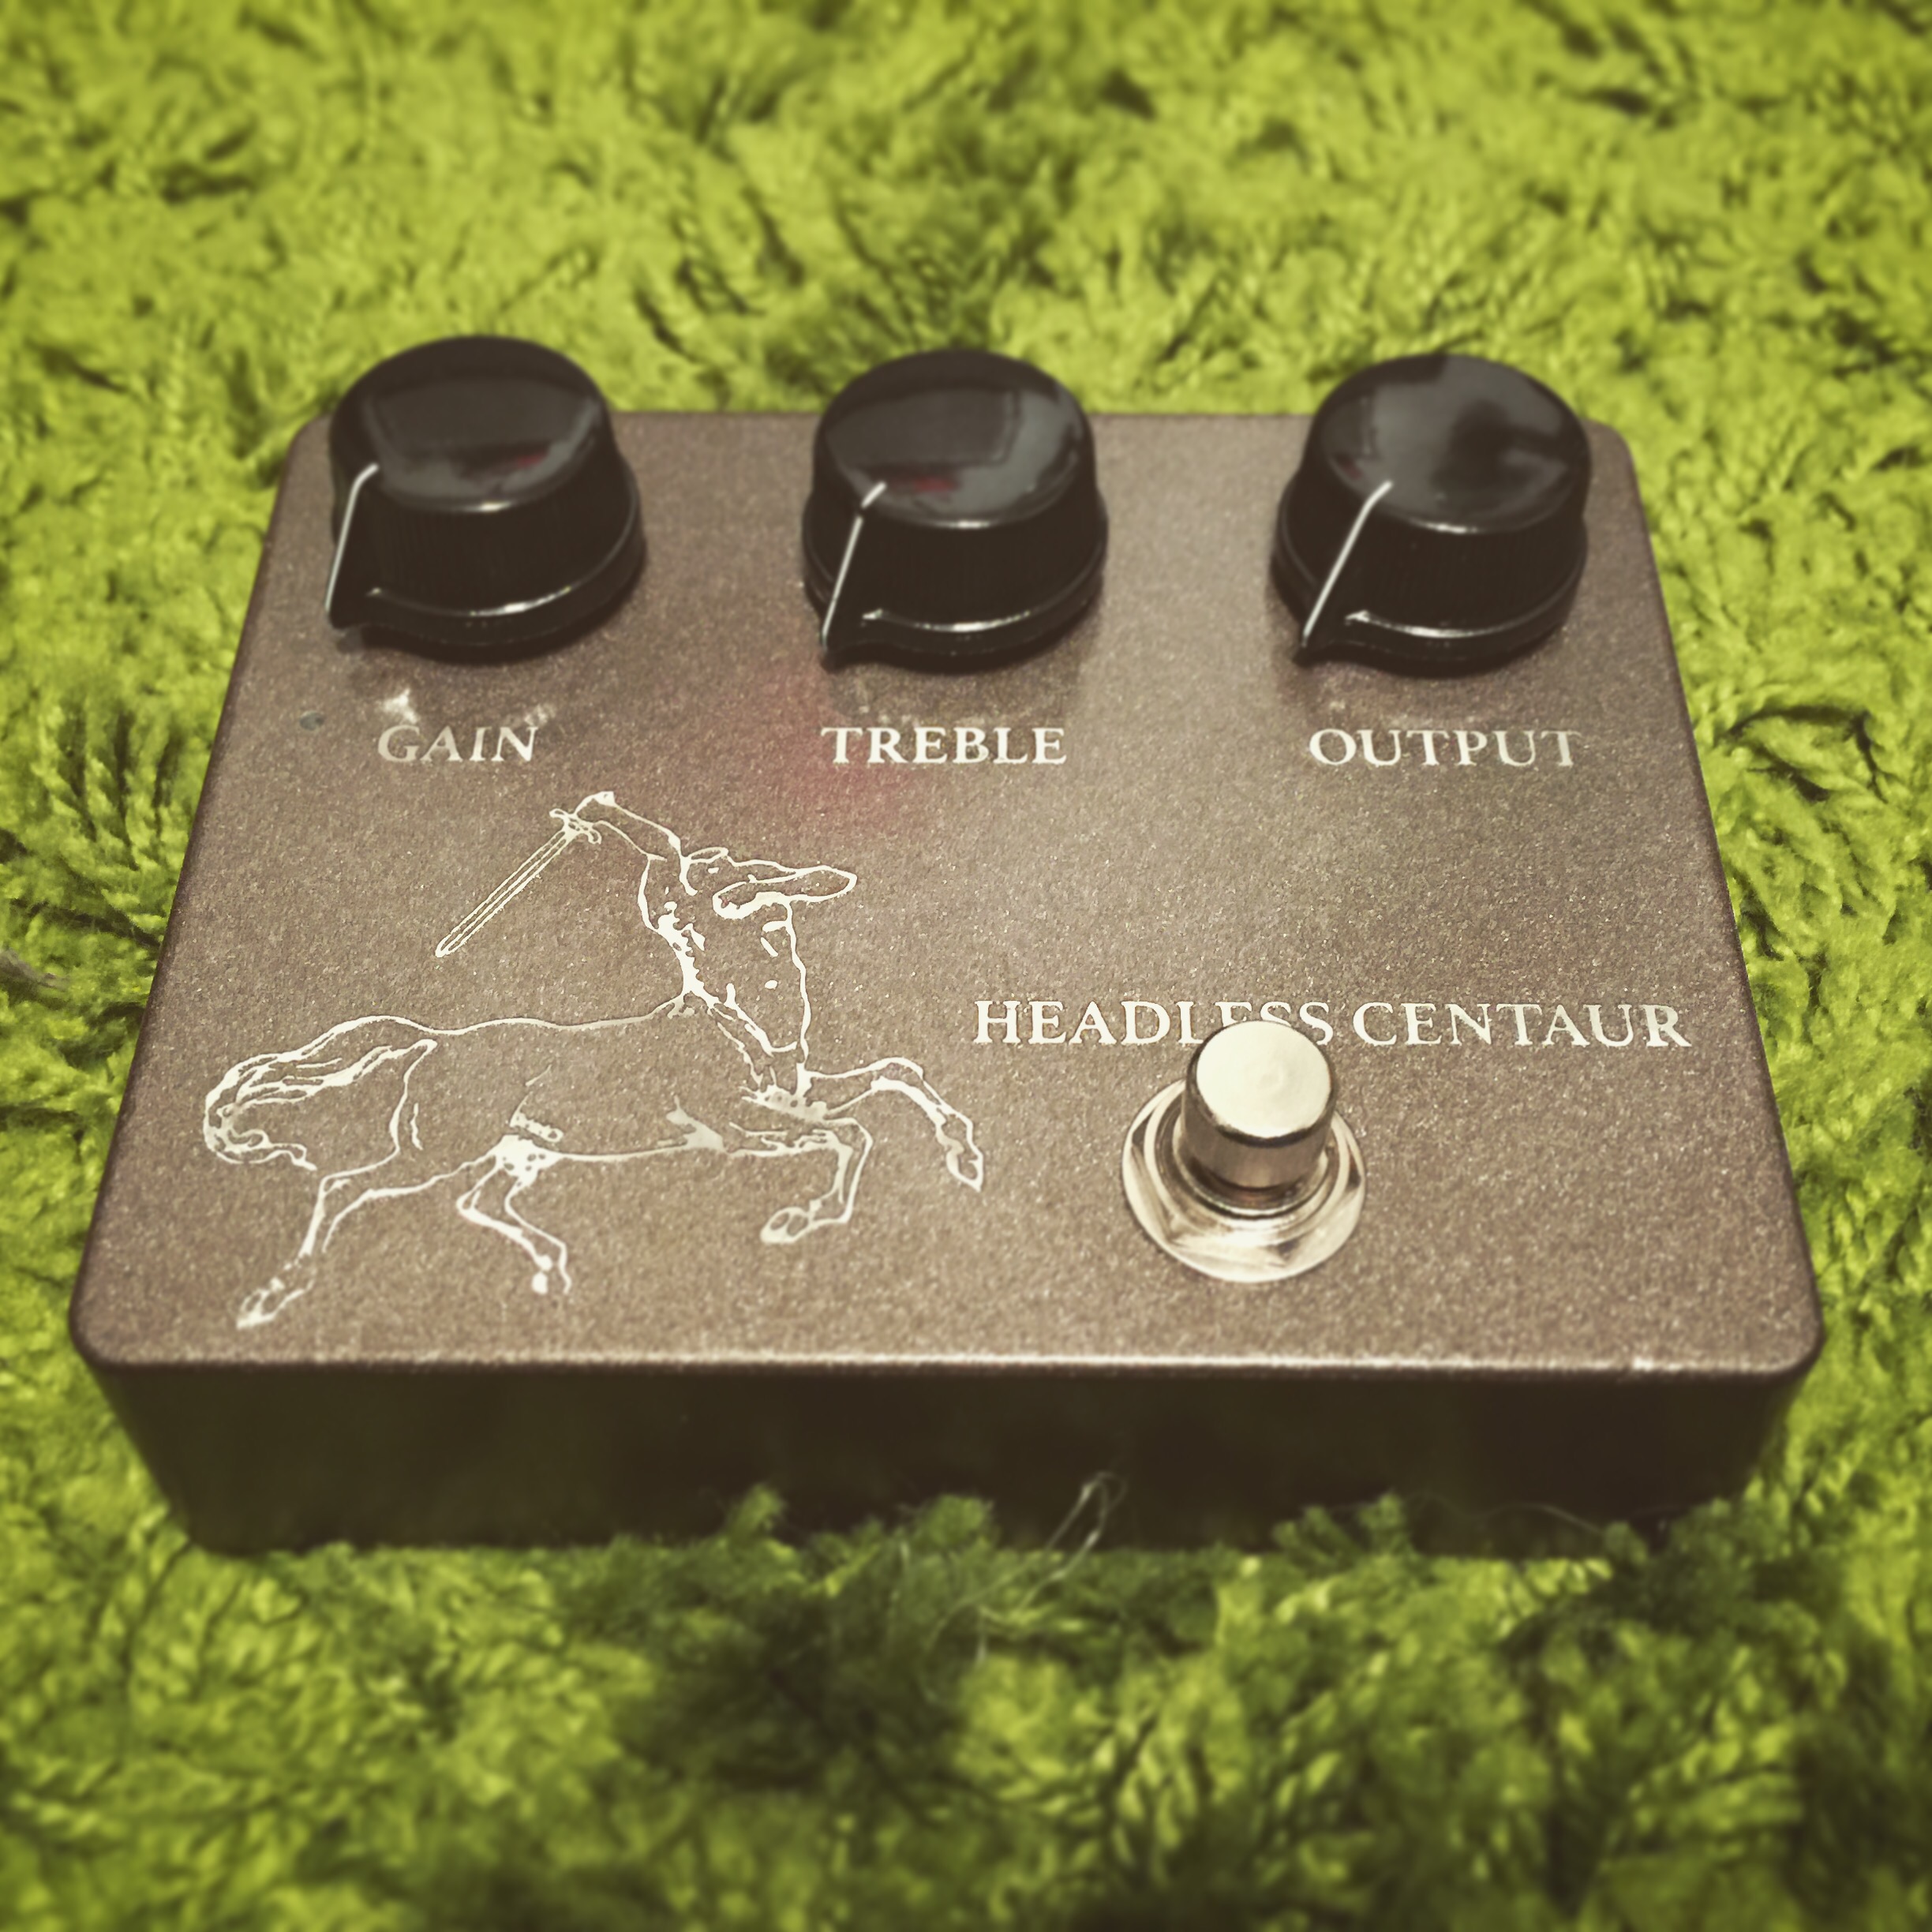
1590A Buffered Bypass Looper

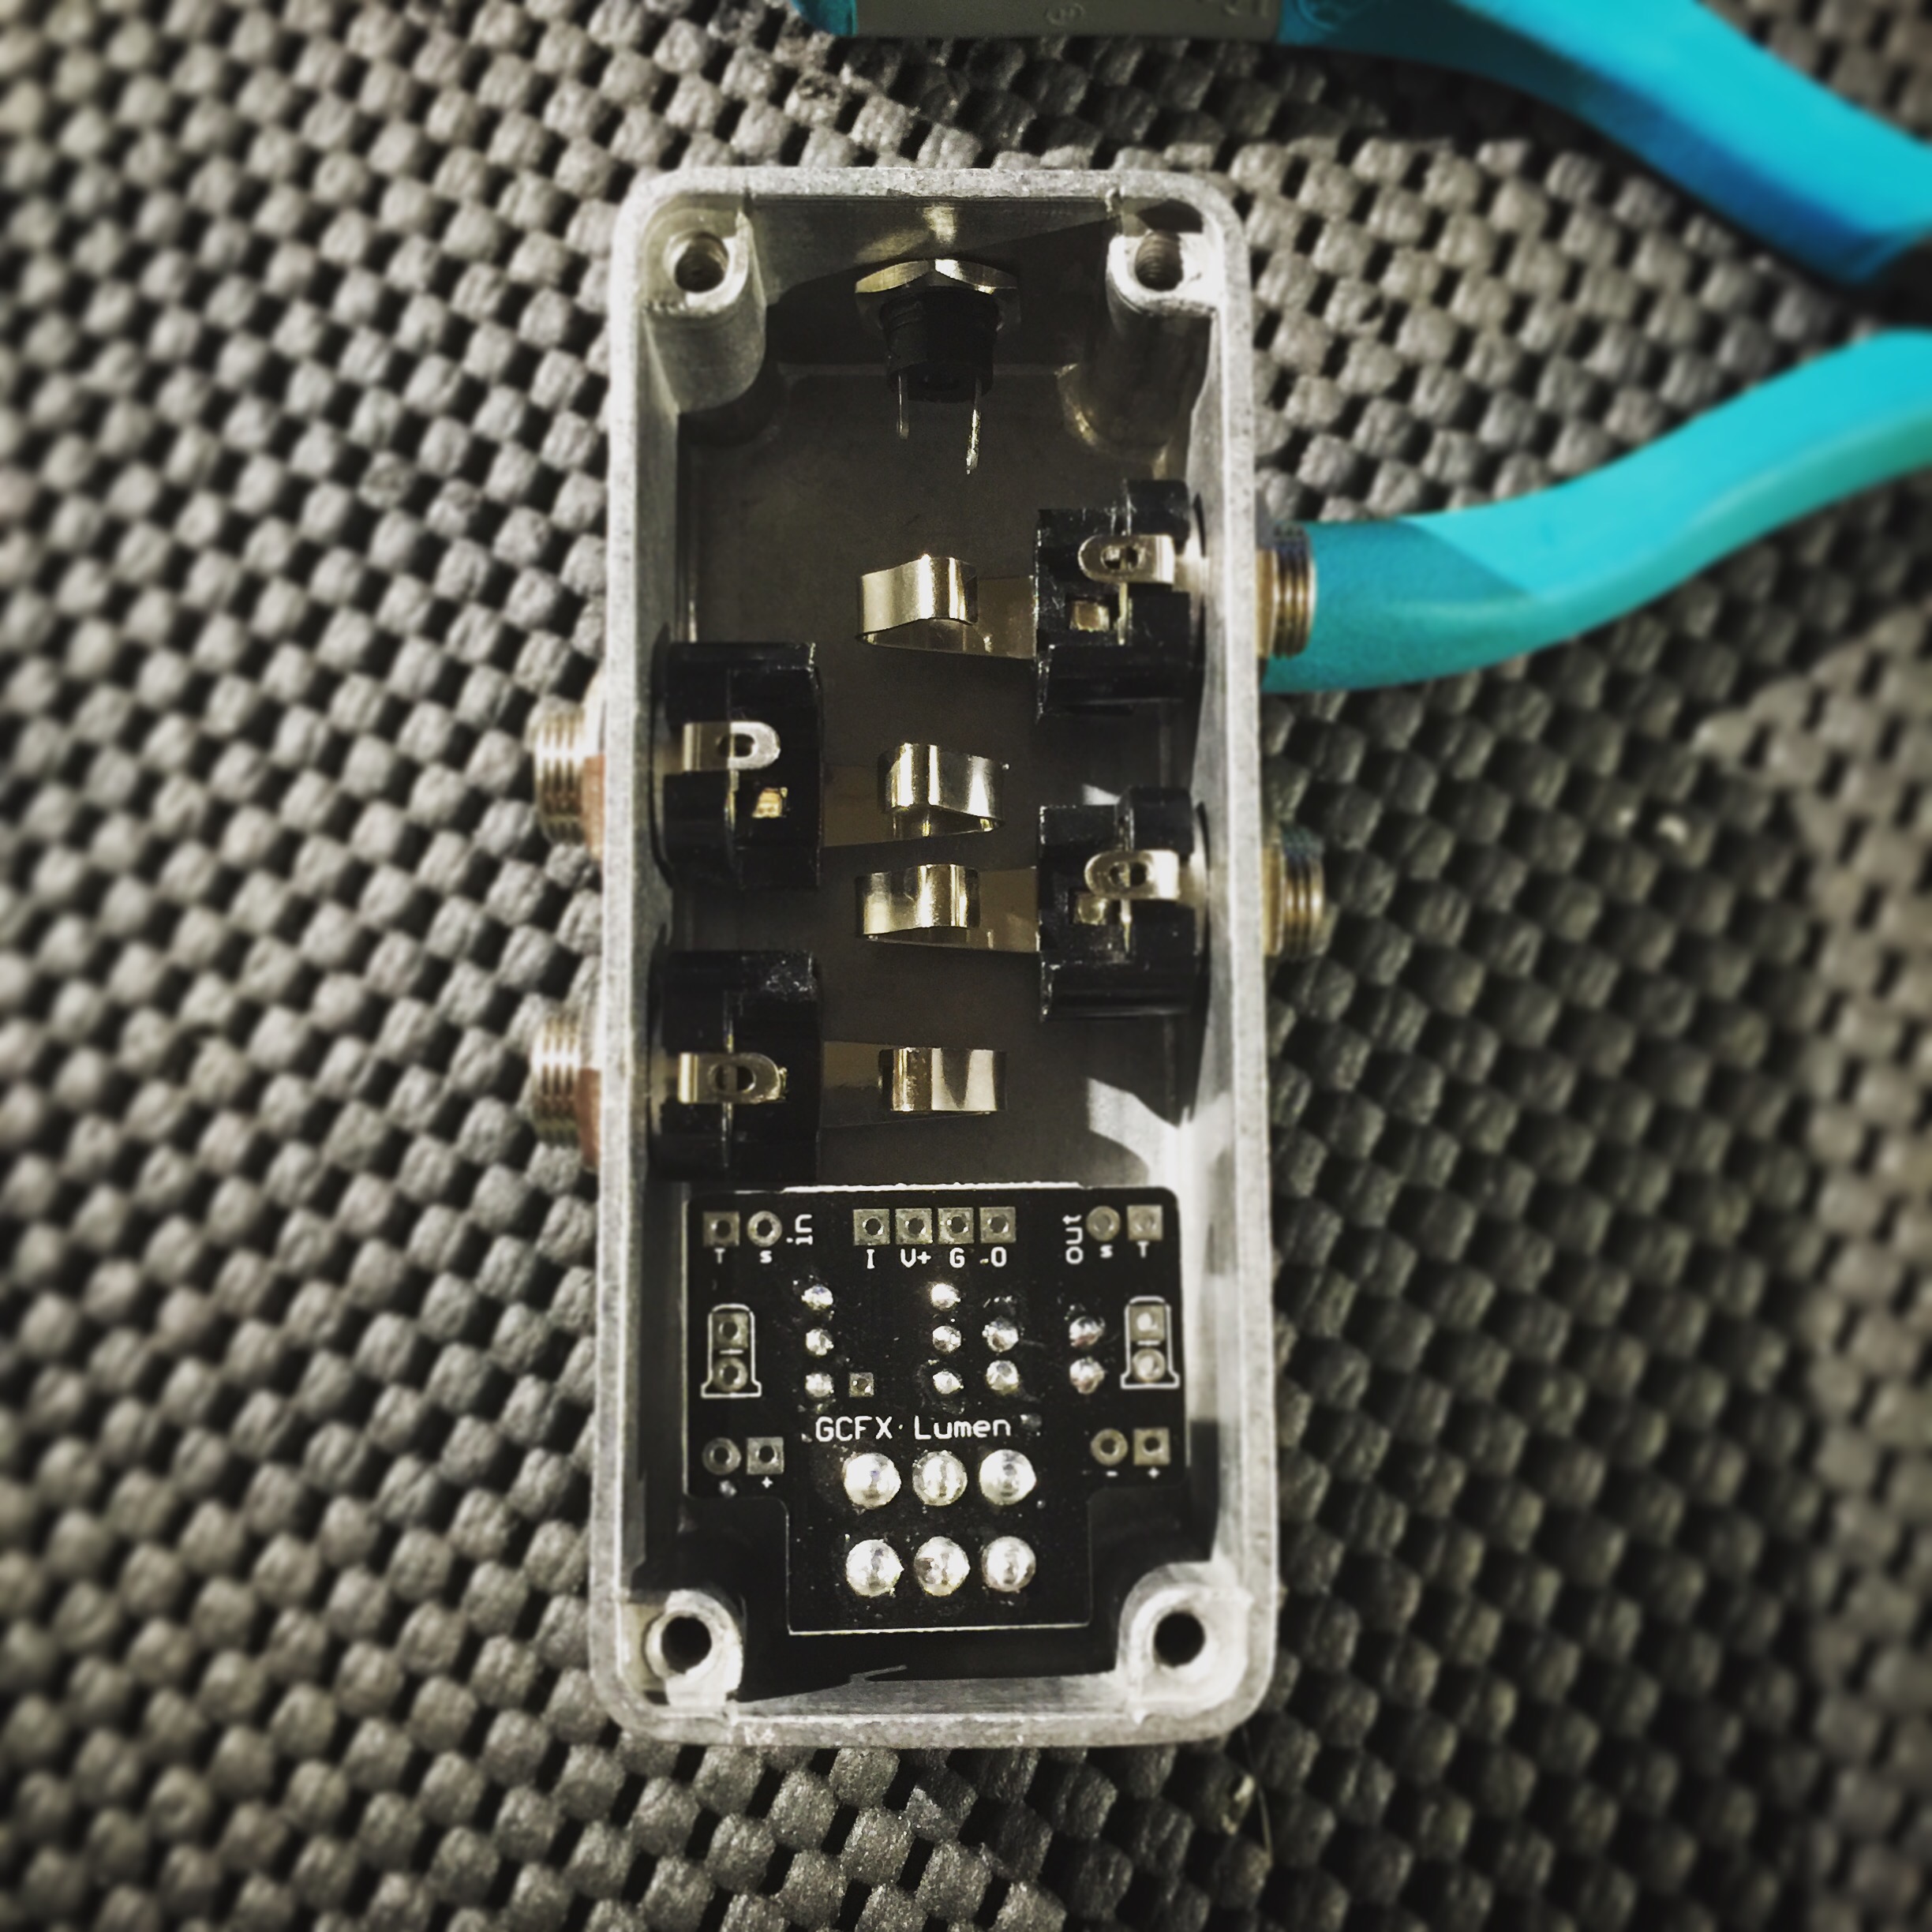
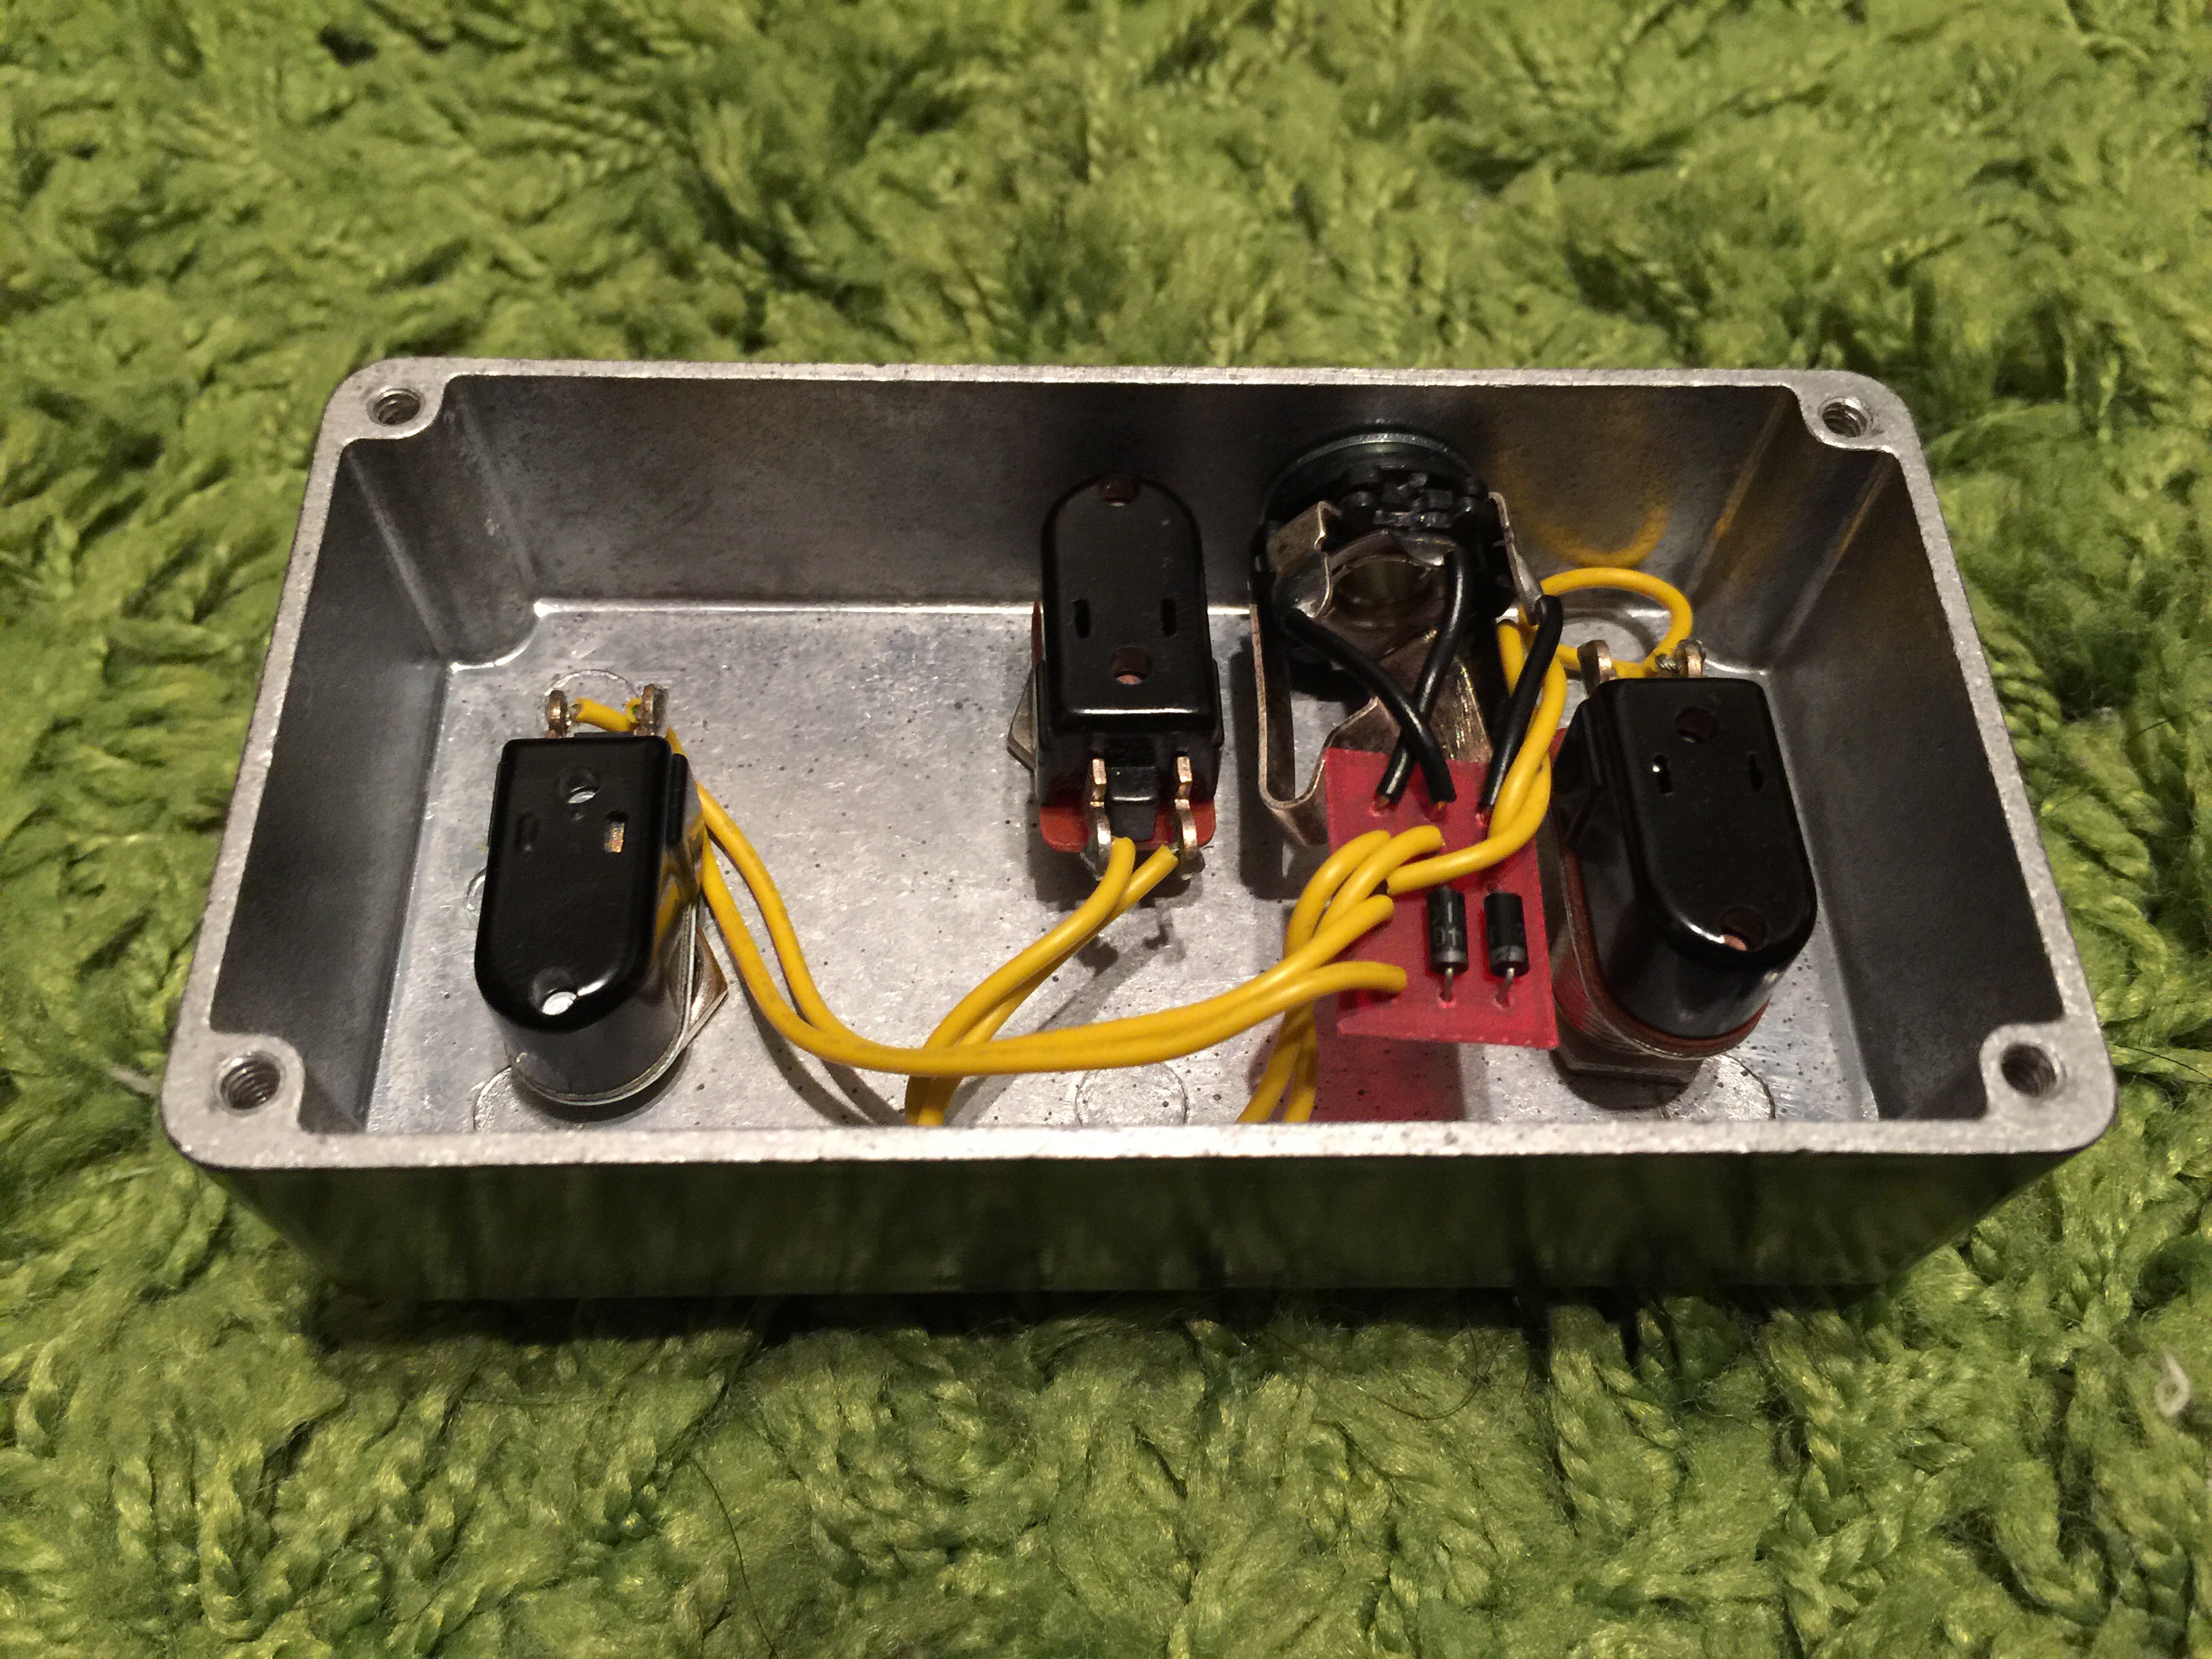
I am wanting a way to add a buffered output to the input of my Roland RE-201 Space Echo and utilize a bypass. The Space Echo does have its own external bypass switch but you signal still passes through the Space Echo. I wanted something with true bypass but a buffer on the effect output. I chose to use the simple Klon buffer on a layout by Storyboardist. But there is a catch, I want all this to fit in a 1590A enclosure. I messed with some calipers and my drill template in photoshop until I got a nice tight design and did a prototype. So far everything is coming together great. I chose to go with the optical bypass Lumen PCB by Grind Customs since I love the DPDT switches.

I will update when I get this all buttoned up and tested.

Rullywow Eaglet

This is a great work a like of the Eathquaker Devices Talon on a layout by Rullywow.  This is such a great sounding overdrive/distortion. It handles chords really well and can give you that classic psychedelic rock crunch. This will definitely get boxed up soon and placed on my board.

Gravity Wave

This is a PCB from the Madbean’s Etchers Paradise. Its a Earthquaker Sea Machine work a like. This thing can go from subtle to wacky chorus in a quarter of a turn. I played with it for about an hour and found all kinds of great sounds from this thing. I will definetly box this up at some point.

gravitywave

Here are my voltages:

Powersource: 9.1v

IC1:

  1. 4.3v
  2. 4.3v
  3. 3.9v
  4. 0
  5. 4.3v
  6. 4.3v
  7. 4.3v
  8. 8.7v

IC2:

  1. 4.9v
  2. 2.4v
  3. 0
  4. 0
  5. 2.7v
  6. 2.4v
  7. 0.8v
  8. 0.8v
  9. 2.4v
  10. 2.4v
  11. 2.4v
  12. 2.4v
  13. 2.4v
  14. 2.4v
  15. 2.4v
  16. 2.4v

IC3:

  1. Varied
  2. 4.2v
  3. Varied
  4. 8.7v
  5. Varied
  6. Varied
  7. Varied
  8. Varied
  9. 4.3v
  10. 4.3v
  11. 0
  12. 4.3v
  13. 4.3v
  14. Varied

IC4:

  1. 4.3v
  2. 4.3v
  3. 4.3v
  4. 0
  5. 4.3v
  6. 4.3v
  7. 4.3v
  8. 8.7


Switch Monkey

I built this for my father as he wanted something to control his Digitech Trio with. You are able to use a Digitech FS3X with it so I decided to make one for him. Nothing crazy in this build, just 2 diodes and a few switches. It fit the bill and worked perfectly. I am really happy how this etch came out and I think he liked it also.

Gut shot:

Straight on shot:

Enclosure Etch Woes

Here’s an example of a bad reverse etch. This is a perfect example of me trying to use a paint that is too thick/super glossy on a reverse etched enclosure.

What your looking at is a enclosure I reverse etched the text on and painted with a Krylon glossy yellow. I then tried to wet sand the top to expose the raised areas, the only problem is, there is no longer any raised areas. The paint filled in/up all raised areas making it impossible for me to sand away the paint to expose the aluminum.

So how do you know what paints work well for etching?

I have come to the conclusion that flat colors work the best. I am able to do a few thin layers and then oven dry it then wet sand to expose the etch. I then shoot the enclosure with a nice clear coat and call it done.


Lectric-FX Bloodstone

I have had this PCB populated for some time and really wanted to do something special for the artwork. I came across this artwork on Google Images and fell in love with it (Looking for the name of the artist, will update when I find it). Lectric-FX did a great job with this BadStone work alike and it sounds great. Grab a PCB here.

I did a reverse etch and went with some aluminum knobs I had laying around. Instant love affair.

Gut shot.

Headless Centaur

This is the Sunking Classic layout Madbean (Brian) did for etch only. I left off the diode switch and just used some D9E diodes I had. This is a great sounding Klone and is board worthy. This might kick my kingslayer off my board.

I did a reverse etch of some art I found online of a headless centaur and thought it was perfect for this project.

Gut shot

Casper Electronics EchoBender

Dminner on Madbean Forums asked if I could get one of these together for him in trade for a enclosure designed by him. His enclosure look awesome and I would love to get one on my board so of course I was on board with this idea. I used effectslayouts PCB that was unverified as of now and decided to give it a go.

EchoBender

After looking at the layout and looking at a revised schematic that Casper Electronics posted:

echobenderrev02

There a few subtle changes.

  • C1 has been assigned a value of 47uF instead of 100uF ( Im sure this really does not matter since its just power filtering)
  • R19 has been removed. This is a 4k7 resistor off of pin 3 of the TL072
  • The 330k resistor at pin 5 of the op amp has been removed.
  • Feedback pot needs legs 2 & 3 swapped.

So far this thing sounds crazy, insane, intriguing all at once.

Swamp Nuts

This is a D*A*M Ezekiel work-a-like built on a Tinnitus Behemoth Jr. PCB. I built for my uncle as he wanted some dirt for his bass and I thought this would fit the bill.


Image-2 (2)

Image-1 (2)