Enclosure Etching
This is by no means a “must do it this way” tutorial. This is simply what works for me consistently. I will try to explain each step of my process.
Items I needed:
- Laser Printer (HP LaserJet Pro P1102w) I set the Print Density to 5 in the menu settings on the printer itself.
- HP Glossy Presentation Paper (Office Depot/Max $6.99)
- House hold iron (I use a Black & Decker household cloths iron)
- Ferric chloride solution (You can get a bottle from Radio Shack that should last for 10-15 smaller PCBs)
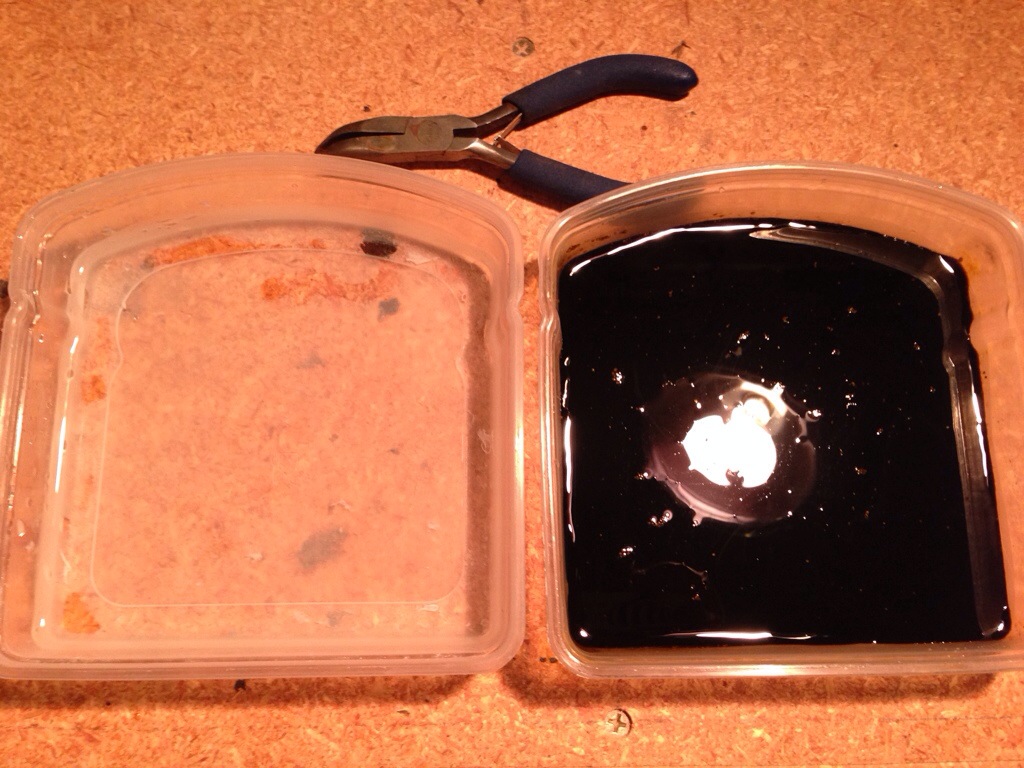
- Plastic containers with lids (Rubbermaid sandwich containers)
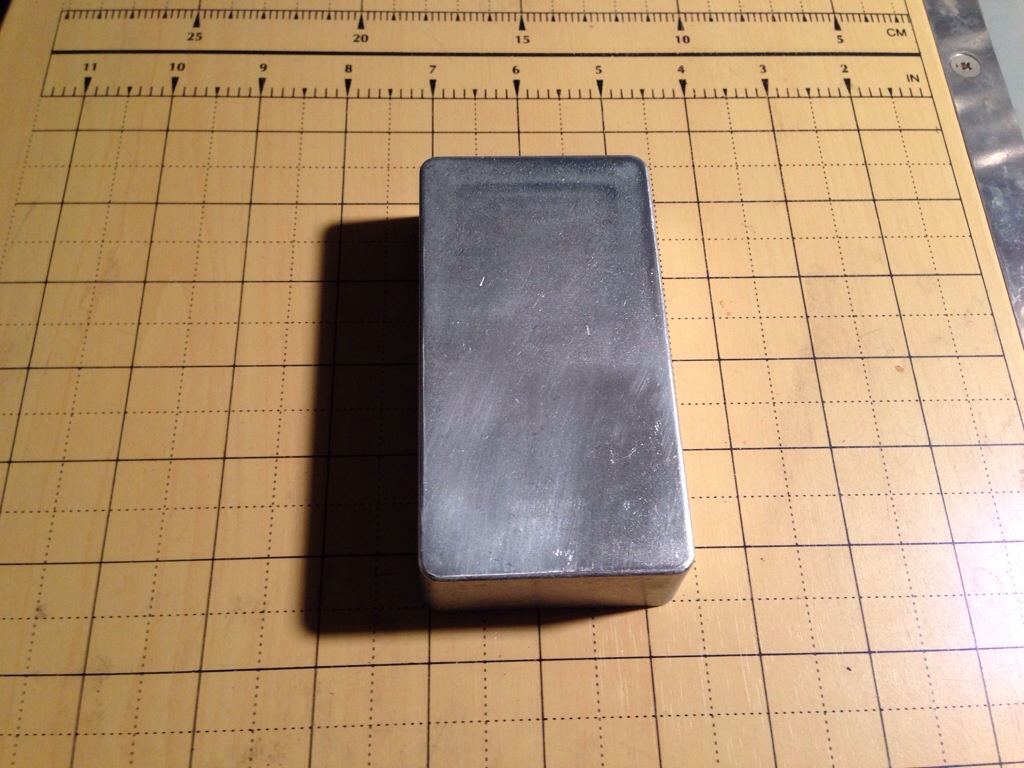
- An enclosure of your choice.
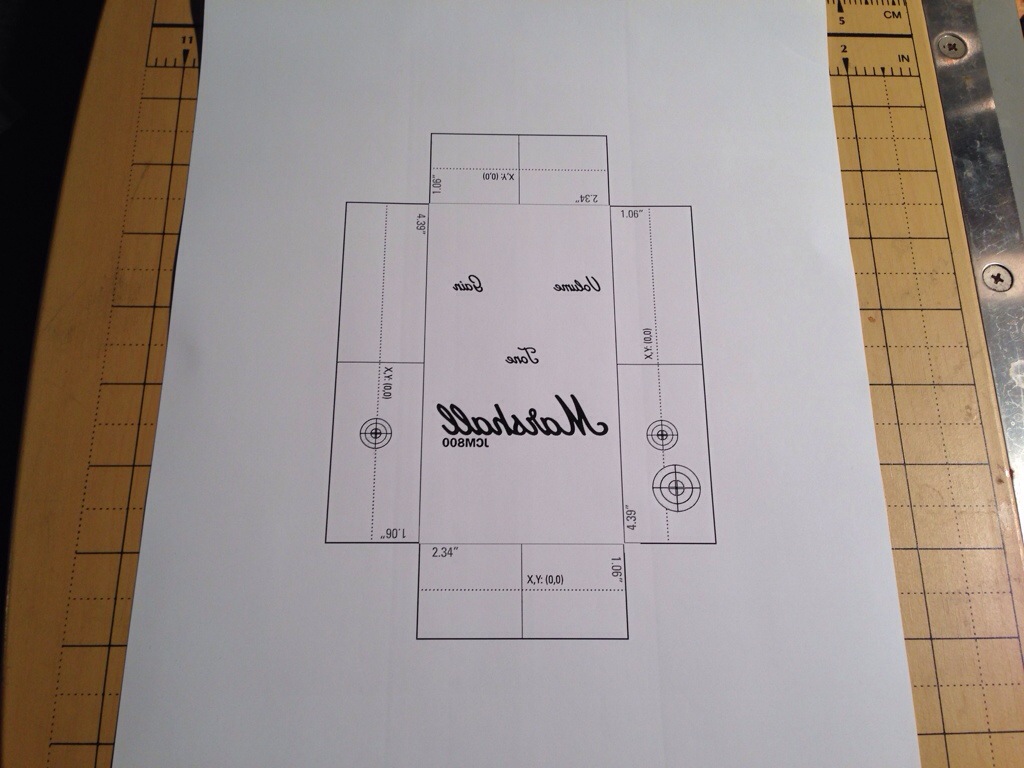
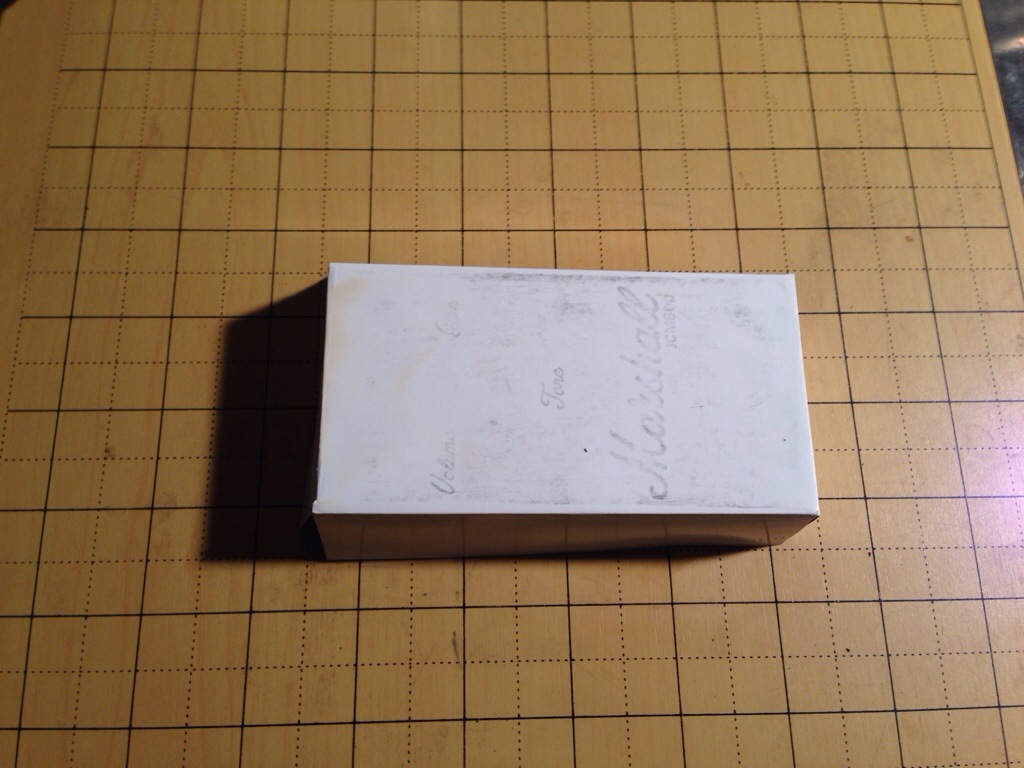
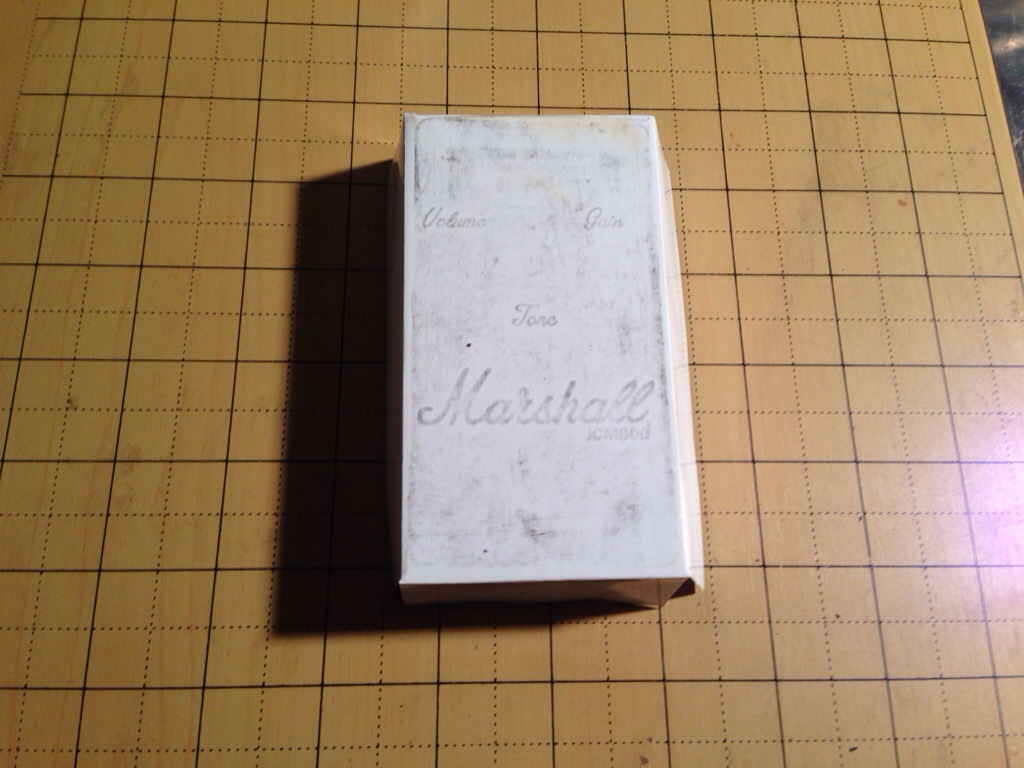
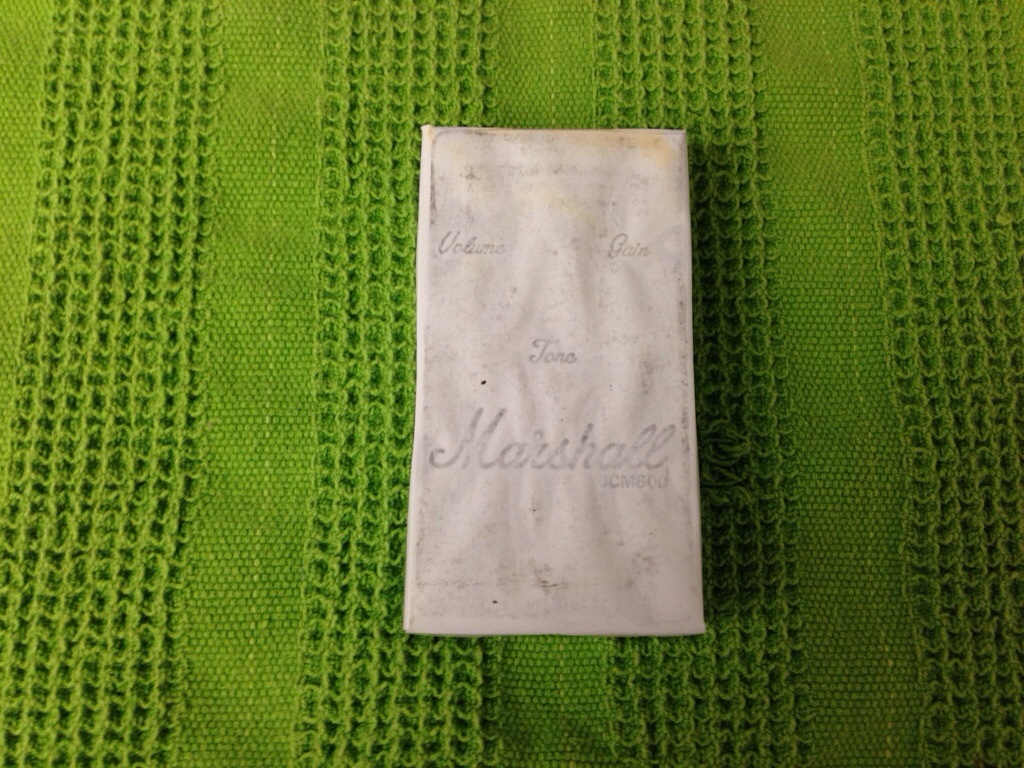
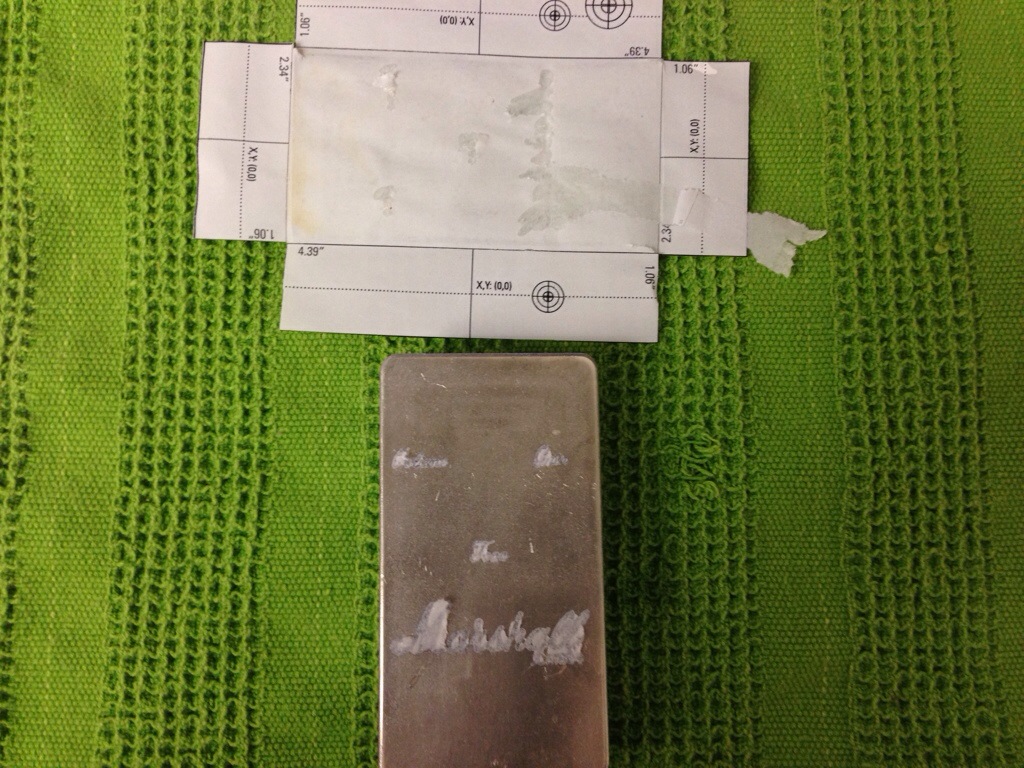
I start with a layout that I create using my Photoshop template. I use the same template for making a drill templates & etch masks. DO NOT FORGET TO FLIP YOUR IMAGE. I seem to remember that just as I start to iron on the etch mask of course.
Here is a copy of my Photoshop Template
I sand the enclosure with 600 grit just to get off any imperfections. The picture below doesn’t look that great but its just the awesome garage lighting.
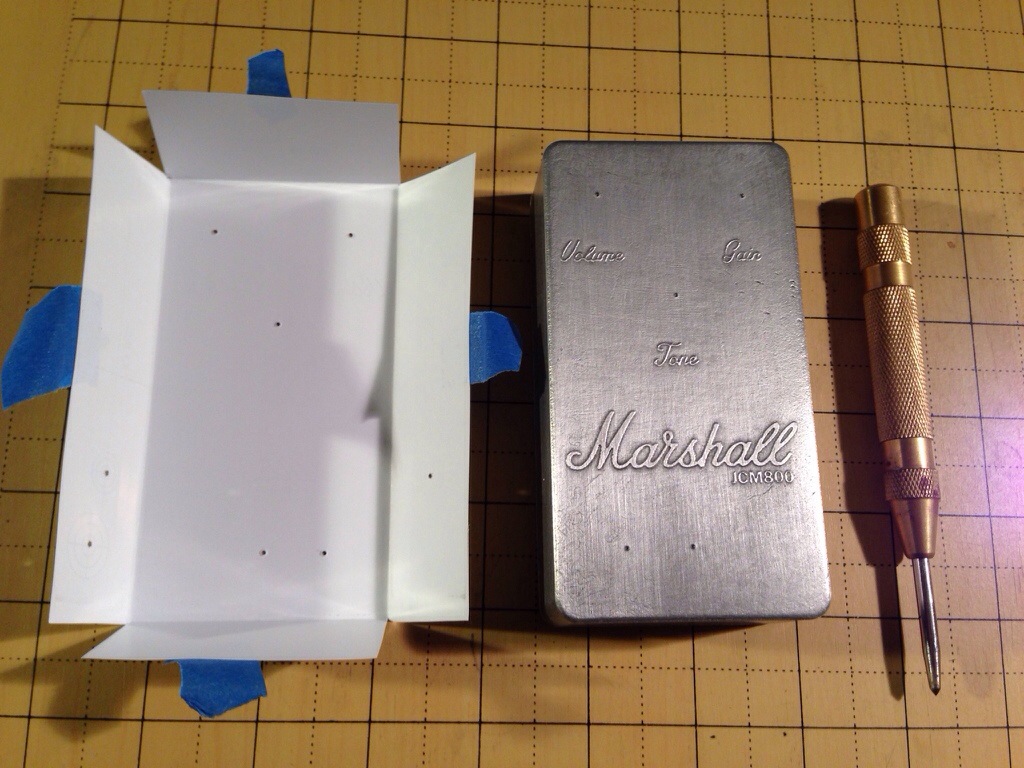
Cut out the template and make your folds.
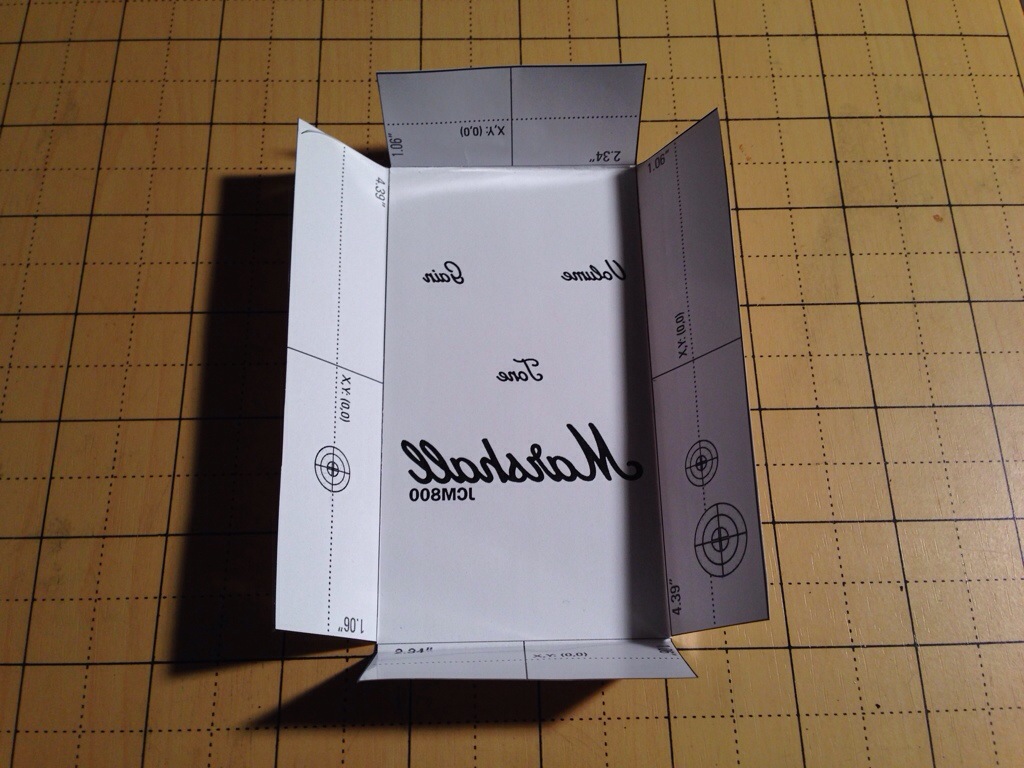
Lay the template face down on your enclosure and prepare it for the wrath of the iron.
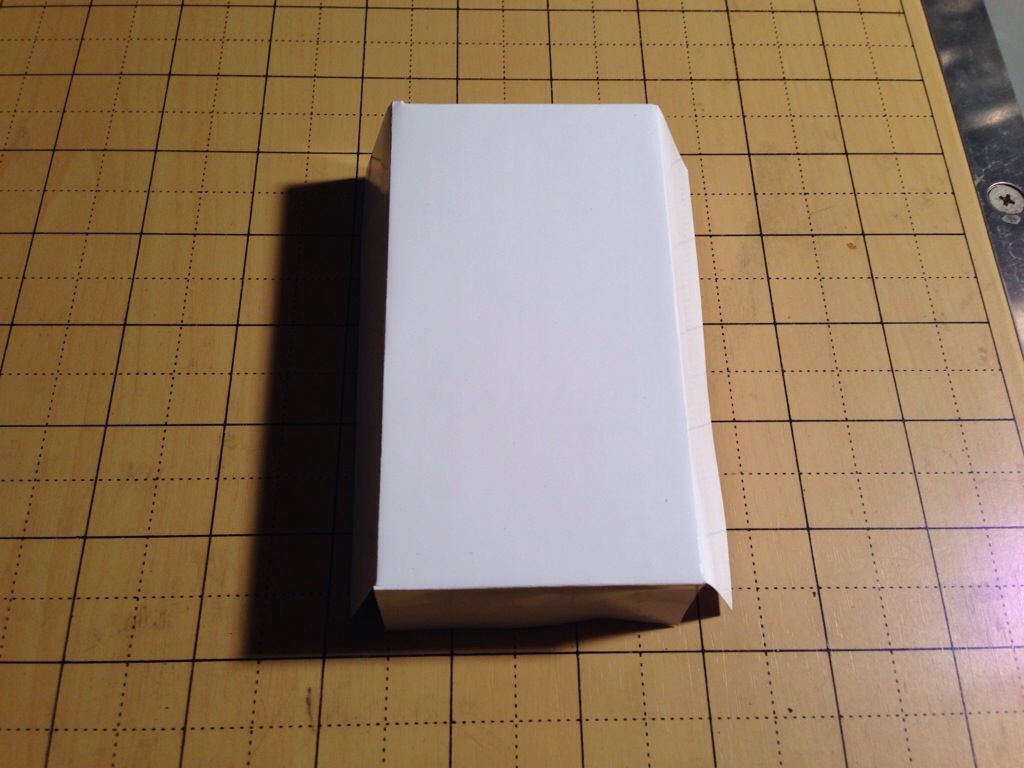
Plug in your iron and get it maxed out on the heat setting. I set the iron on the enclosure for 10-20 seconds just to stick the presentation glossy paper to the enclosure so it will not move on us.
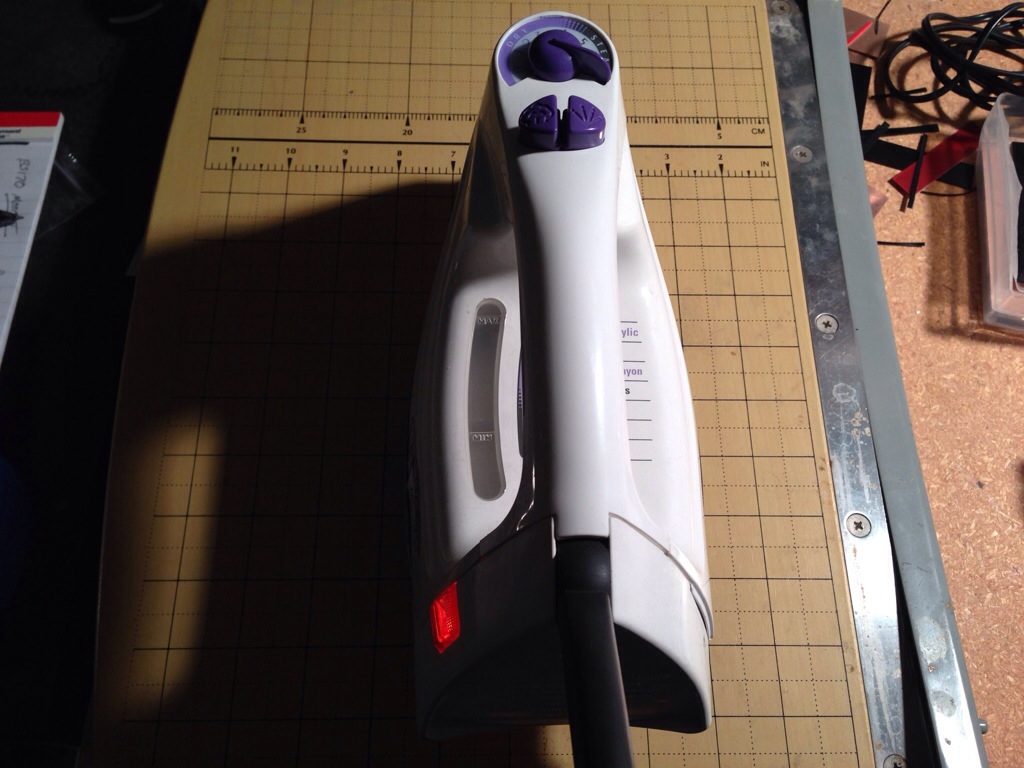
I now begin to use the tip of the iron to move back and forth over the full surface of the etch mask.

I turn the enclosure and repeat the last step.
Keep turning.
Let this “as hot as the surface of the sun” enclosure cool for about 10-15 minutes. I will then toss the enclosure in the sink with cool water running it. Wait until the paper the paper is soaked and falling apart.
Remove the paper.
I use a kitchen sponge (scrubby part) and lightly scrub the remaining paper off the art work. I know it sounds crazy to use the course scrubby part of the sponge on the toner mask, but it actually works well as long as you don’t over do it.

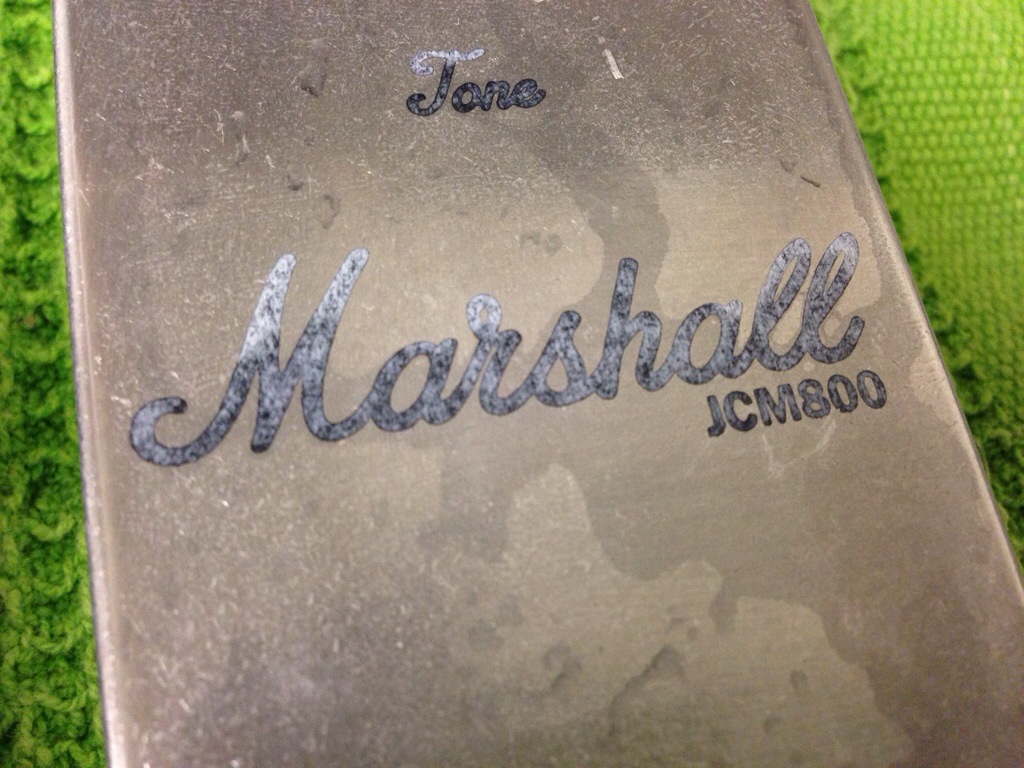
Here is an up close of the mask after a light scrub. The goal here is to check each small crevice in your art work and make sure there is no paper left. Notice the loops in the “L’s” and ho there is no paper left behind. This will make for a good, clean etch.
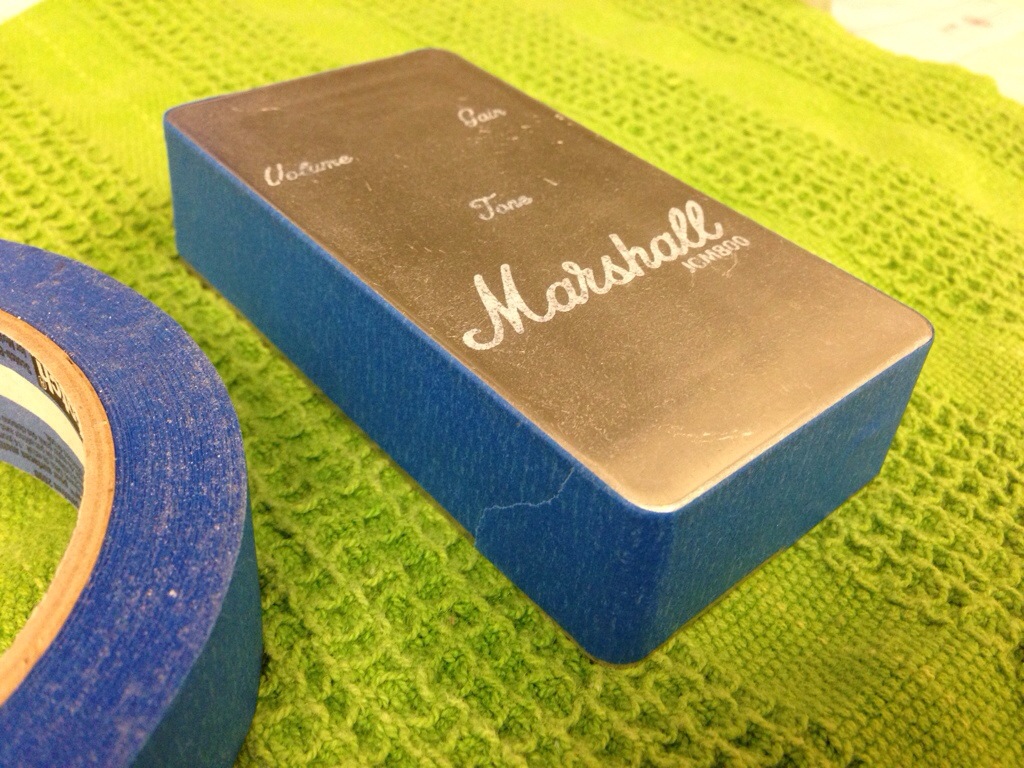
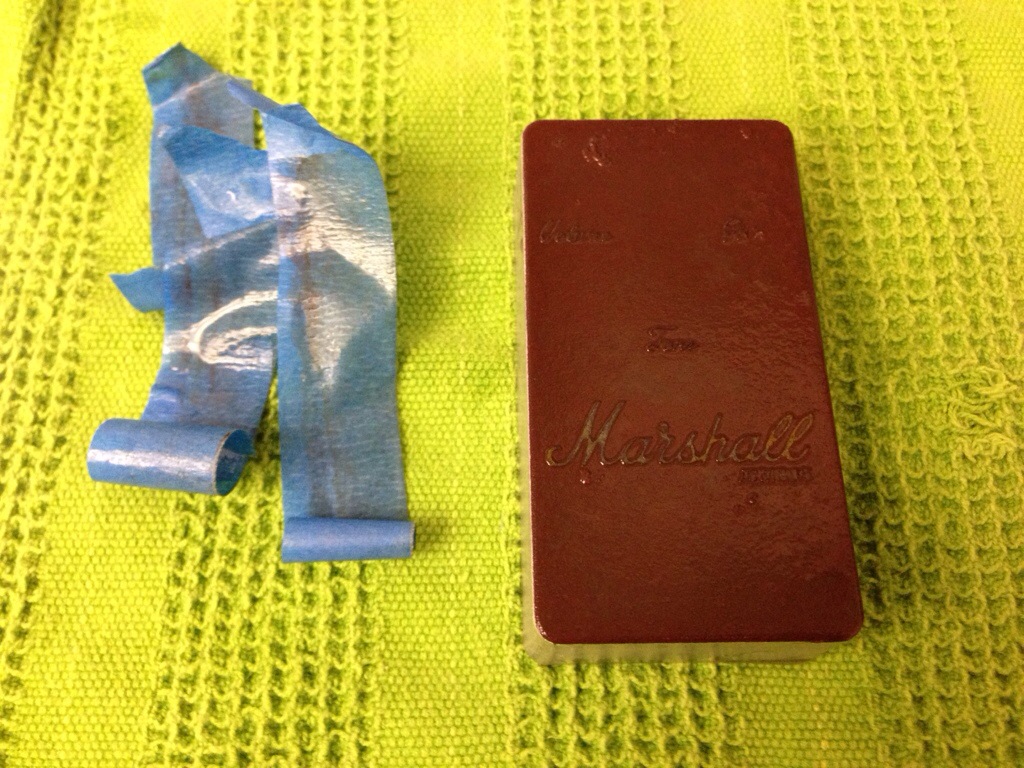
I use plain old blue scotch painters tape to mask off the sides of the enclosure so they will not be effected by the etchant.
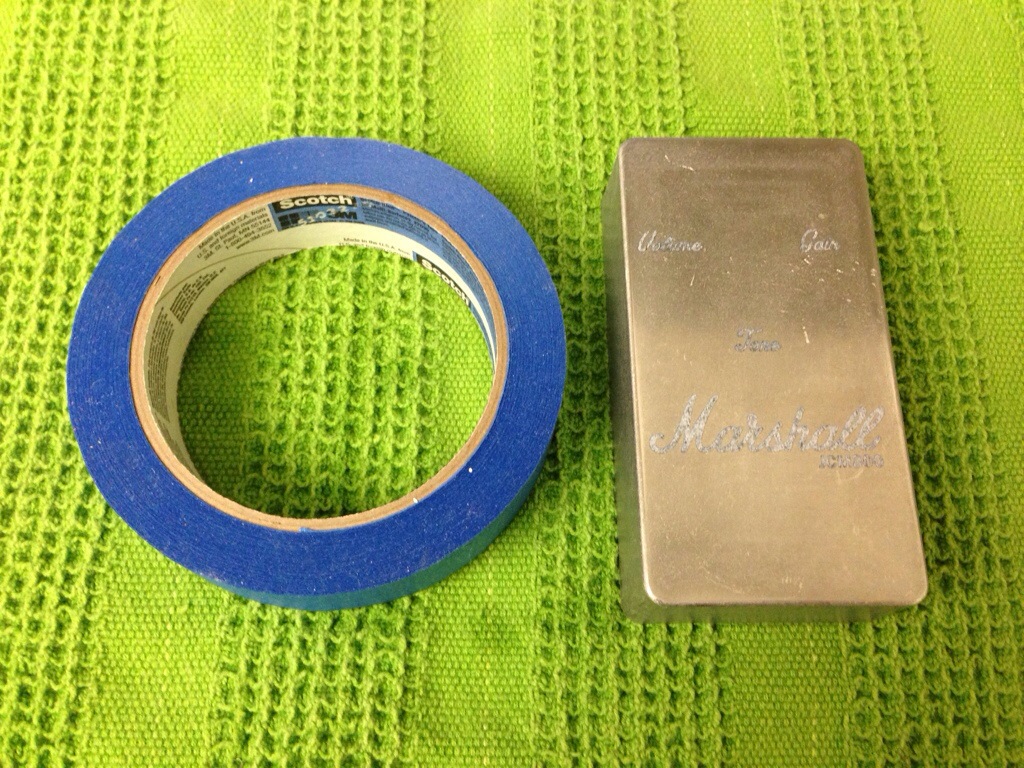
Make sure you run your finger along the edge well to make sure the tape has fully adhered to the enclosure. I have yet to have any issues with this method in the etchant bath.
This is my fully OSHPD approved container for spent etchant. I will use new Ferric chloride solution for about 10 PCB boards then I will pour the Ferric chloride in to this container and use it just for etching enclosures. I have found that the used Ferric chloride works well on aluminum since it is much softer than copper and reacts faster.
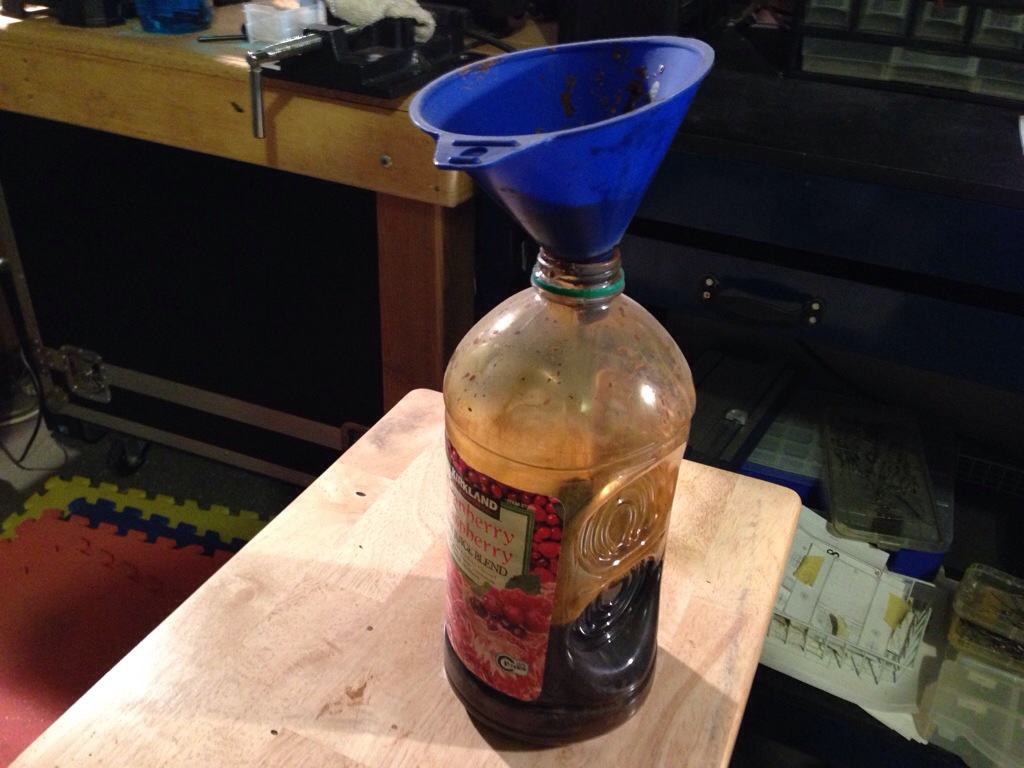
I use Rubermaid or the 99 cent store alternative sandwich containers to hold clean water and the ferric chloride solution. I also setup some small pliers to hold on to the enclosure with since it will get every hot to the touch in the ferric chloride.
Here is an example of how I do the etching bath. Don’t mind the messy bench or my huge hairy arms. As you can see in the video I use a dipping motion in the etchant and then the same dipping motion in the water. I found that this helps rid the enclosure from any of the deposits that are left on the face from the etchant and helps keep the etch consistent.
http://www.youtube.com/watch?v=AXrU29w8nXY
After done with the Ferric chloride dips and the water dips I then take the enclosure to the since and prepare for a final rinse and scrub.
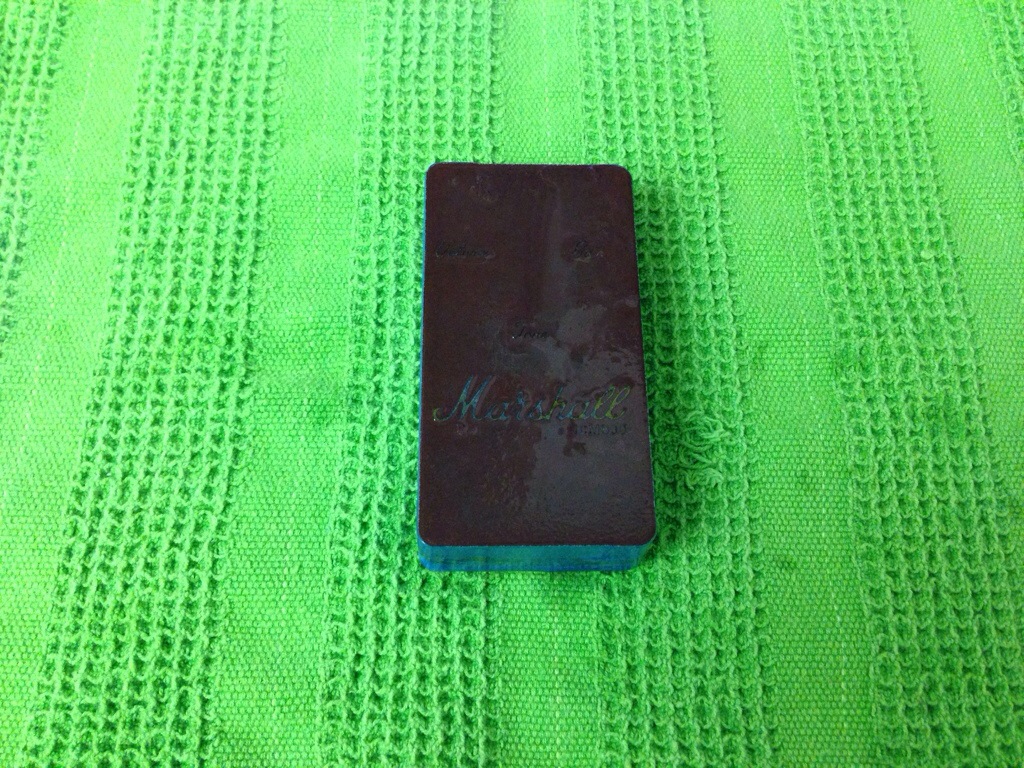
Here is a closer look at the etch and what is left of the mask on the enclosure. Looks pretty bad at this point doesn’t it? It will look 100X better once its scrubbed a bit, I promise.
Remove the tape from the enclosure.
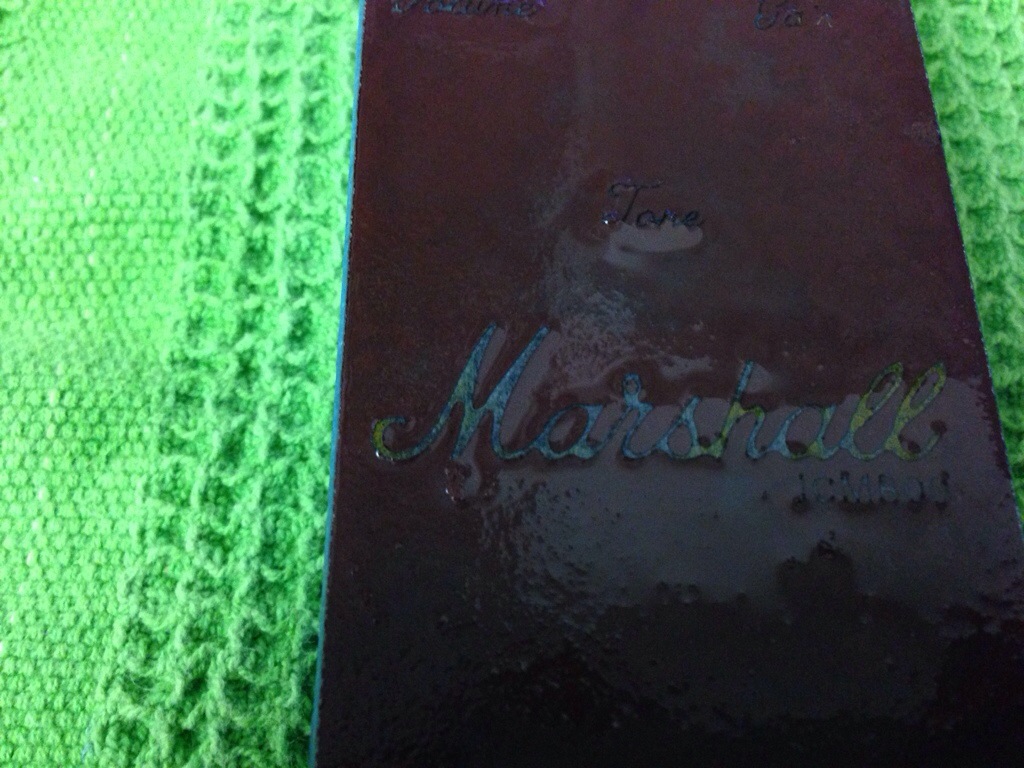
And using a different sponge than the one you used for the paper scrubbing in above step, start to scrub the enclosure until all rust colored residuals are gone and you are left with a aluminum color.
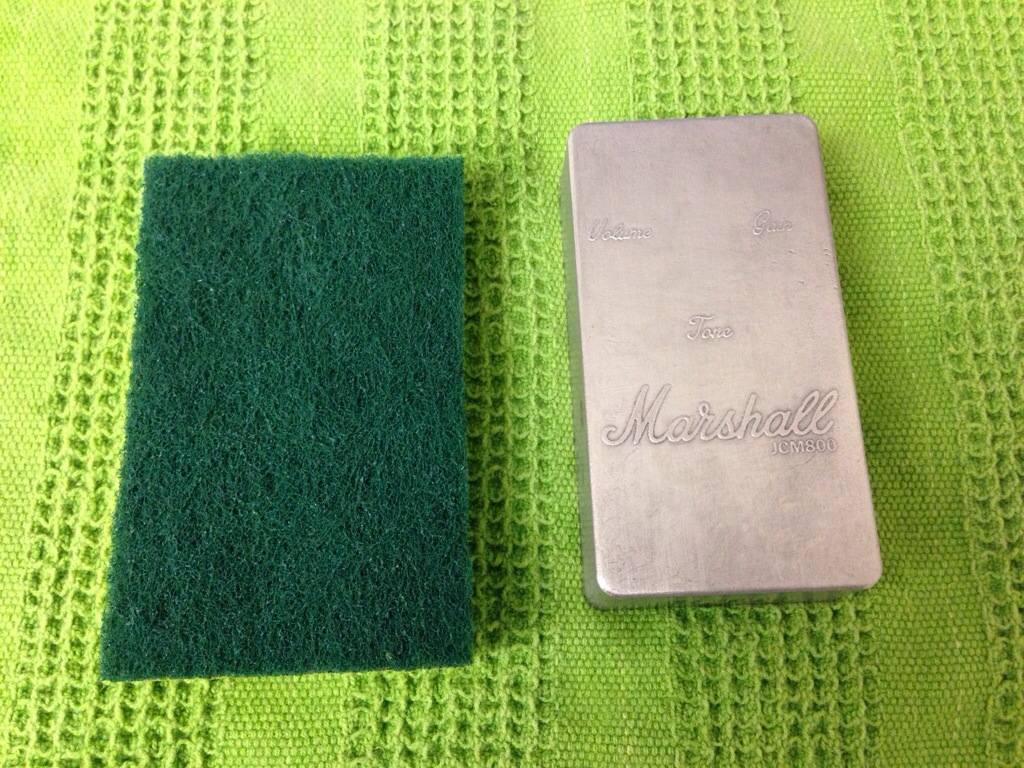
Here is a close up and at this point you can see how deep the etch is.

At this point I like to get the holes drilled for my hardware. I use my Photoshop template that I used for the etch mask and print out a drill template.
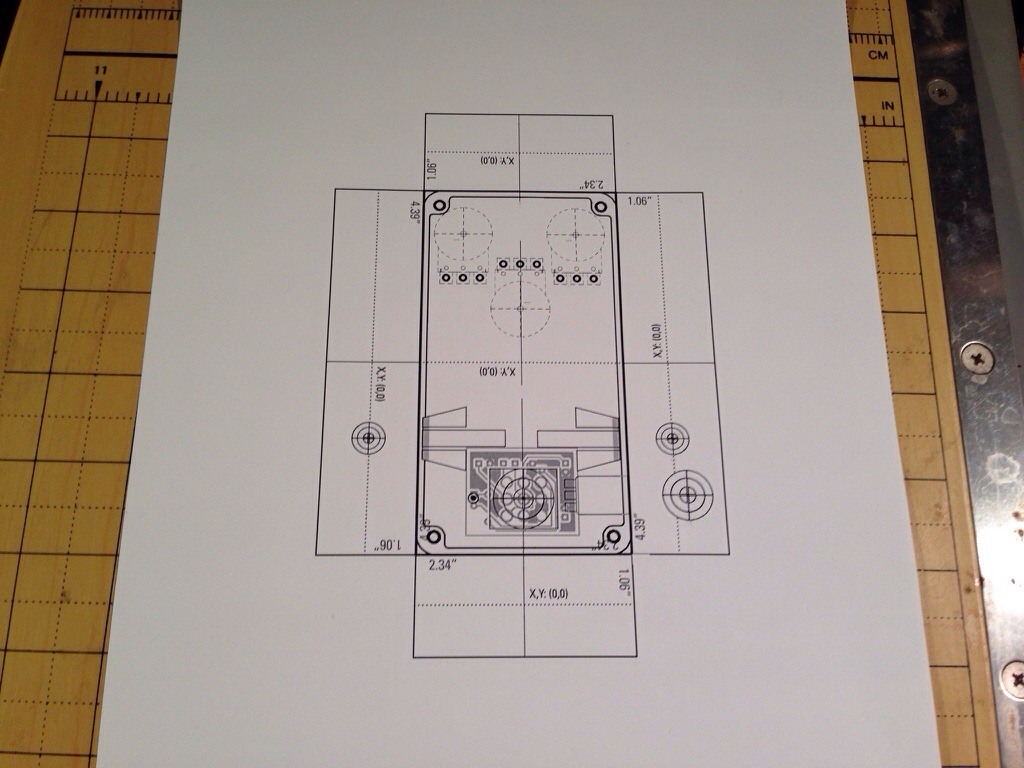
Cut out the template and lay it on the enclosure and use the punch tool to punch out my centers of the hardware.
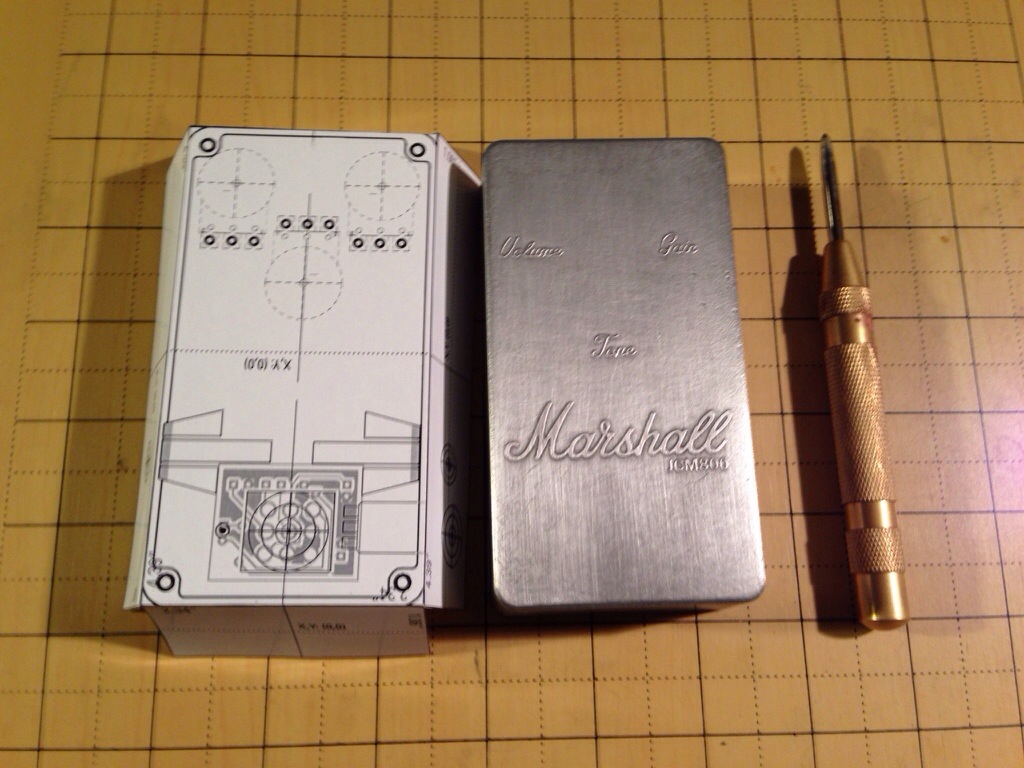
Like so…
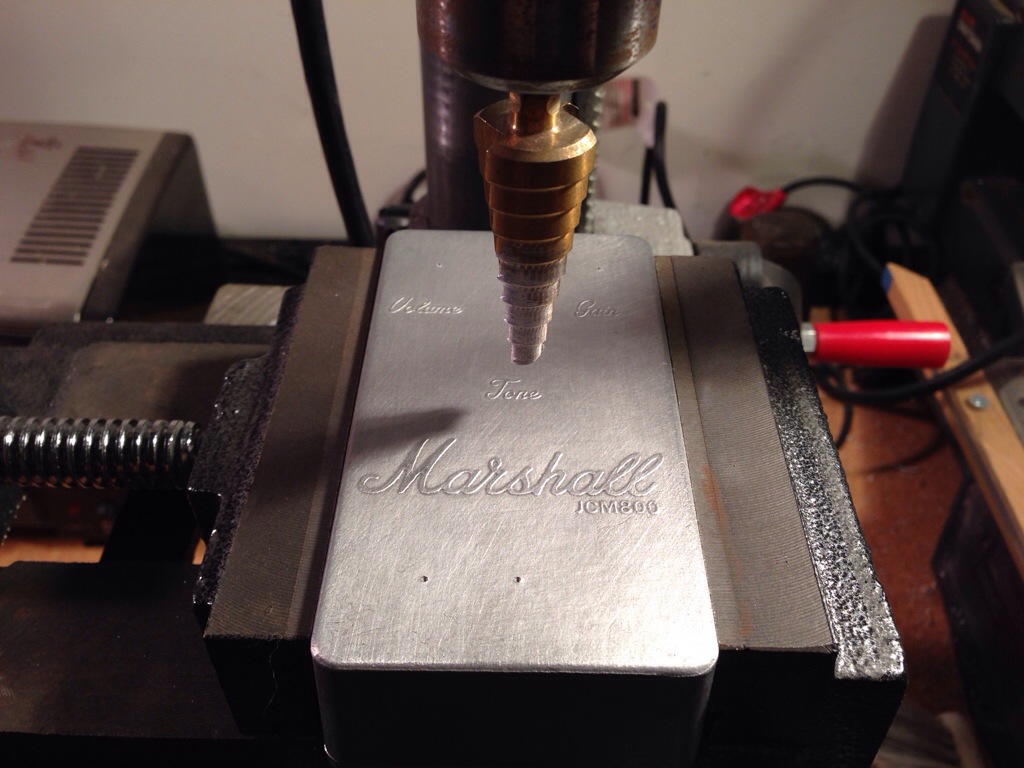
Unibit and a drill press were the 2 most used tools on my bench. If you are going to make this a hobby then I suggest sell a few pedals and buy these tools ASAP.
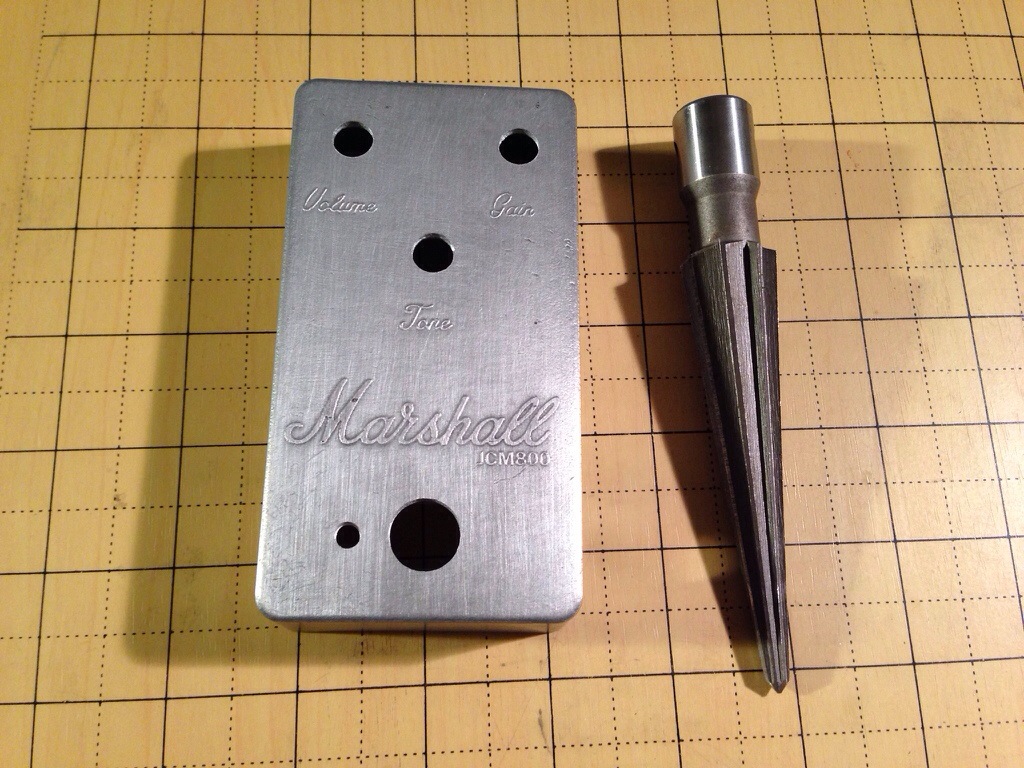
I then use a reamer to clean up the holes a bit from any burrs or shavings.
29 comments