Amps
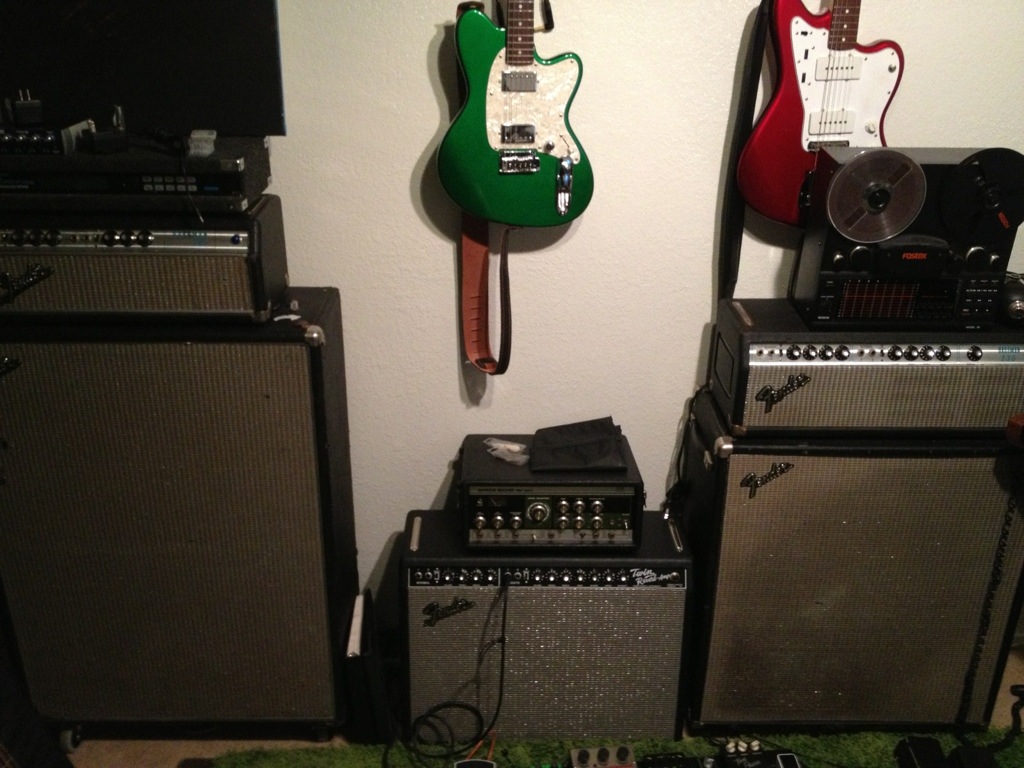
I got everything moved in to my tiny space and hooked up and it does not look half bad. I got the 2 bassman’s running in stereo off my pedal board. more info to come.
I got everything moved in to my tiny space and hooked up and it does not look half bad. I got the 2 bassman’s running in stereo off my pedal board. more info to come.

My wife got me these awesome patches for “electronic achievements”. They are made really well and will find a home on my workbench soon.

Bunch of pots and a few packs of resistors came in today. Now I can finish a few pedals I started. To the garage!

I bought 10 enclosures and 10 foot switches. I can’t wait to get my PCBs in some homes.
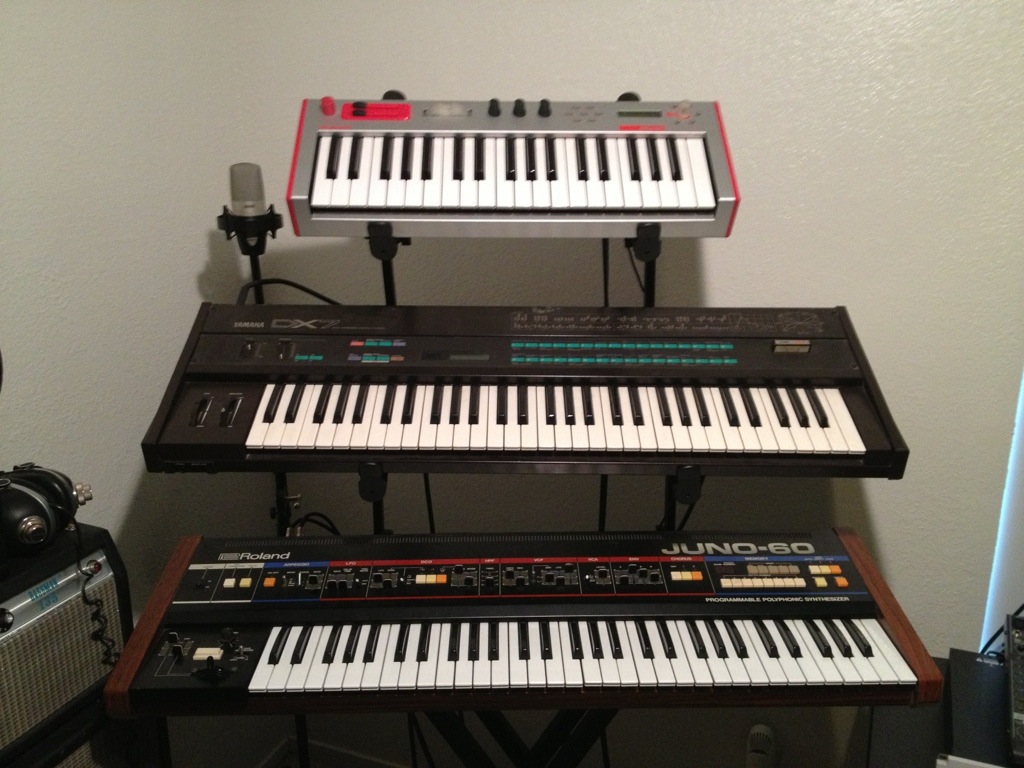
Finally got around to hooking up a few of my synths and get the midi routed. I just love how the Juno sounds. The filters are so fat sounding.

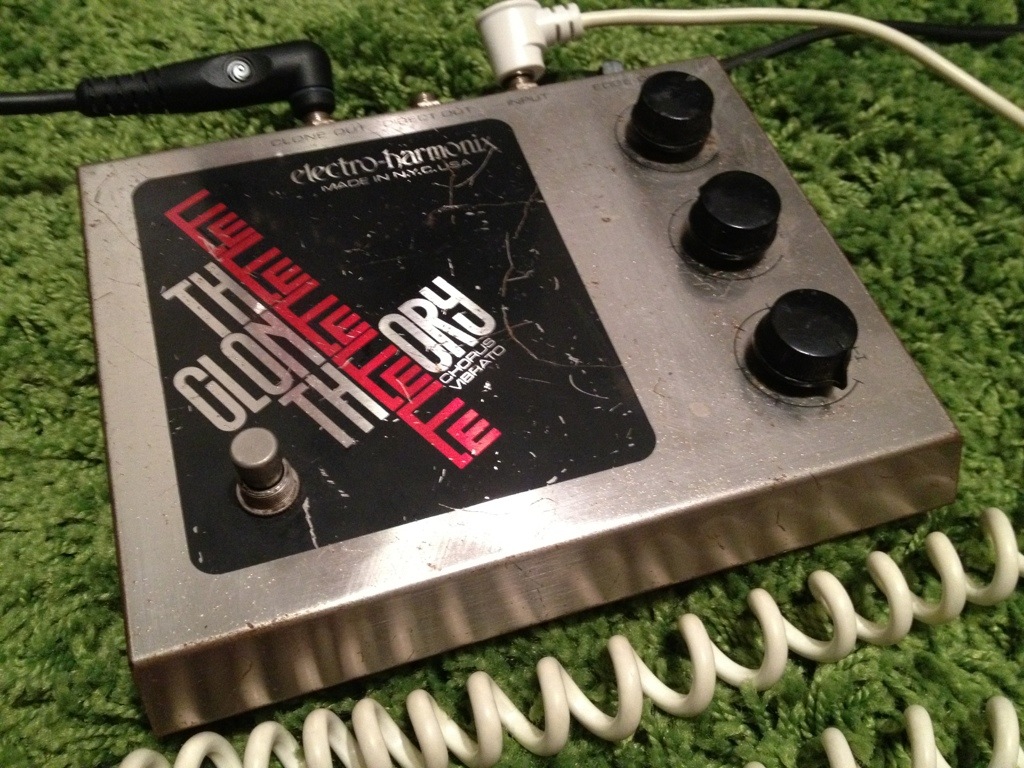
This just got here today and I am very excited about it. I played around with it for about and hour on the guitar and about an hour on the bass. This pedal is very usable and can have a very lush chorus sound to extreme warble in one move of a knob.
")
I got my workbench built last night and I started to populate it with my tools. Tonight I will be labeling my parts drawers for all my passive electronics.
Parts should be here by Friday and then I can get started on a few projects. Can’t wait!
I am just taking some notes on what will be on my small workbench for this winters projects. Here we go.
I’m sure I will think of more….till then.
A rundown of how I start to make a pedal. I wanted to document this so I can learn better ways of doing it along the way.


More to come…