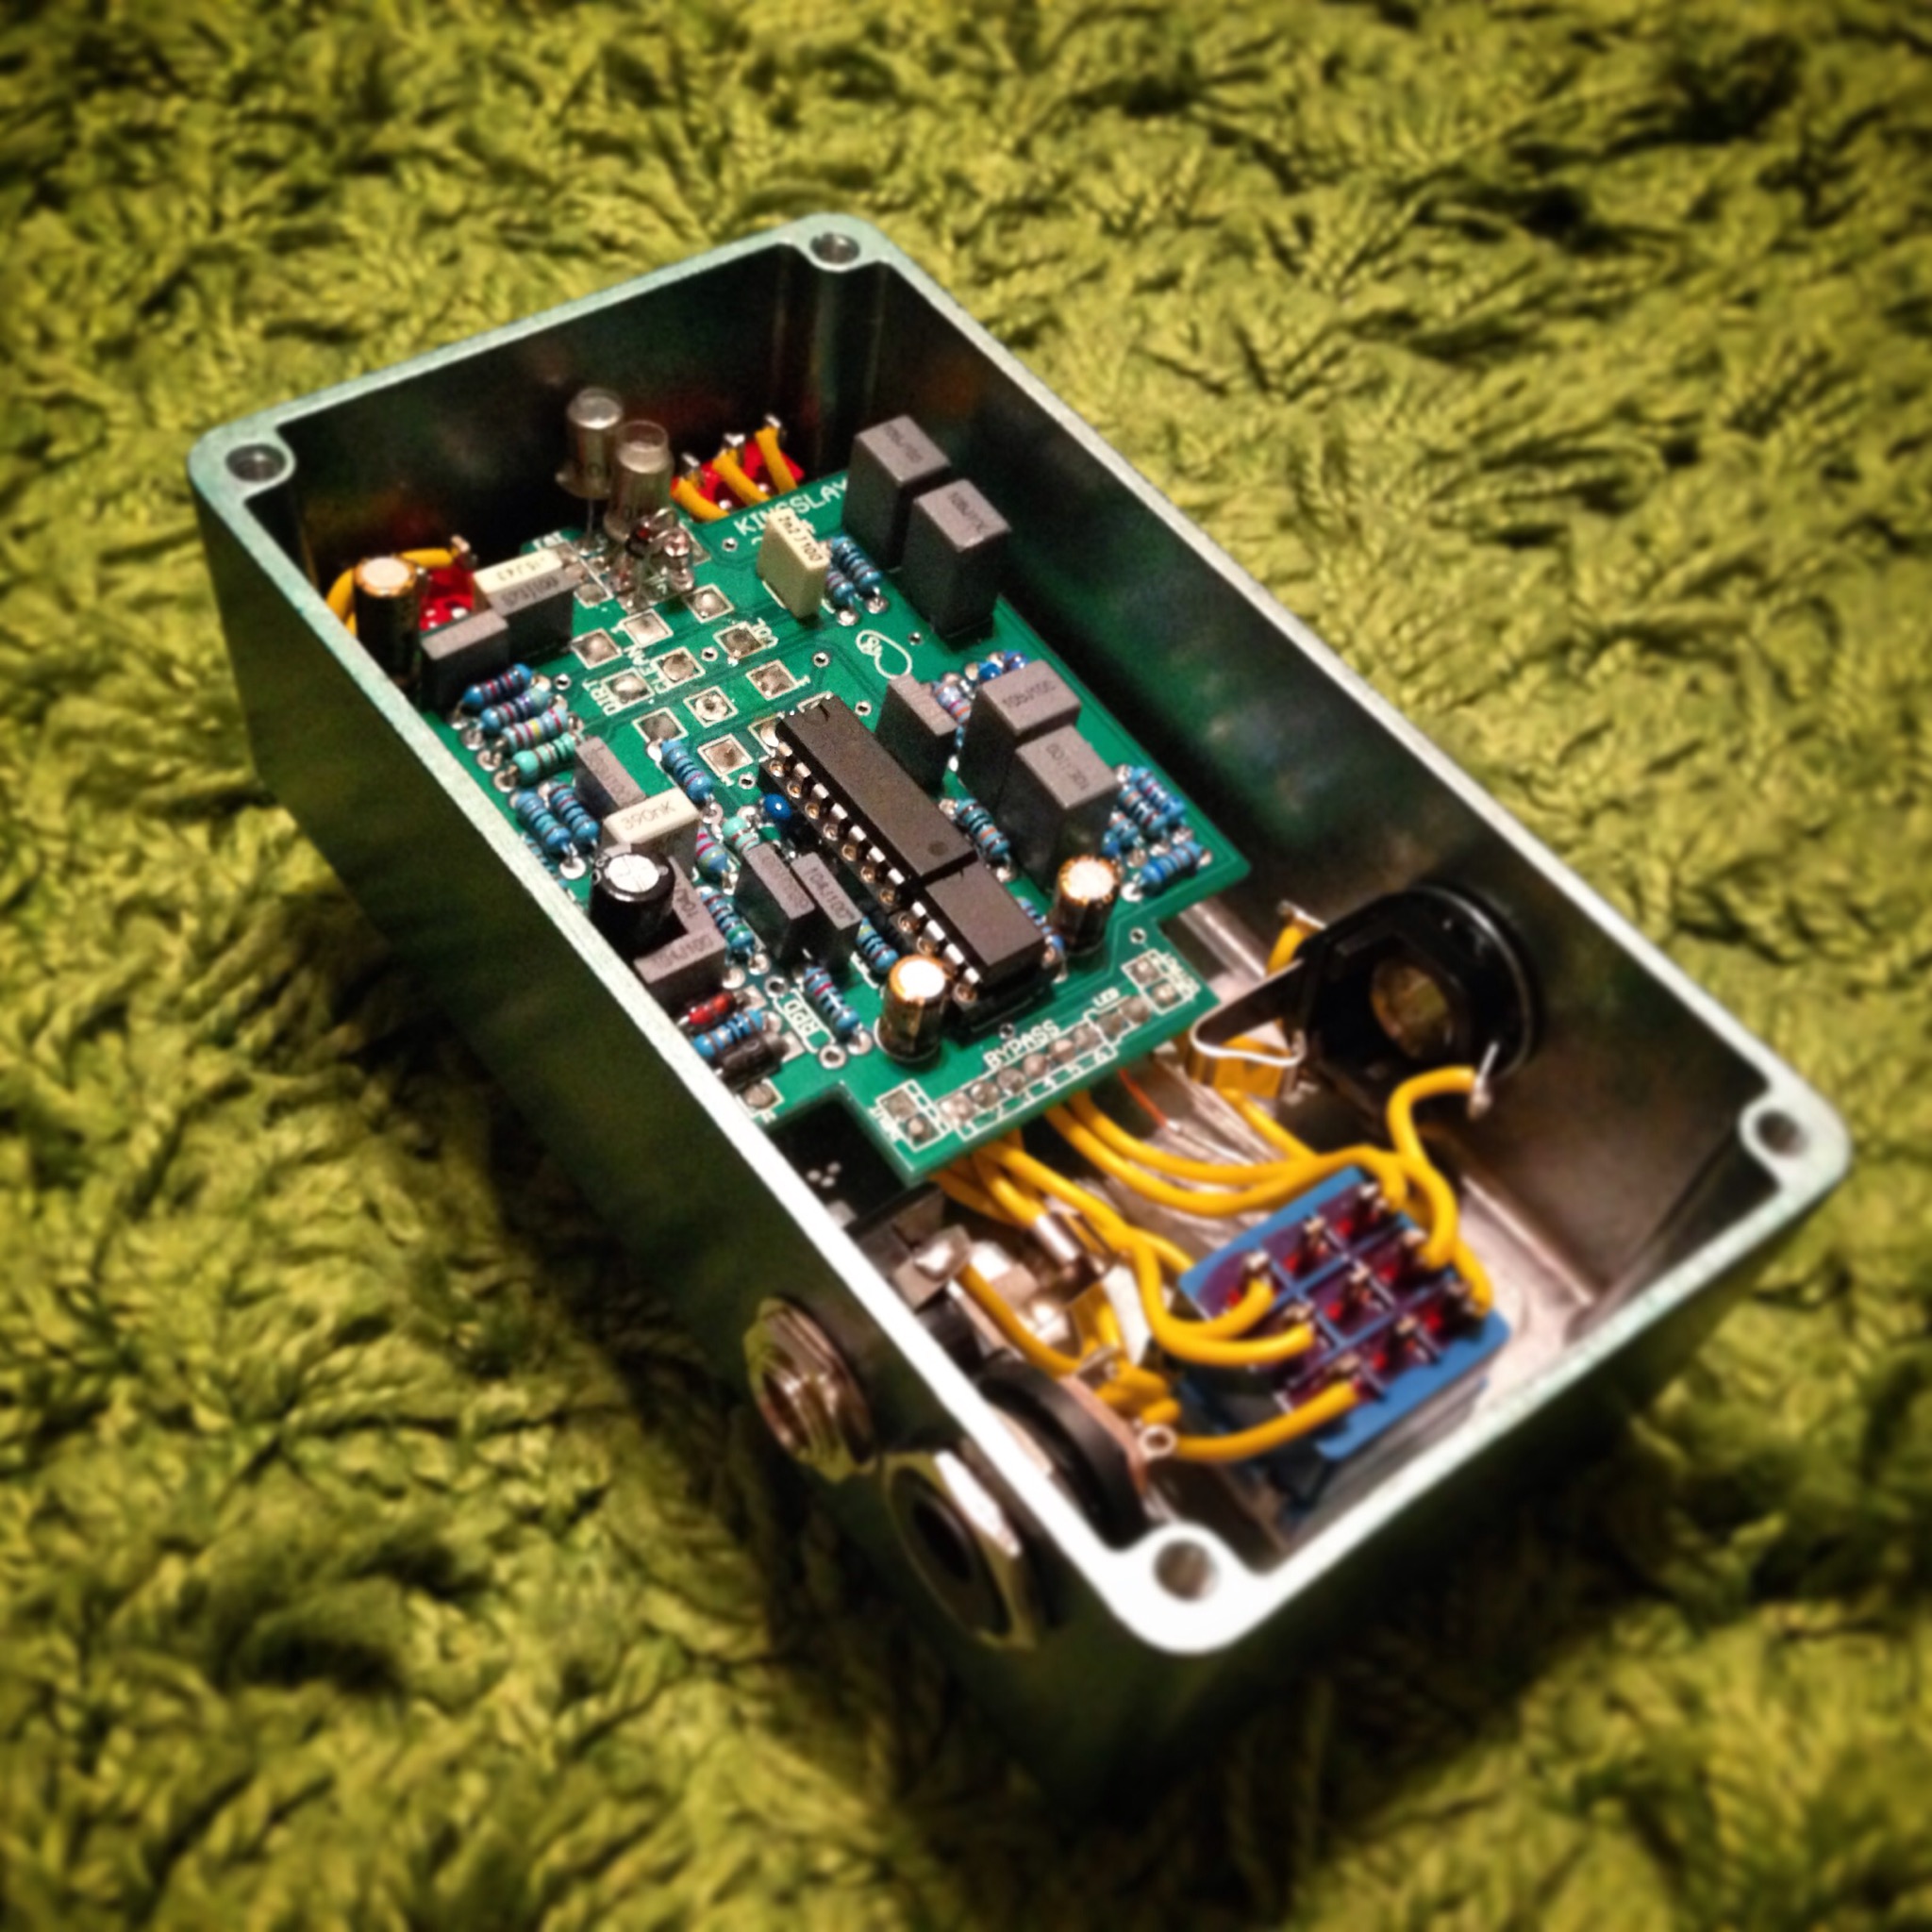
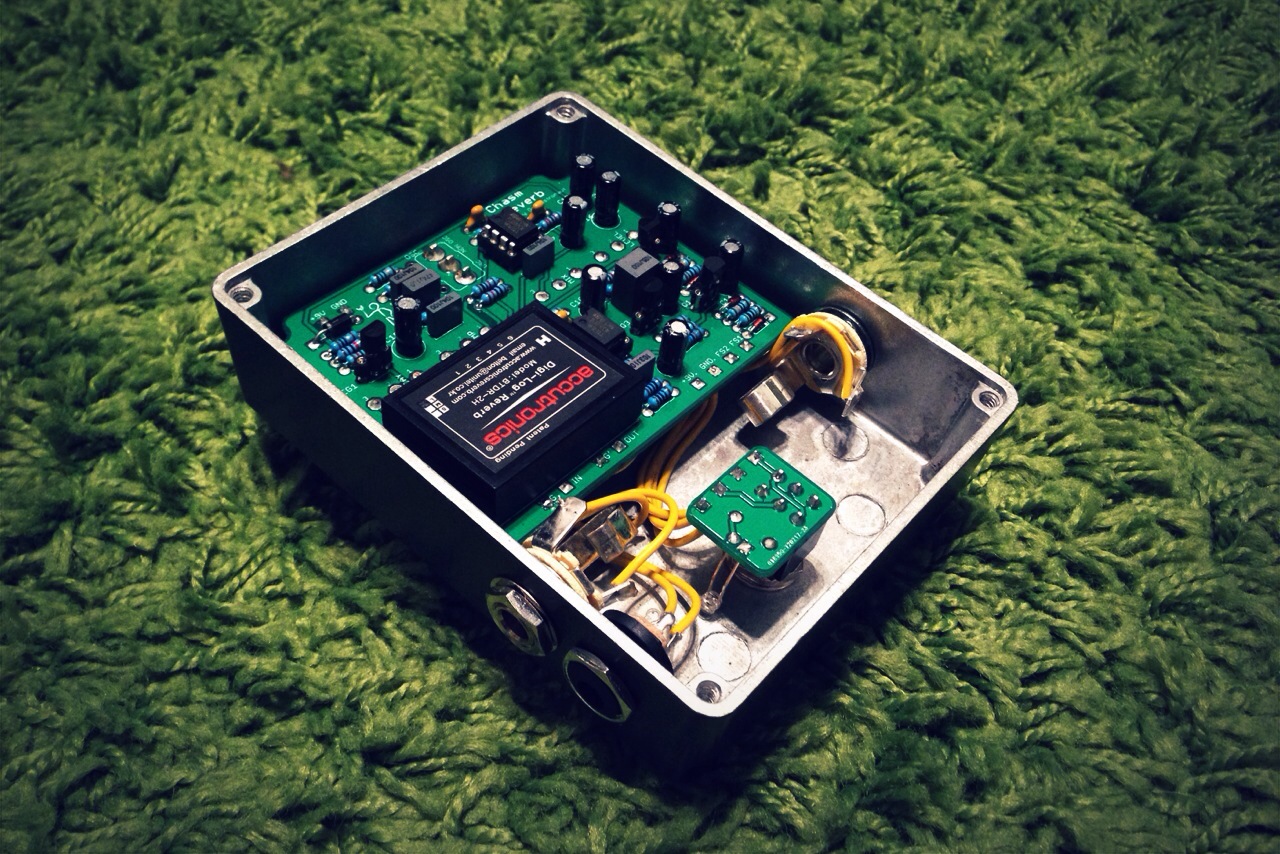
Category: DIY

Enclosure Painting

Edit: This is a work in progress and I wanted to put something up to get me started. A lot have asked me how I paint my enclosures after I do a reverse etch. I will attempt to explain my evolving process (I say evolving since its changing over time with trial and error).

Whats needed:

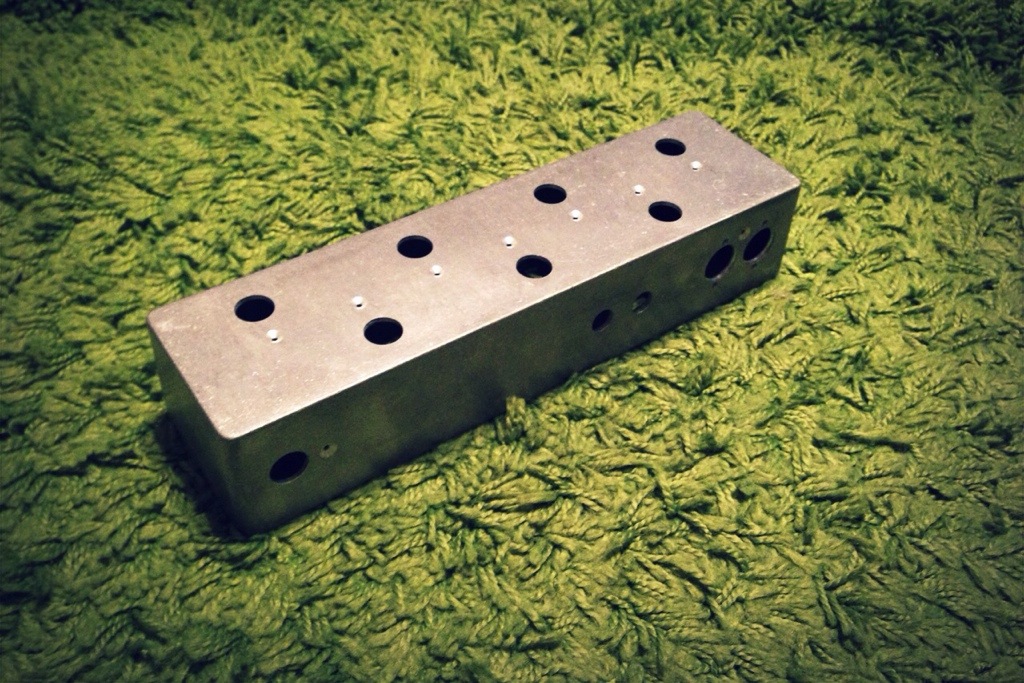
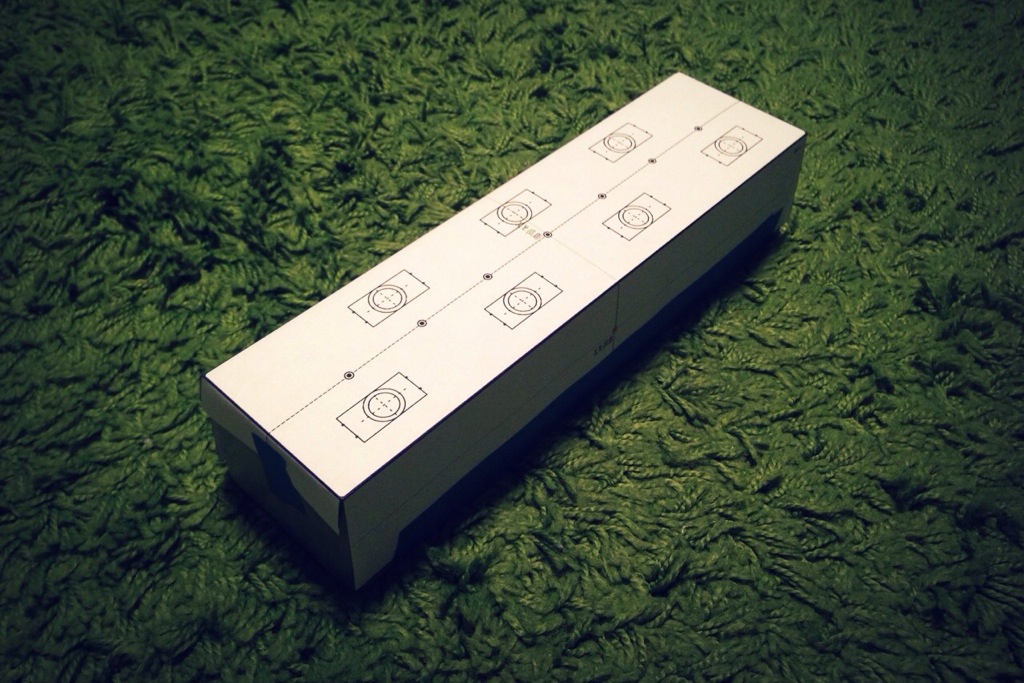
  • Etched enclosure (Use this tutorial if you need to know how I do reverse etches)
  • 1000 or 1500 grit wet sand paper.
  • Small square item to use as a sanding block. I use an iPhone/iPad charger… really, I do, not kidding here. Do not use the charger for charging any iDevice after using it as a sanding block.

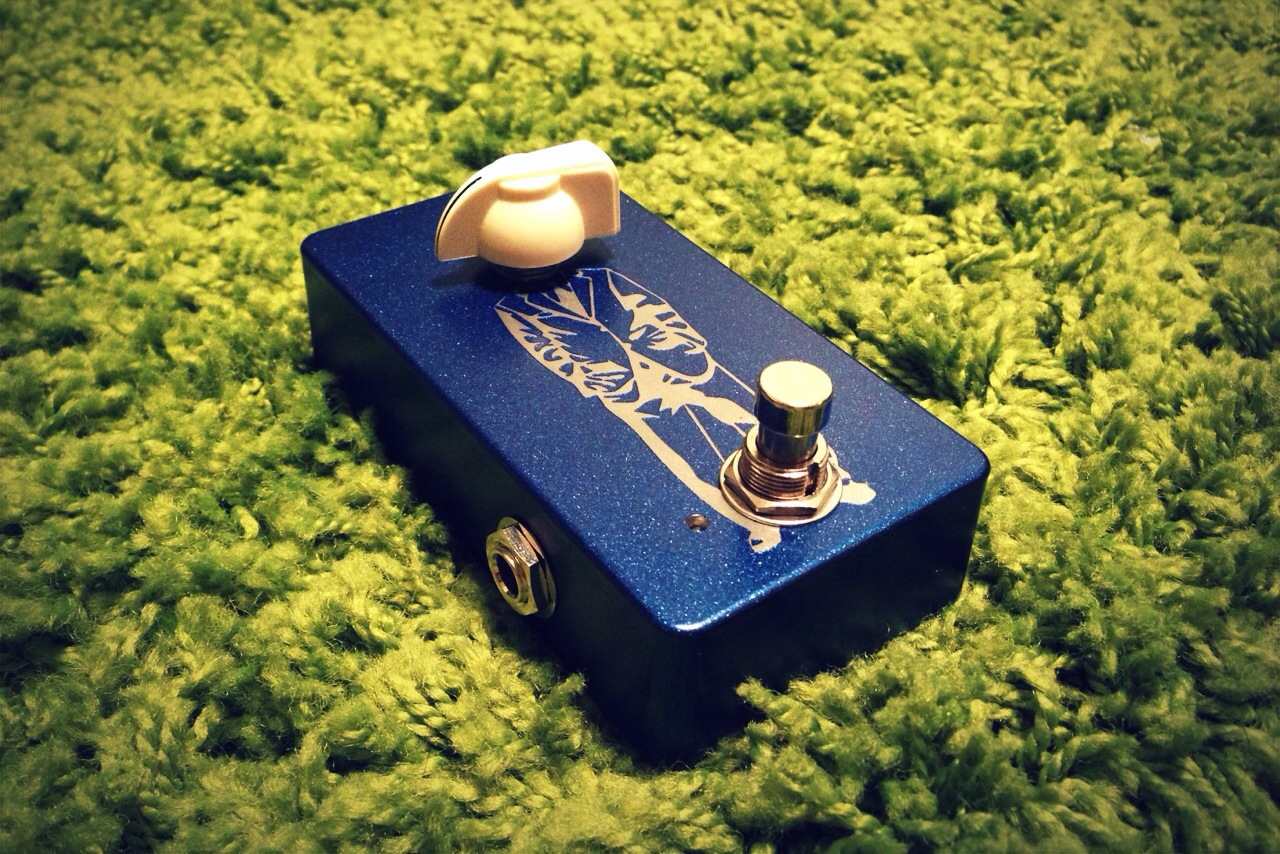
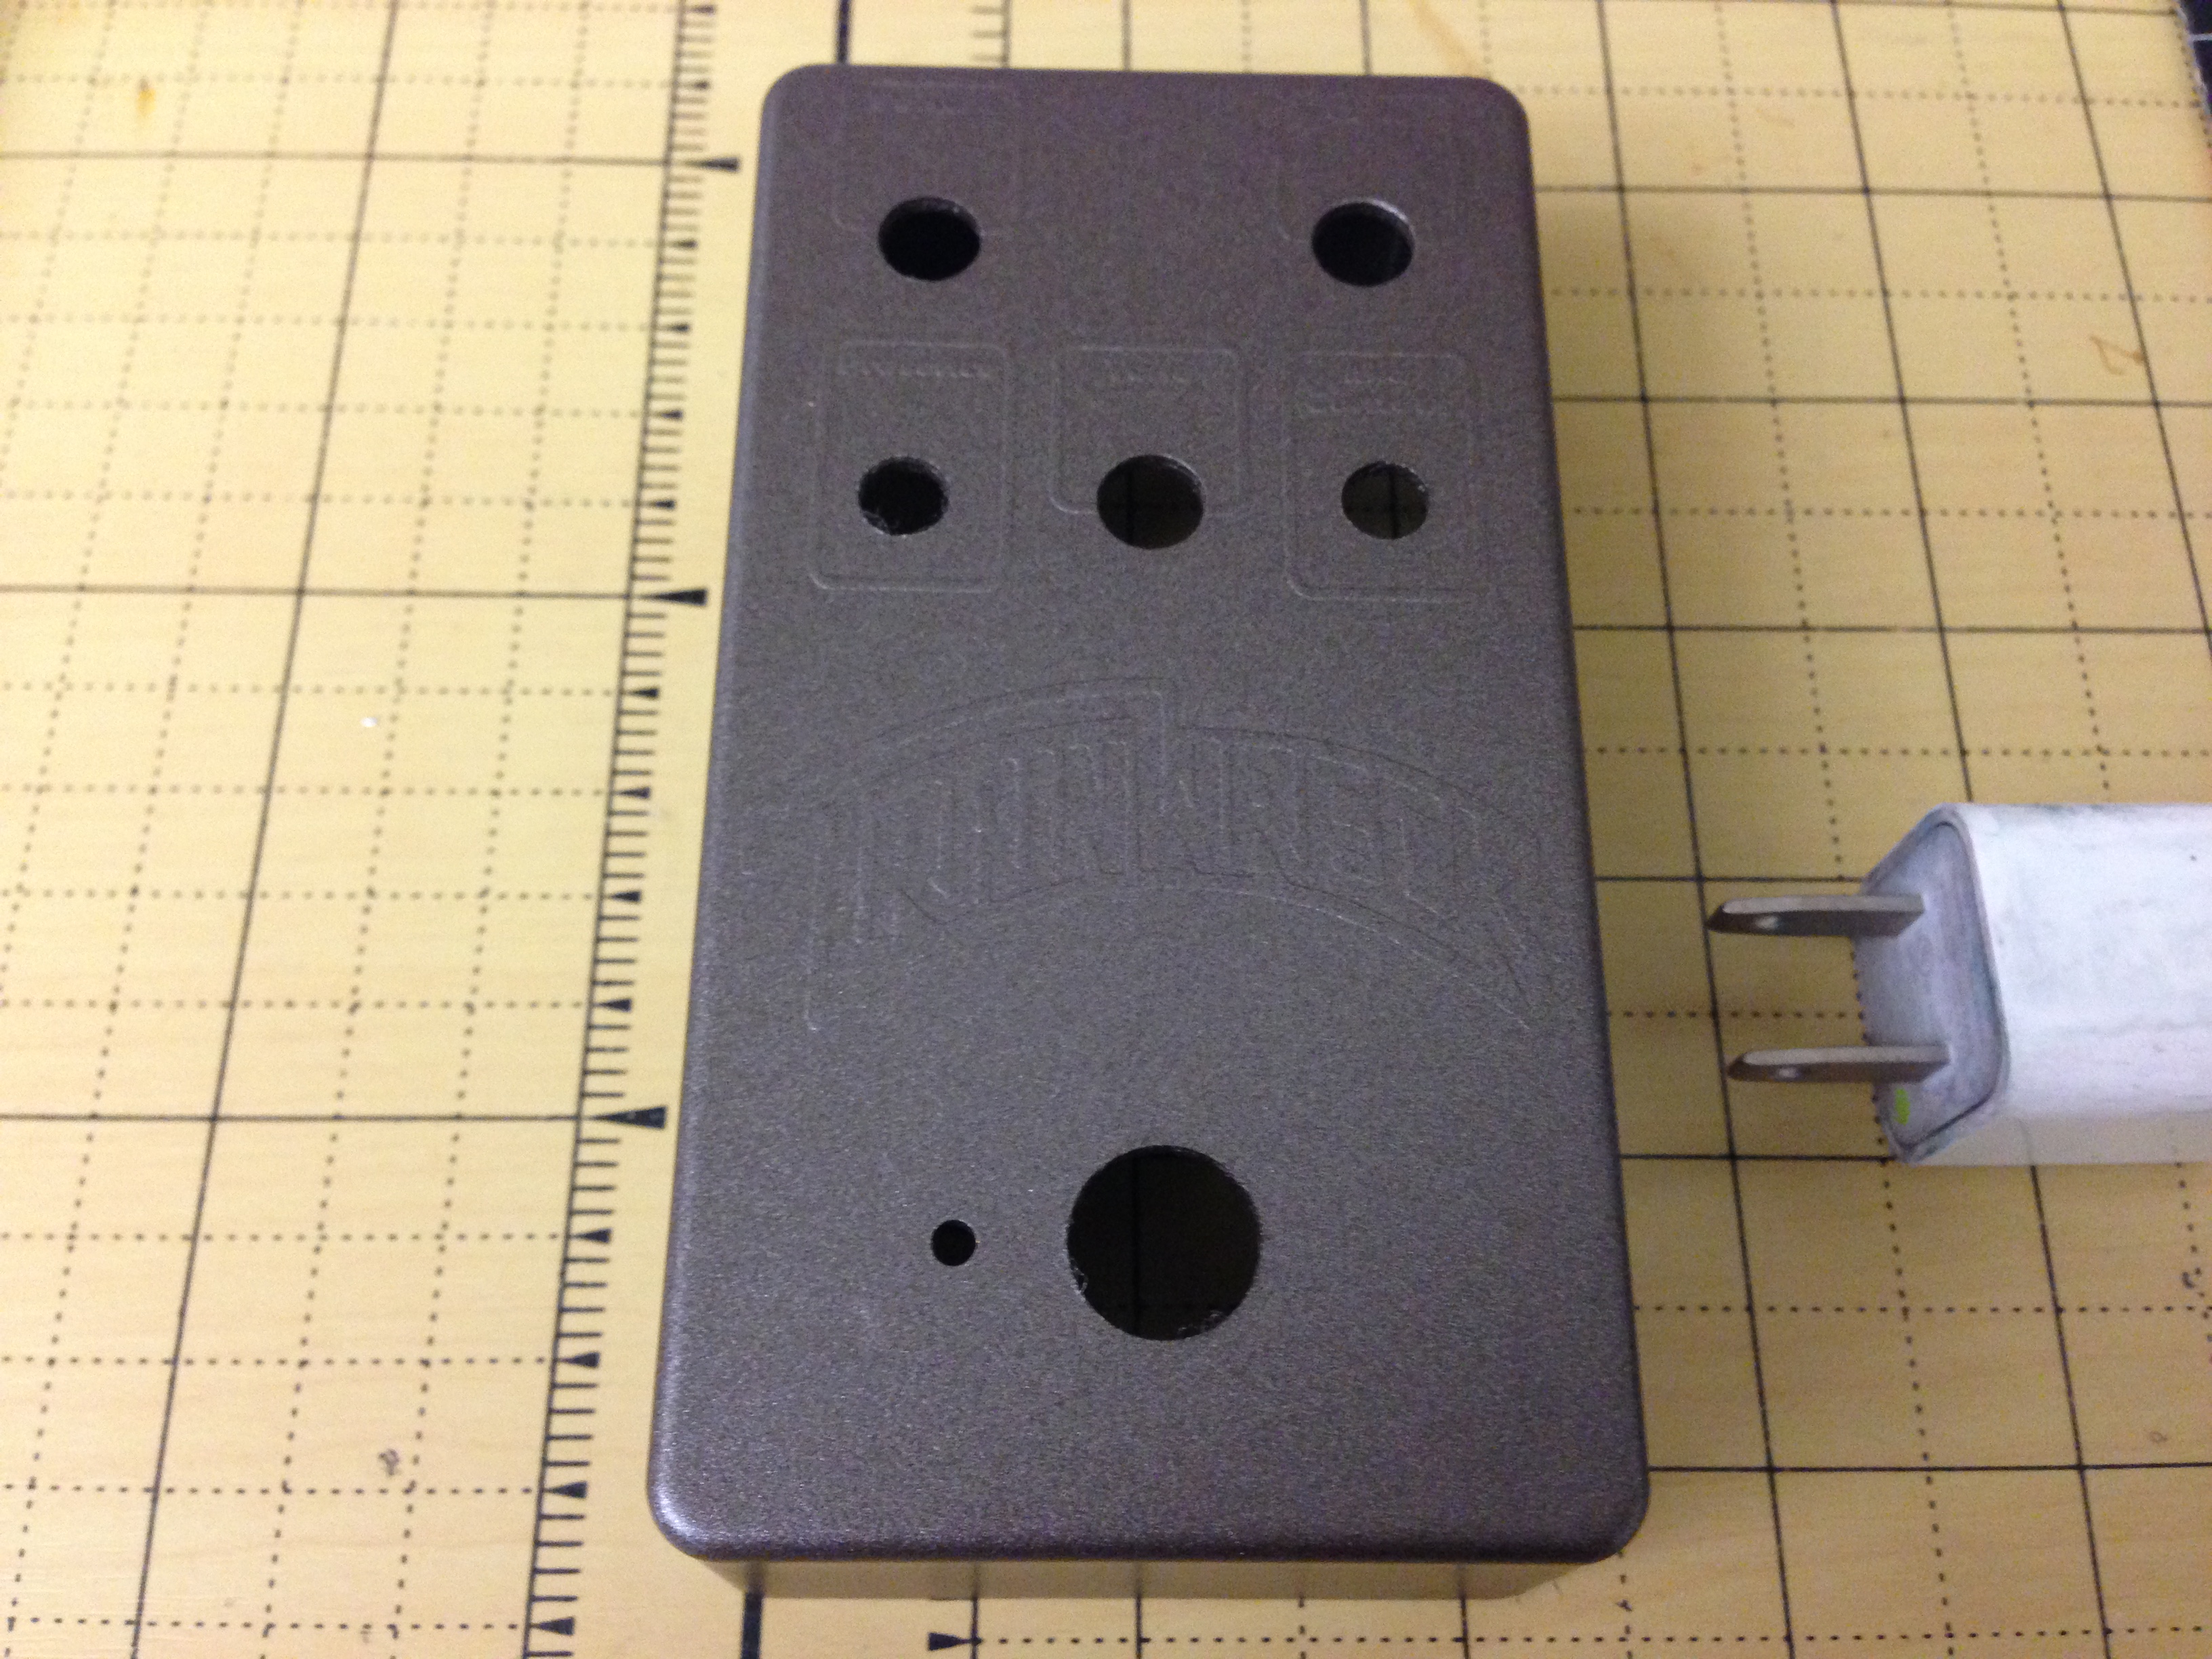
I first paint the enclosure with a nice even coat of rattle can paint. As of right now I love using the Rust-oleum STOPS RUST Metallic products. It dries even and the darker metallic paints help the reverse etch to pop out visually.

I bake the enclosure in a over at 150 degrees for 15 minutes then let it cool. If done properly and you take your time you can get good results with 1 coat. Remember, the more coats you put on the thicker the paint becomes and can give you problems when wet sanding. You can literally paint back all the surface area that you etched away and and your etch will be ruined. Some times I put one nice coat on the surface of the enclosure where the etch is located and several coats on the sides of the enclosure.

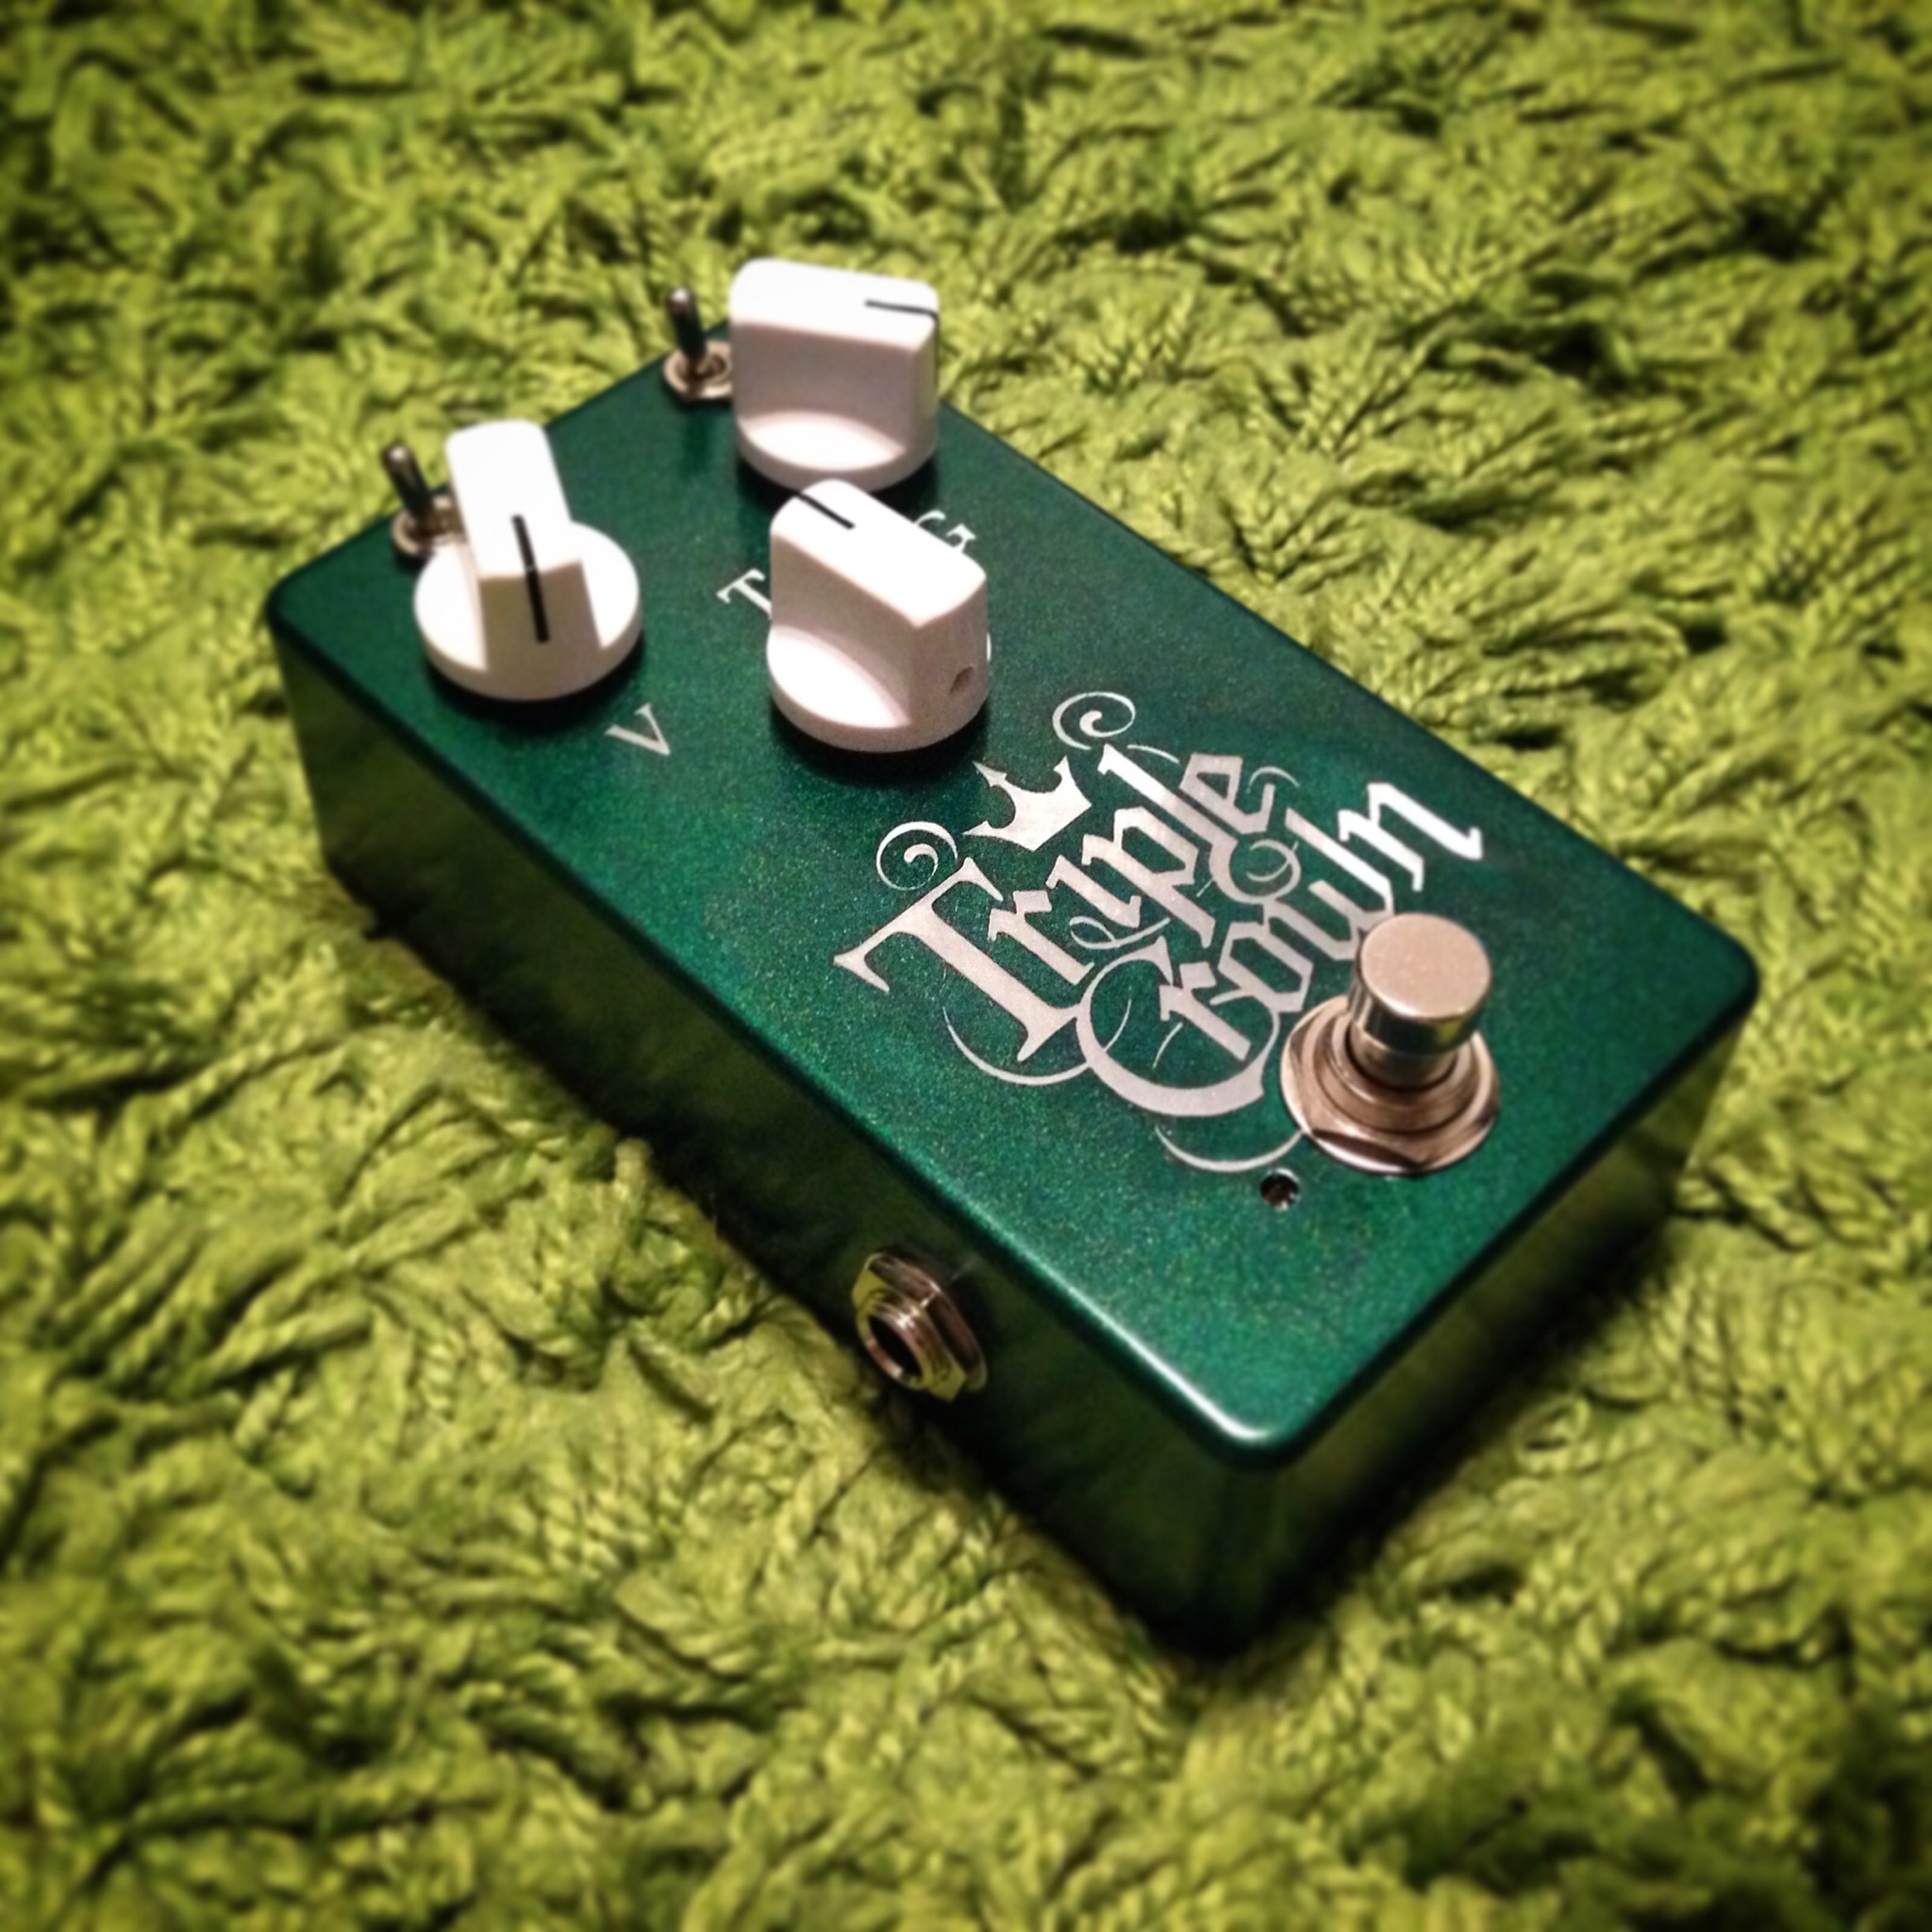
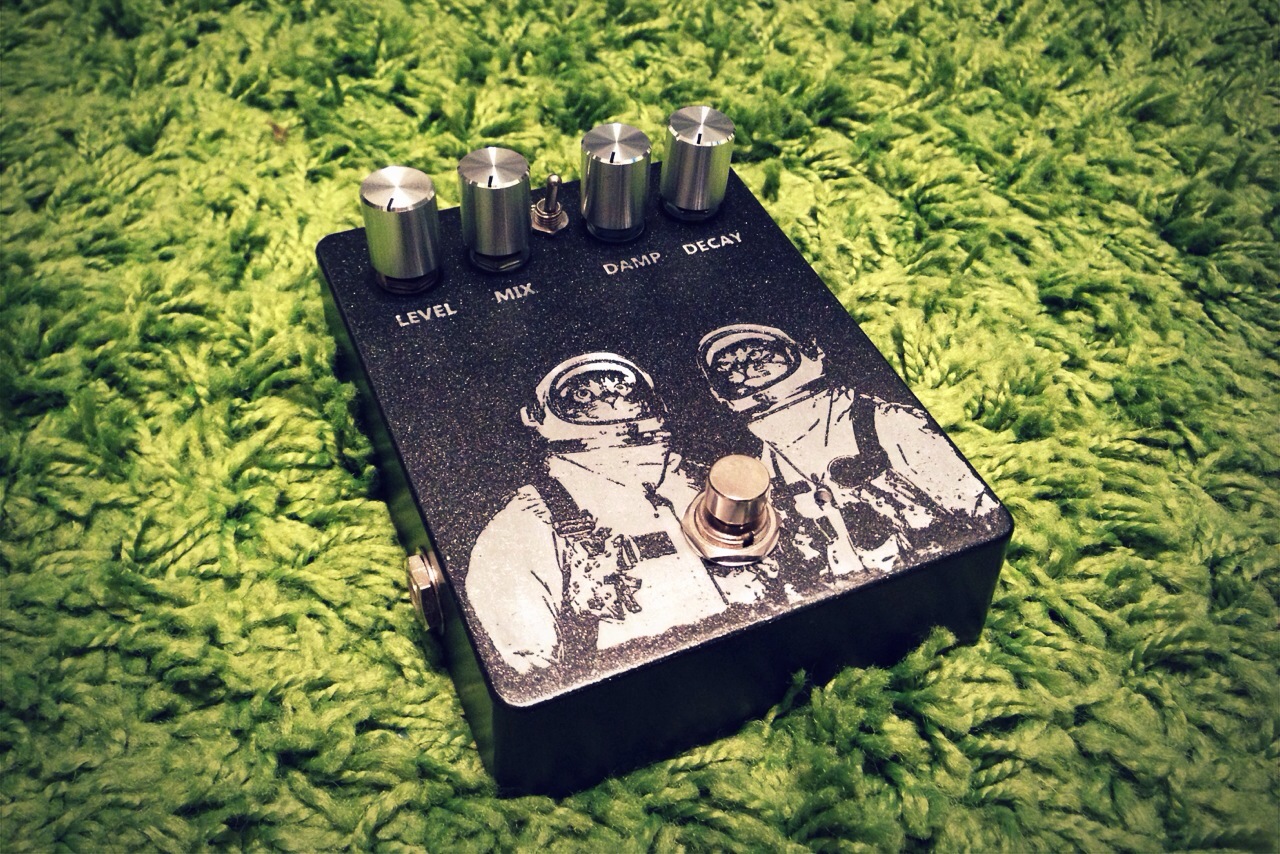
One painted it will look something like this:

paint_2Taking your mini sanding block (iPad charger in my case) wrap a strip of 1000 or 1500 grit sand paper.

paint_4

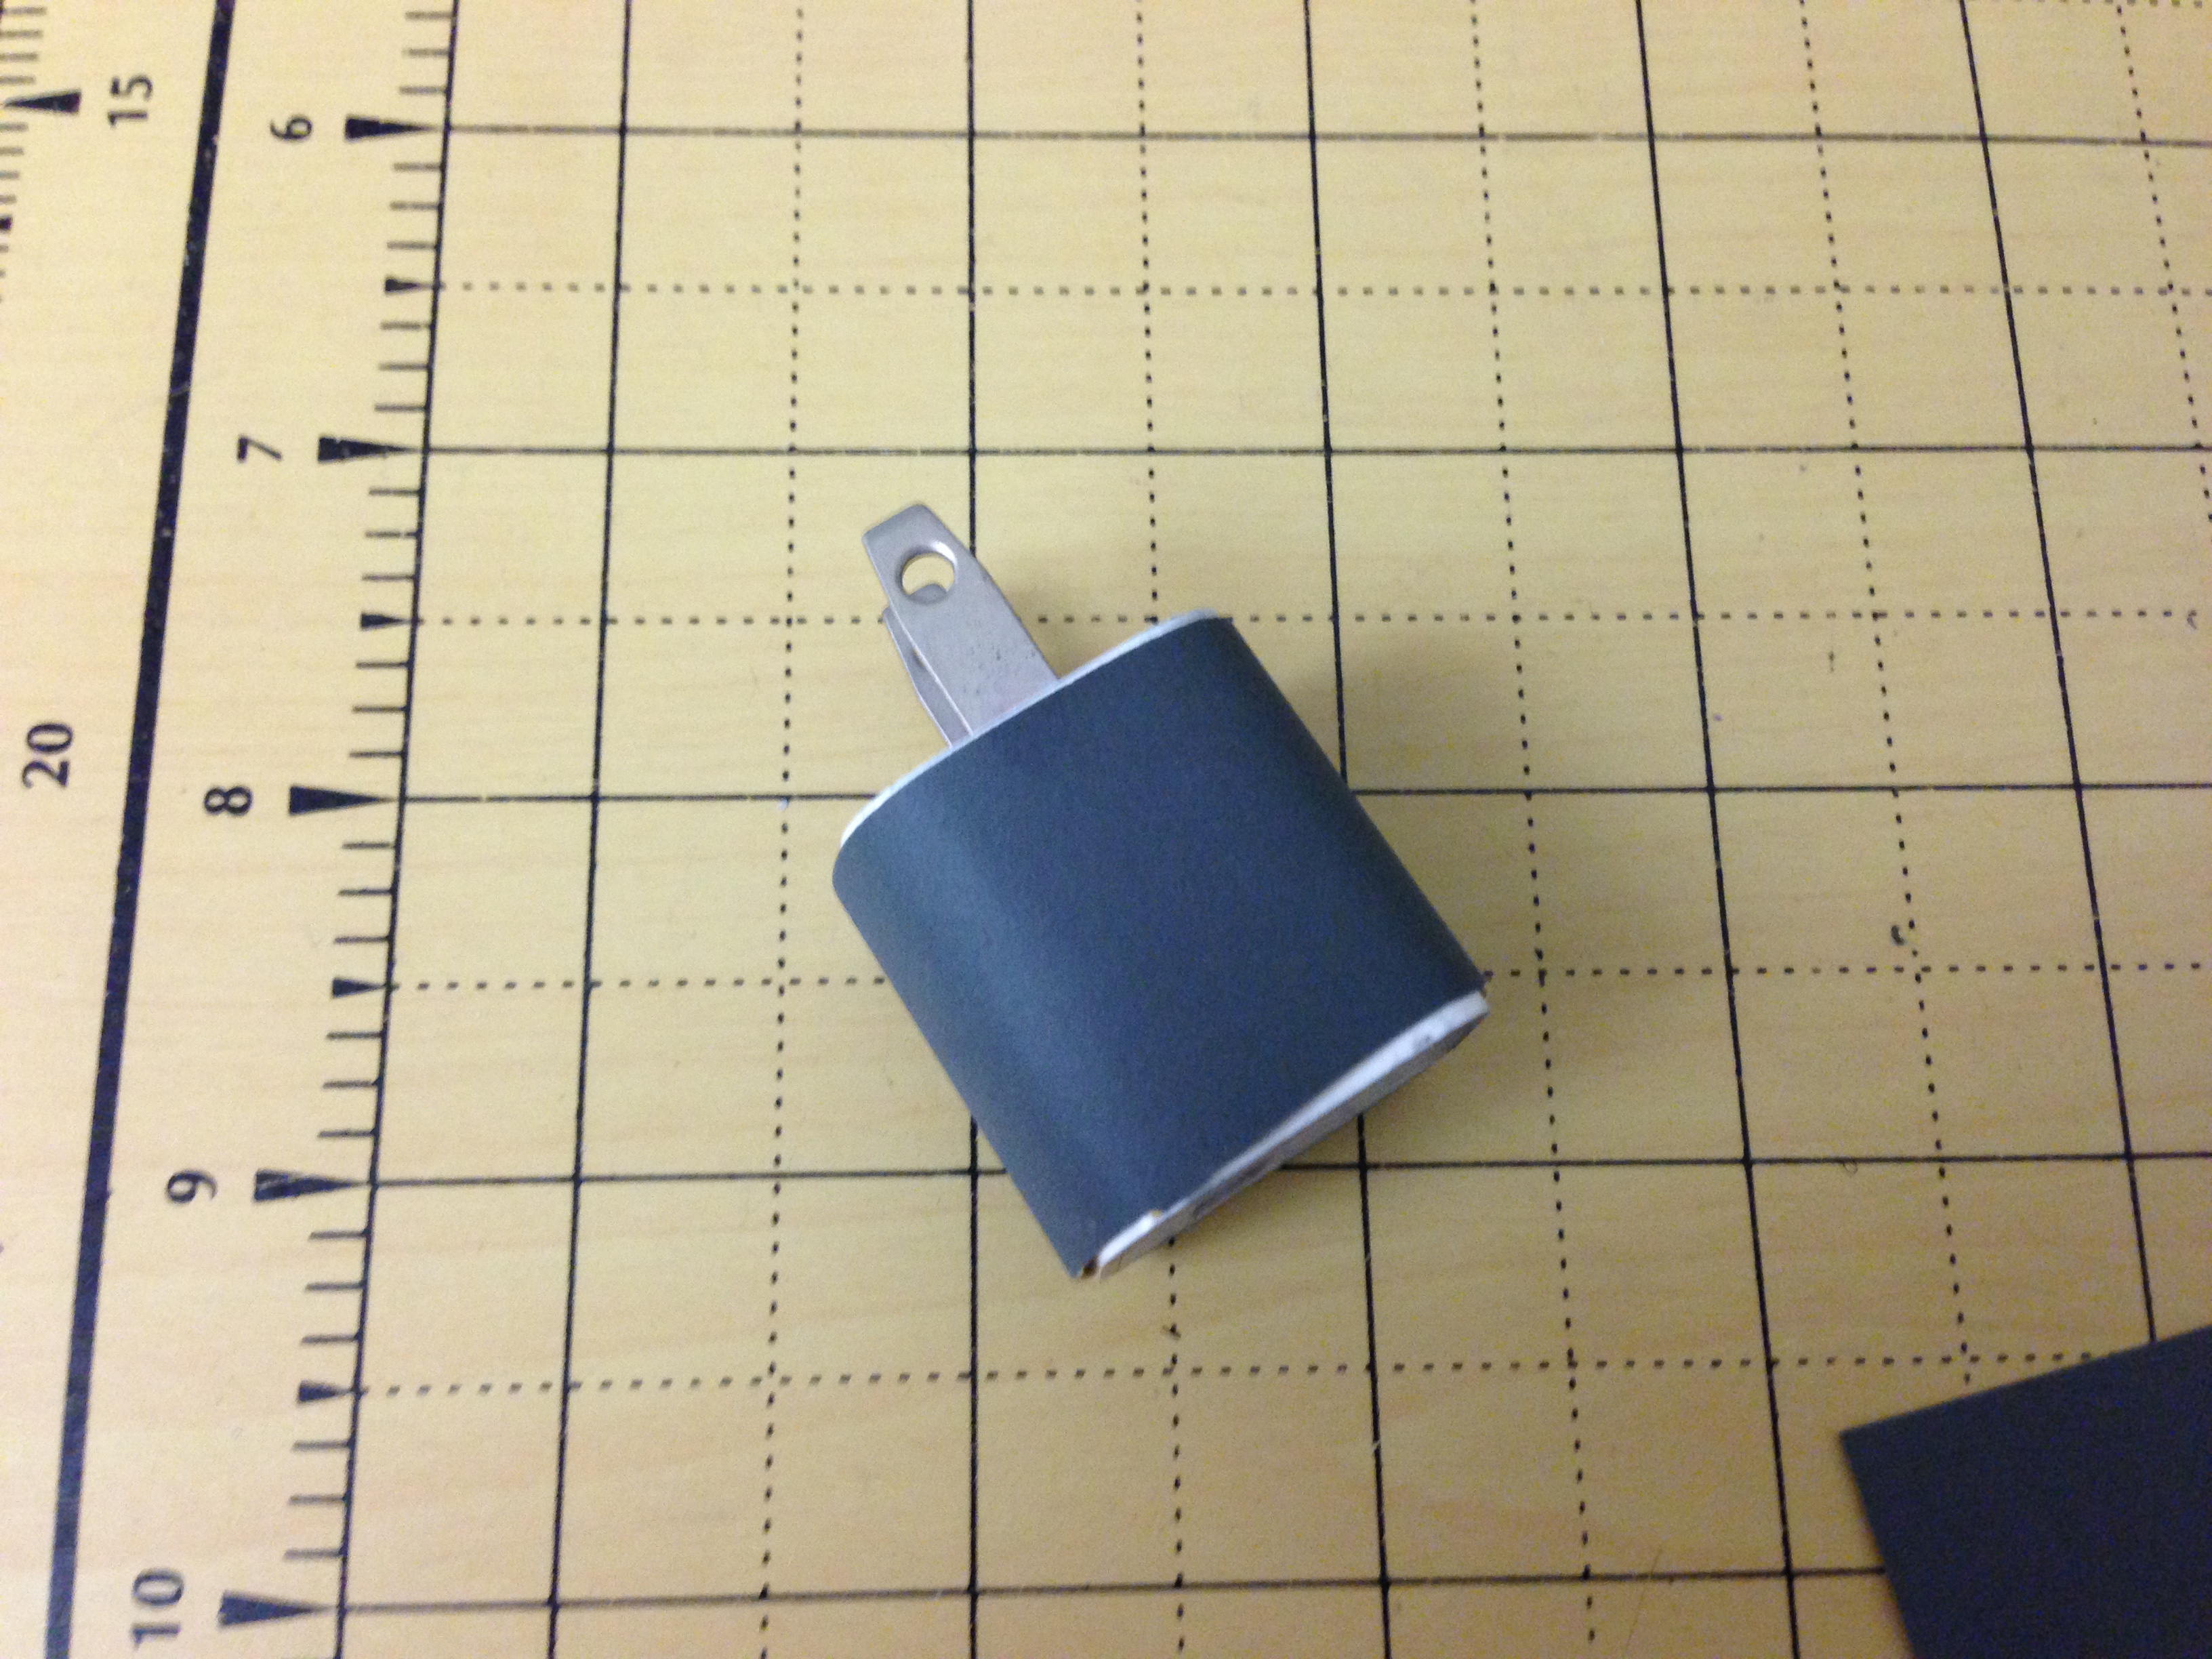
I found that the iPad charger worked well since it is made from hard plastic and retain a flat surface unlink rubber sanding blocks. Laugh all you want but it works.. lol

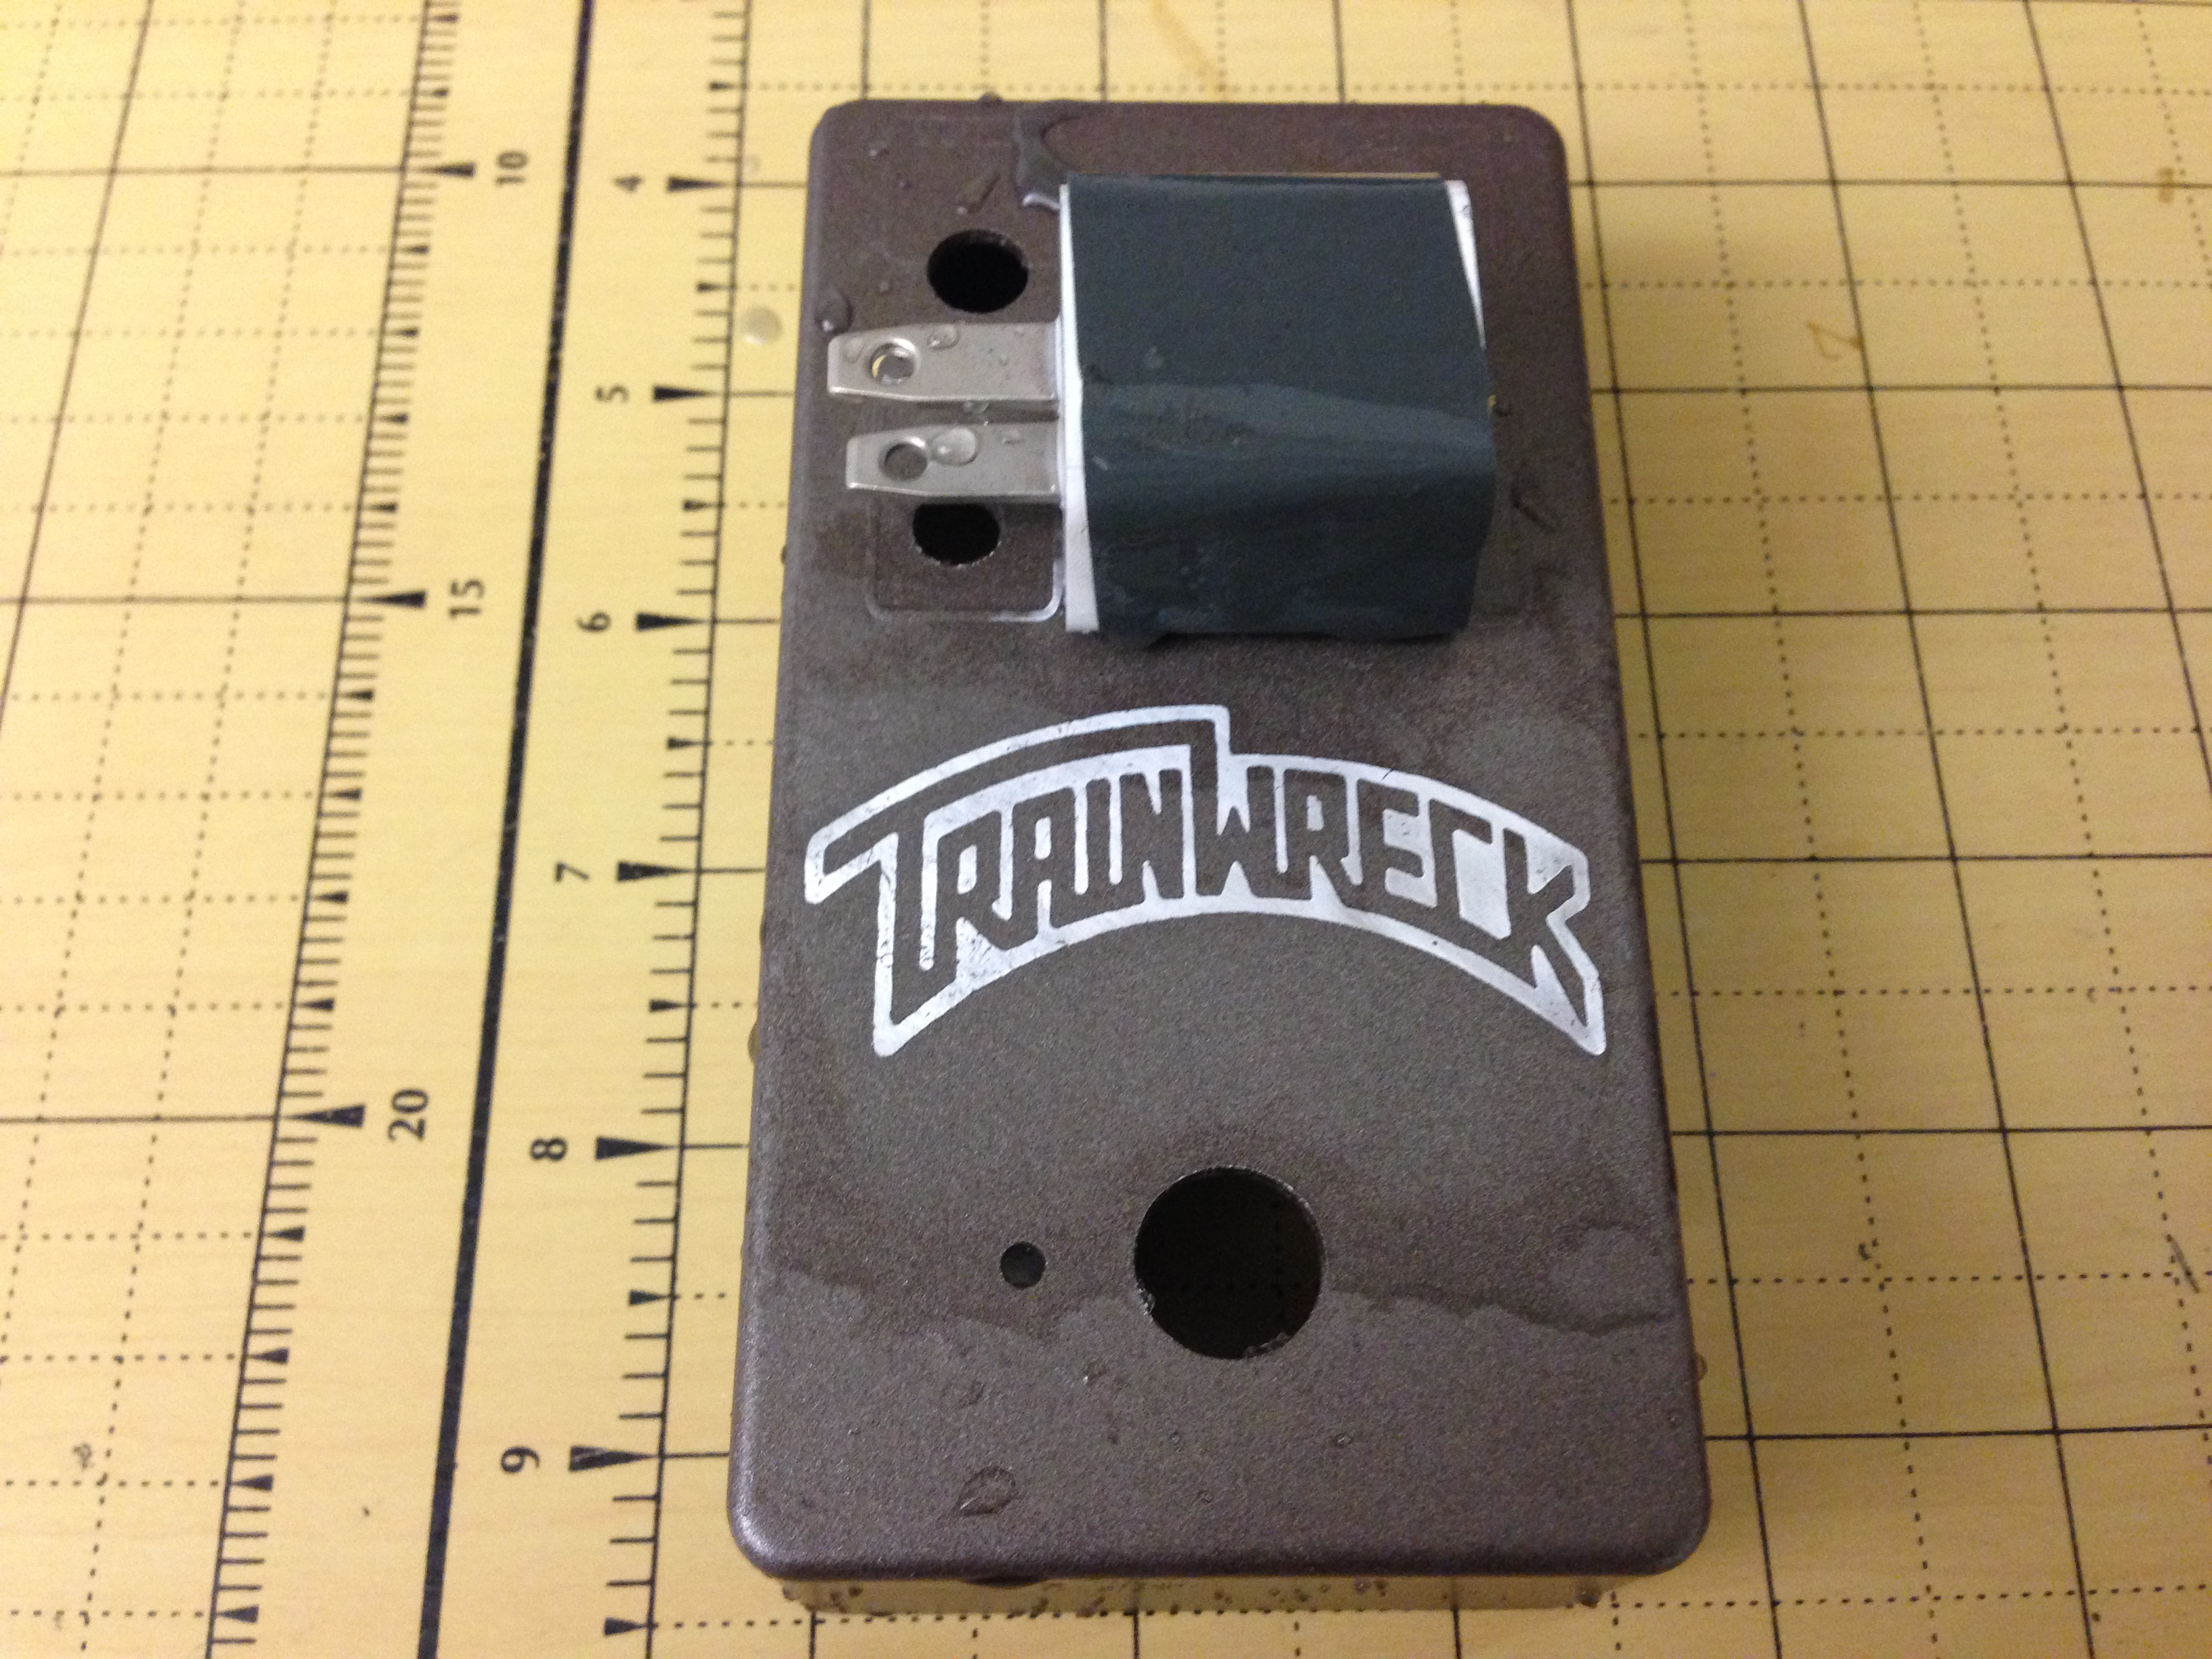
I do this near my kitchen sink so I can constantly wet the enclosure & sand paper and wash off the enclosure. I then wet the surface of the enclosure and wet the sanding block and begin lightly sanding the raised areas of the etch. Soon you will start seeing aluminum. Do NOT concentrate on one are to long since it may sand away your raised area completely.

NOTE: You may want to start with 1500 grit sand paper so the chances of sanding away an etched area is a bit slimmer but you will find that 1000 grit speeds up the sanding process. Its up to you.

paint_5

This is not the best etch but it will work for this tutorials purposes…for now.

Take your time and try to stay away from all edges since the paint is a lot thinner over the edges and will sand away with little effort.

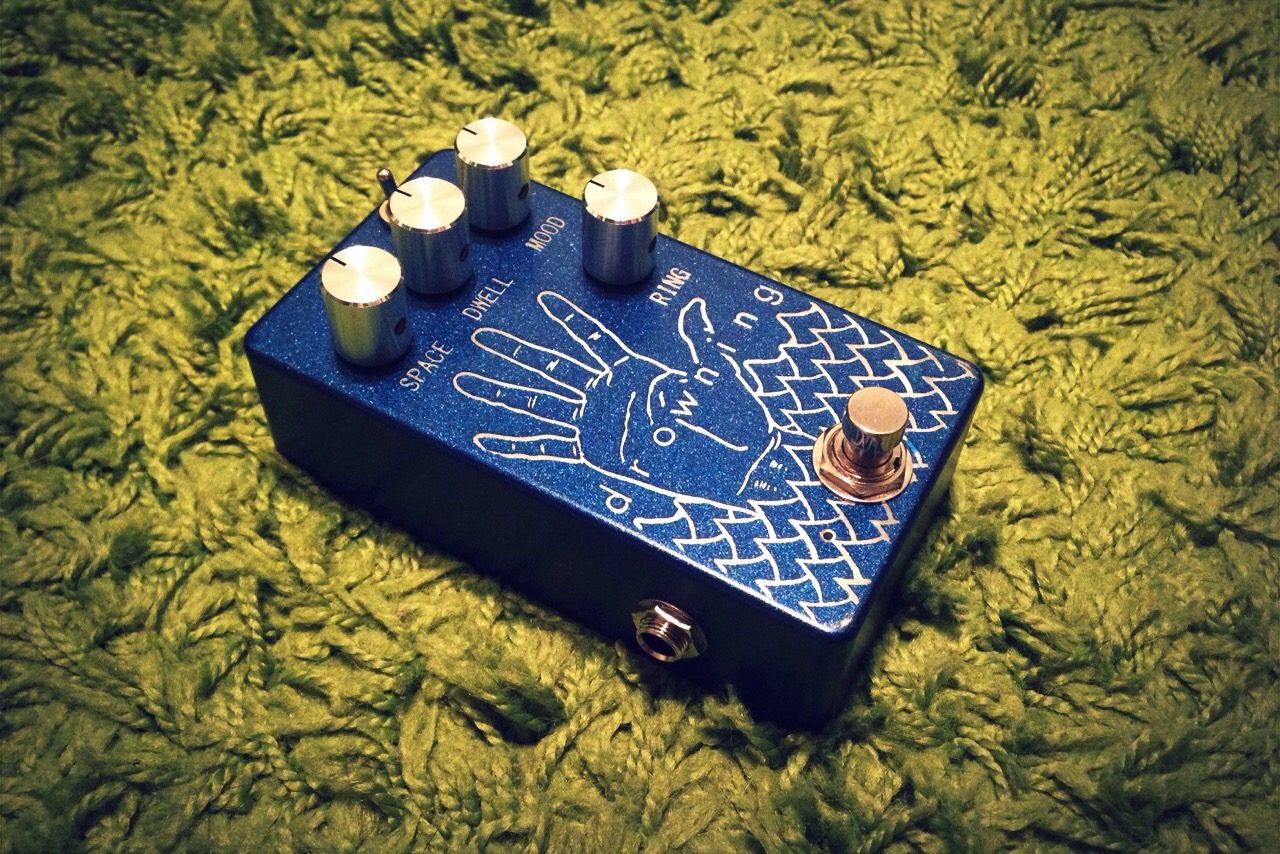
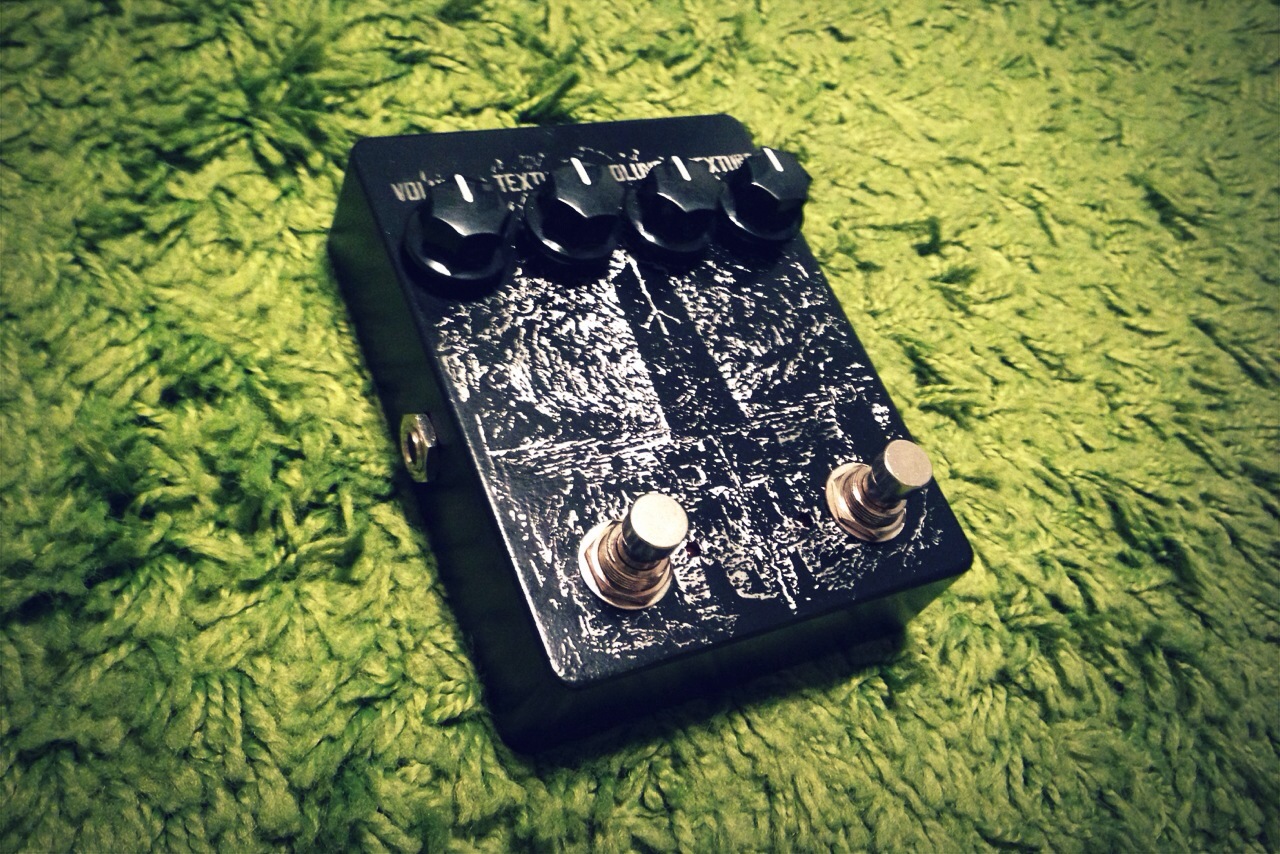
With a little patience and time you will have something like this.

paint_6

You will see some areas of the paint that dulled a bit do to the sand paper rubbing against it. This freaked me out the first time and I thought I ruined it but, it all disappears when you place a coat of clear on the enclosure.

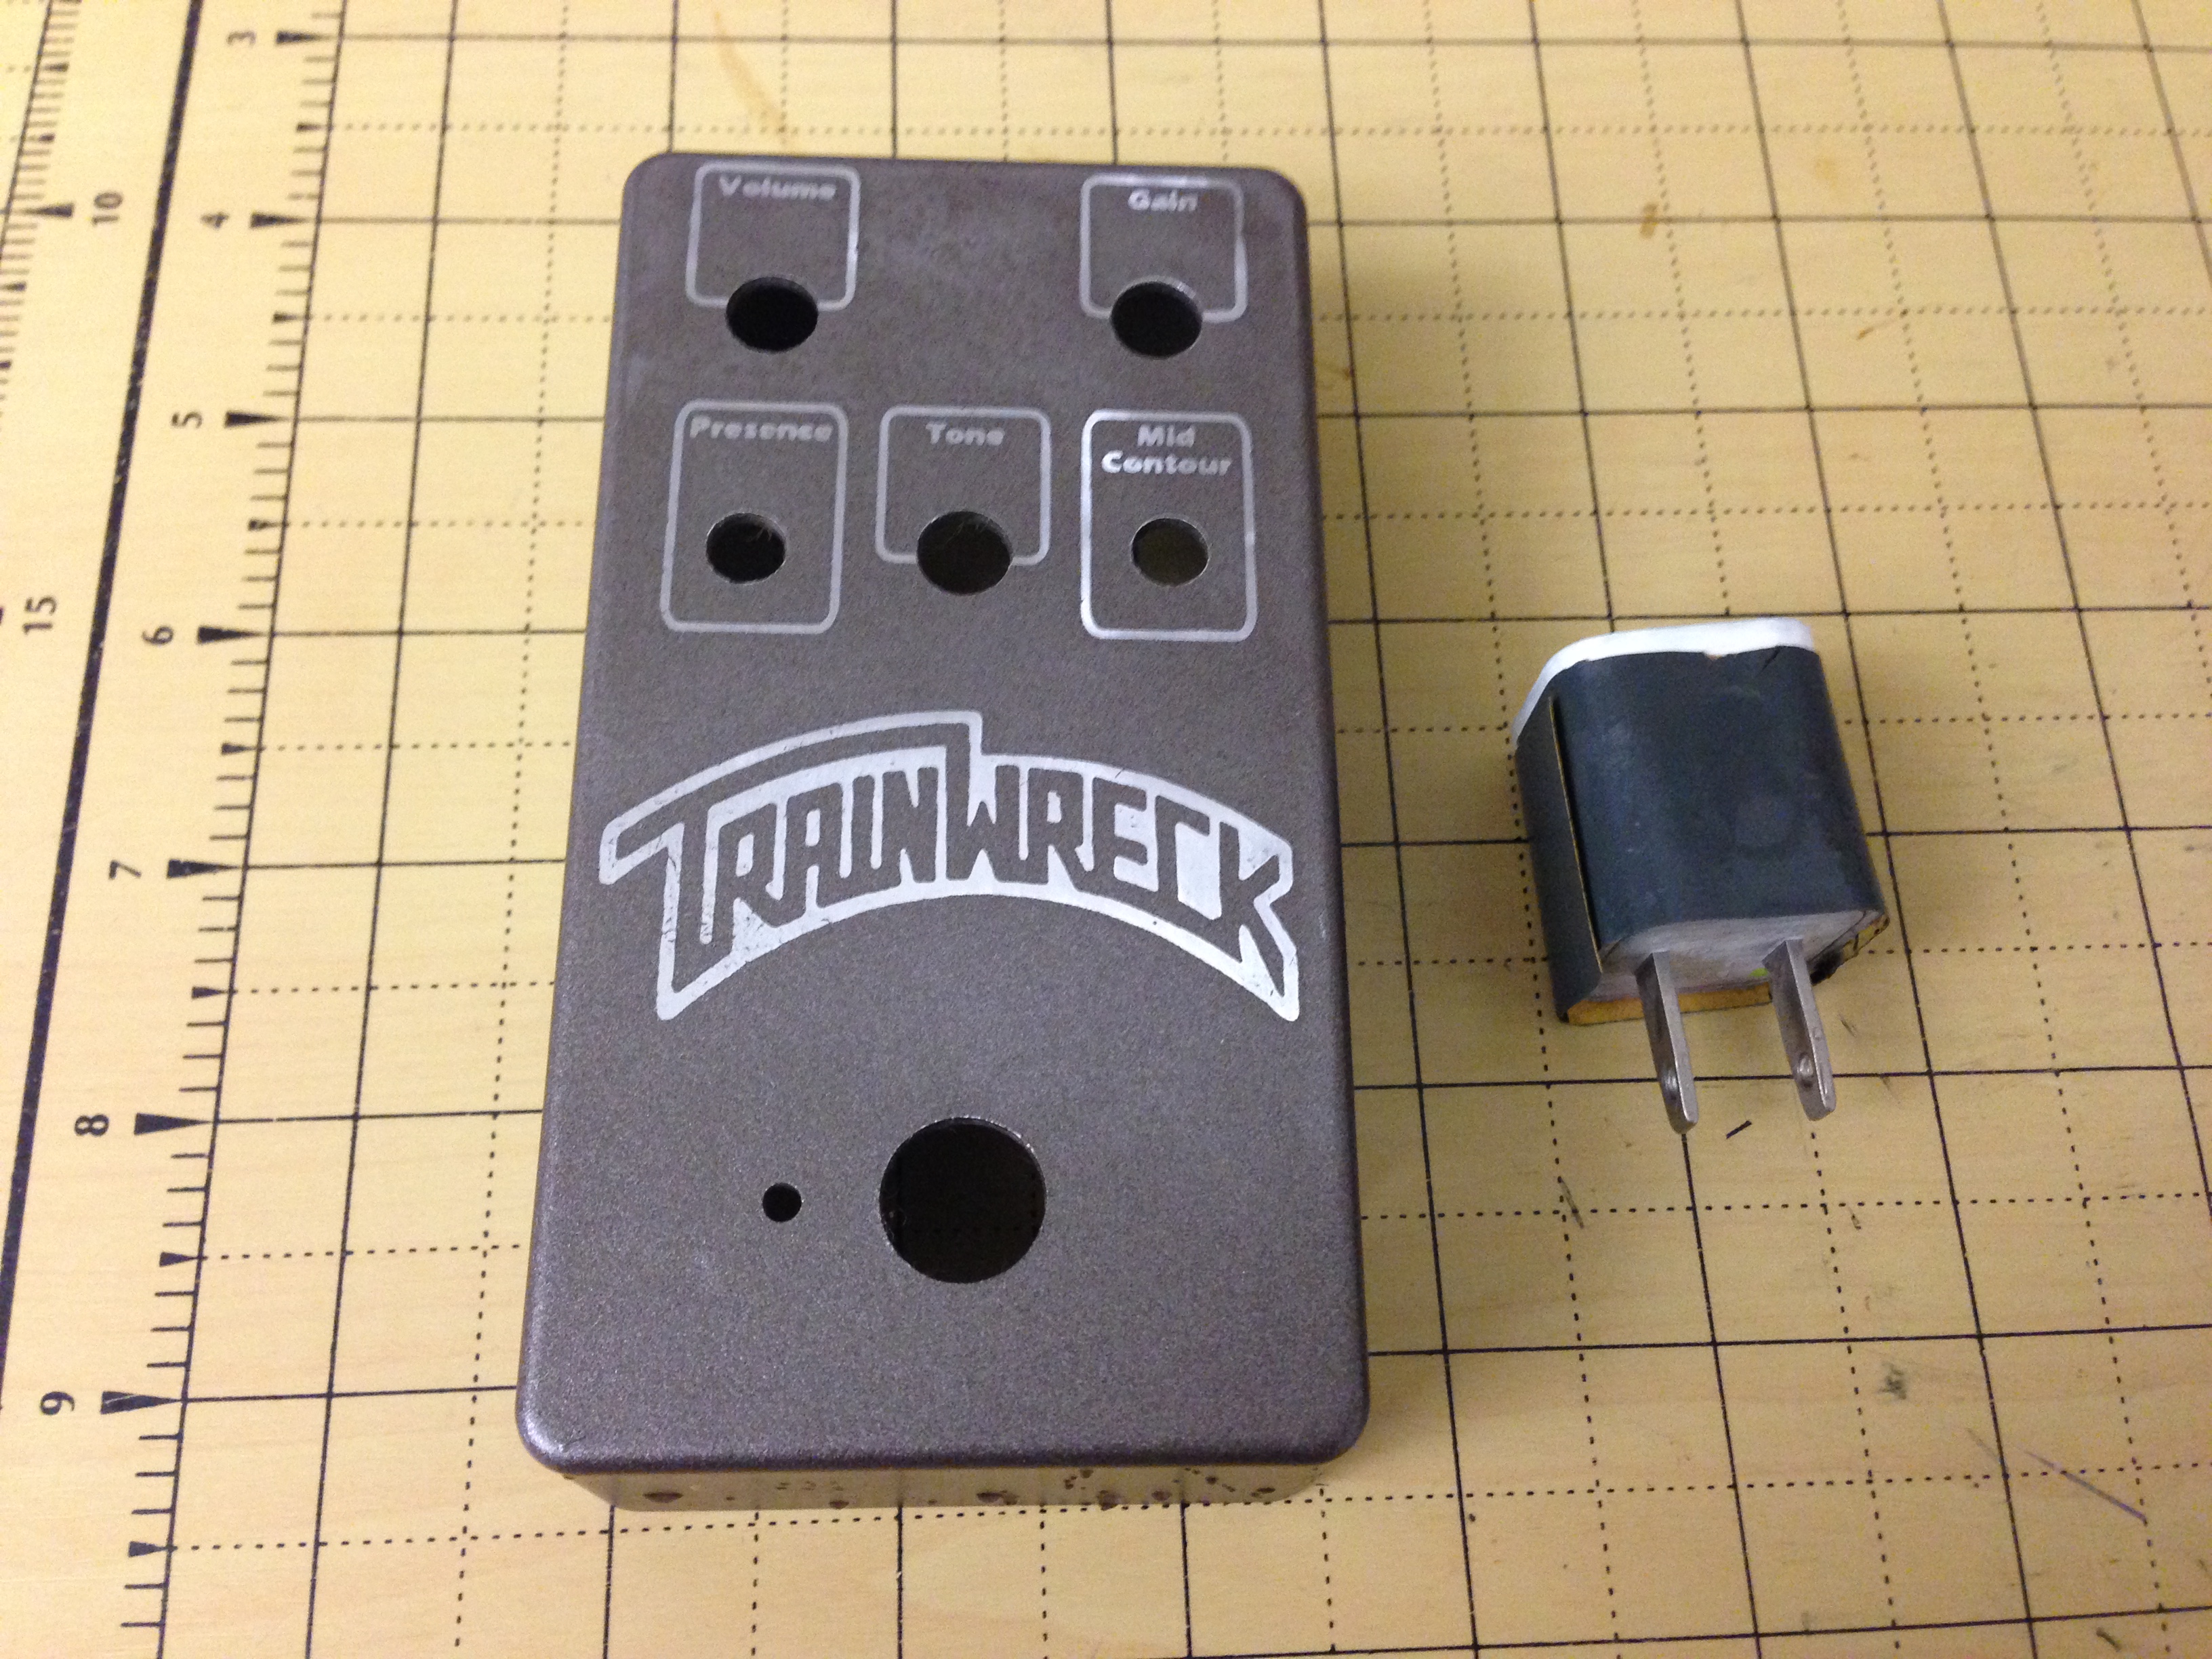
Make sure you wash your enclosure good and let it dry for 20-30 minutes before spraying your first coat of clear on.
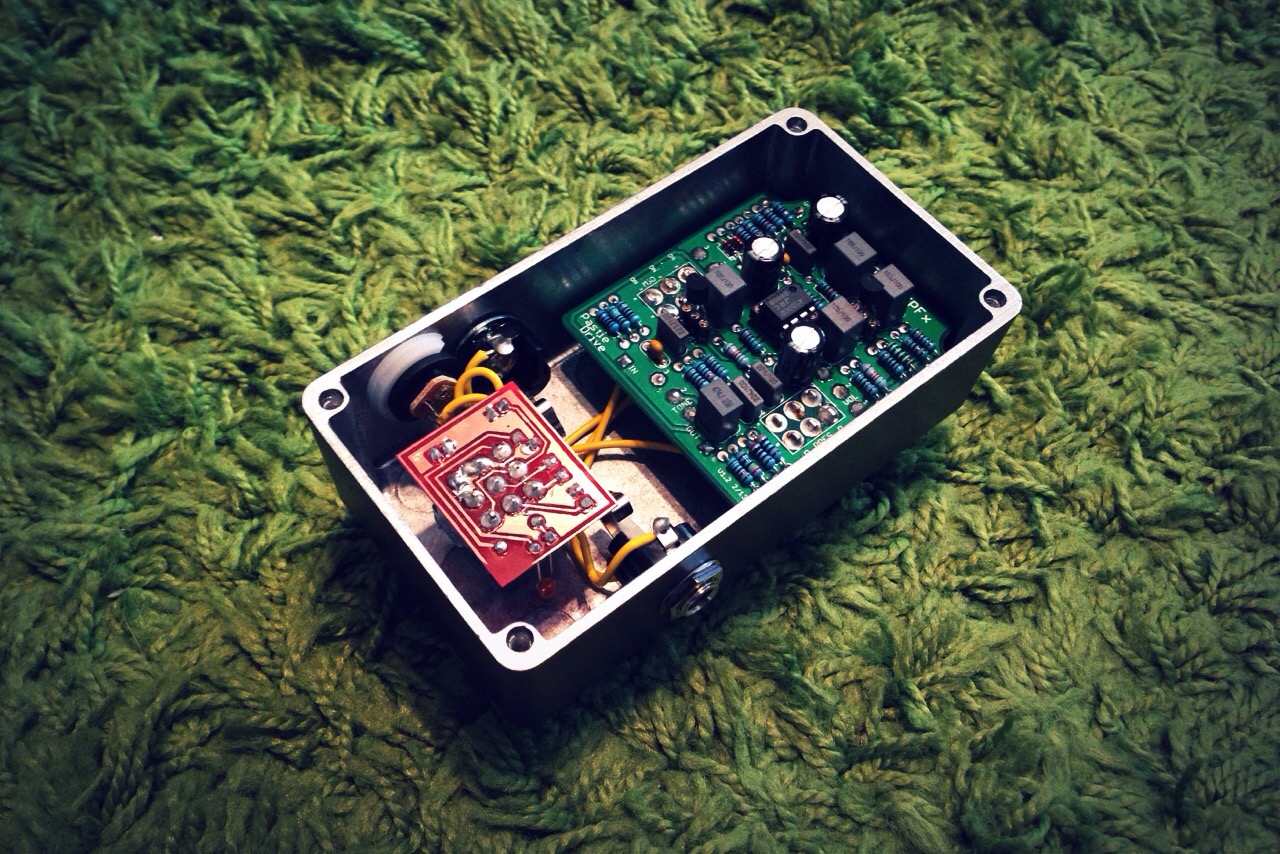
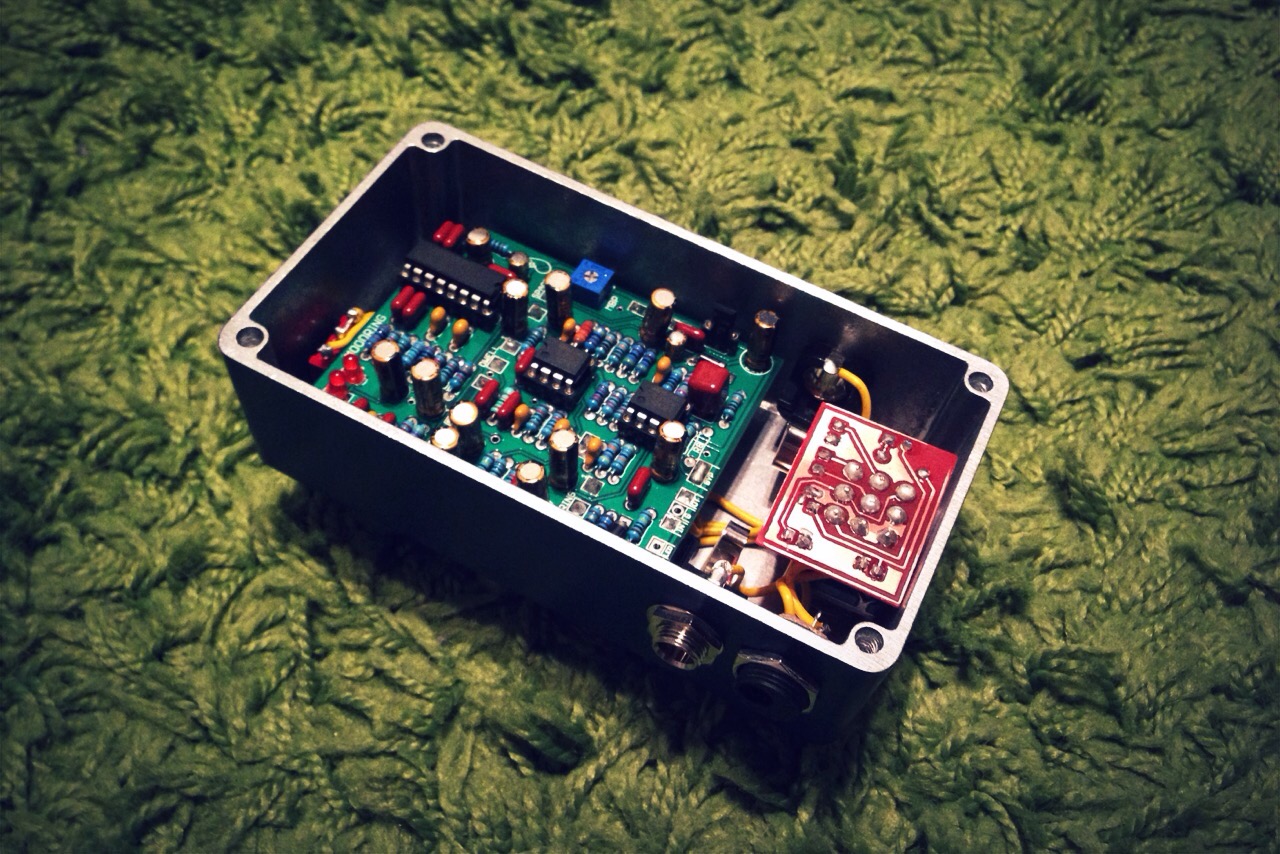
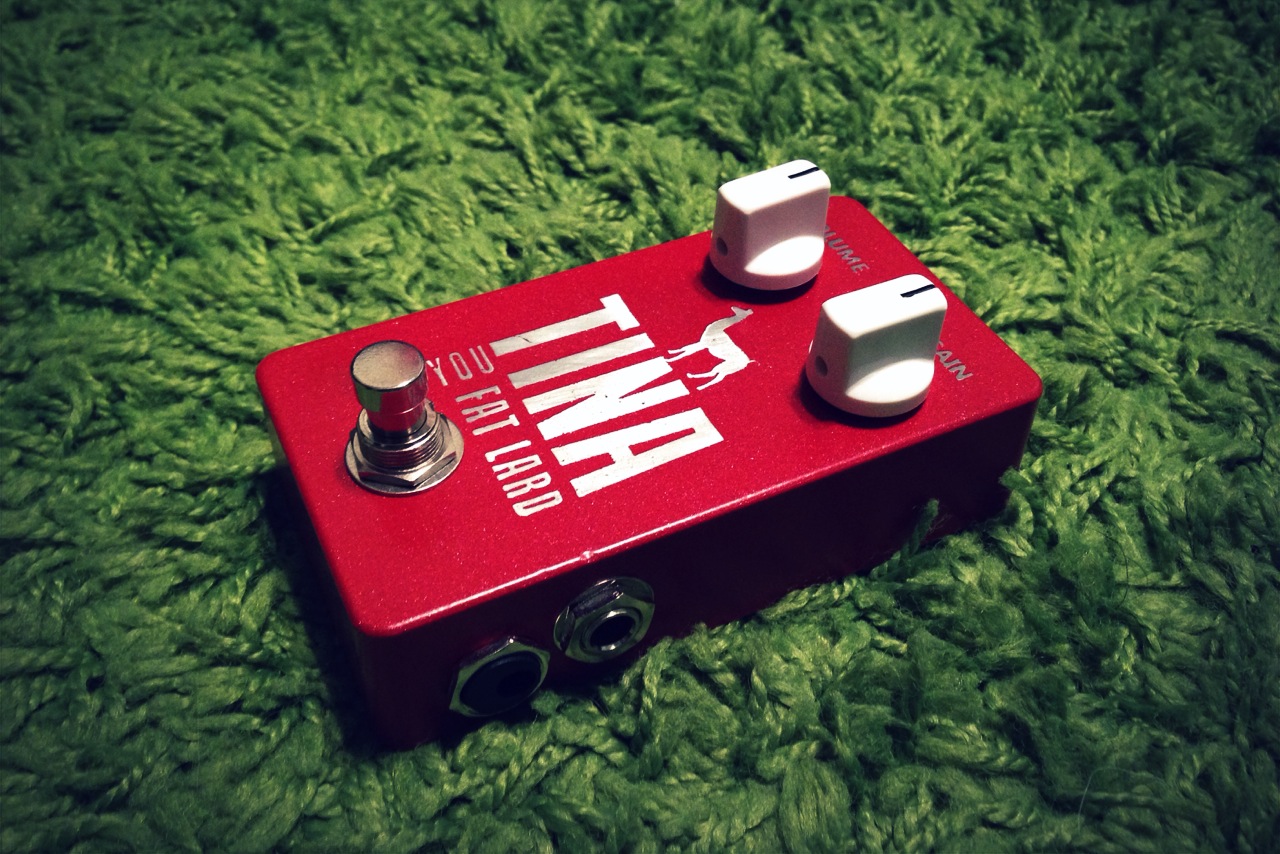
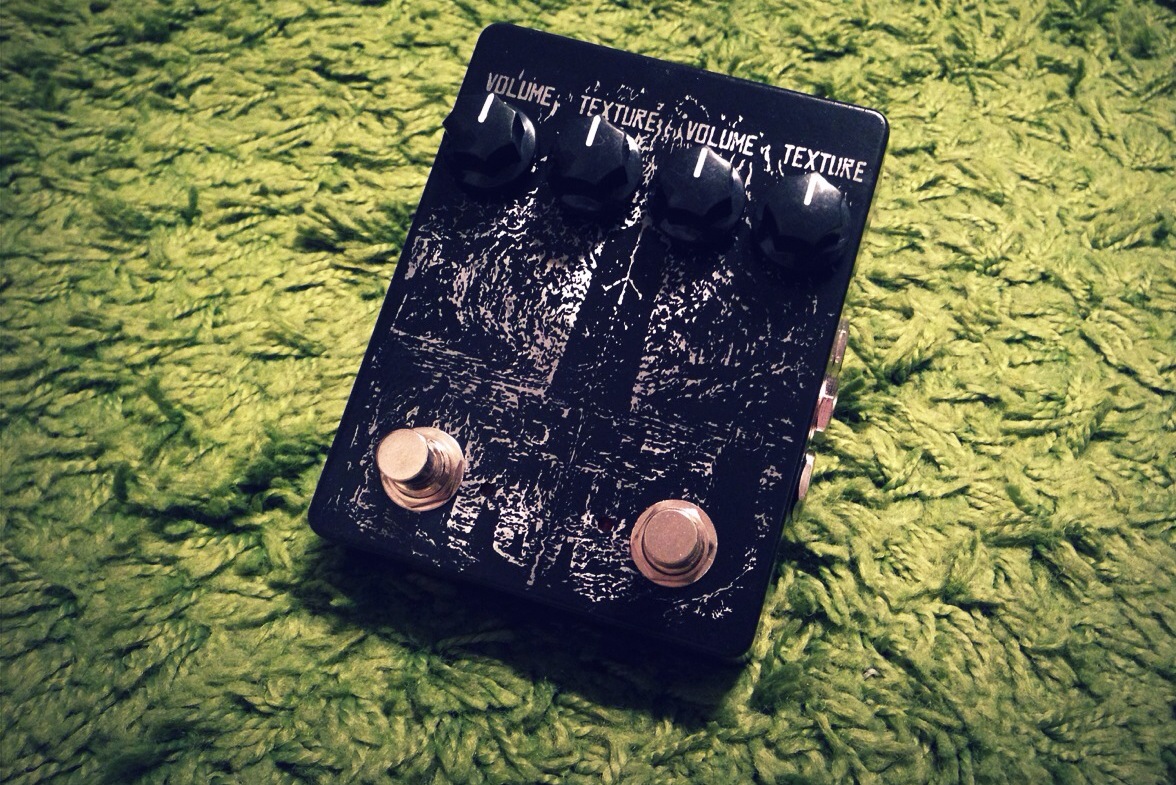
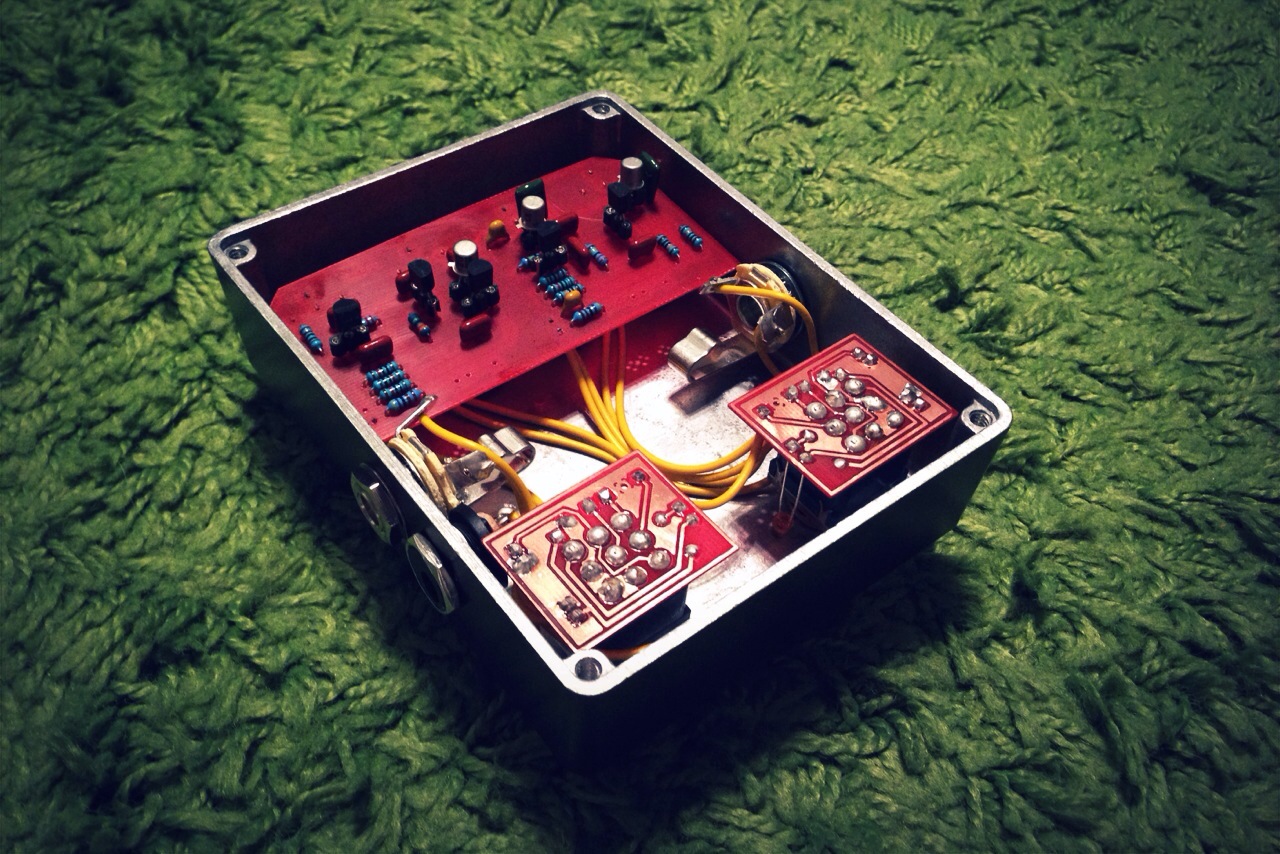
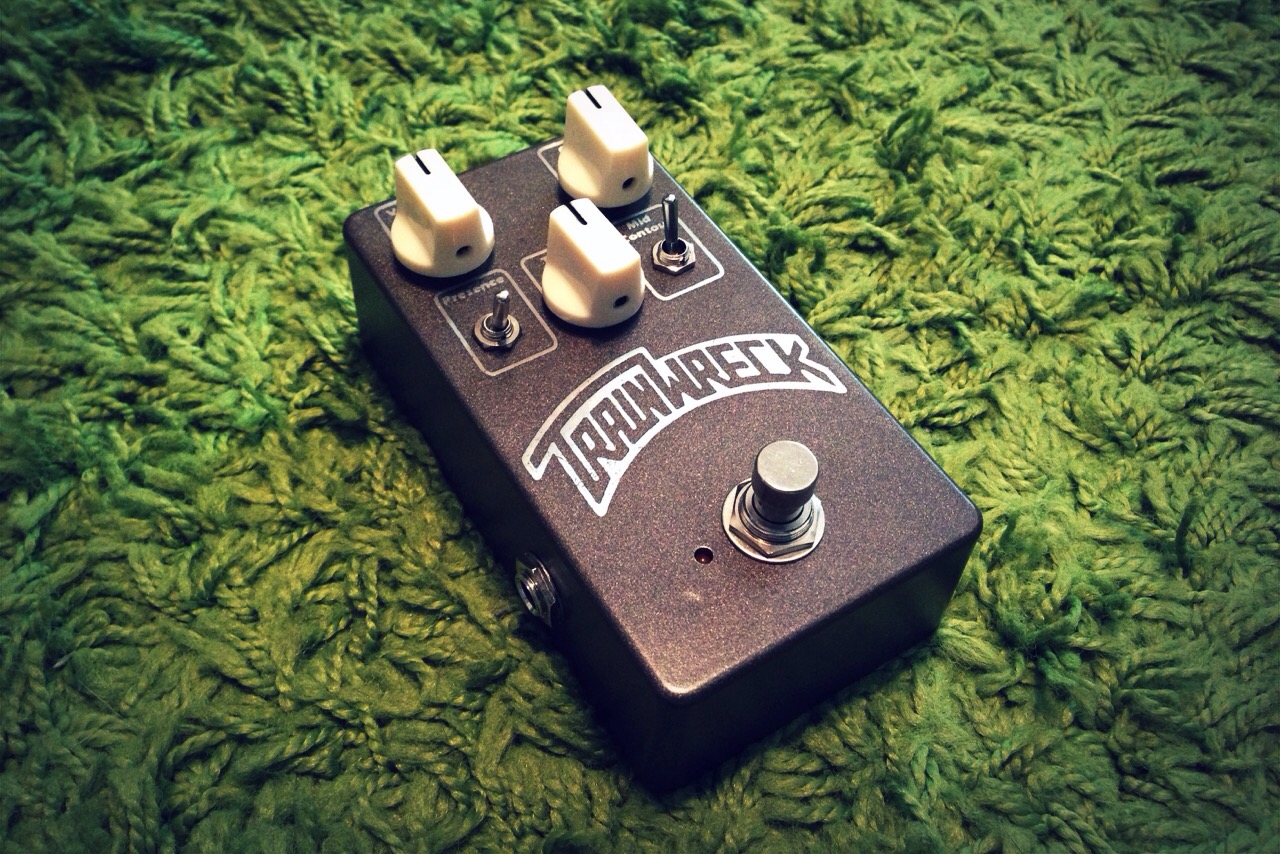
Finished pedal:

IMG_1093.JPG

I hope this helps some. As always you can contact me here by leaving comments or look for me (selfdestroyer) over at Madbean’s Forums.


Trainwreckish pedal

This is a VIPFx Pastie Drive which is modeled after the Wampler Paisley Drive. This pedal gets a really nice low-gain overdrive to a nice higher gain growl at a turn of a knob. The presence switch adds a nice sparkle to the top end and the mid contour switch has 3 different positions with a nice mid boost feature.

Don’t let the comment “Brad Paisley Signature Paisley Drive” throw you off, its a great sounding overdive.

This was not a perfect etch by any means but it came out useable and I really like the simplicity of it. All in all its a great sounding pedal and look forward to playing more with it.

IMG_1093.JPG

IMG_1095.JPG

Buy a PCB
Build Doc Link

Voltages:
Q1 J201
G 4.5v
B 4.6v
D 9.4v
Q2 J201
G 4.5v
S 4.6v
D 9.4v

JRC4580
1 4.7v
2 4.7v
3 4.7v
4 0
5 4.7v
6 4.7v
7 4.7v
8 9.4v

Drowning Reverb

This is a Madbean MoodRing reverb which is a Belton BTDR-2 based reverb with a PT2399 for a bit of pre-delay on the reverb. This great sounding reverb has tons of control and really cool oscillation that can get great drone sounds.

I revered etched this 125B enclosure and used a metallic blue paint. I am really happy with the results of this.

IMG_1031.JPG

IMG_1032.JPG

Triple Crown Overdrive

When Brian @ Madbean announced the Kingslayer II I jumped on it and immediately forgot that I had the PCB since I had so many projects in my desk. I populated the PCB a few weeks ago and started tweaking it a bit by looking for diodes I was happy with and I came up with a couple unusual ones. I went for the stock 1n34a’s in D1 & D2 but I got some older AY20’s that I could not find any info on. They just sounded smooth and rounded, not harsh at all and not over compressed. I’m happy with them so far.

I etched the 125b enclosure and painted it with a emerald green. I’m not a 100% happy with the paint job since some of the gold fleck was taken off by the wet sanding.

IMG_1026.JPG

IMG_1028.JPG

Tina is a fat lard!

I can finally post this on my blog now that she has the pedal. I did not want to ruin the surprise since they were traveling in Portland and I wanted it there waiting for her when she got home.

I wanted to build my aunt a pedal and recently she tried out a Way Huge Red Llama and liked it but she was still in the process of looking for her perfect mid gain pedal. I thought, this is something I can actually make for her that she may actually get some use out of. I went with a Madbean snarkdoodle 2012 edition and was surprised that I already had the CD4049UBE IC onhand. So at some point I was going to build since I can’t find any other build that uses that IC. I wanted to do something fun with the artwork since my aunt and I seem to have the same sense of humor. Here is what I came up with.

Revered etched for maximum awesomeness..
photo 4

Gut shot.. really not much to this circuit.
photo 5
Notice that green film capacitor for added mojo tonez.. all of a sudden the price doubled. lol

When I was demoing this pedal I found it had a sweet spot with the gain about 2:00 with my Epiphone Riviera’s humbuckers. It is a great/simple overdrive/distortion and I may just build one for myself at some point.

Maybe I can con her into making me a demo of it so I can post it here.

Space Chasm reverb

What started as a scary build by Rob (deadastronaut) over at DIYStompbox has been laid out by George (Chi_boy) of VIPFX on a nice PCB. I built one of these on the etch mask that was provided by Rob but I had troubles with the offboard wiring and got frustrated with the build quickly. George’s layout made it so easy to get this up and running.

This thing sounds great and can get very subtle to very, very huge and oscillates nicely to infinite decay. I used the Belton BTDR-2 large and I am very happy with the results.

I etched the encloser with some artwork of astronaut cats (thanks Google images) in homage to deadastronaut.

IMG_0945.JPG

Gut shot:
IMG_0947.JPG


Quick Demo
[soundcloud url=”https://api.soundcloud.com/tracks/166005785″ params=”auto_play=false&hide_related=false&show_comments=true&show_user=true&show_reposts=false&visual=true” width=”100%” height=”450″ iframe=”true” /]

Another Fuzz Face

I am working on a germanium Fuzz Face for a buddy and decided to use Scruffie’s layout with an onboard MAX1044 to change it to a negative ground effect.

Here is Scruffies notes on it

Power Filtering included, Polarity Protection, Input Level Trim (To adjust like you would your volume knob) Onboard Bias Pot to adjust for different climates and optional smoothing caps for both transistors (10-100pF range).

I am building it to the Analog Man Sun Face NKT275 specs as in this schematic in red. I used metal film resistors and audio grade electrolytic capacitors (even for power filtering just to keep it consistent and the gold caps looks awesome lol)

fuzzface1

From the underside

photo 4

Rub-a-Dub Reverb

I built a RaD reverb for my dad last year and he has really been getting some good use out of it. Josh at 1776 Effects did a outstanding job with this circuit. It’s simple and sounds great. My dad came to me asking for another one so he could have one pre-looper and another post-looper. What a great idea that is. With that setup you can easily avoid muddy loops and only place reverb on what layer you want. This is what I came up with for him.

I did a etched PCB since I used my last manufactured one. I also did a reverse etch art work of a dude wearing a suit and made the chicken head knob his head.

IMG_0917.JPG

IMG_0916.JPG

Shoegazer

Decided to build myself a Devi Ever Shoegazer clone to replace the one I sold. I decided to keep this one stock since I never seemed to use “chaos mode” on either circuits. Kept it clean and simple. This is one mean fuzz and has a great gated sound to it. Drench it in reverb and echoes and you have a instant wall of sound.

I etched the PCB and did a reverse etch on the enclosure. I can’t remember where I got the artwork from, thanks google images.

IMG_0879.JPG

IMG_0880.JPG

IMG_0882.JPG