This is the beginning of a huge adventure in to the wonderful world of modular synthesis. Taking the plunge into this means a careful, thought out plan of attack, which I am not good at at all. I want to utilize as much “DIY” spirit as I have and save some money for modules and accessories since there will certainly be quite a few.
I had the following criteria for this case:
- Sturdy
- portable
- Protection
- Not to big
- Room to grow
I planned on making this out of 3/4″ birch plywood. this would get me to the sturdy factor. By choosing to make it have a front/cover will give me the portability I want and protection. I want to be able to pop the front cover on and protect the modules and also have room to leave my patch cables in place for transport. Going with a 6U case would be a perfect size to carry around and not feel like I’m hauling around my Fender Reverb Twin (extremely heavy). I wanted something deep enough to be stable standing on its own and be able to stack another case on top to expand when needed and take care of my “room to grow” point.
My father-in-law was a HUGE help in getting this project off the ground. I took a few years of woodshop in school but still needed some refresher guidance and someone on the sidelines yelling at me “you’re overthinking it Cody!”. So to him, thank you.
At the end of this post I will make a list of the hardware I used and where I bought it from.
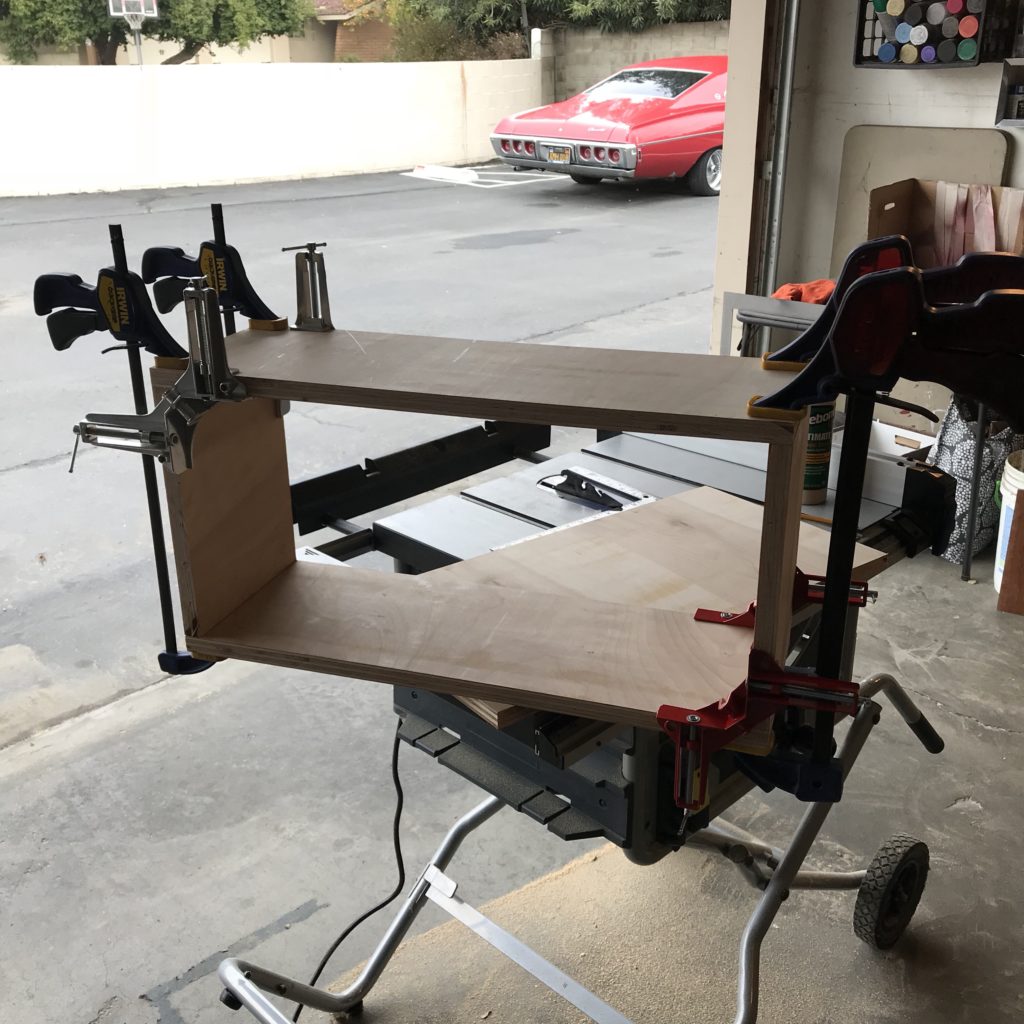
Here I am gluing the sides in place using some clamps. I used a basic butt joint and Titebond wood glue.
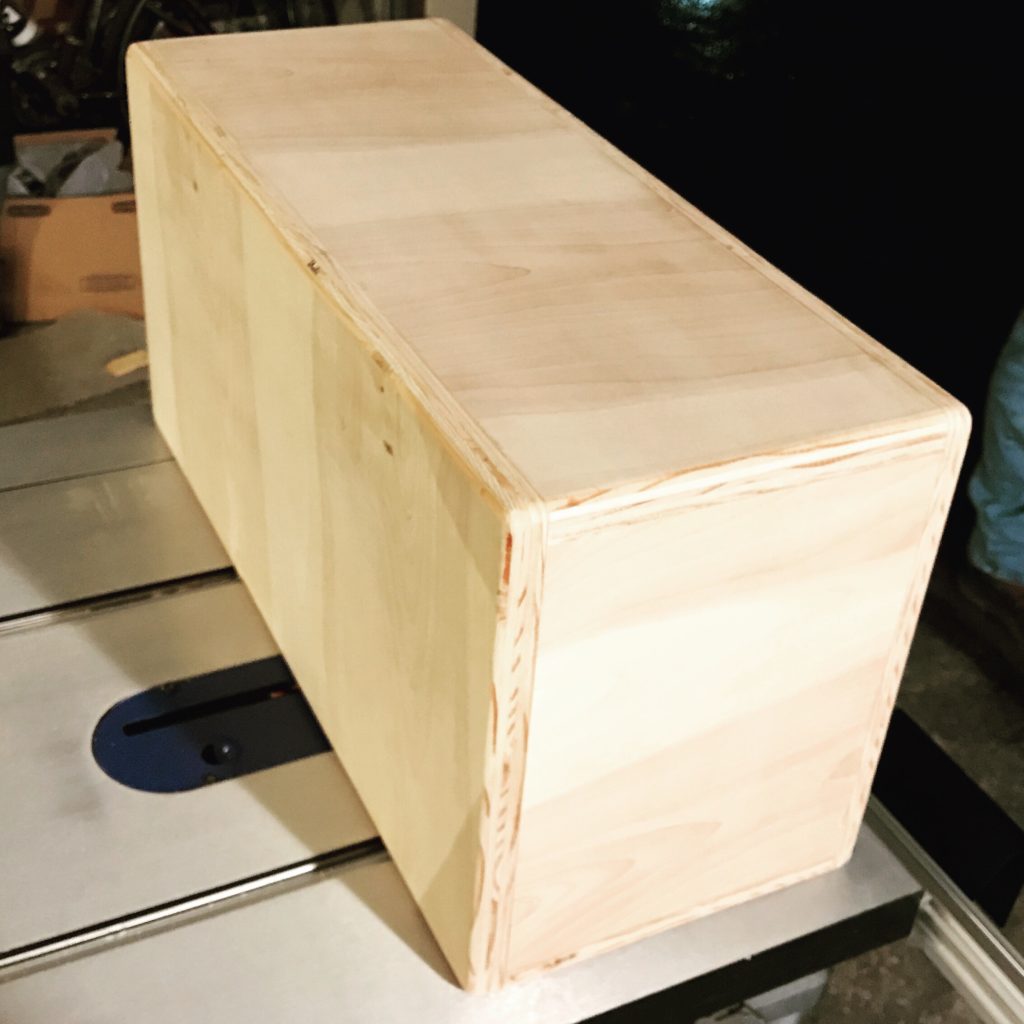
Lets jump ahead a bit, due to the fact that I did not take any photos of the glue process, but you get the idea. This is the box completely glued up and a nice routed edge. Nothing fancy here, just something to clean up the edges. I then took a palm sander and hit it with some 100 grit. My thought process here was to make a full enclosed box and use my table saw to cut off the lid so it lines up perfectly.
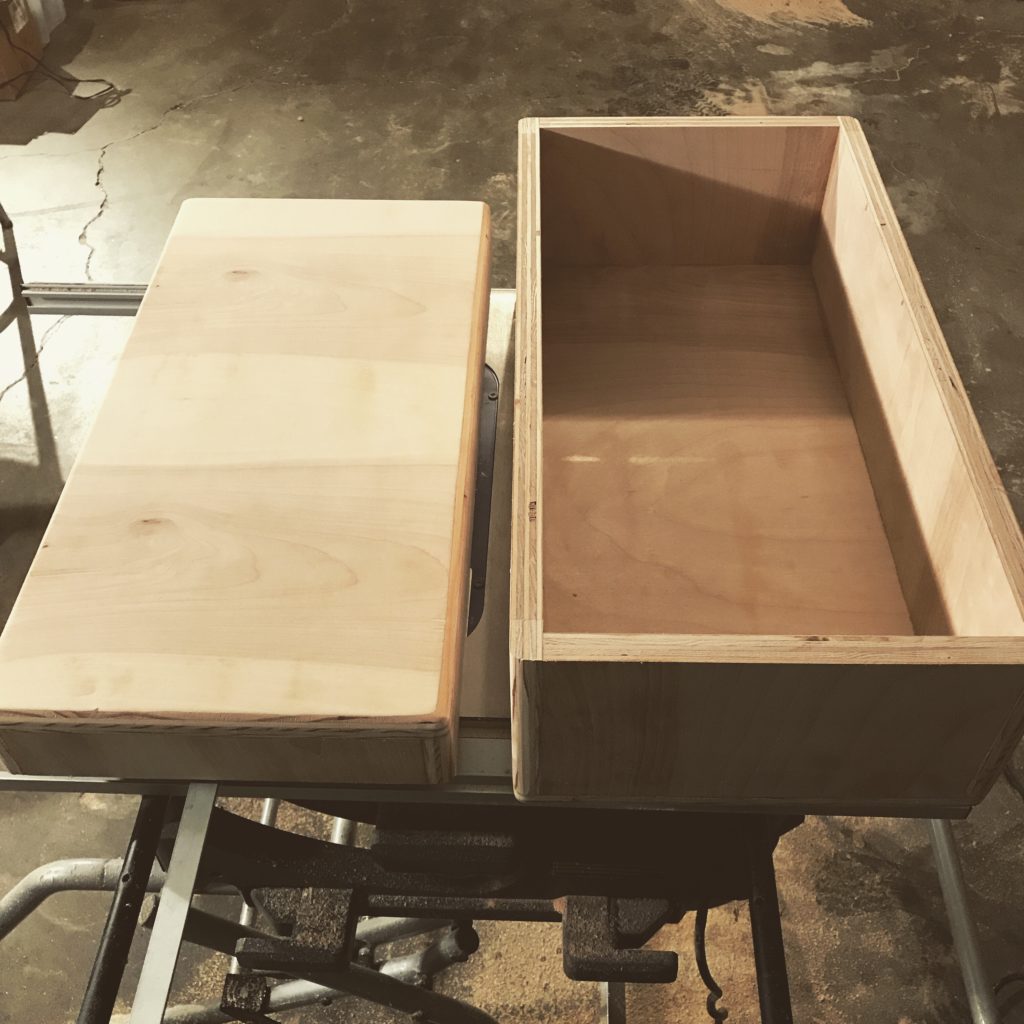
Lid cut off and it came out perfect. I was a little worried this was going to bind on my table saw but with my Diablo blade it but like butter. It also helped that I had a few extra hands to help keep things steady on the fence and help guide it through the cut path.
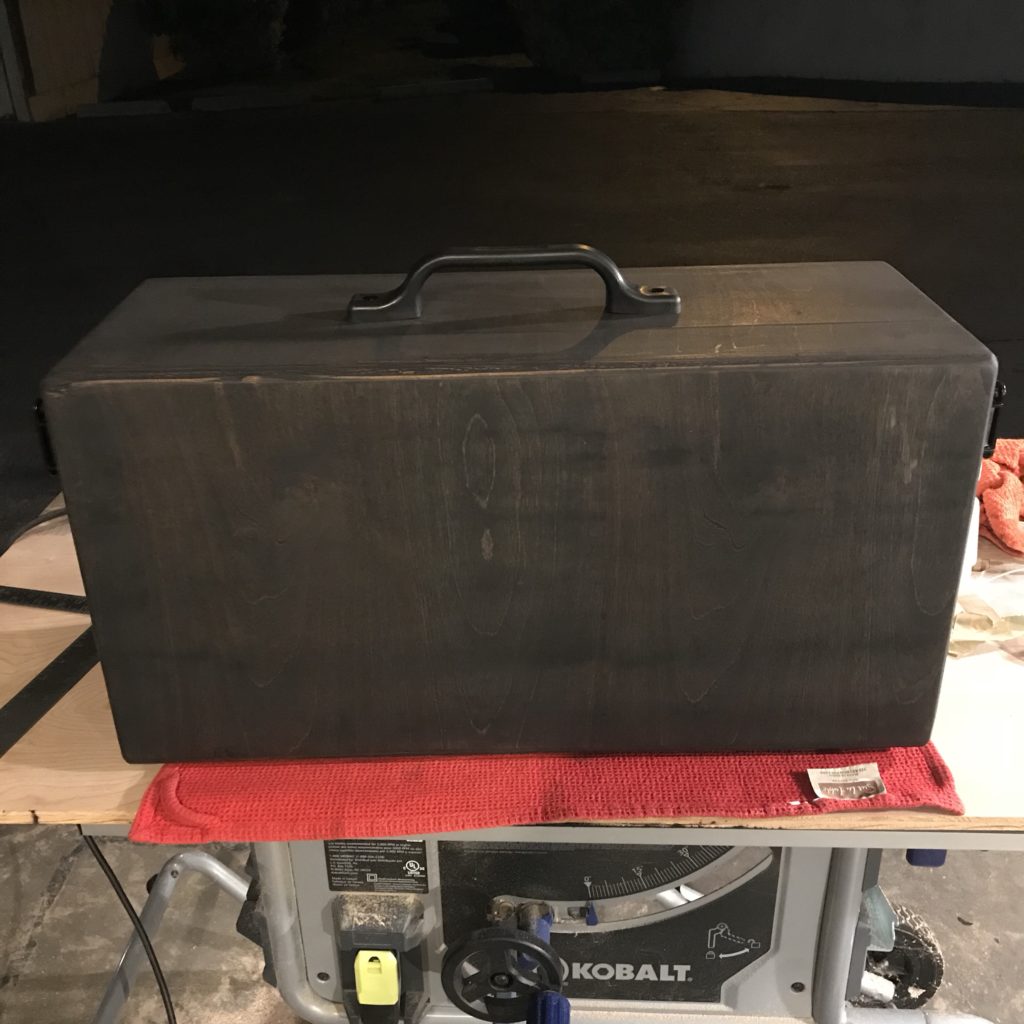
Stained the box with a Miniwax black satin stain and it came out exactly how I envisioned it. I wanted a dark brown color and still see the grain. This picture really does not do the stain justice. I sat the handle on it to see what it would look like. I went back and forth on different handles and finally went with this one. They are used for RV doors HAHA.
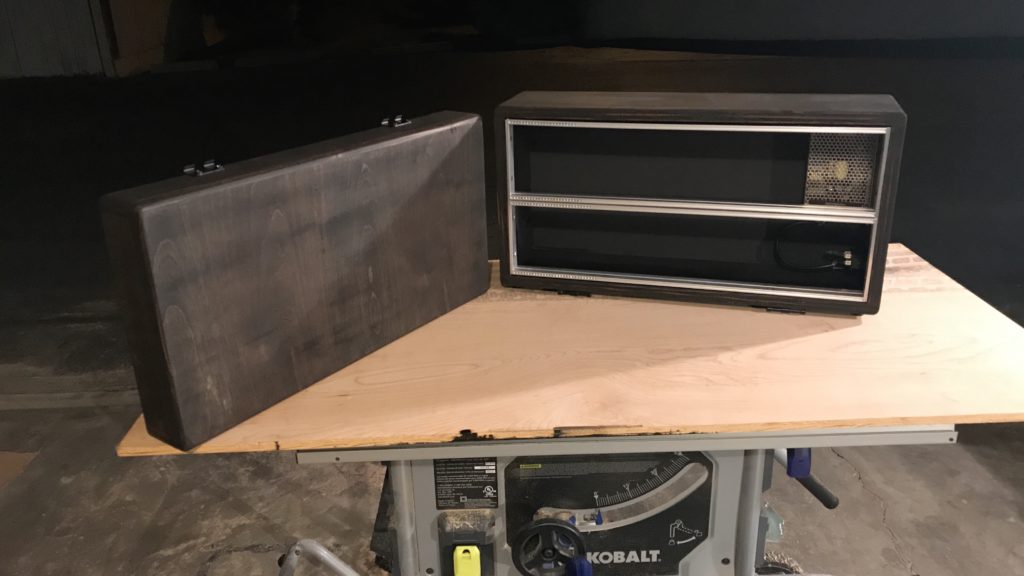
I got the power supply mounted and the rails installed. Time to mount the handle, butterfly latches and rubber feet then test fit some modules.
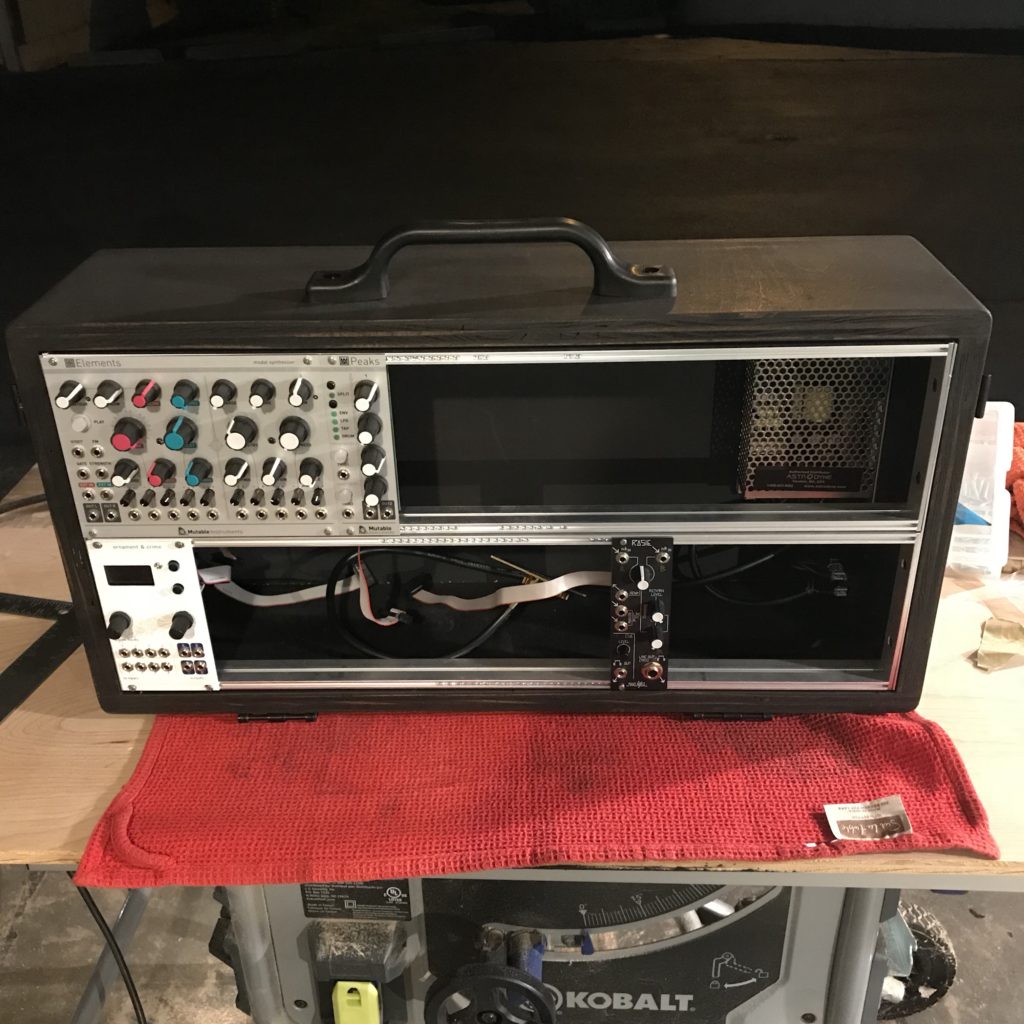
Really happy with the end results. I learned a lot from this process and will definitely make another one soon.
Hardware Used: I bet you can find better/cheaper hardware, I just used what I had access to
