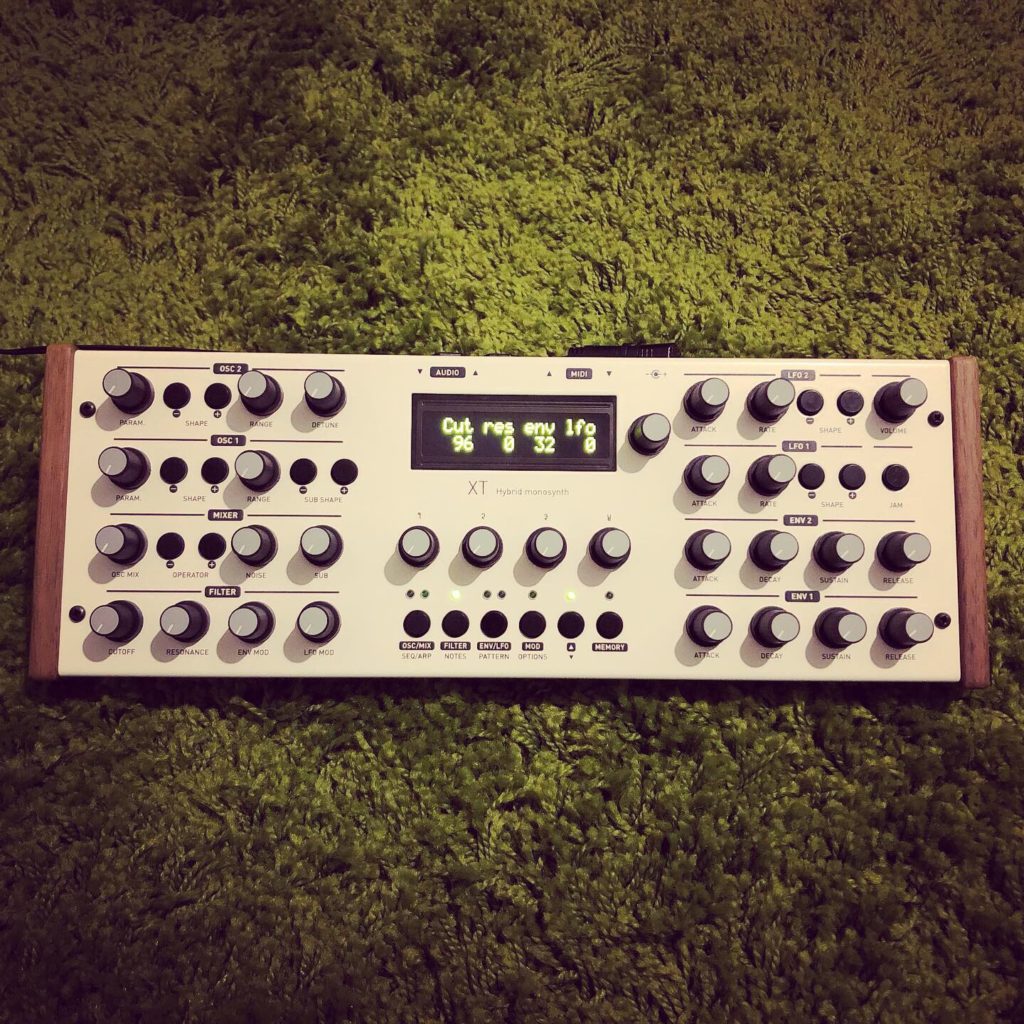
Shruthi XT Finished
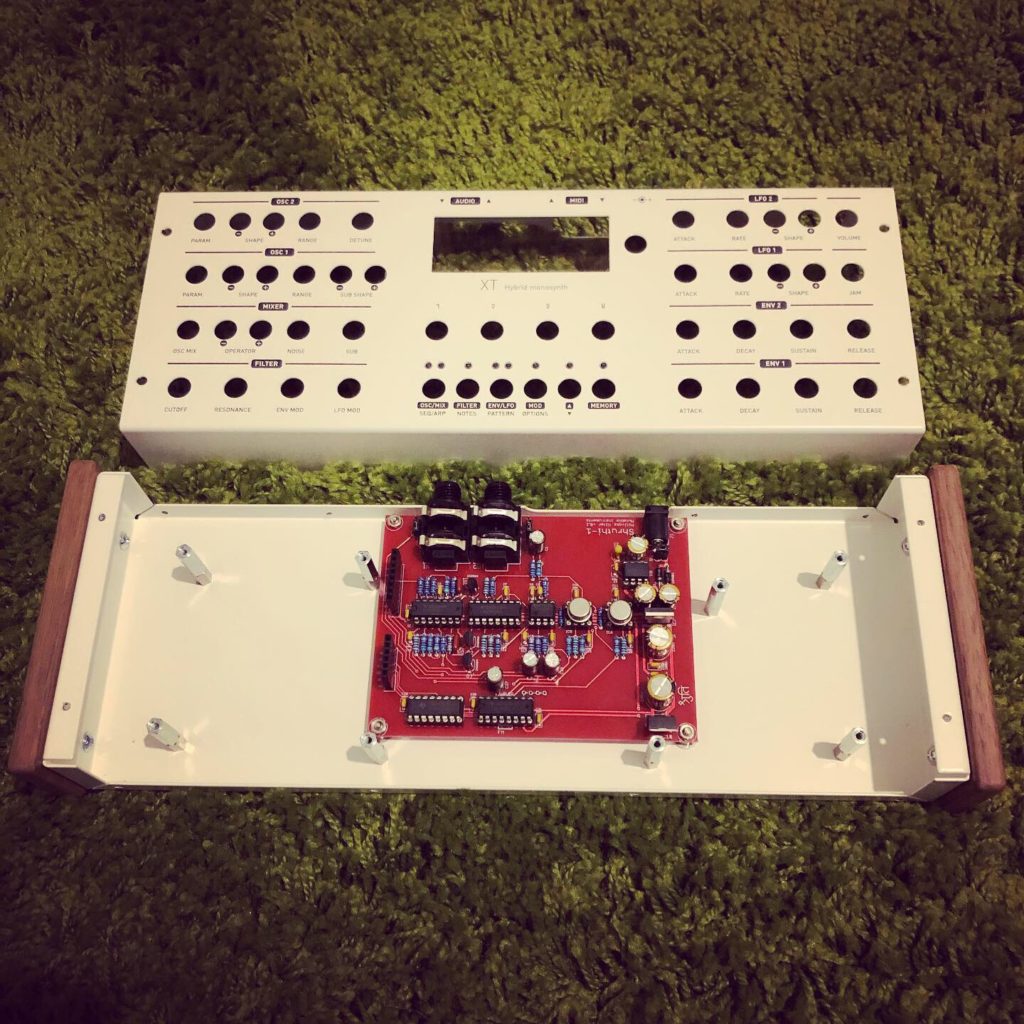
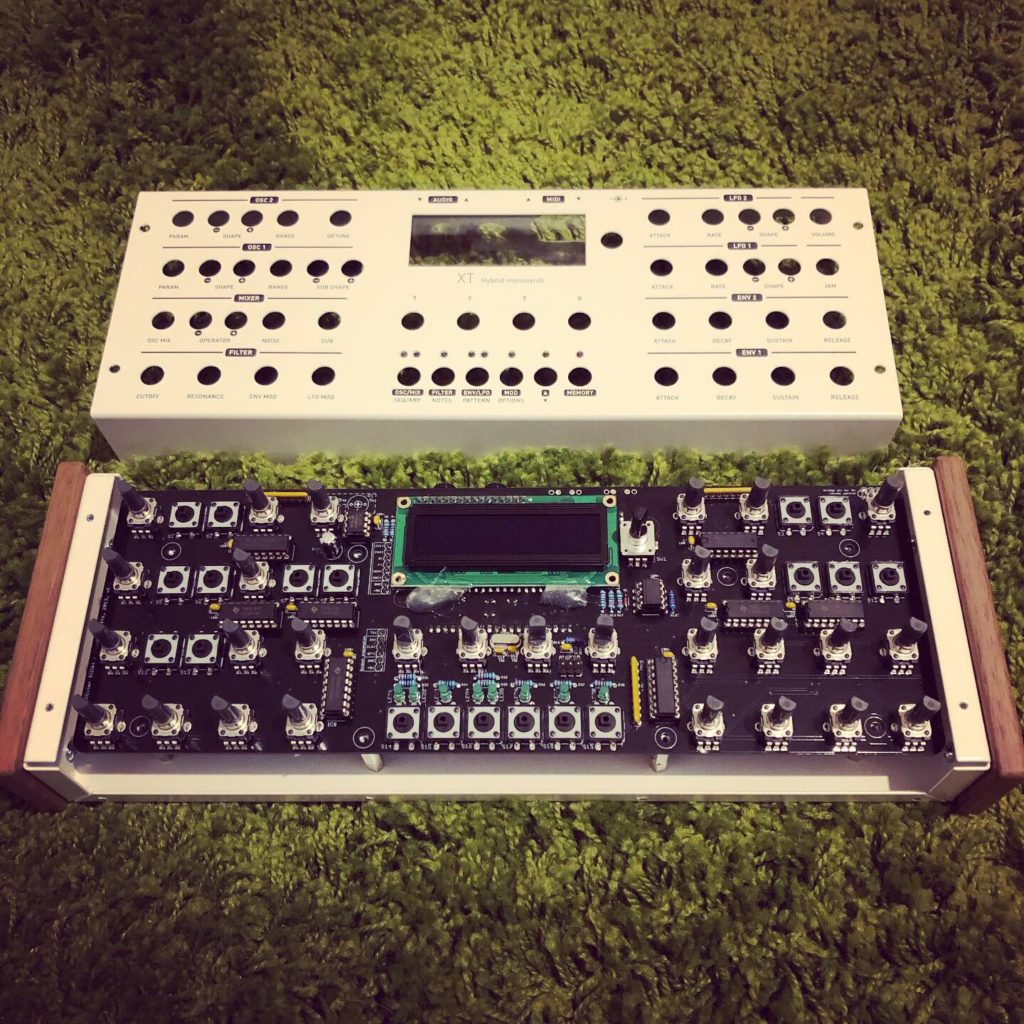
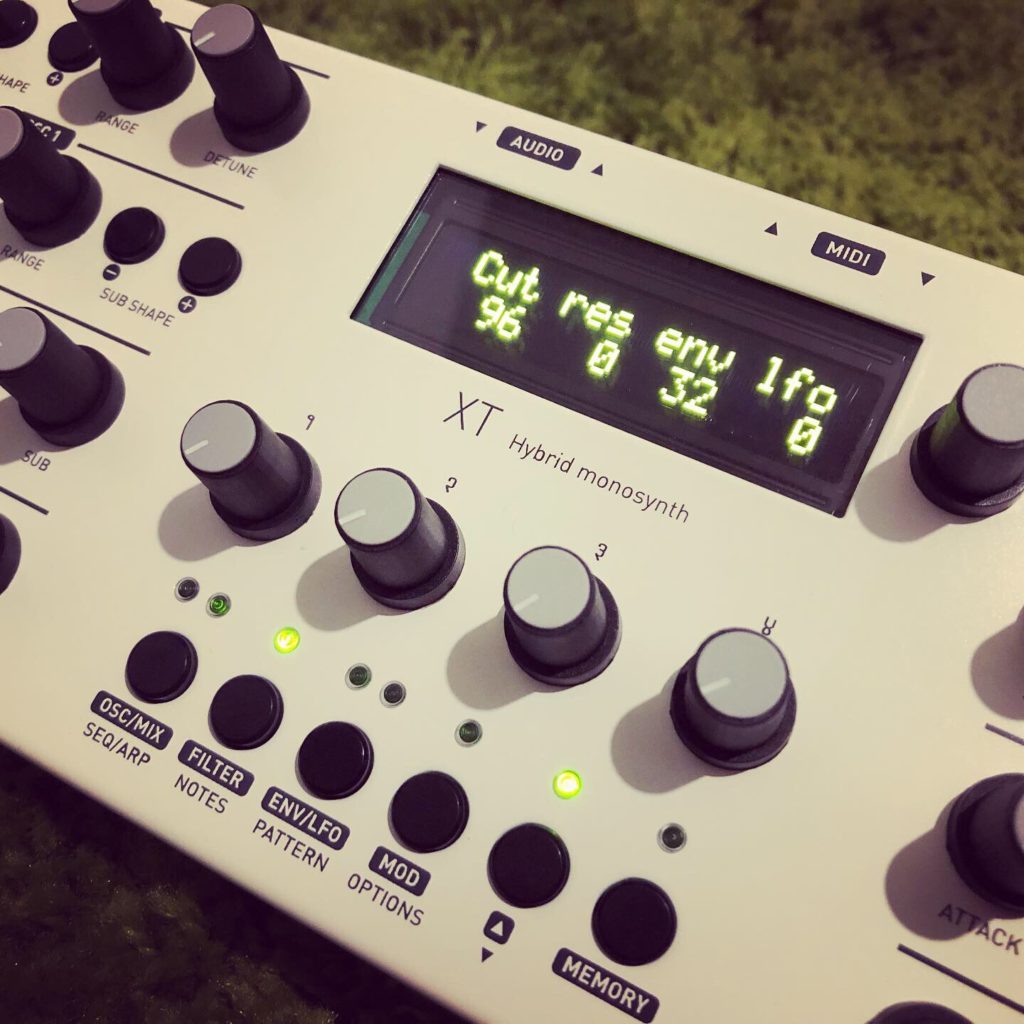
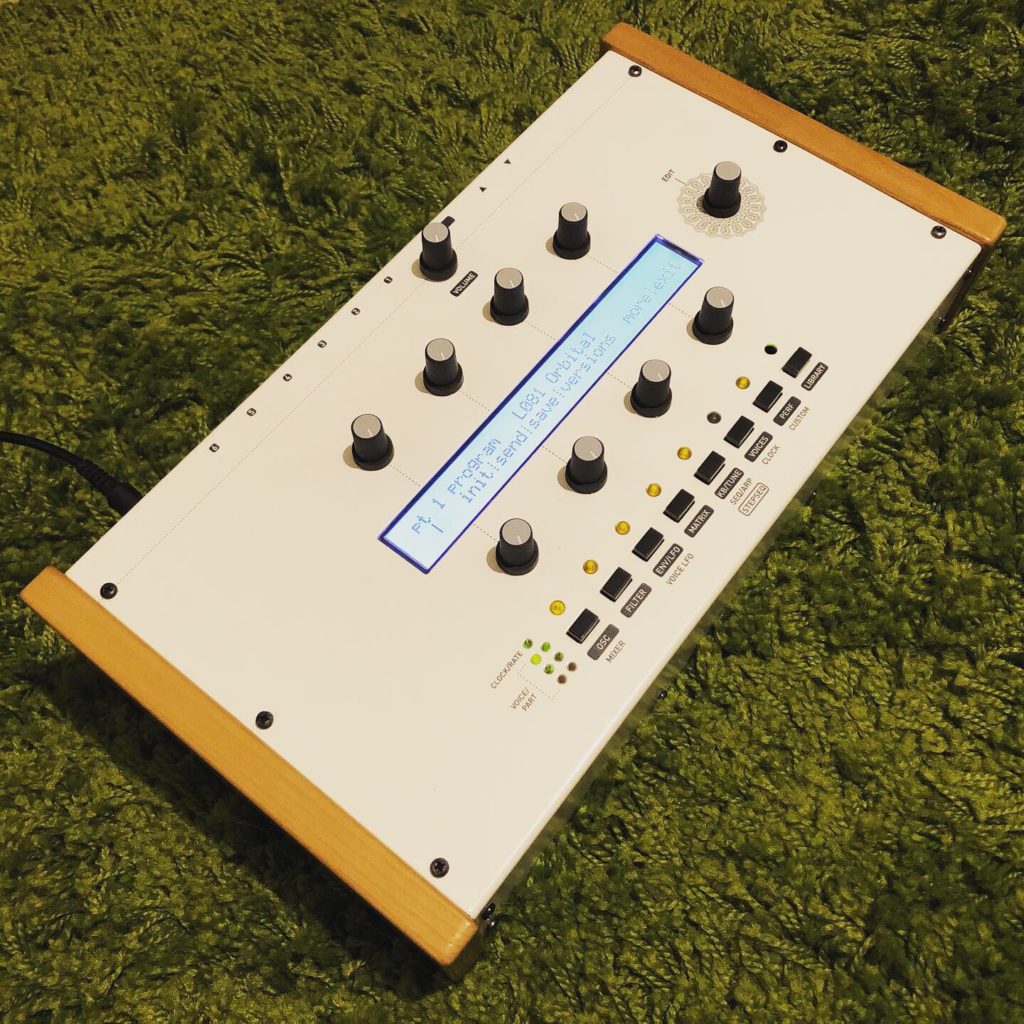
Almost done with this project. Hope to have the OLED screen and a few odds and ends this week. I will document the programming process like I did with the Shruthi XT.
This is not really a step-by-step tutorial, its more of a “point you in the right direction” tutorial. I just made notes as I was getting my Shruthi XT working. Most of the command line AVRDUDE stuff was found all over the web, I just wanted to archive what worked for me.
For Windows 10 Disable Driver Signature Enforcement: VIDEO
Unzip THESE FILES to root of C:/
Plug in your USB AVRISP XPII/MXII (Default drivers might fail, this is fine, ignore for now)
Install C:\shruthi\Software\libusb-win32-bin-1.2.6.0\bin\inf-wizard.exe
Install C:\shruthi\Software\WinAVR-20100110-install.exe
Open a command window (Press Win+R and type cmd and hit enter)
type cd C:\shruthi\ (You should now be in the C:\shruthi\ directory)
Type:
avrdude -p m644p -c avrispmkii -P usb -v
The RED light on the AVRISP XPII/MXII should have turned GREEN and you should see “avrdude done. Thank you.” in the command windows.
If this is true, then continue to the next step. If the light is still RED then remove your drivers and try again.
Hook up the 6 PIN cable from the AVRISP to the AVRISP port on the Shruthi XT.
Power up the Shruthi XT
Were going to set the fuses first. Type the following and hit enter:
avrdude -B 100 -V -p m644p -c avrispmkii -P usb -e -U lock:w:0x3F:m -e -u -U efuse:w:0xFD:m -U hfuse:w:0xD6:m -U lfuse:w:0xFF:m -U lock:w:0x0f:m
Now were going to program the bootloader and OS. Type the following and hit enter:
avrdude -B 1 -V -p m644p -c avrispmkii -P usb -U flash:w:shruthi.hex:i -Uflash:w:muboot.hex:i -U lock:w:0x2f:m
This will program the first 16 presets. Type the following and hit enter:
avrdude -V -p m644p -c avrispmkii -P usb -U eeprom:w:internal_eeprom.hex:i
Power off the shruthi XT and remove the 6 PIN cable from the programmer
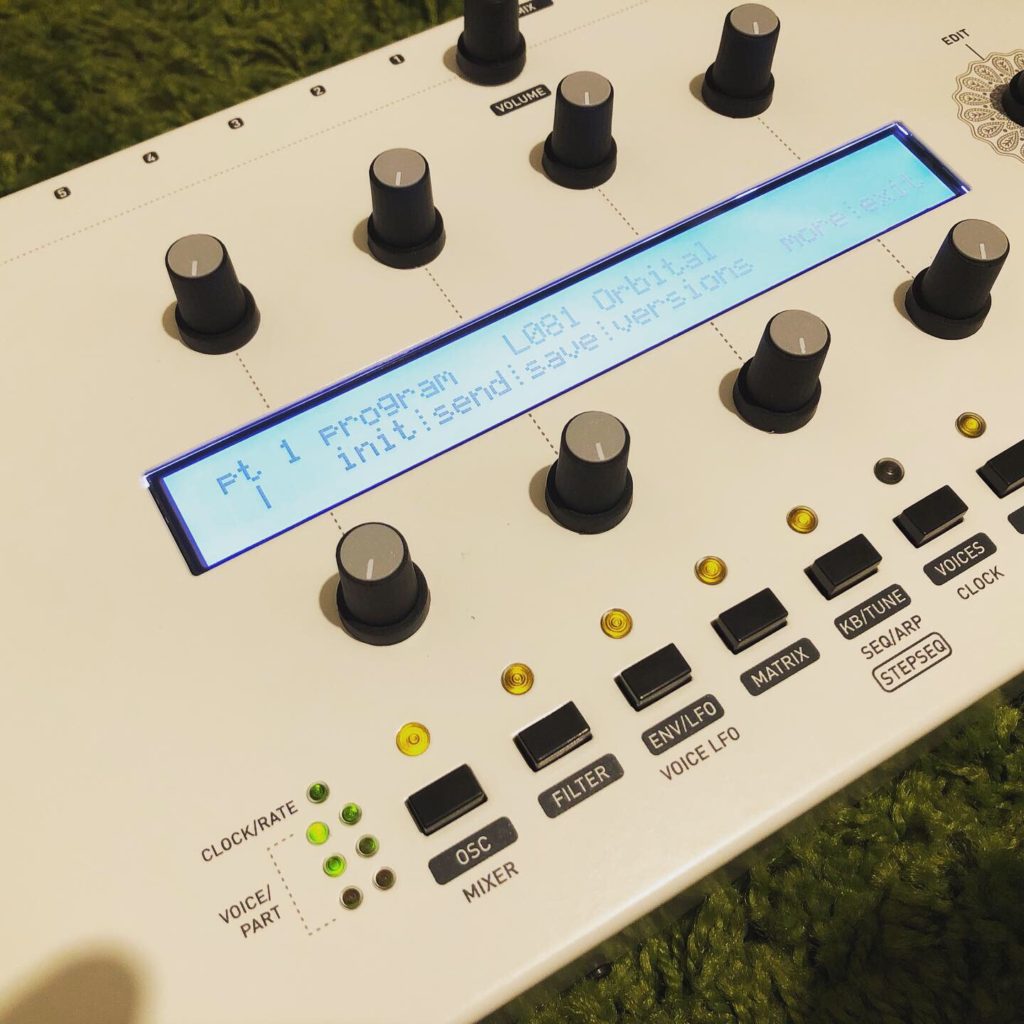
Press the encoder knob in and insert the power cable and select XT.
Enjoy
This is one of my favorites from this year. I was using the Xaoc – Moskwa as the main sequencer and Grids for the drums. Nothing crazy going on but enjoyable to listen to. I wish I would have filmed it when I fixed the flapping from my quantizer, I was sending voltages between notes.
Patch Notes:
This was mainly Mangrove and Braids doing the bass and synth line. I added a Boss HM-2 clone I built on the Mangrove and fell in love with the results.
Patch Notes:
The Elements and Mangrove are the 2 soundsources. The Mangrove into the Three Sisters for filter goodness. Sequence from Voltage Block and clock from Pamela’s New Workout. Drums from Pico Drums and reverb from Pico DSP.
Patch Notes:
The Mangrove and a little bit of Clouds was the main sound sources. The Mangrove into the Three Sisters for filter duties. The bass sequence came from Voltage Block and the clock from Pamela’s New Workout. Drums from Erica Synths Pico Drums.
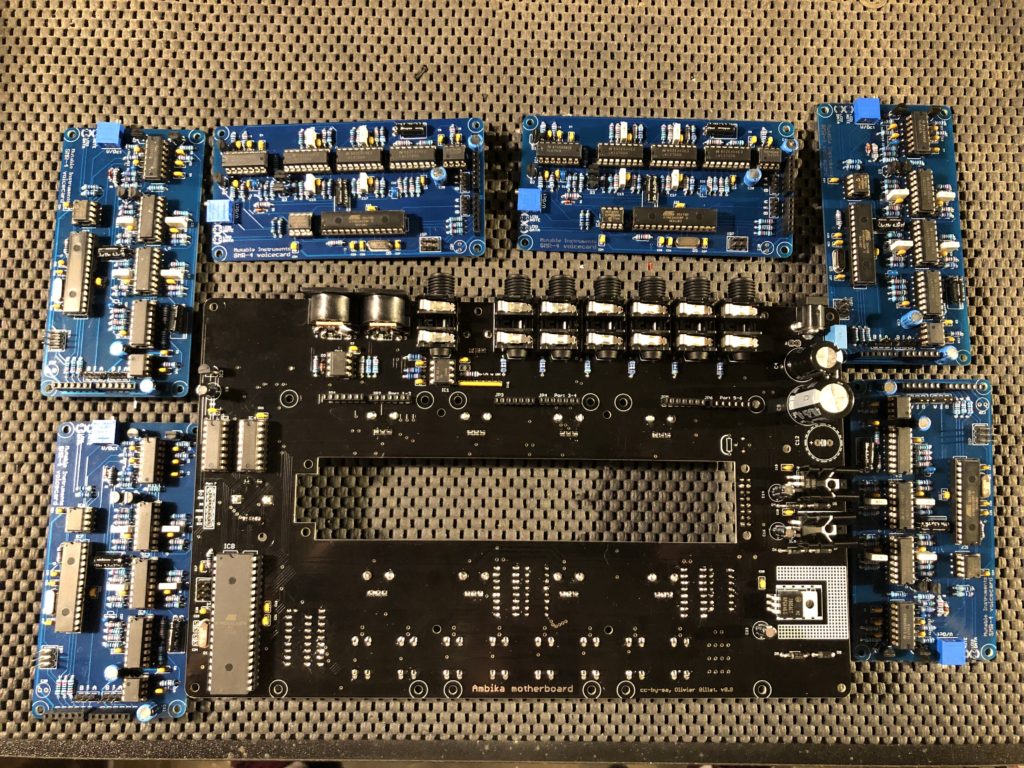
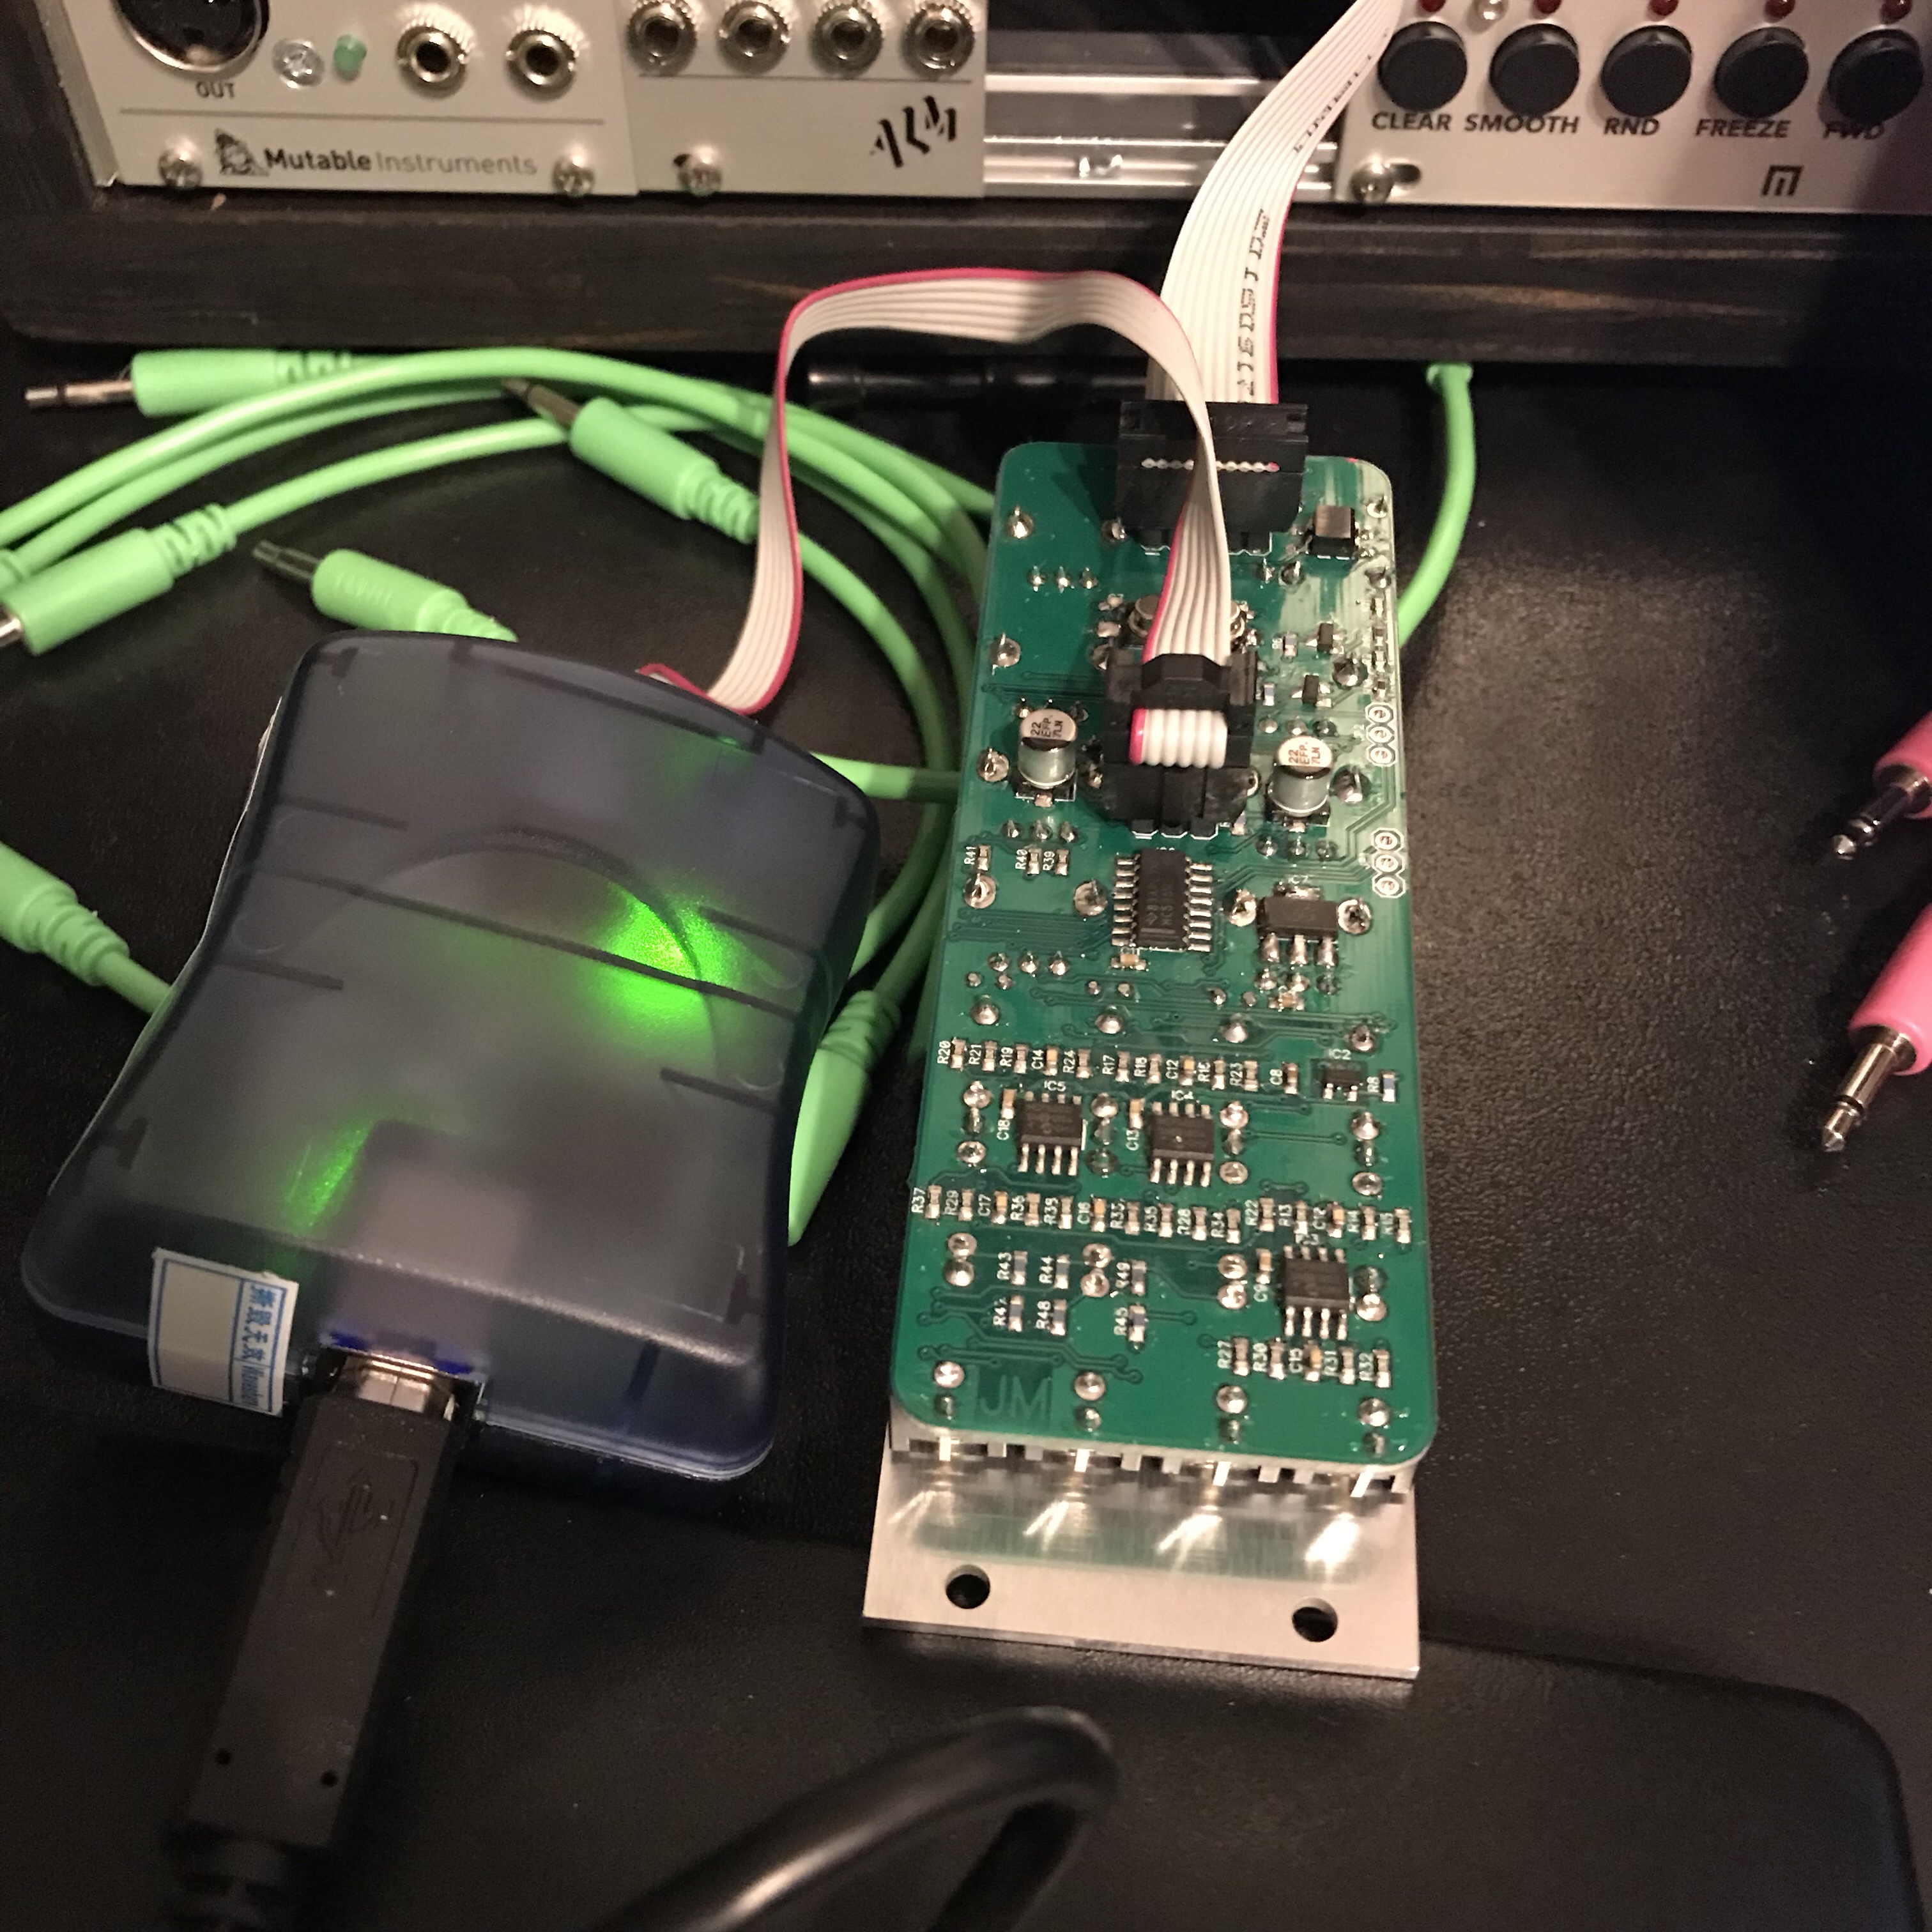
So excited that this build fired up first try. I was not prepared to troubleshoot any issues with 0602 package parts.
To flash the ATmega328P onboard I needed a programmer since all the ones I had on hand would only due basic PICs. I kept reading to get a legit Atmel AVRISPMKII programmer but really did not want to pay the high price tag. I also did not want to get the cheapest knock off I can find… so I did a little research on AVRDude forums and found this one.
Compatible Atmel AT AVRISP mkII
I was surprised to see that it worked out of box with ATMEL Studio 7
Now.. what to build next.
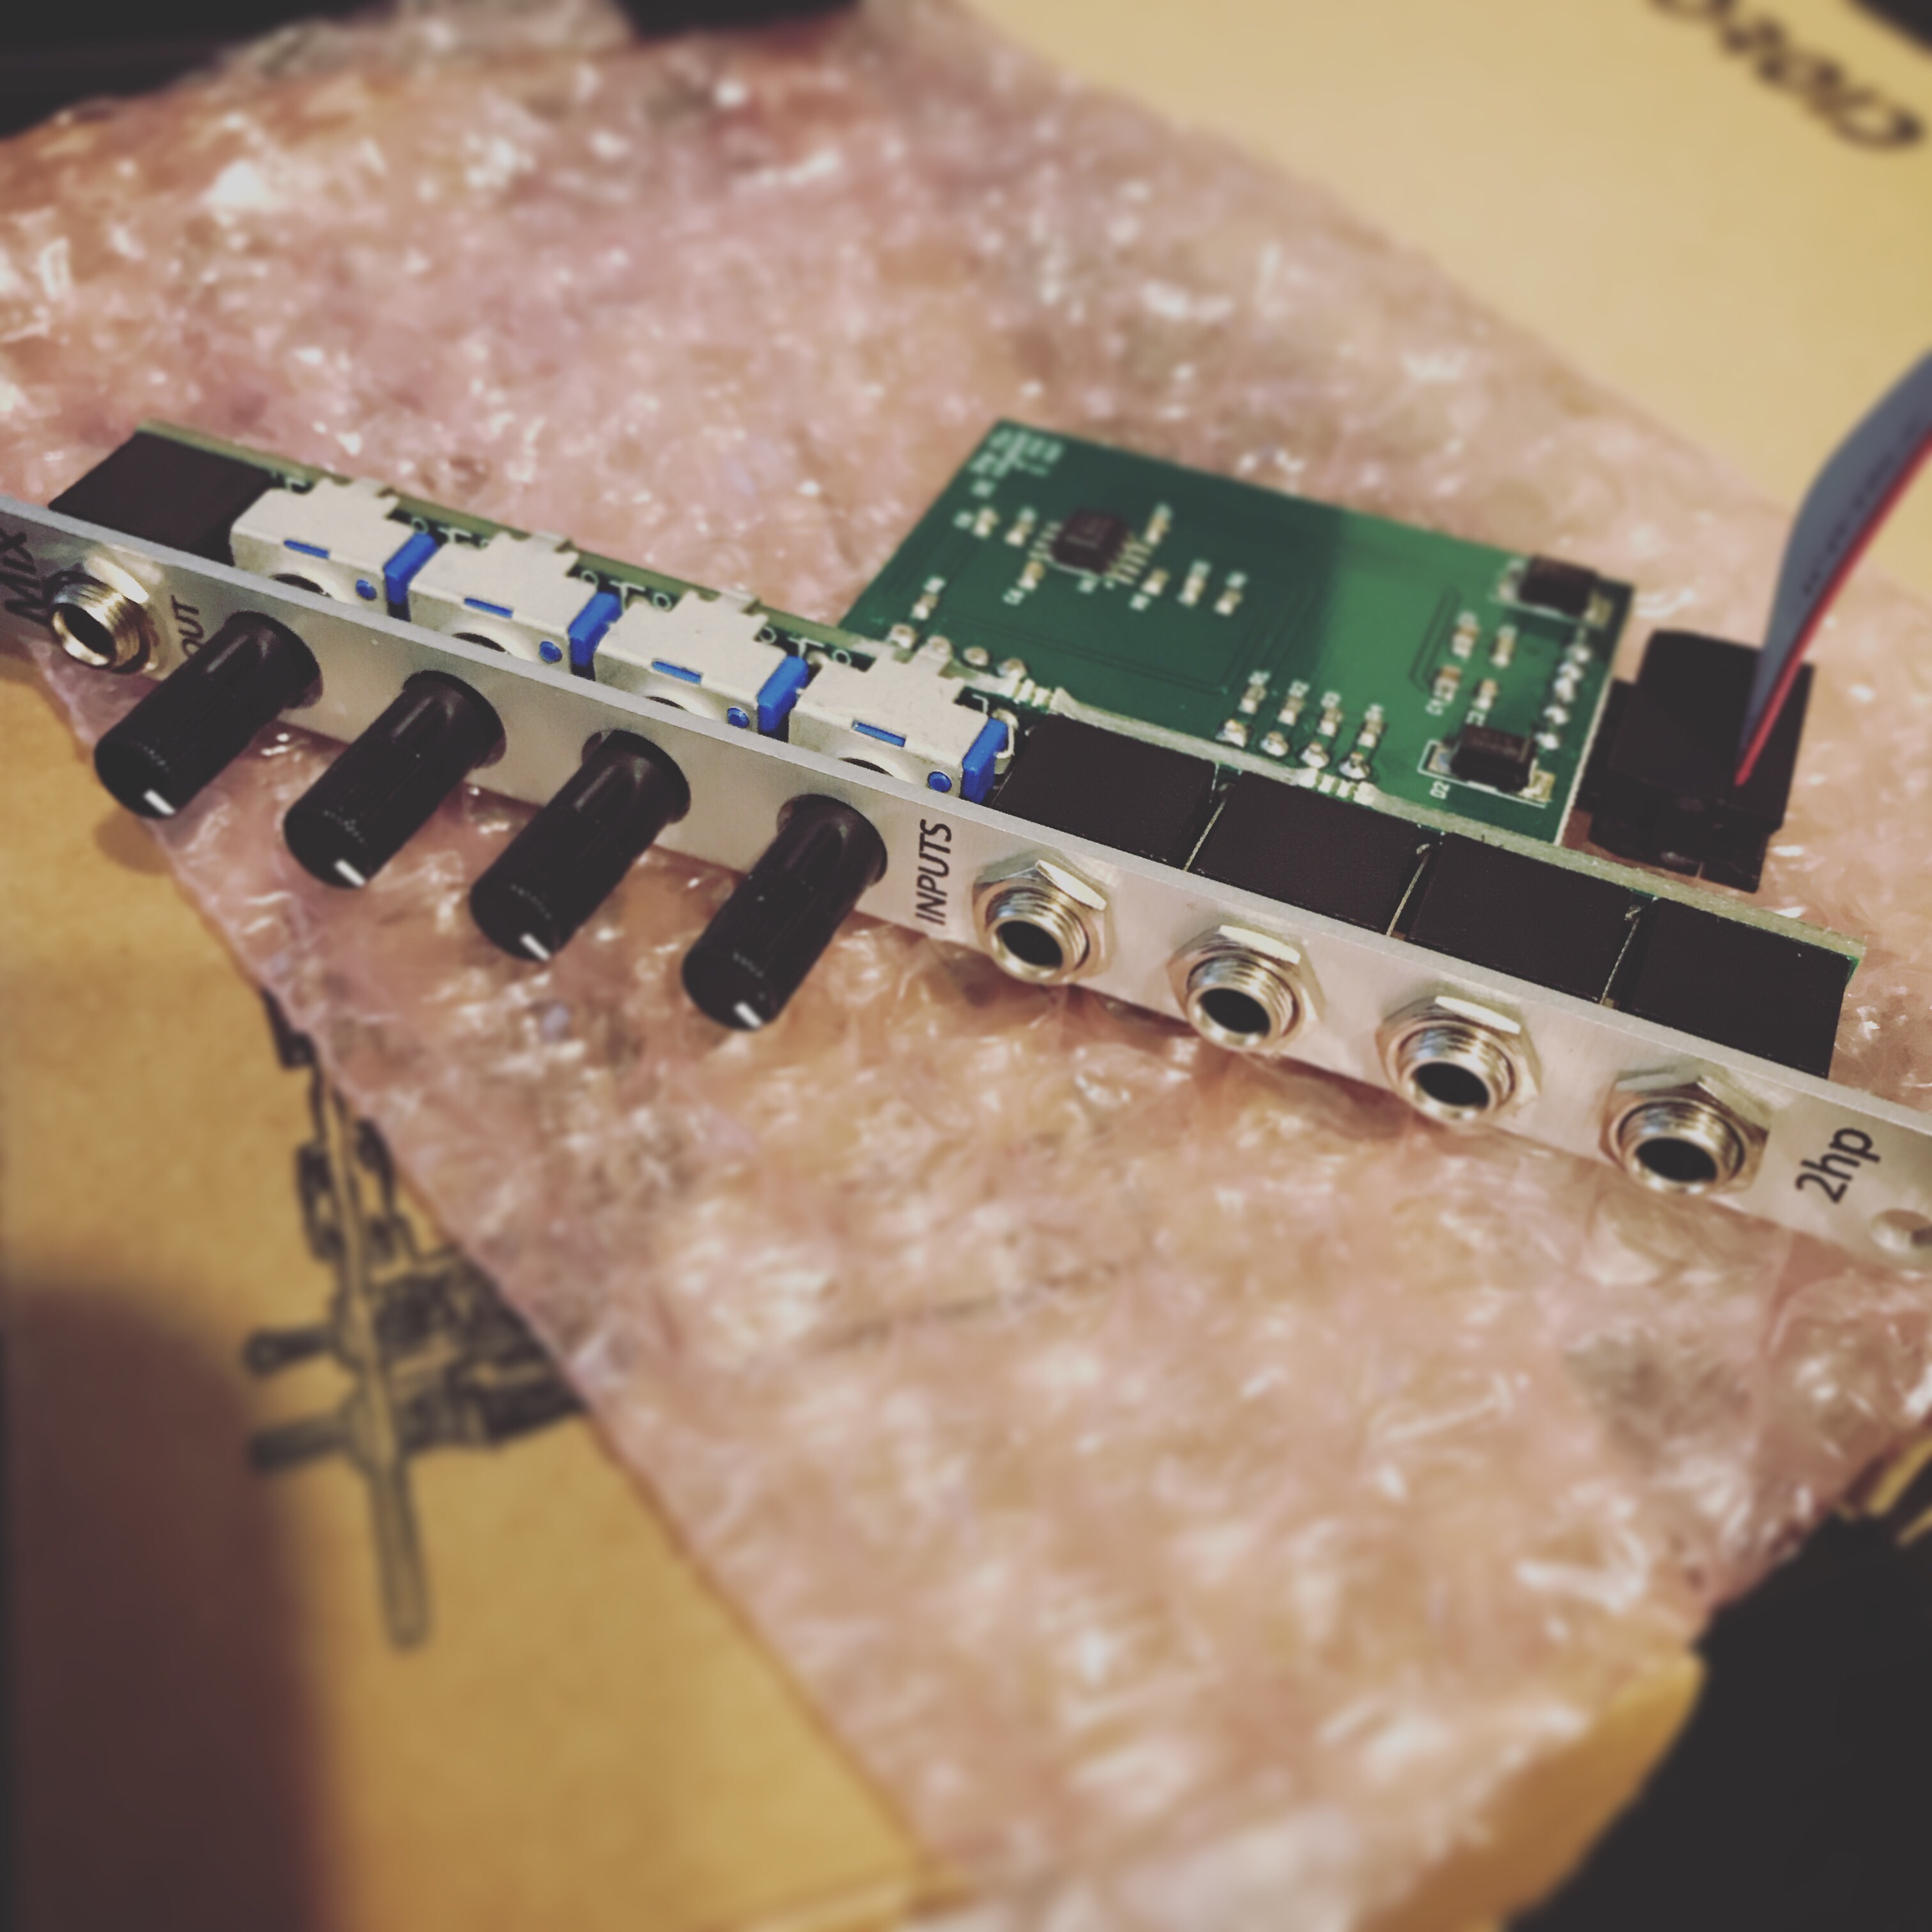
I needed another mixer to add with my Malekko MIx 4 for sub mixing and effect sends. I wanted something really small since it will not be used live much.. more of a set and forget kind of mixer. The Mix 4 is perfect size for mixing on the fly and I need to start saving some space. I decided to go with a 2HP Mix and I could not believe how small this thing really is.. it’s adorable.
I threw it in the case and piped 3 signal paths to it and was really amazed how well it did with levels. Not much canceling and did I mention its TINY!!!
All in all I think I am going to get another one soon for drum summing.