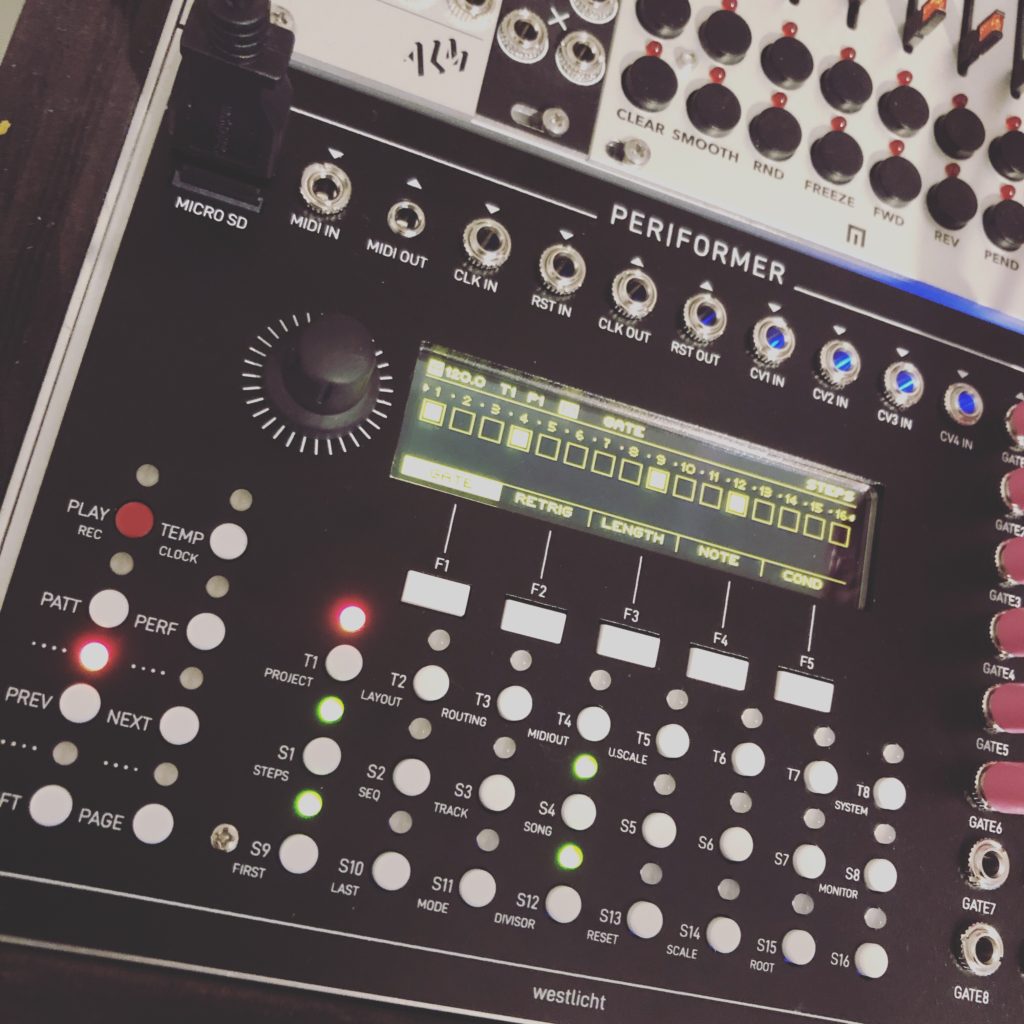
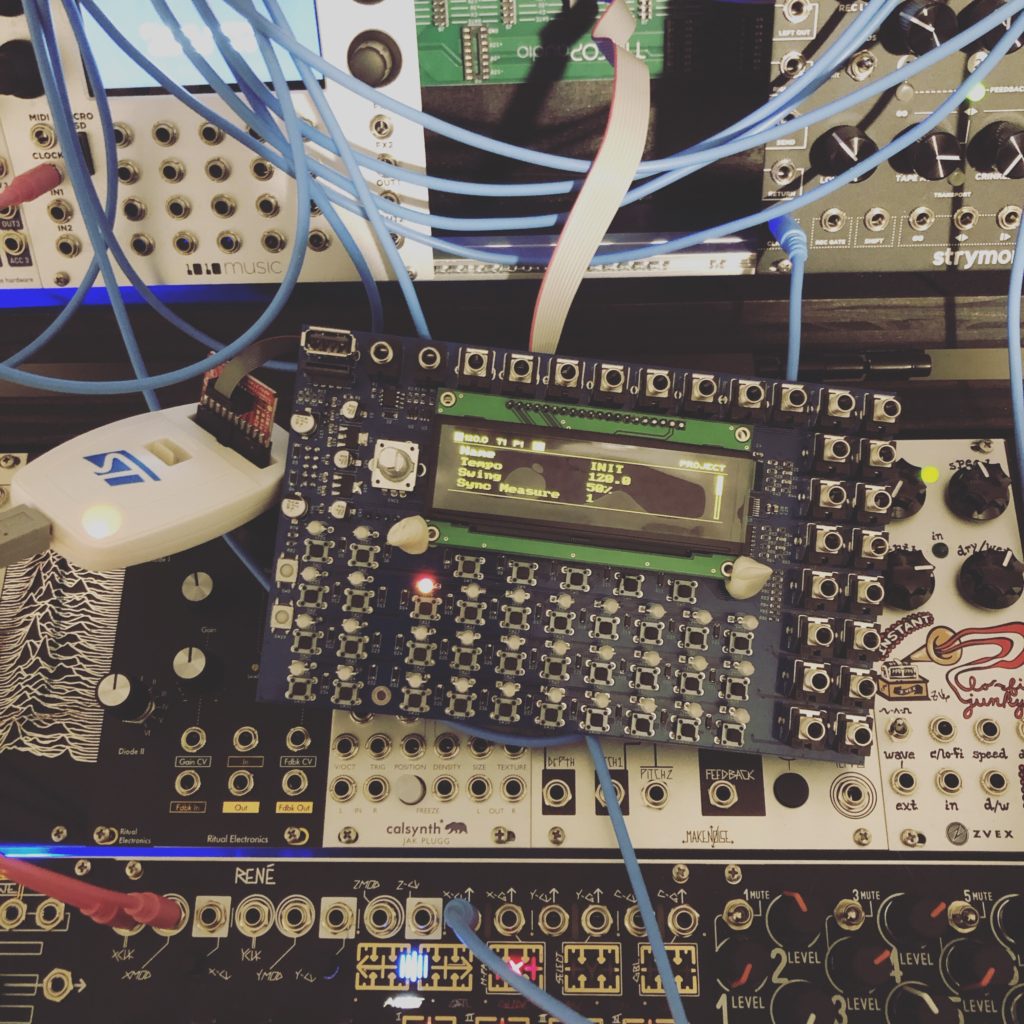
Westlicht – PER|FORMER DONE
It’s all done. Was waiting on my switch covers and encoder knob.
It’s all done. Was waiting on my switch covers and encoder knob.
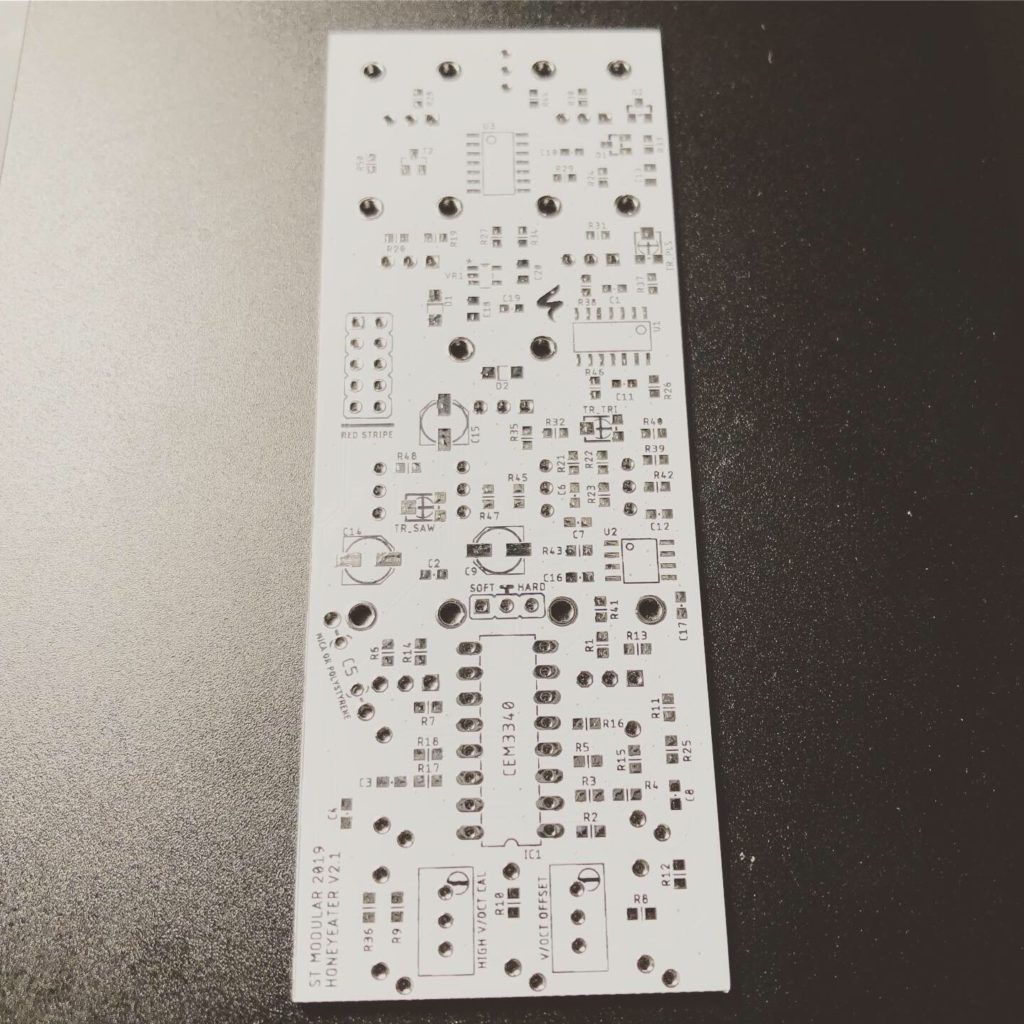
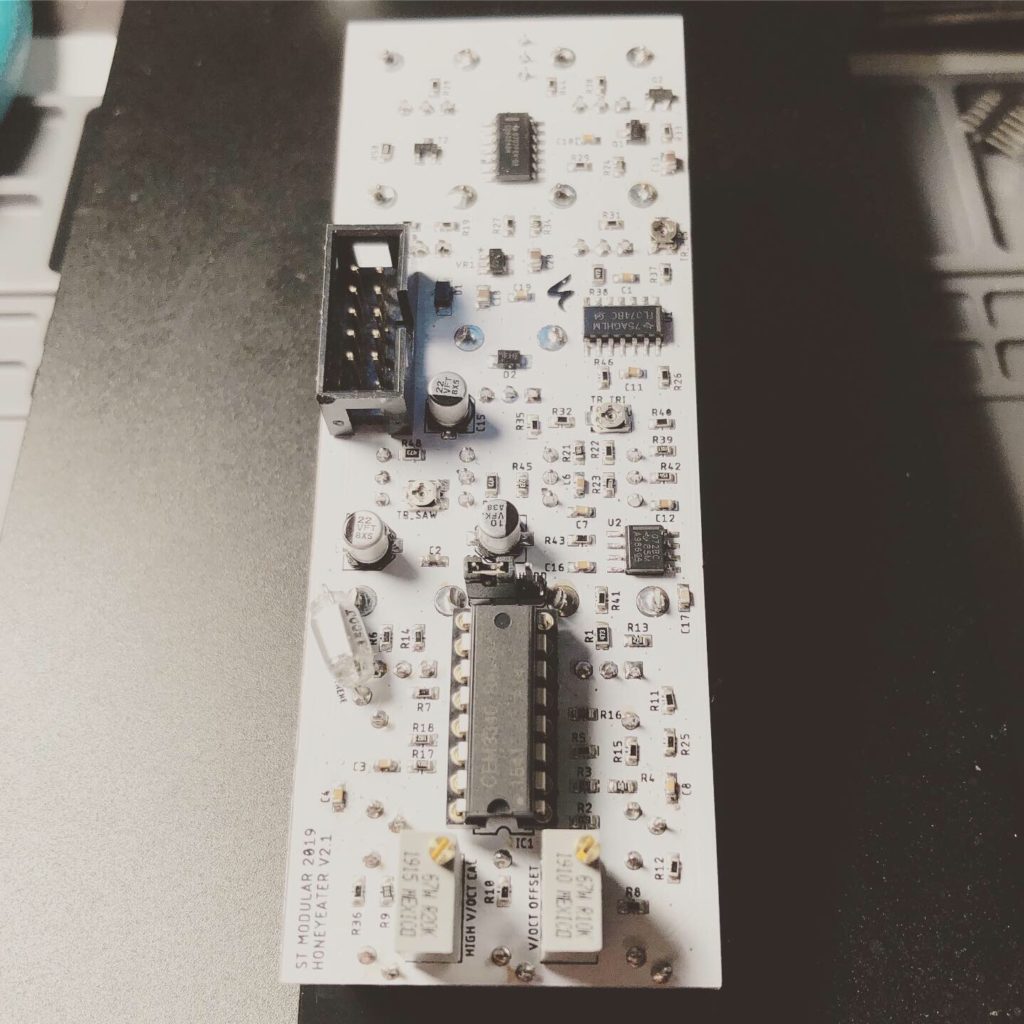
This is a CEM3340 based VCO that packs a bunch of punches in a small package. I picked up the PCB and panel from Pusherman’s Store. More info on this circuit can be found at ST Modular’s website.
Details:
• Analog VCO
• Fabled CEM3340 Sound
• Mixable Waveforms
• Noise Source
• Two Sub-Octaves
• Linear or Exponential FM
• Pulse Width Modulation
• Hard or Soft Sync
I just can’t believe how great this thing sounds.
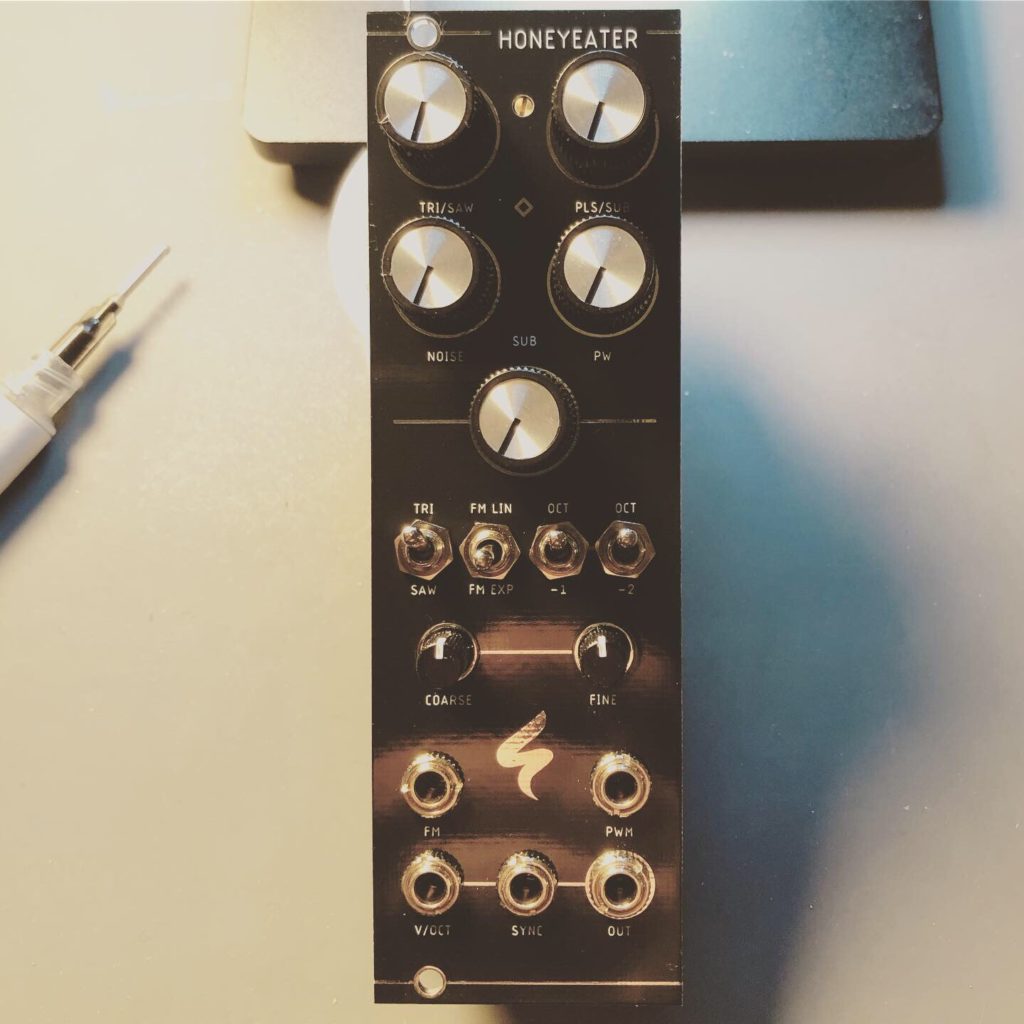
Calibration notes from ST Modular FB Group
Use a midi to CV converter and a tuner, set the Tune and/or Fine pot to reach C, play C1 and C2 alternately and check if it stays on C. Adjust the v/Oct trim pot on the front if it’s off a bit. Repeat that for C2 and C3 and so on. Adjust high freq trim if you can’t get higher octaves right. Adjust v/octoffset to reach the correct note. You may also use an oscilloscope or a multimeter in audio frequency mode and using a quantizer in octave mode to adjust frequencies of 100hz, 200hz etc. Keep in mind to calibrate only after heating the osc up for about 20 mins.
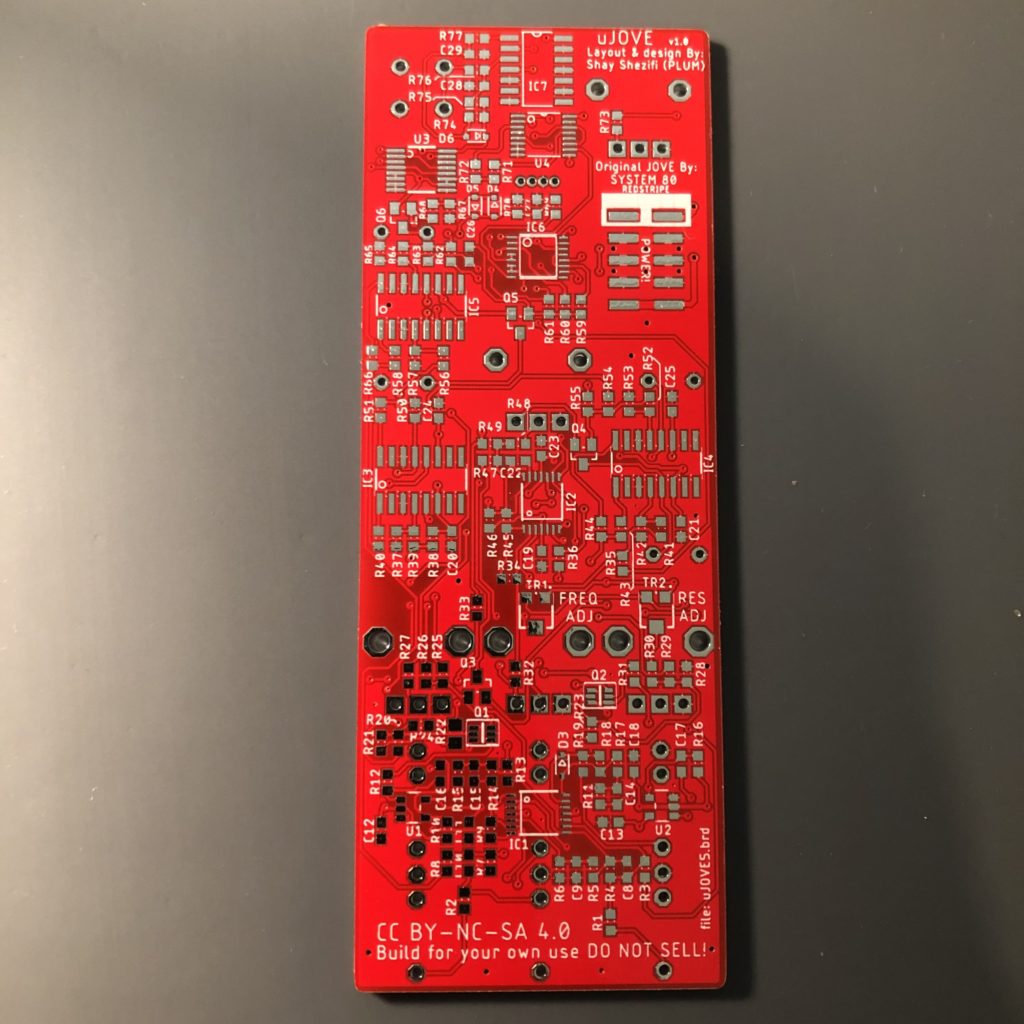
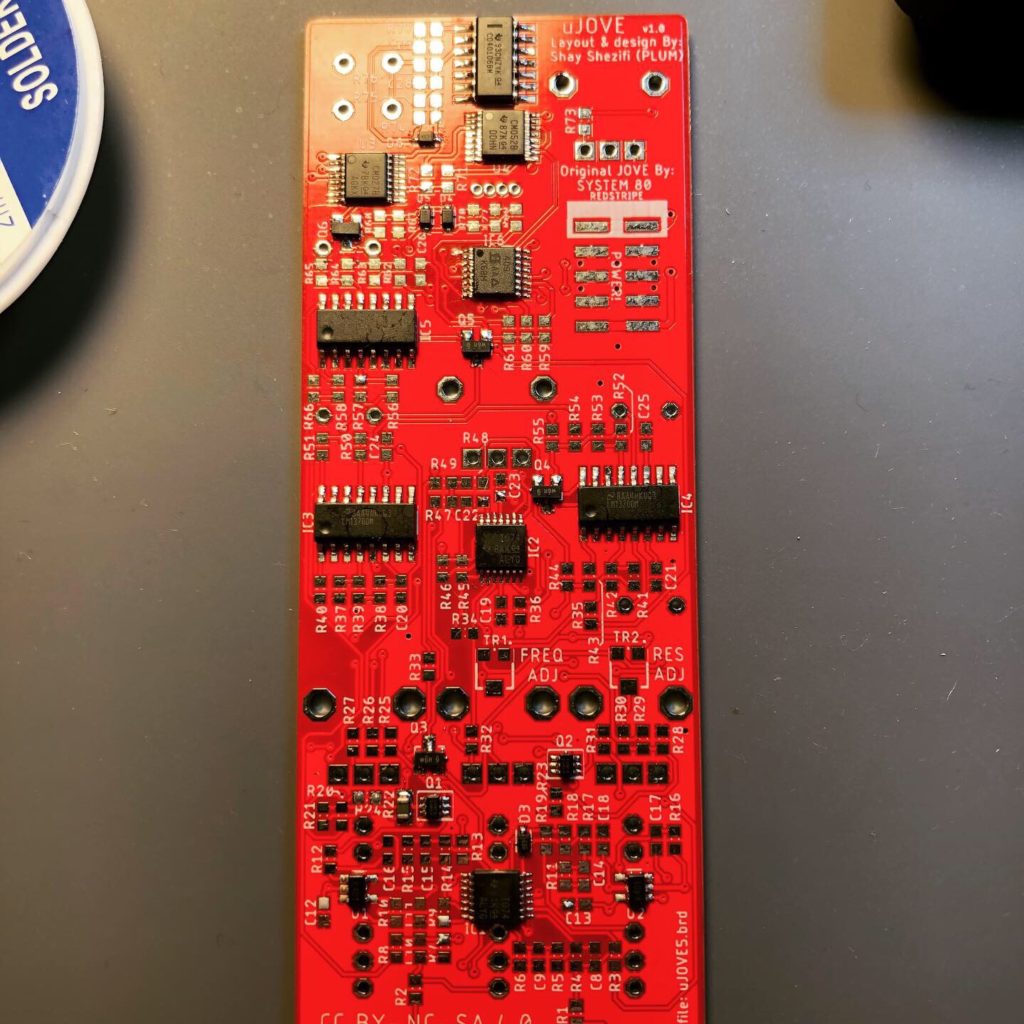
This is a recreation of the Roland Jupiter 6 classic filter in a micro form. The full size Jove module was created by System 80 and available for DIY for no commercial sales. I picked up the PCB and panel from Pusherman’s Store. This is by far the most dense SMD PCB I have ever attempted. I was pretty stressed out at a few moments during the build, but all in all it went well. When I first fired it up I was not getting any audio in but the filter would self-oscillate. I grabbed the schematic from Github and followed the input path and reflows a few things and it fired right up.
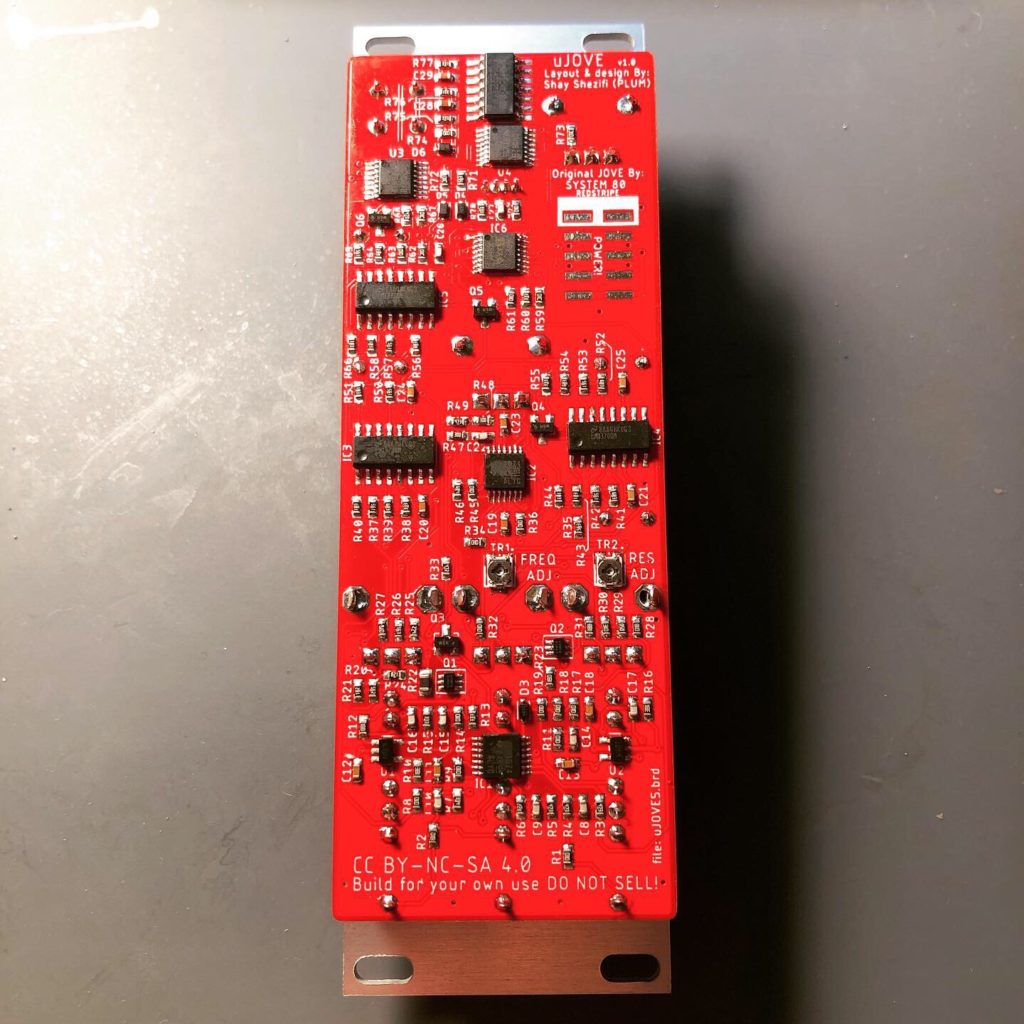
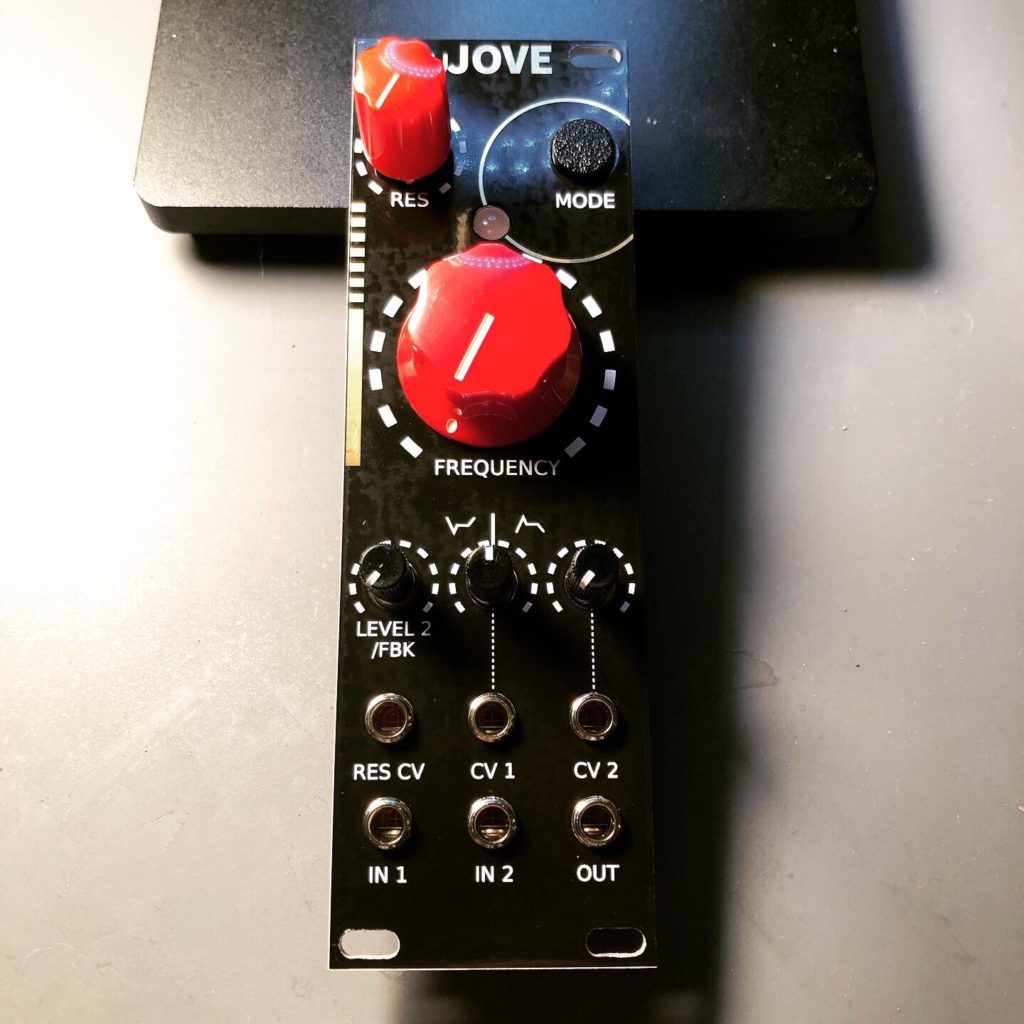
This thing sounds great and it’s not even calibrated yet! The next steps are to follow the calibration instructions and get this thing mounted in my rack.
Calibration Notes from Github:
Feed one of the inputs a 10 Vpp ~50 Hz square wave. In 12 dB mode with frequency and resonance knobs both at minimum (fully CCW), adjust VR5 so that the filter is fully closed. This is best done by ear using headphones. Then switch to HP mode with frequency knob at max (fully CW) and listen to ensure most of the high frequency harmonics are gone. There’s a sweet spot where maximum attenuation in both modes can be achieved. The resonance trimmer is used to ensure that there is minimum resonance when the resonance knob is fully CCW. Set the frequency knob at about 12 o’clock and look for a resonance peak on the square wave in 12 dB mode using an oscilloscope. Adjust the input gain so that the output square wave is 10 Vpp. Then use VR7 to to trim away the resonance peak so that the square wave is flat.
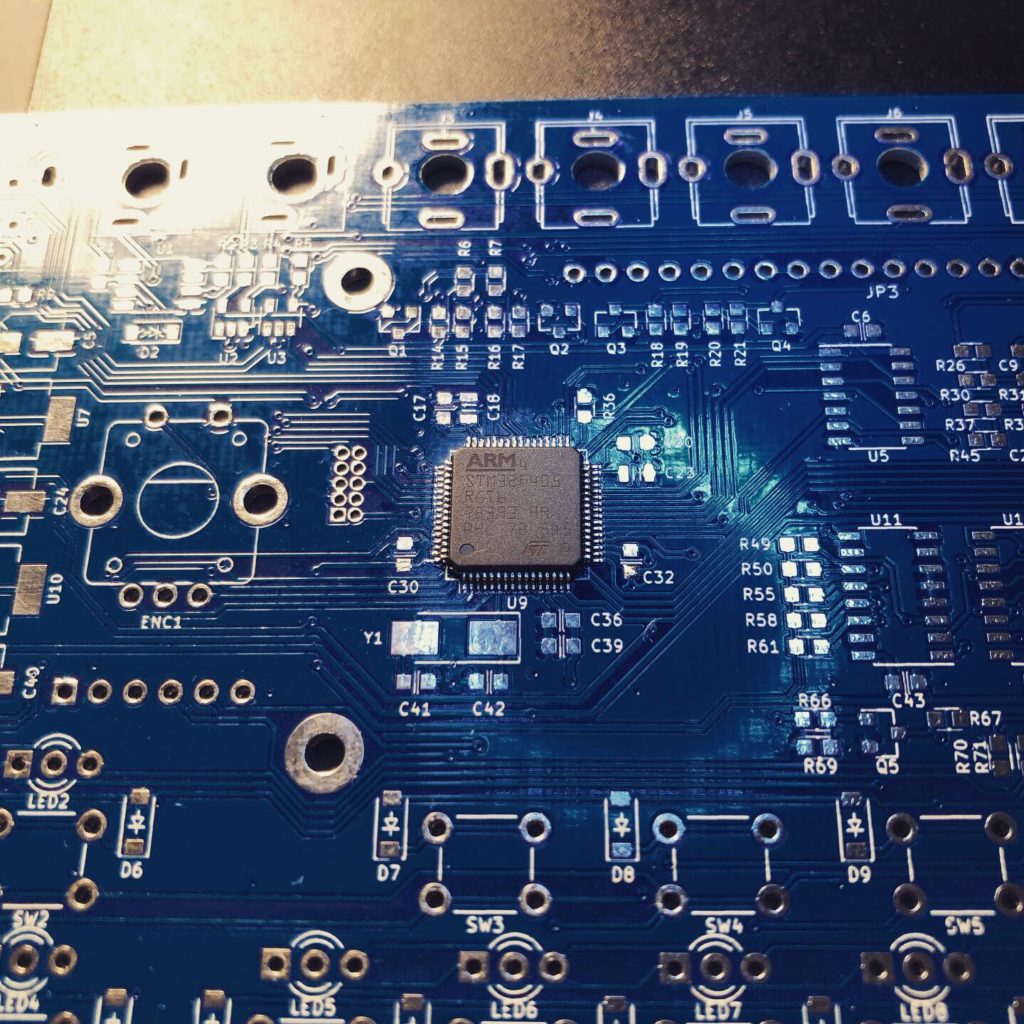
In search of the “ultimate” eurorack sequencer, I came across the DIY Performer. It seems to check all the boxes that I wanted from a sequencer and it did not have to be an external piece of hardware. I really don’t mind burning the HP for an all inclusive sequencer. The interface really reminds me of the Akai MPC’s, and that’s a good thing.
I got the PCB and panel from Pusherman’s store.
I decided to get a little backlog going of DIY projects for my eurorack ready to be built. I have ordered most of the needed parts and now will start knocking them out one by one. Here is a list of what’s coming up.
Note: The Mouser carts are missing pots, switches and jacks. Make sure you compare the BOM with the cart to see what parts you will need to get from other sources (Thonk, SynthCube, synthrotek ect)
Antumbra – ATN8 Mouser Cart (PCB, panel & parts are ordered)
Antumbra – MULT Mouser Cart (PCB, panel & parts are ordered)
Westlicht – PER|FORMER Sequencer Mouser Cart (PCB, panel & parts are ordered)
XAOC Devices – Poti Batumi Expander (Panel from Pusherman)
ST Modular – Honeyeater (CEM3340 VCO) Mouser Cart (PCB, panel & parts are ordered)
Plum Audio – uJove Mouser Cart (PCB, panel & parts are ordered)
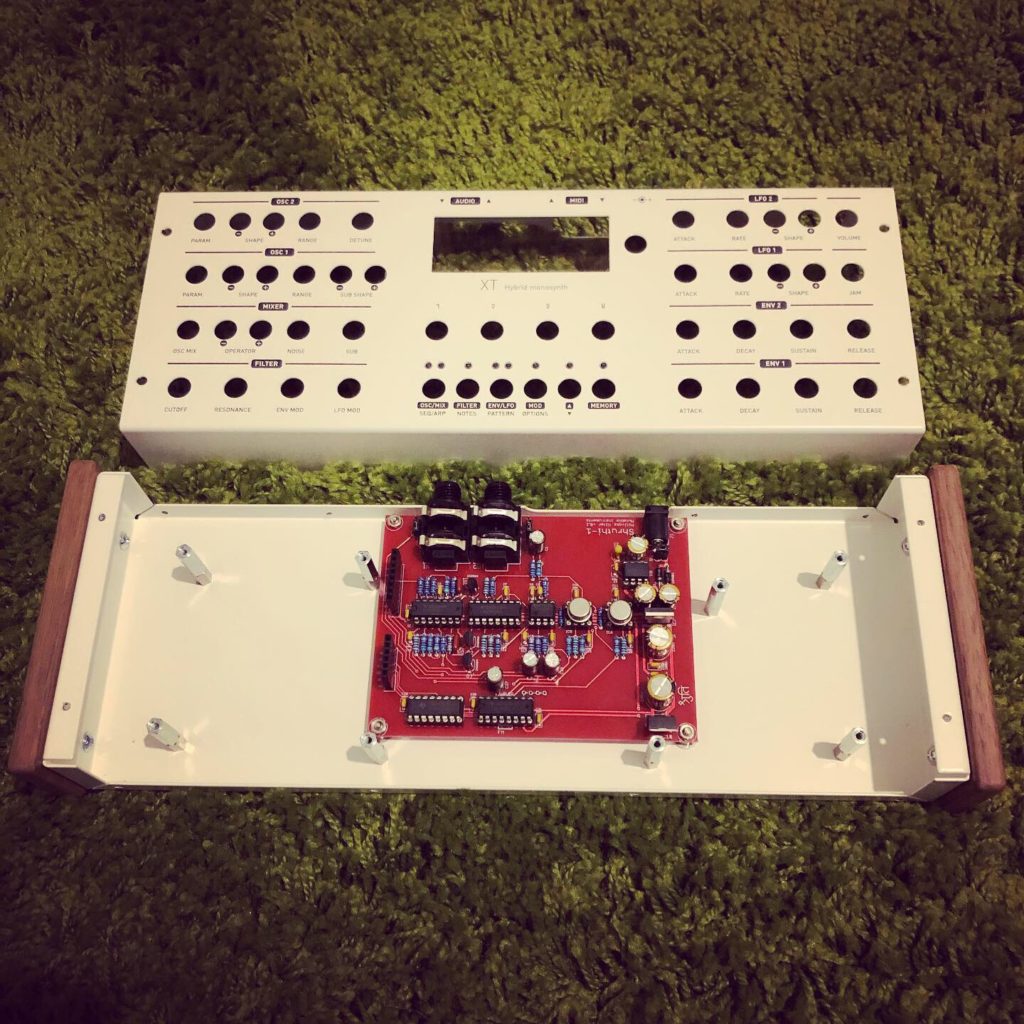
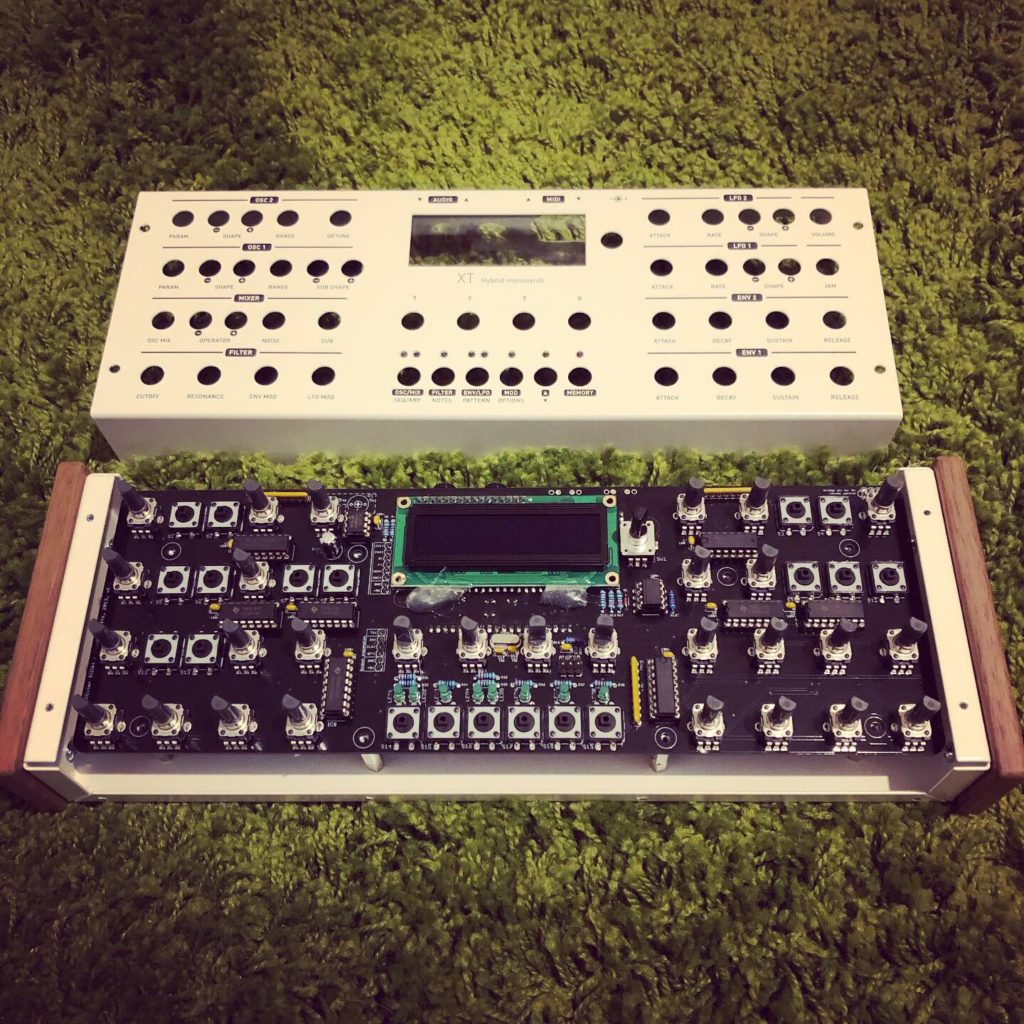
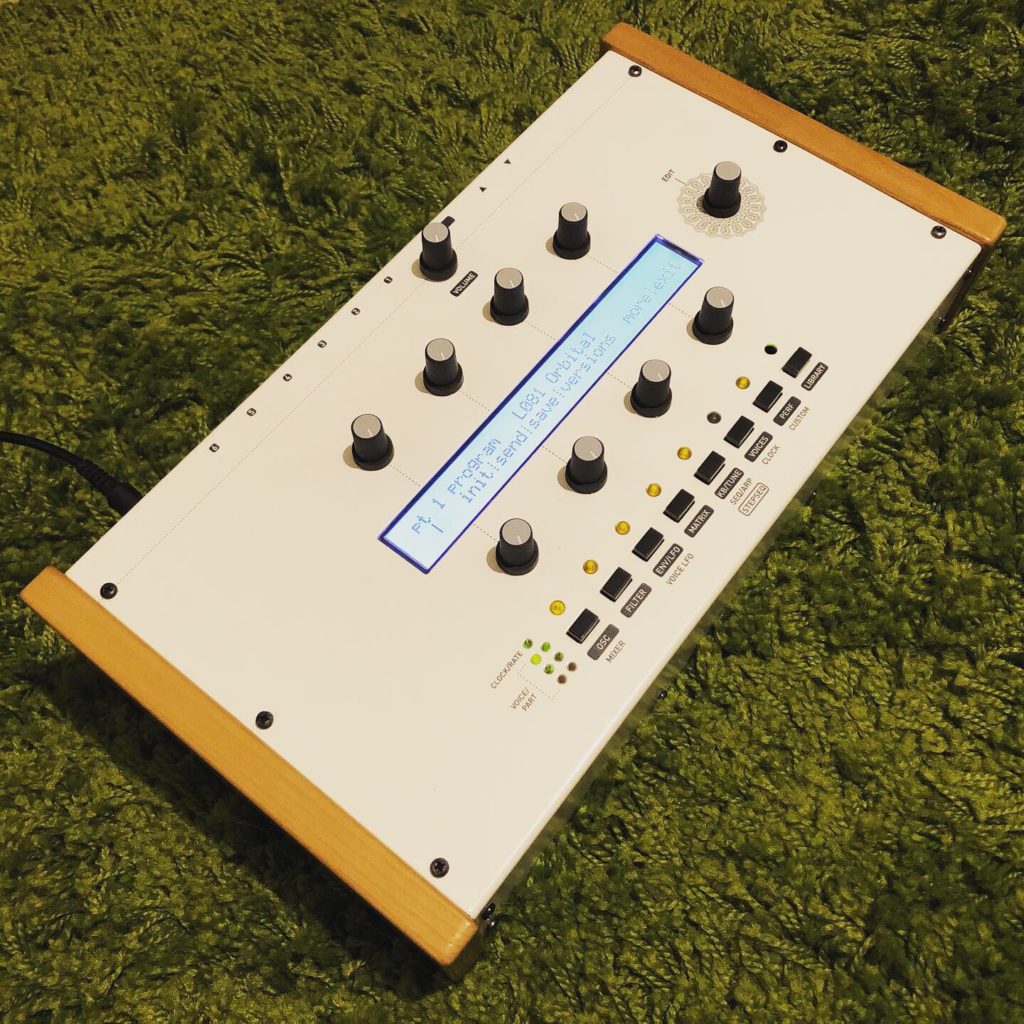
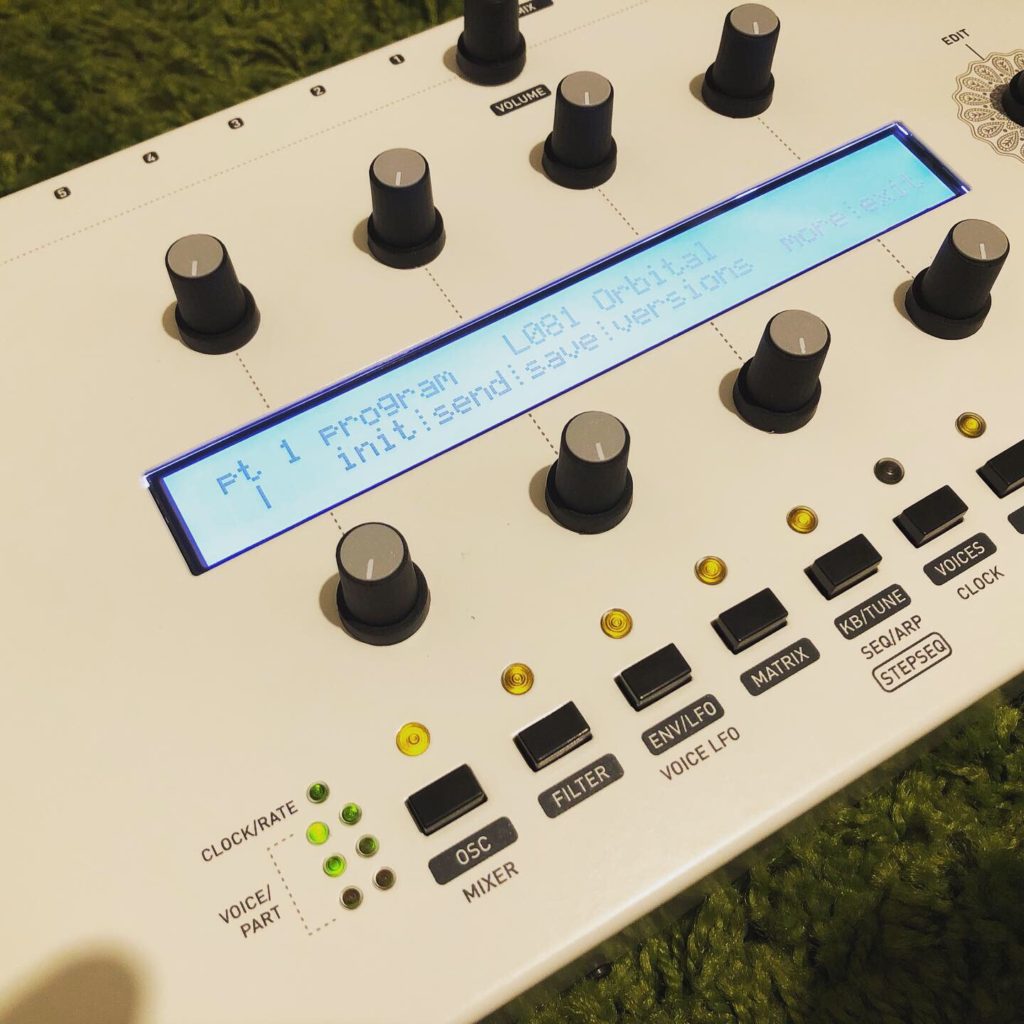
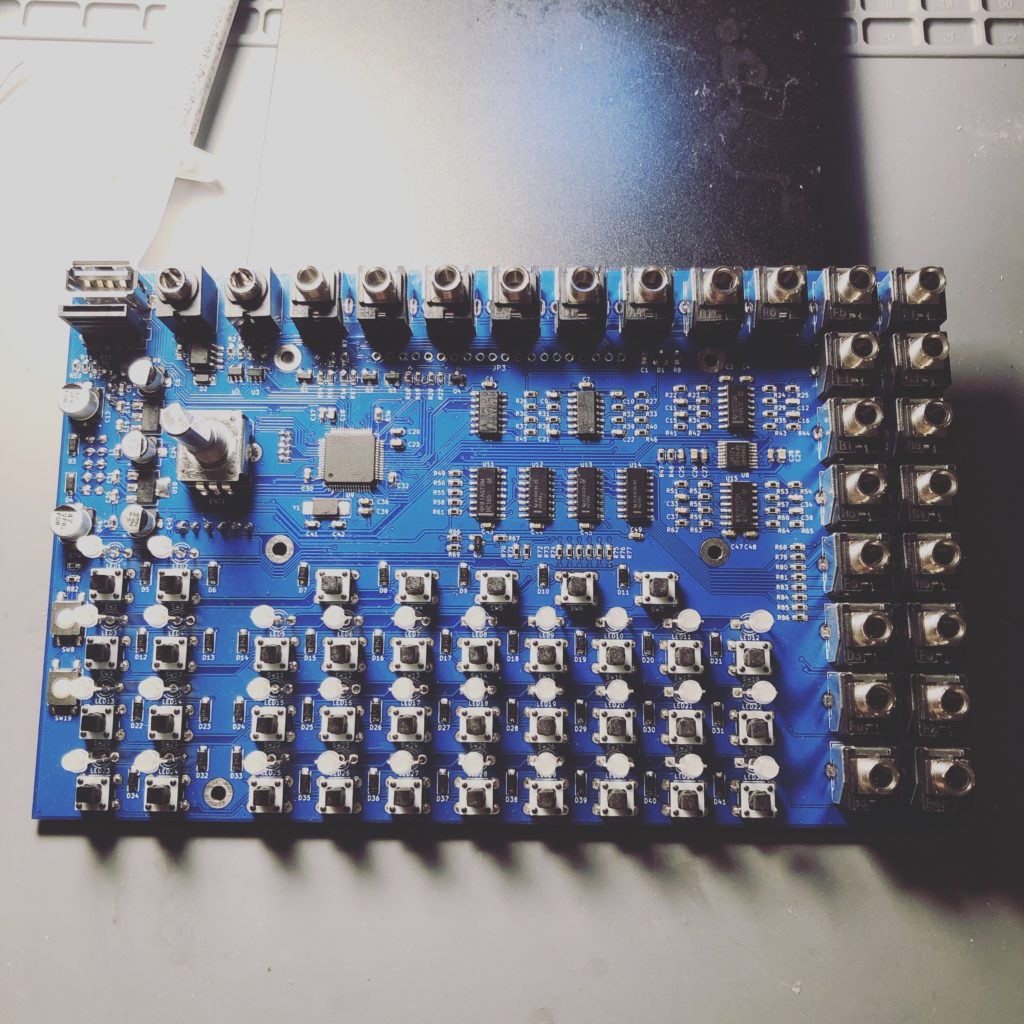
Almost done with this project. Hope to have the OLED screen and a few odds and ends this week. I will document the programming process like I did with the Shruthi XT.
This is not really a step-by-step tutorial, its more of a “point you in the right direction” tutorial. I just made notes as I was getting my Shruthi XT working. Most of the command line AVRDUDE stuff was found all over the web, I just wanted to archive what worked for me.
For Windows 10 Disable Driver Signature Enforcement: VIDEO
Unzip THESE FILES to root of C:/
Plug in your USB AVRISP XPII/MXII (Default drivers might fail, this is fine, ignore for now)
Install C:\shruthi\Software\libusb-win32-bin-1.2.6.0\bin\inf-wizard.exe
Install C:\shruthi\Software\WinAVR-20100110-install.exe
Open a command window (Press Win+R and type cmd and hit enter)
type cd C:\shruthi\ (You should now be in the C:\shruthi\ directory)
Type:
avrdude -p m644p -c avrispmkii -P usb -v
The RED light on the AVRISP XPII/MXII should have turned GREEN and you should see “avrdude done. Thank you.” in the command windows.
If this is true, then continue to the next step. If the light is still RED then remove your drivers and try again.
Hook up the 6 PIN cable from the AVRISP to the AVRISP port on the Shruthi XT.
Power up the Shruthi XT
Were going to set the fuses first. Type the following and hit enter:
avrdude -B 100 -V -p m644p -c avrispmkii -P usb -e -U lock:w:0x3F:m -e -u -U efuse:w:0xFD:m -U hfuse:w:0xD6:m -U lfuse:w:0xFF:m -U lock:w:0x0f:m
Now were going to program the bootloader and OS. Type the following and hit enter:
avrdude -B 1 -V -p m644p -c avrispmkii -P usb -U flash:w:shruthi.hex:i -Uflash:w:muboot.hex:i -U lock:w:0x2f:m
This will program the first 16 presets. Type the following and hit enter:
avrdude -V -p m644p -c avrispmkii -P usb -U eeprom:w:internal_eeprom.hex:i
Power off the shruthi XT and remove the 6 PIN cable from the programmer
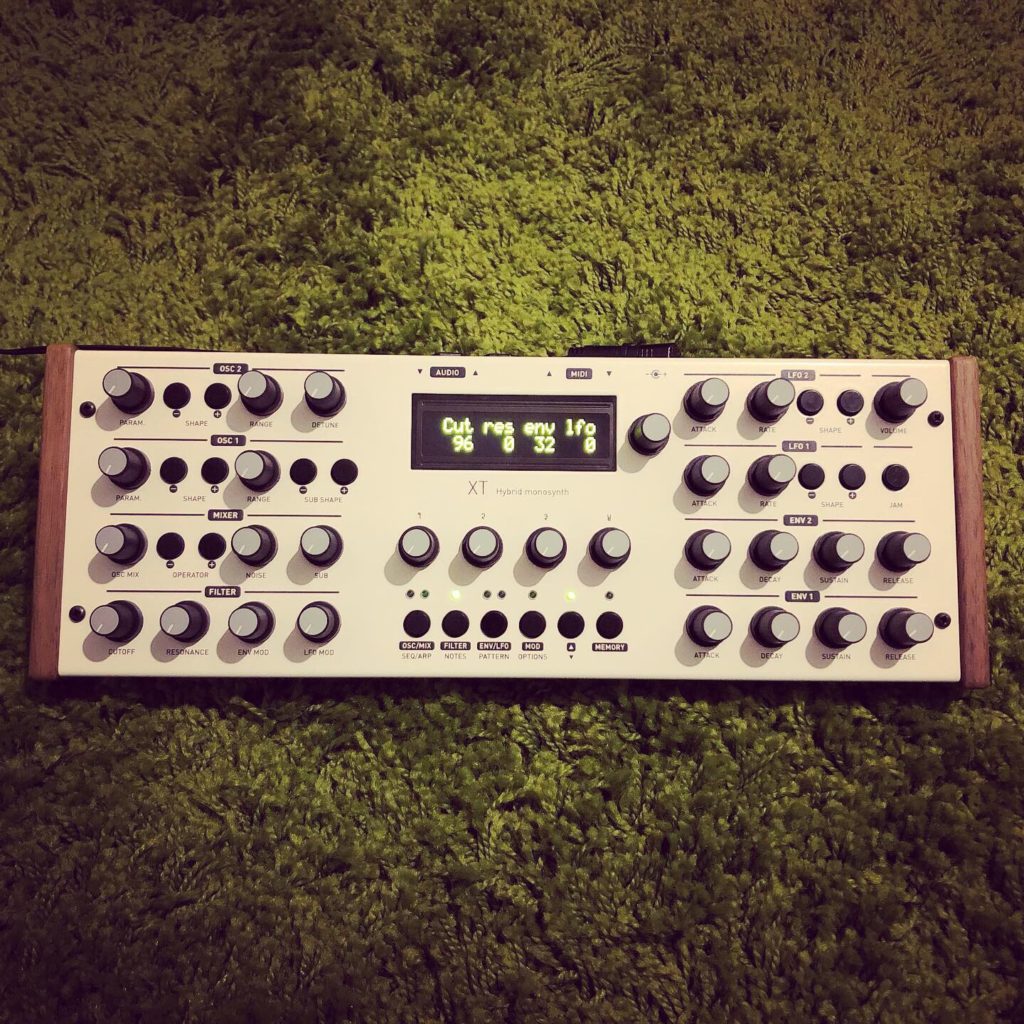
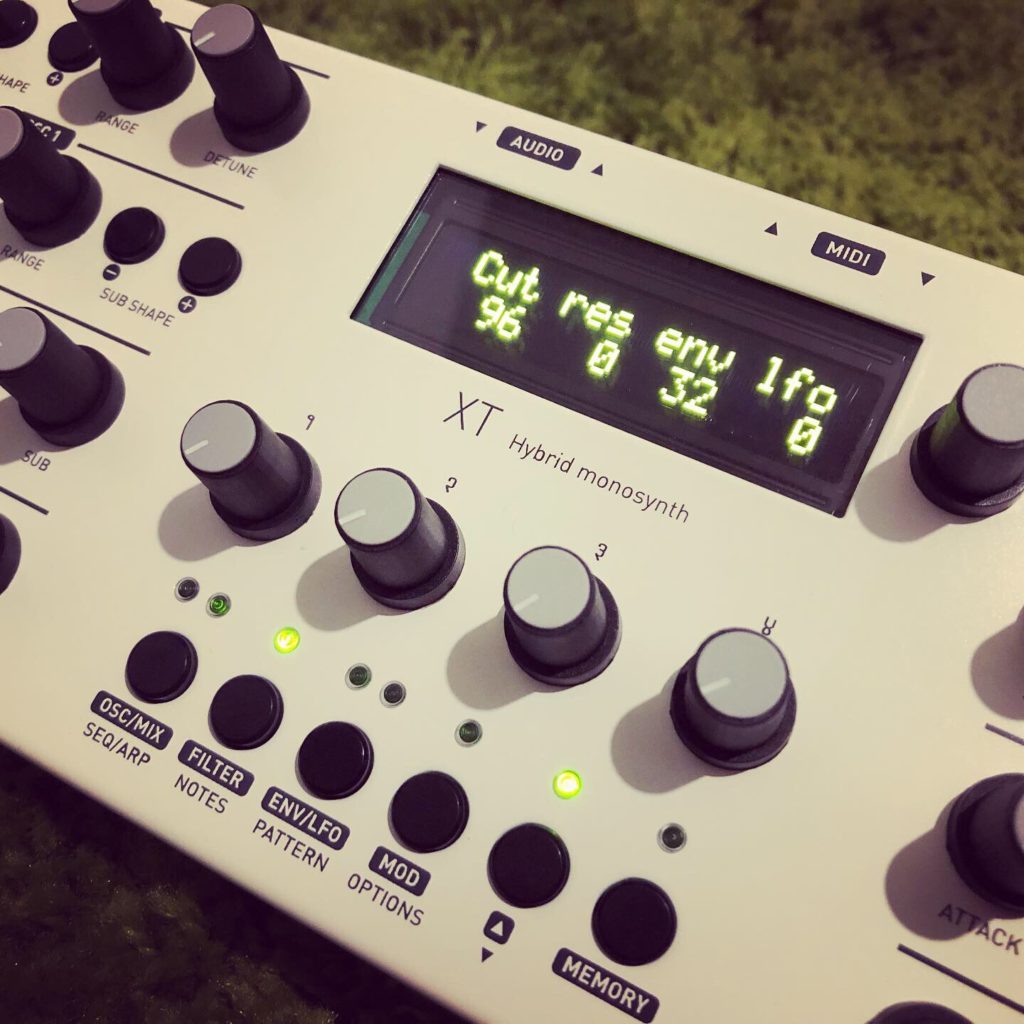
Press the encoder knob in and insert the power cable and select XT.
Enjoy